Supra_Serg
New Member
- First Name
- Serg
- Joined
- Dec 30, 2019
- Threads
- 1
- Messages
- 3
- Reaction score
- 0
- Location
- San Diego, Ca
- Car(s)
- 2020 Toyota Supra
- Thread starter
- #1
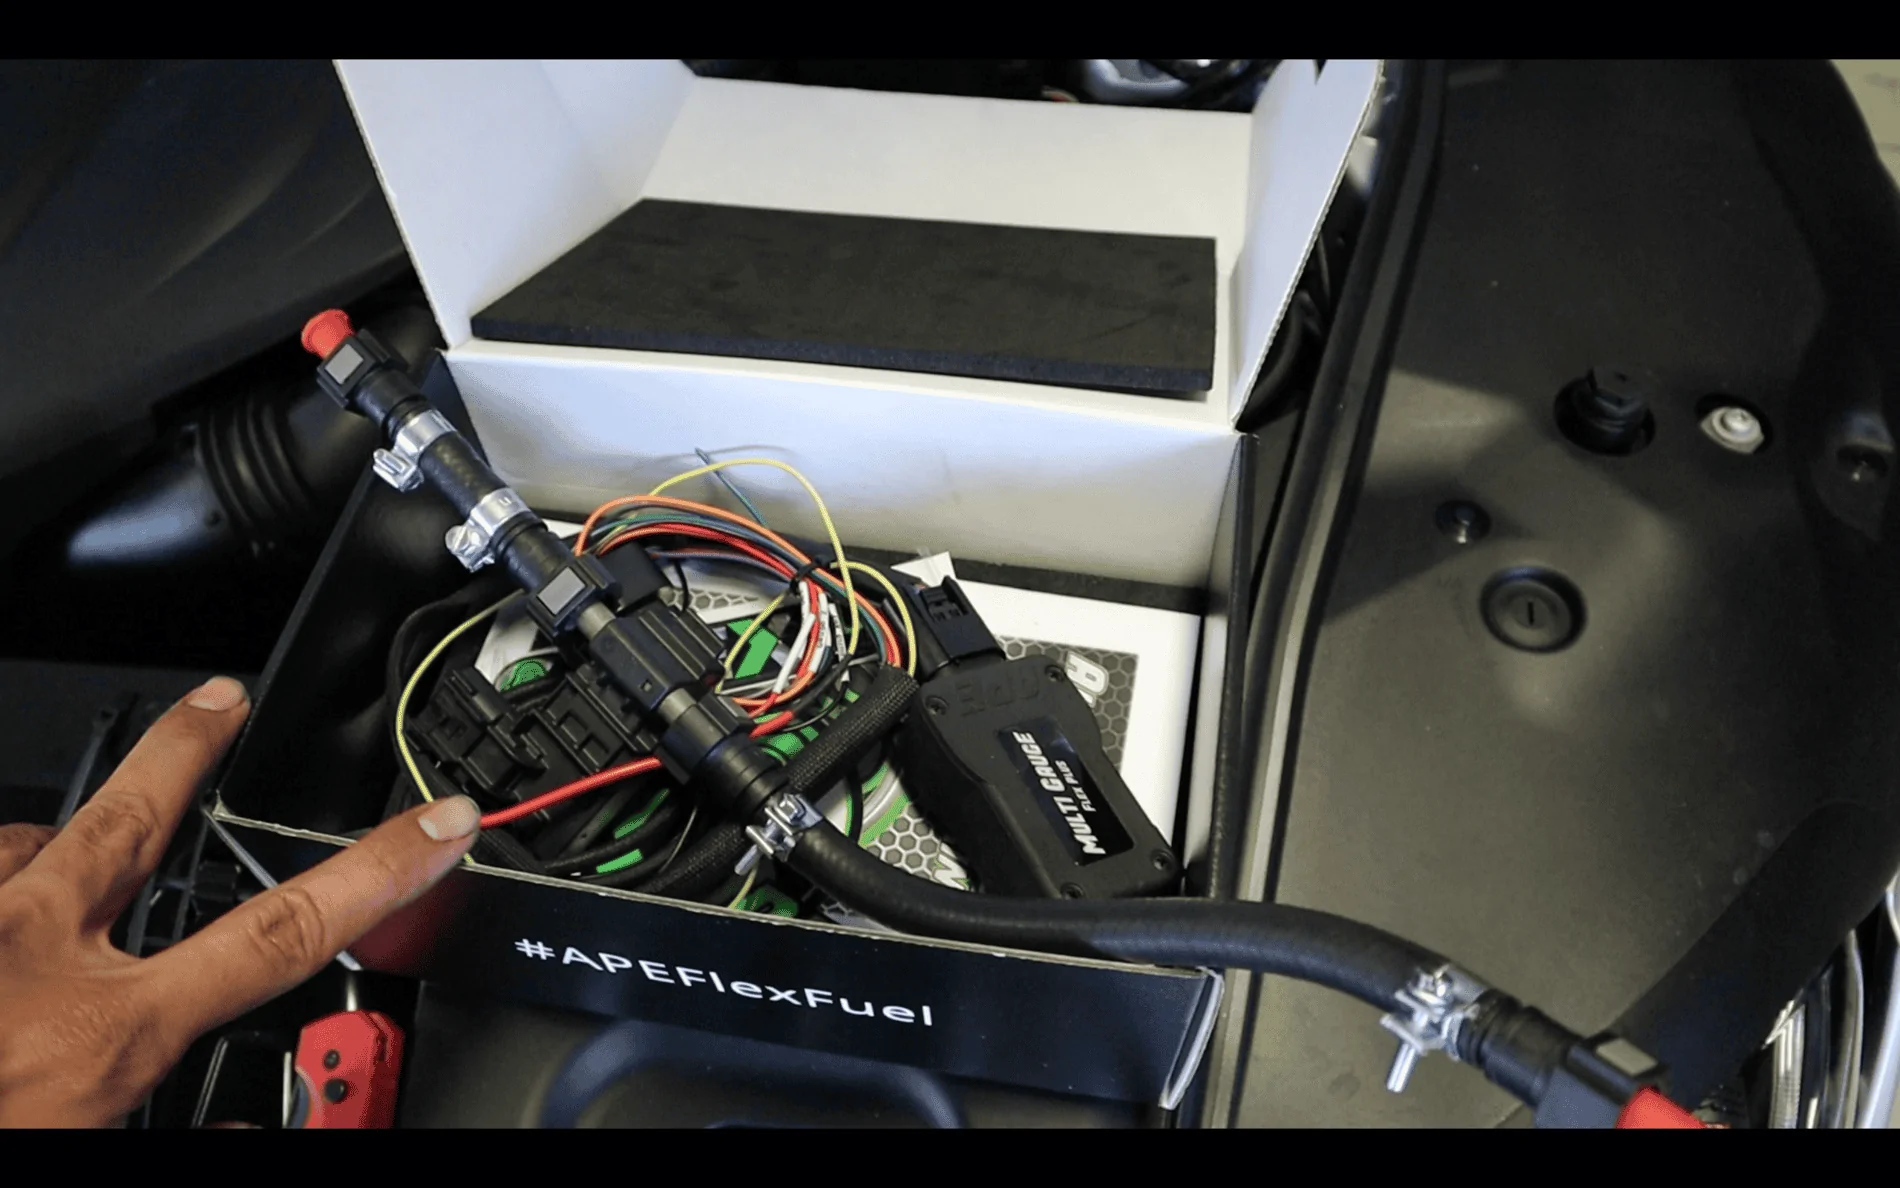
Hey whats up everyone doing my first DIY install on this APE flex fuel sensor and gauge honestly one of the easiest installs I have done on the car, The cable management and taking off fuel lines would have to be the hardest part about it. Ill be working with Alternative Performance Engineering to bring you guys a supra specific kit that will be exact plug and play to our cars.

Bluetooth Flex Fuel Gauge, that also has the ability to add two 5V sensors and monitor them wirelessly. For instance you can add a wideband oxygen sensor or MAP sensor. There is an Android and iPhone app available that allows you to customize the scaling factors for these two inputs and allows you to configure the color coding and warning levels for the gauges. The app also has a data-logging feature and a Ethanol Calculator that you can use to determine your exact mixture.
Step 1:
Remove engine cover and black heat shield padding from the rear of the engine
Step 2:
Remove OEM fuel line from both sides you'll be removing the grey plastic clip by pushing it up, make sure to hold on to it as you take it off so you don't loose them and you can keep them afterwards.

Step 3: Replace OEM fuel line with the APE fuel line that has the flex fuel sensor inline.
Step 4: Plugging in sensor and running wiring

Step 5: Connecting ground
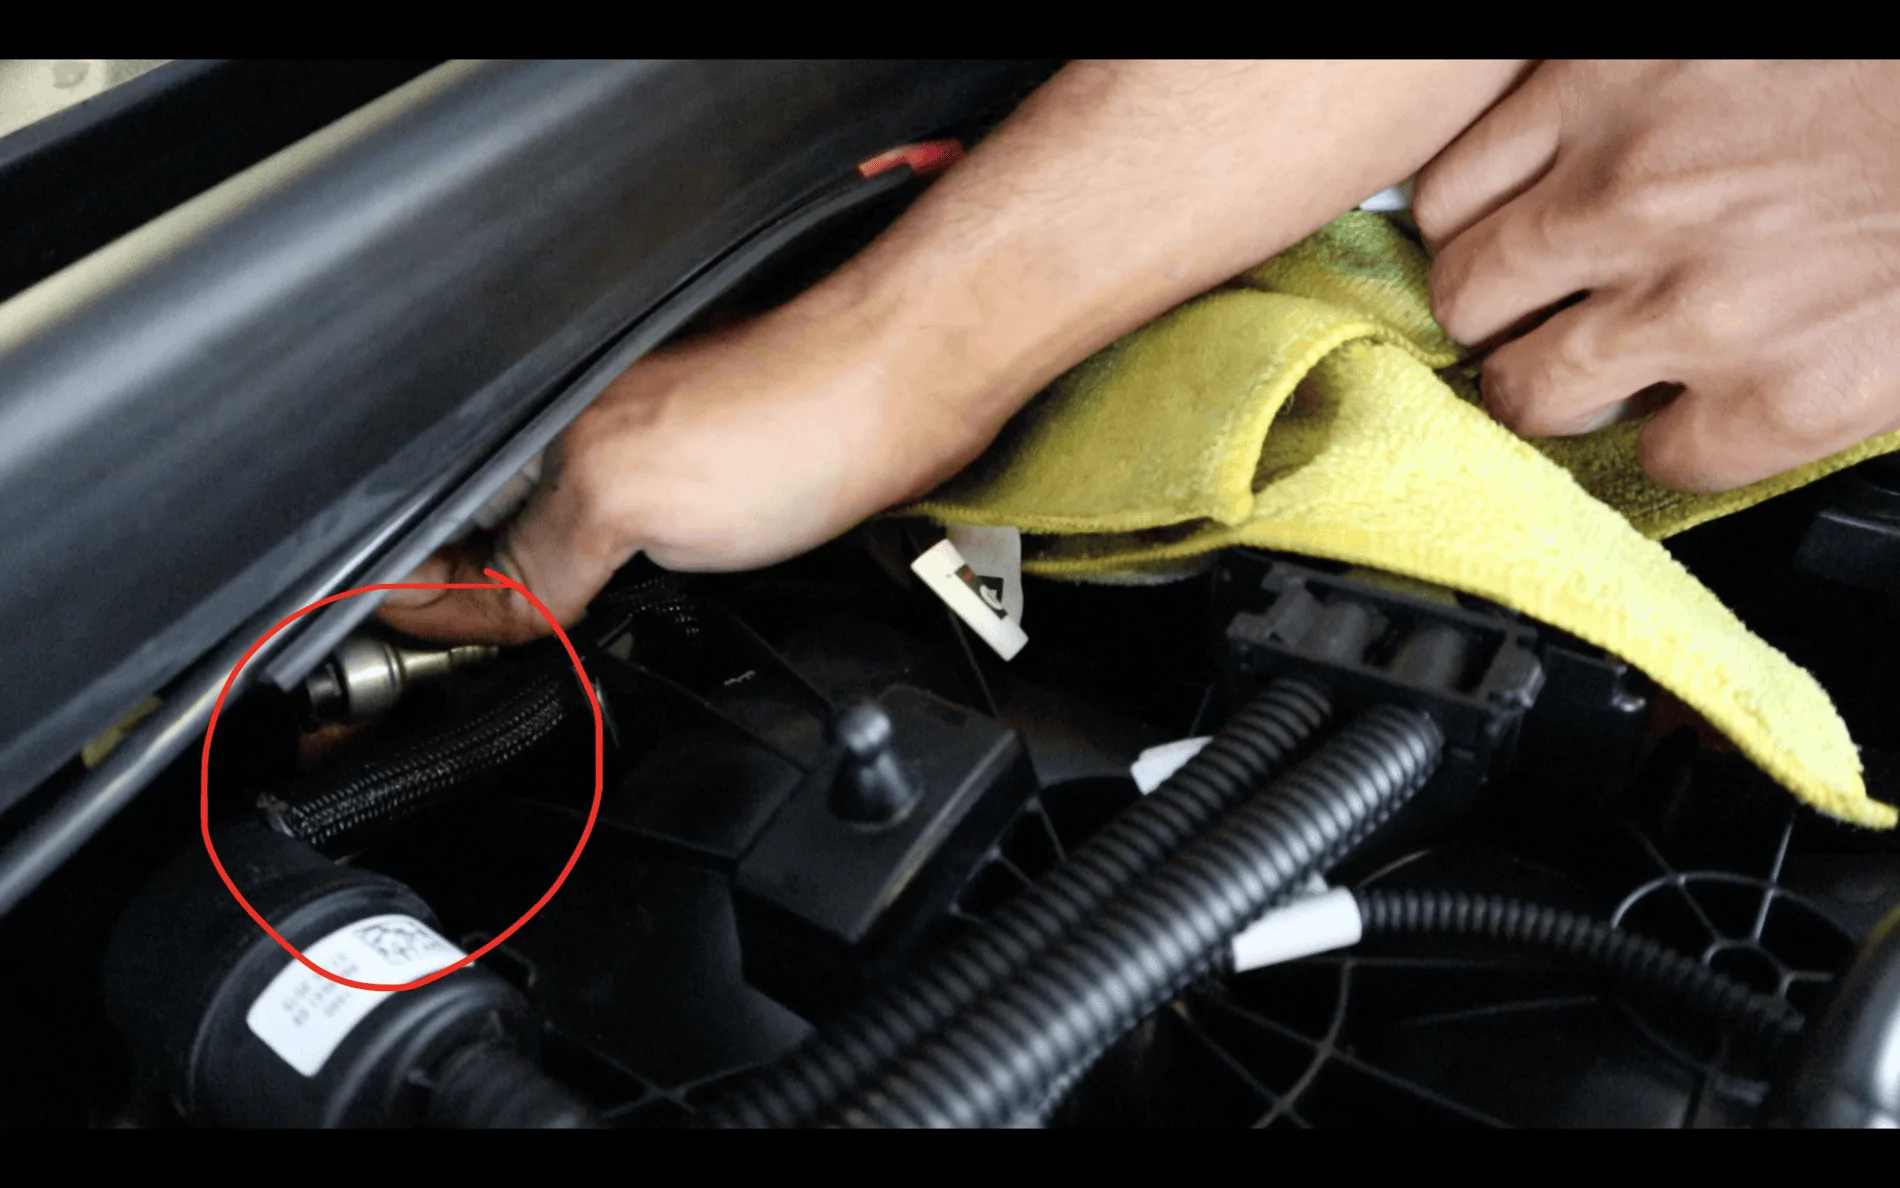
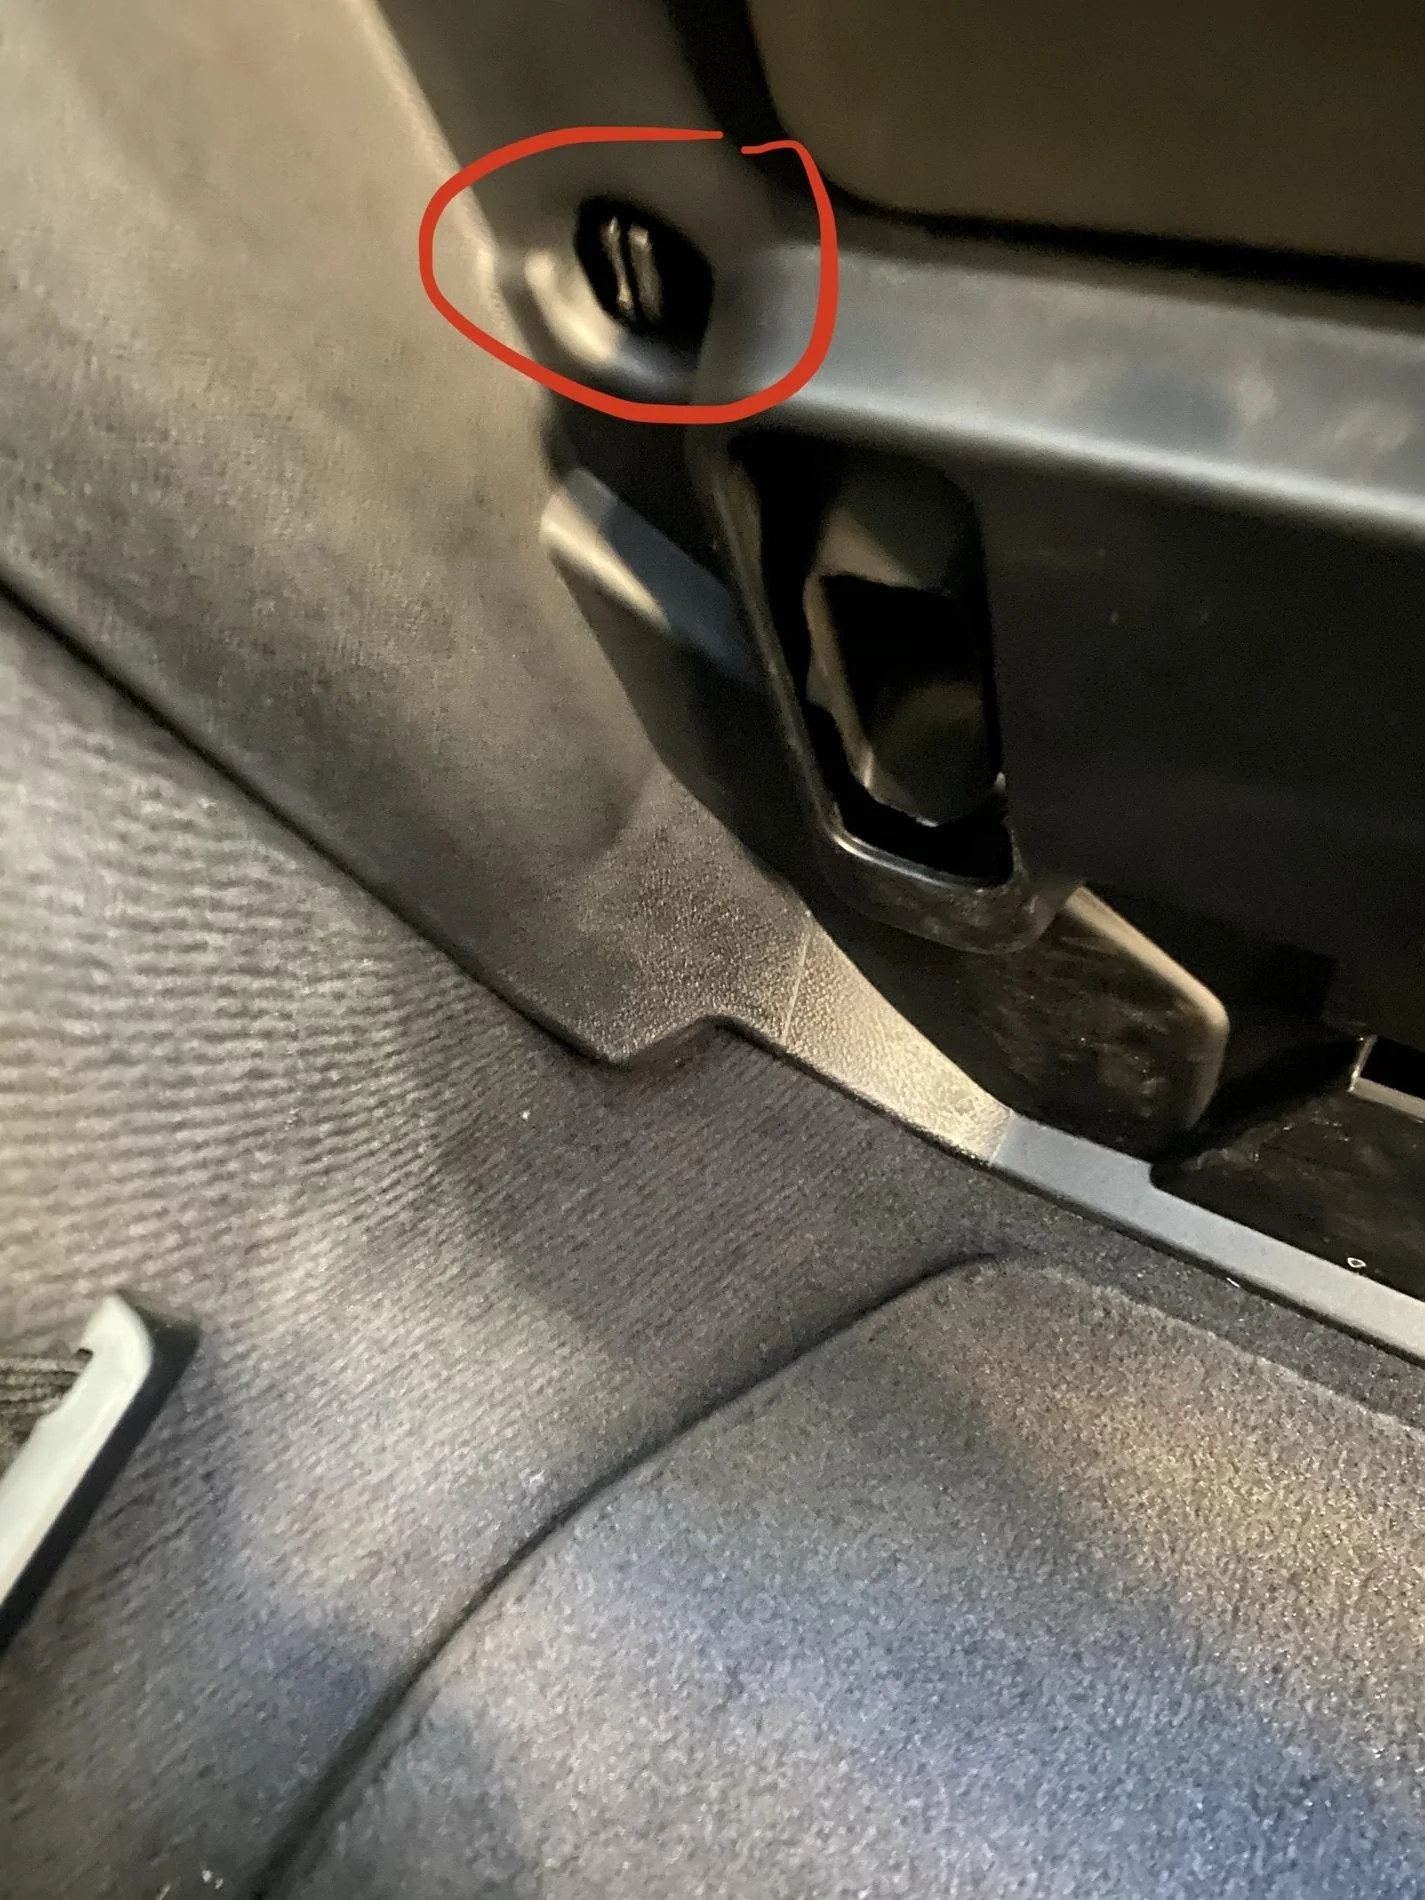
Step 6: Now to power the switch wire that will allow power to the module and turn off the sensor when the car itself is off to prevent killing your battery.
I found there is a perfect hole to punch wires threw right behind a black padding that easily comes off where the blue circle is at.
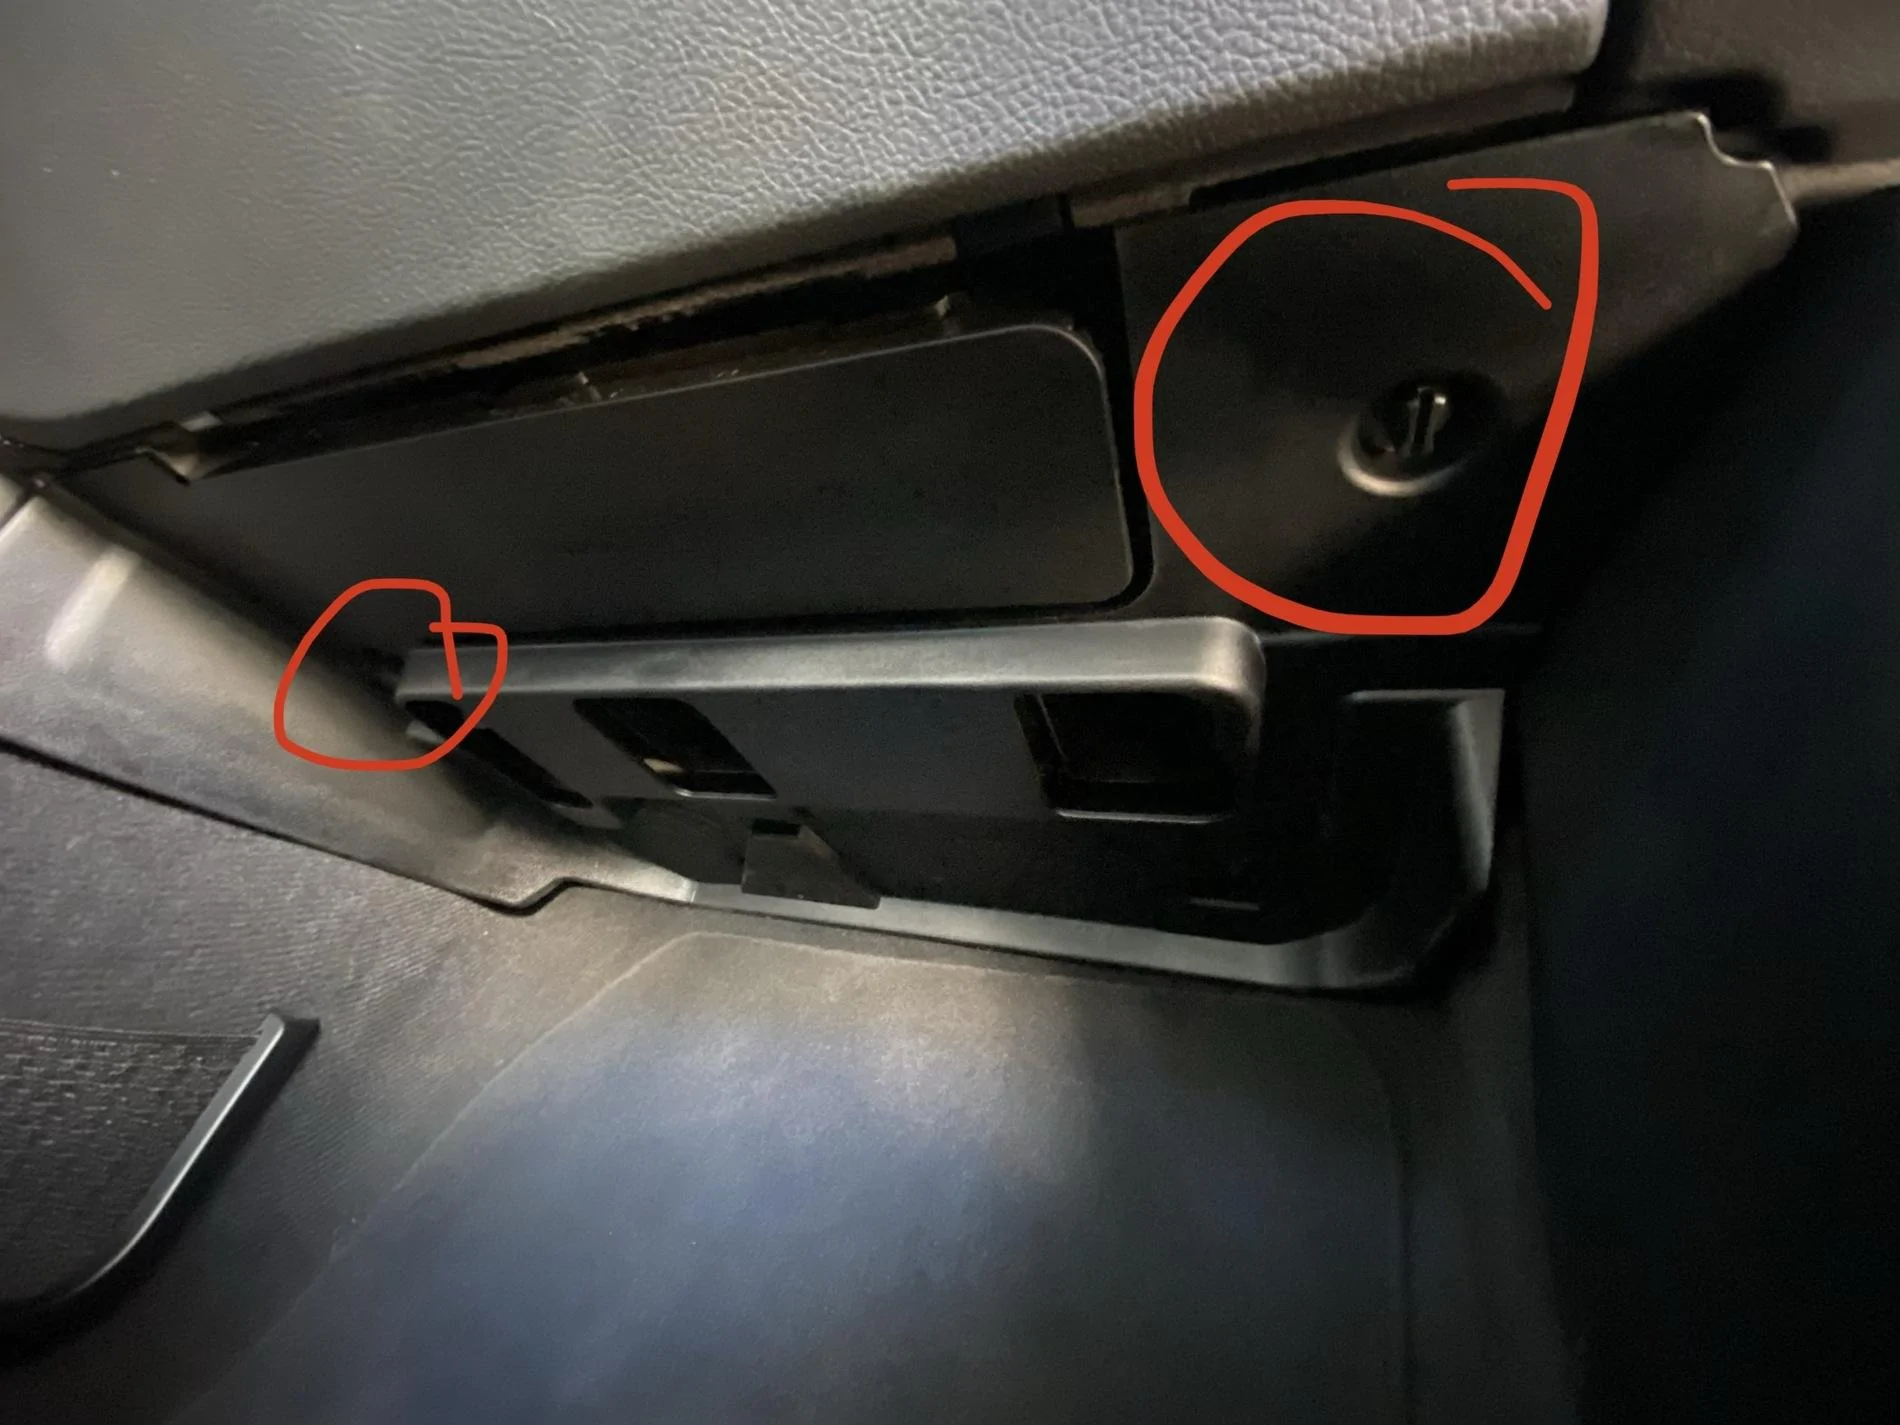
Step 7: Remove the plastic cover underneath the glove box to gain access to the fuse box.
There is 2 plastic screws that will need to be loosened with a flat head or if you have strong fingers that works too


Step 8:Once you have access to the fuse box you will plug in the Add a fuse tap adapter my kit has been soldered but it comes disassembled so you can either do the same or twist the wires with some shrink wrap and that will work just fine as-well.
P.s. just incase you cant tell the fuse in in the 3rd from the back right next to the other 10 fuse.
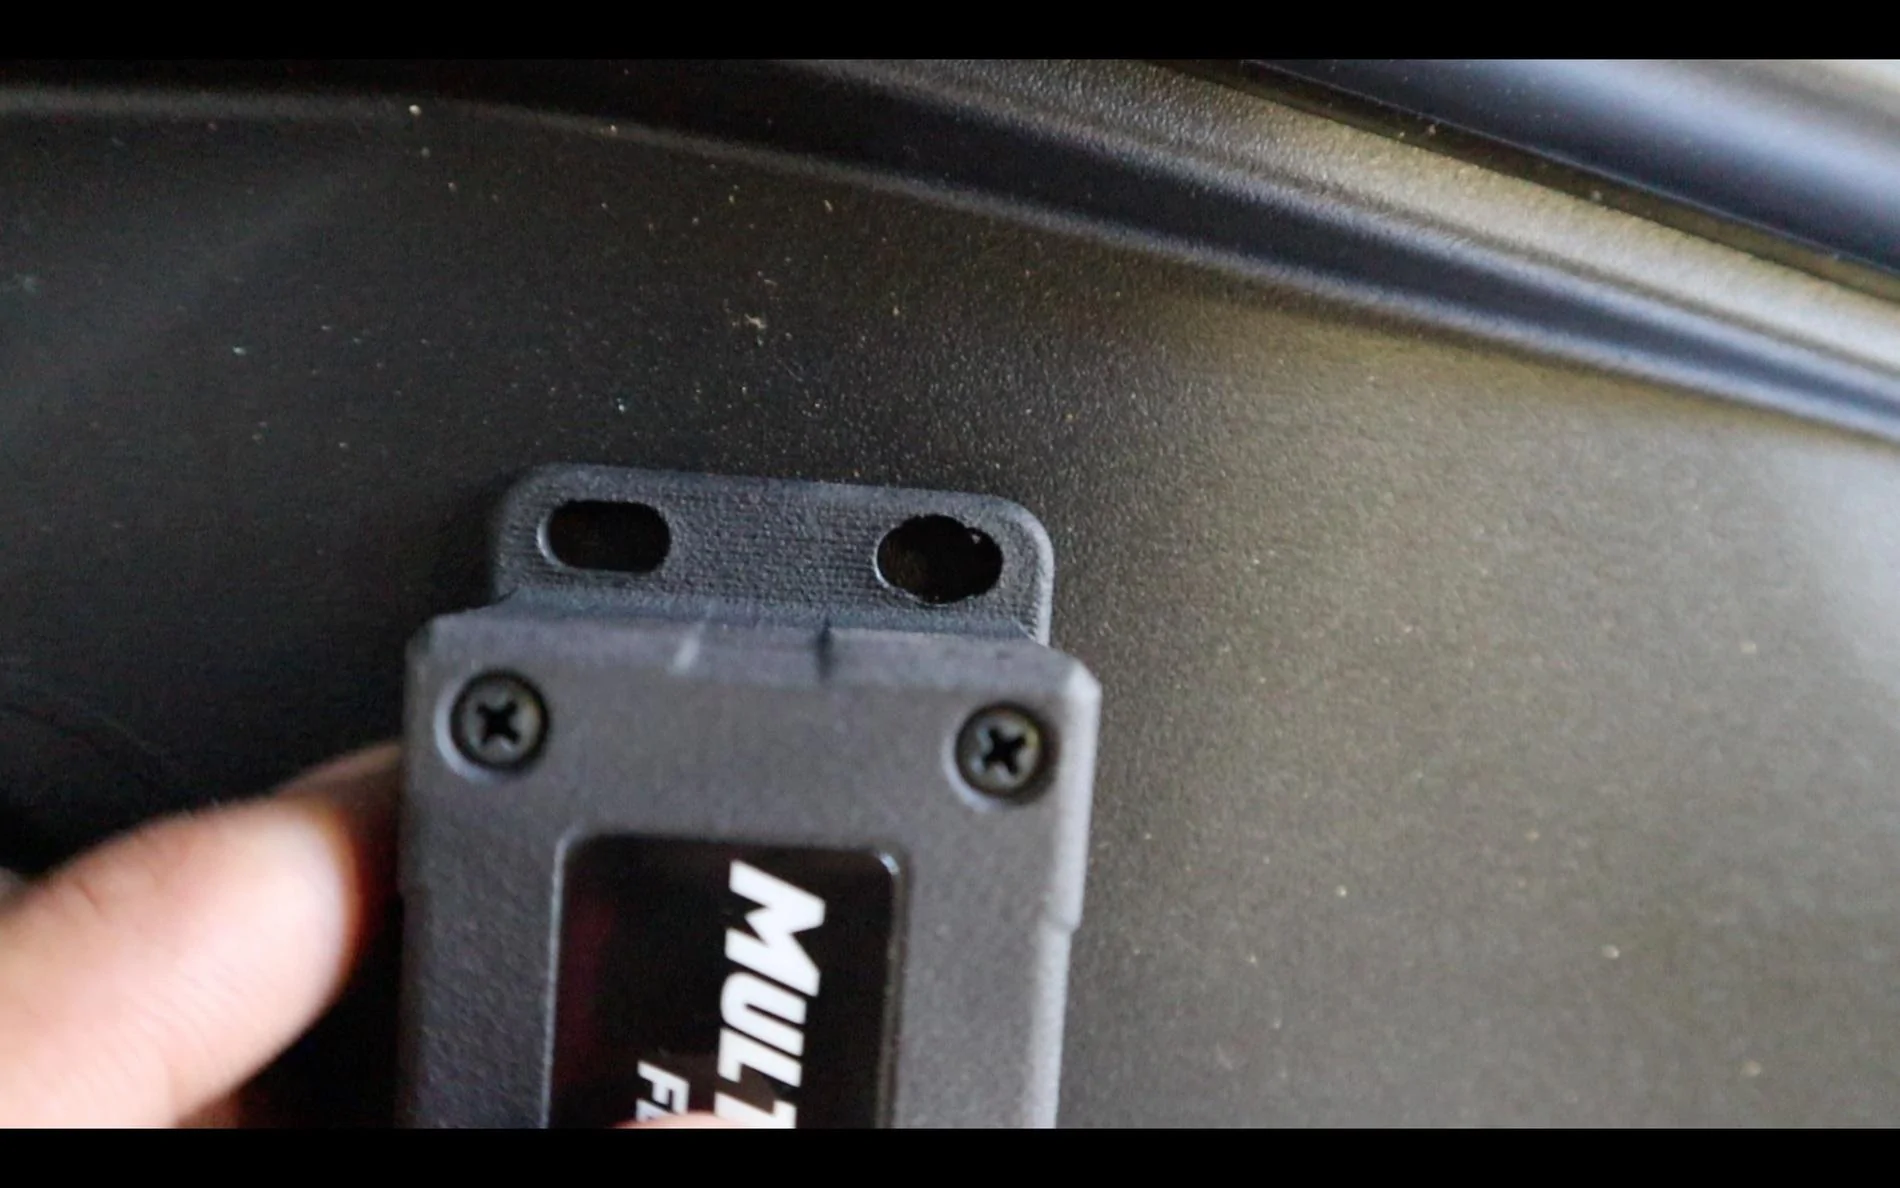
Step 9: I choose to step drill out my multi gauge just a tad so I could mount it nicely on one of the bolts that were available.
The final step would be cable management to your liking
Go ahead and download the app in the mean time its very simple to download and it automatically finds your sensor to start monitoring Ethanol content right away!

Bluetooth Flex Fuel Gauge, that also has the ability to add two 5V sensors and monitor them wirelessly. For instance you can add a wideband oxygen sensor or MAP sensor. There is an Android and iPhone app available that allows you to customize the scaling factors for these two inputs and allows you to configure the color coding and warning levels for the gauges. The app also has a data-logging feature and a Ethanol Calculator that you can use to determine your exact mixture.
- Supports any 5V sensor
- Data-Logging
- Has Flex Sensor Output for ECU
- Integrated 10Kohm pull up resistor
- Razor blade
- Zip Ties
- 10MM Wrench of deep socket/ratchet either will do
- Flat head screwdriver
Step 1:
Remove engine cover and black heat shield padding from the rear of the engine
Step 2:
Remove OEM fuel line from both sides you'll be removing the grey plastic clip by pushing it up, make sure to hold on to it as you take it off so you don't loose them and you can keep them afterwards.
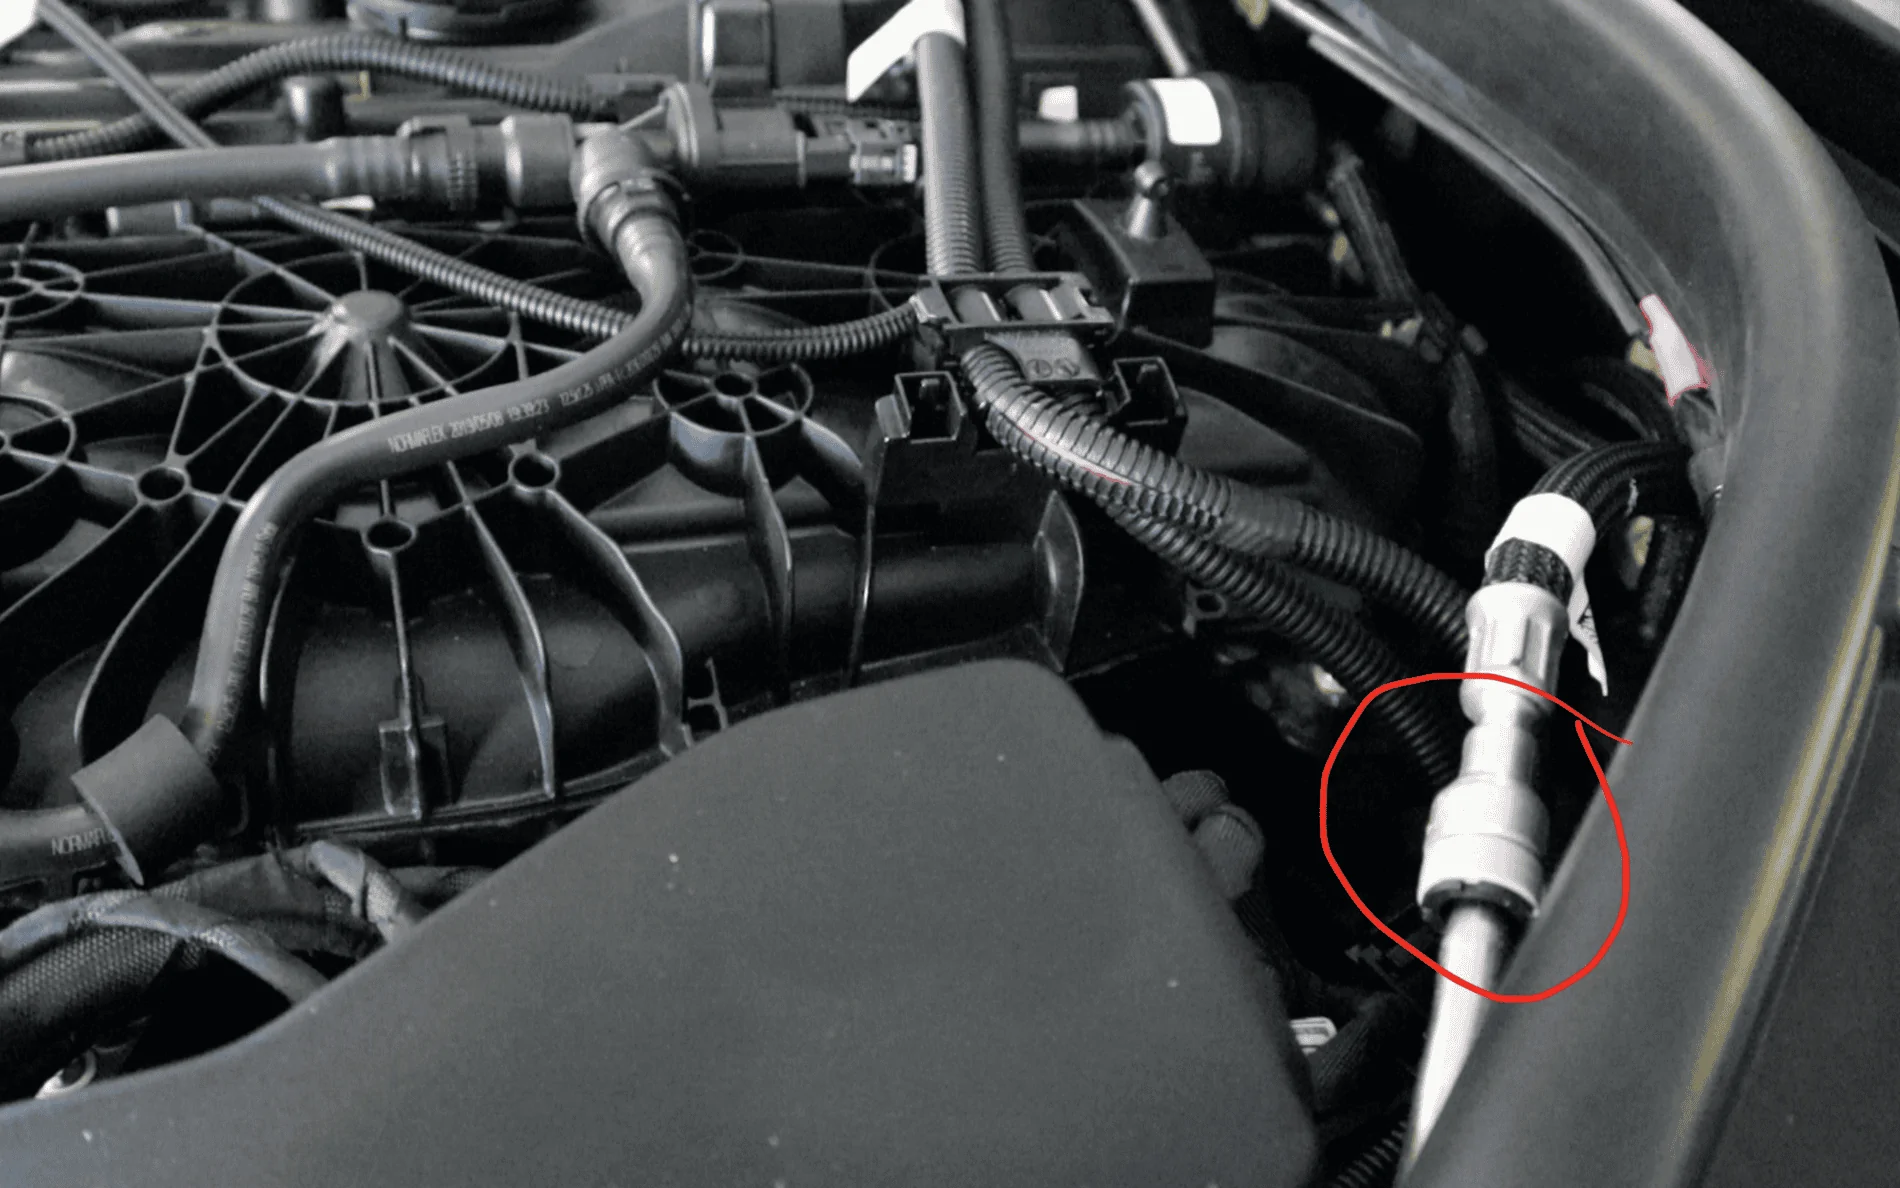
Step 3: Replace OEM fuel line with the APE fuel line that has the flex fuel sensor inline.
Step 4: Plugging in sensor and running wiring
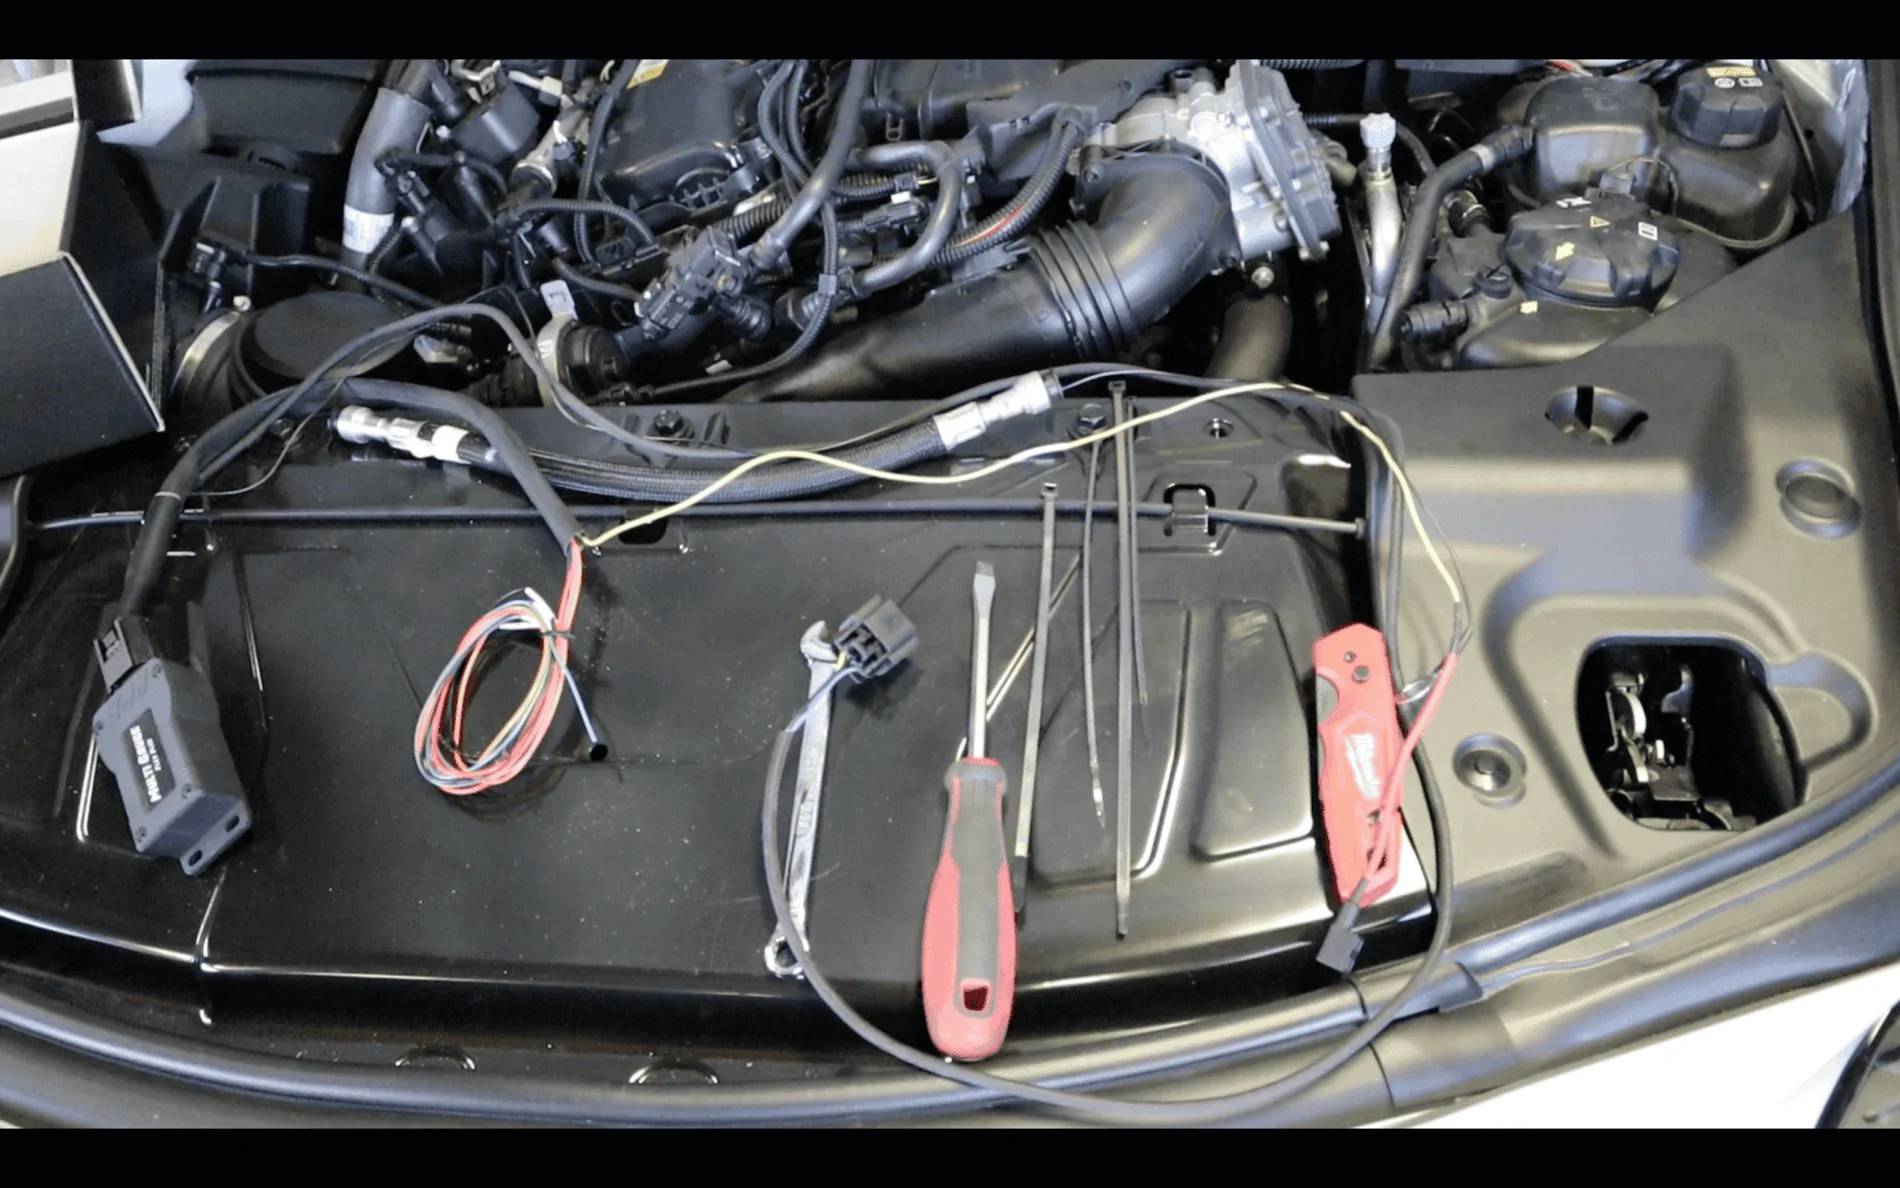


Step 5: Connecting ground


Step 6: Now to power the switch wire that will allow power to the module and turn off the sensor when the car itself is off to prevent killing your battery.
I found there is a perfect hole to punch wires threw right behind a black padding that easily comes off where the blue circle is at.

Step 7: Remove the plastic cover underneath the glove box to gain access to the fuse box.
There is 2 plastic screws that will need to be loosened with a flat head or if you have strong fingers that works too
Step 8:Once you have access to the fuse box you will plug in the Add a fuse tap adapter my kit has been soldered but it comes disassembled so you can either do the same or twist the wires with some shrink wrap and that will work just fine as-well.
P.s. just incase you cant tell the fuse in in the 3rd from the back right next to the other 10 fuse.

Step 9: I choose to step drill out my multi gauge just a tad so I could mount it nicely on one of the bolts that were available.


The final step would be cable management to your liking
Go ahead and download the app in the mean time its very simple to download and it automatically finds your sensor to start monitoring Ethanol content right away!
Sponsored
Last edited:

