Sponsored

Touch up kit documenting

Chappers

Well-Known Member
First Name
Greg
Joined
Dec 24, 2021
Threads
8
Messages
271
Reaction score
273
Location
Birmingham, UK
Car(s)
Supra GR 3.0L Tungsten Silver
Cheers mate - any guesses why it says "out of stock" when you select '2022+'? Weird, did they change the design of the inner wheel arch from 2022 Supras? ?
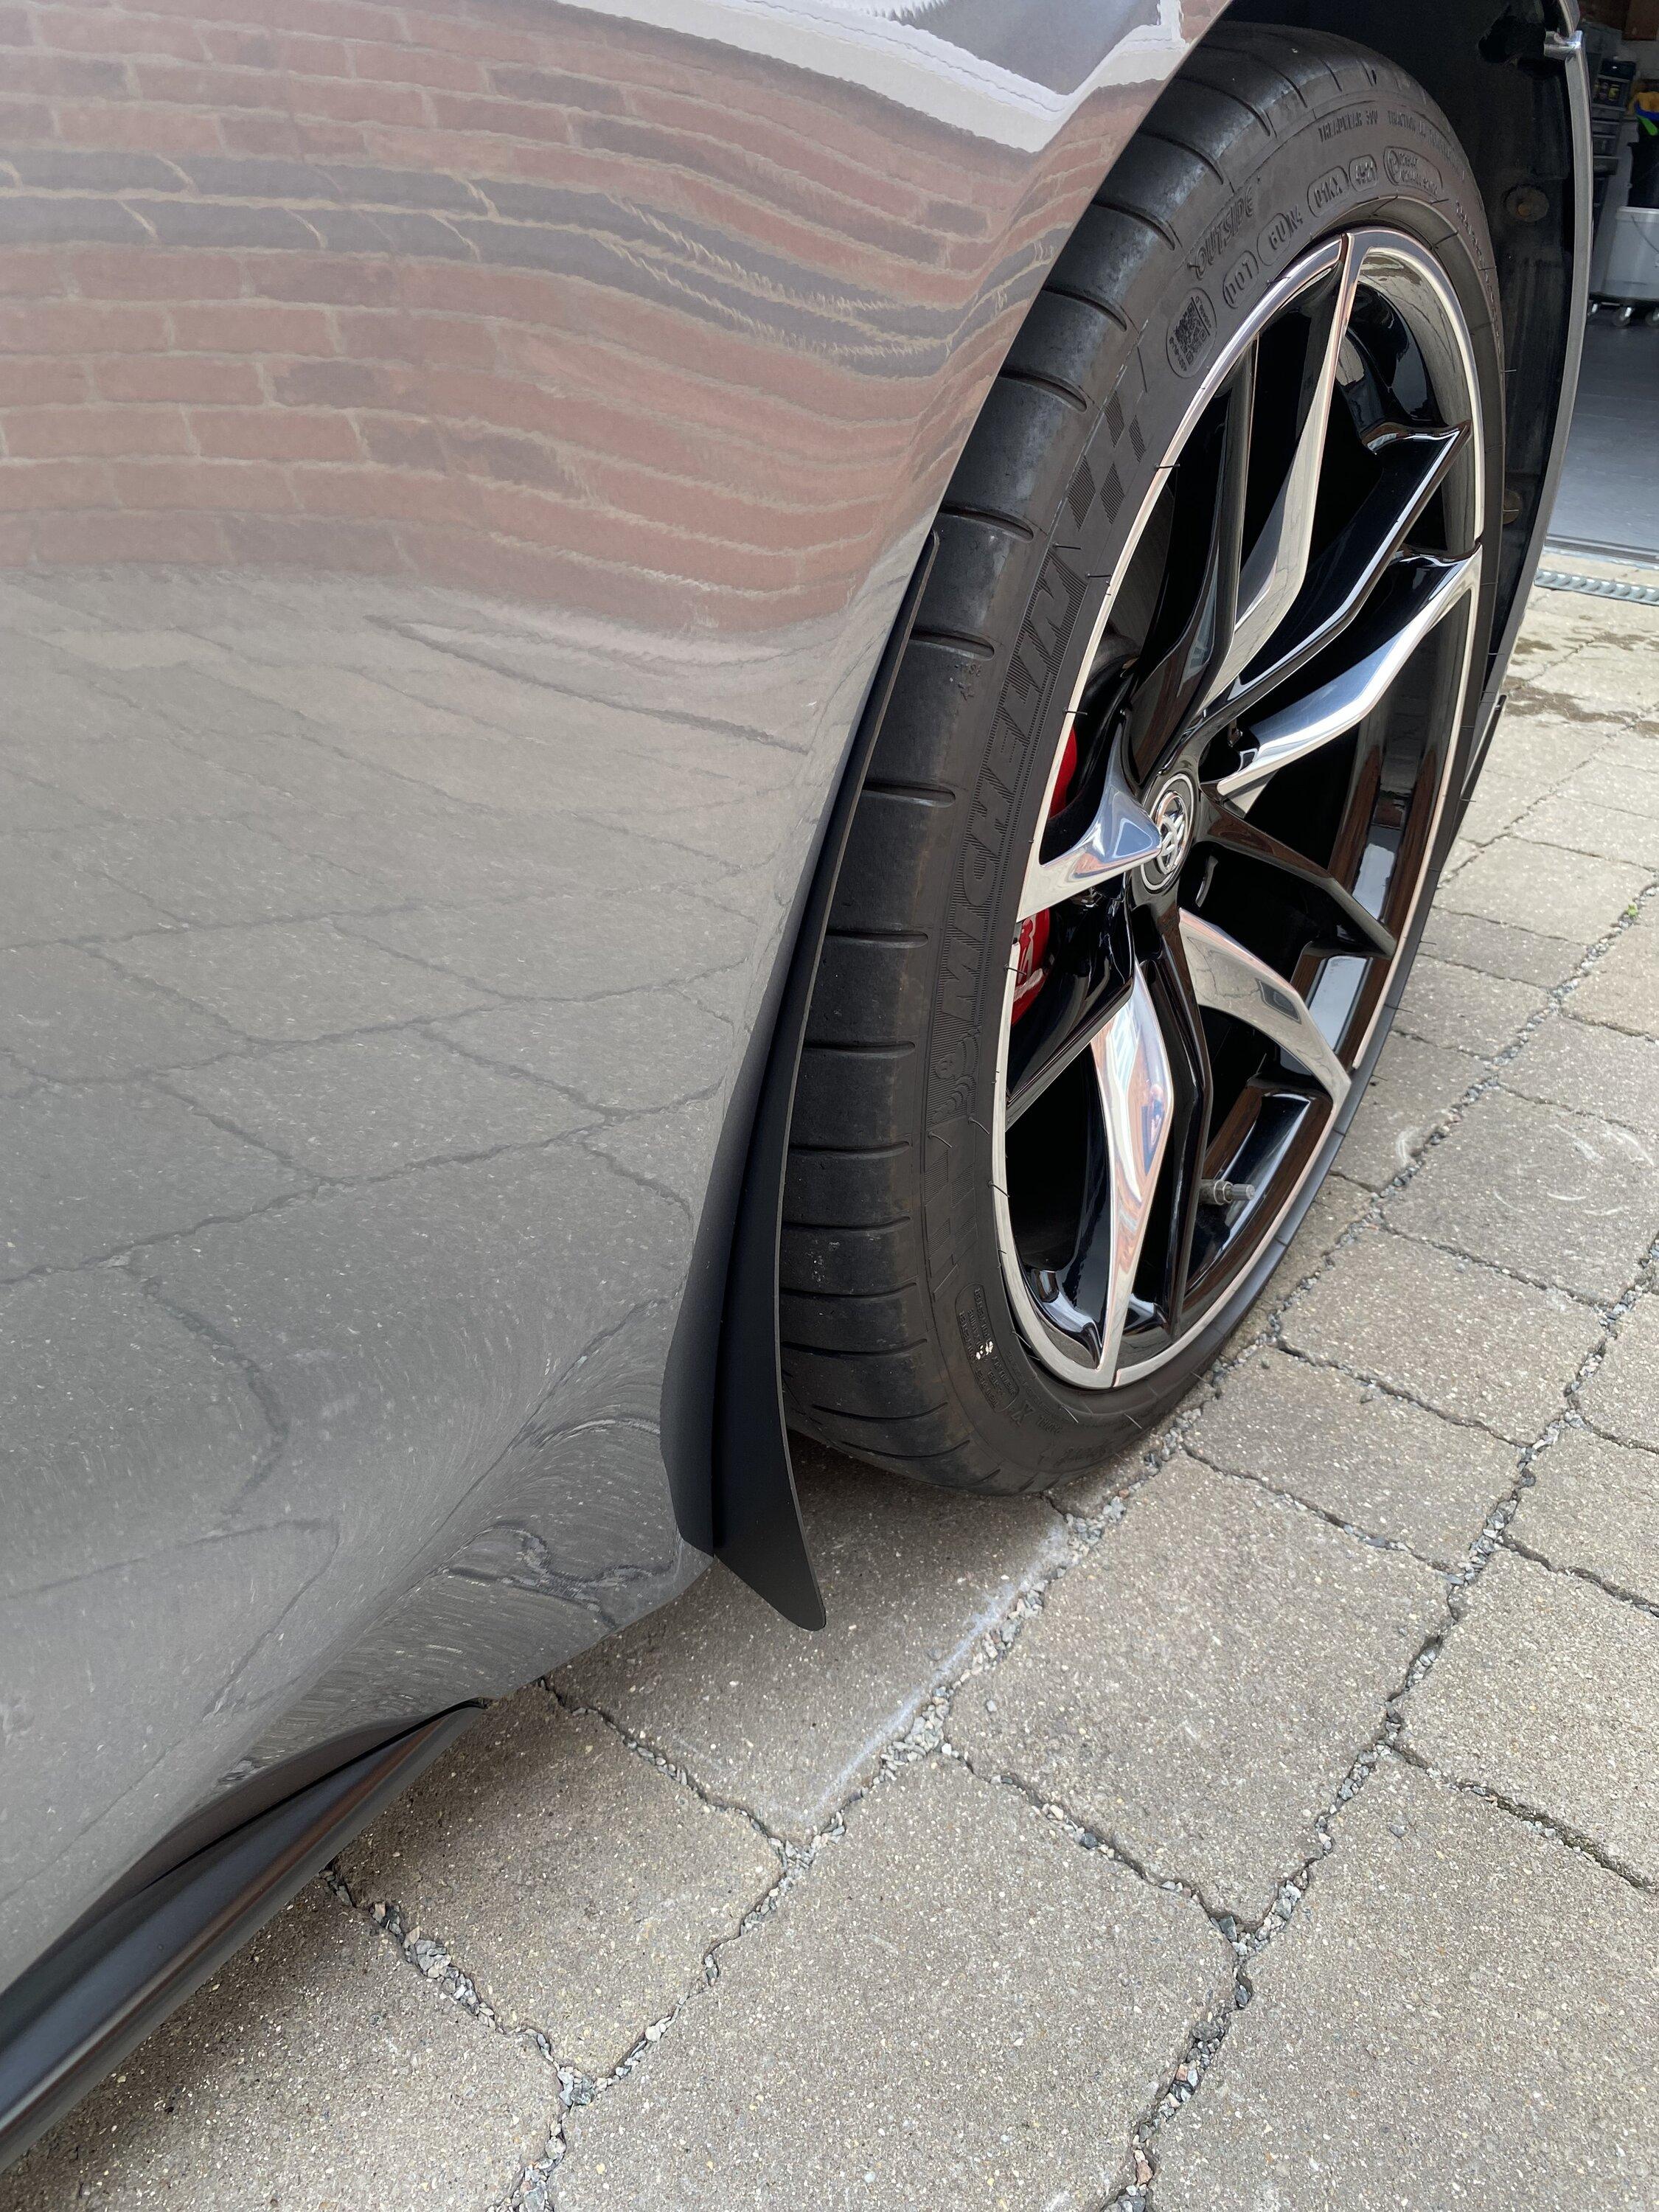
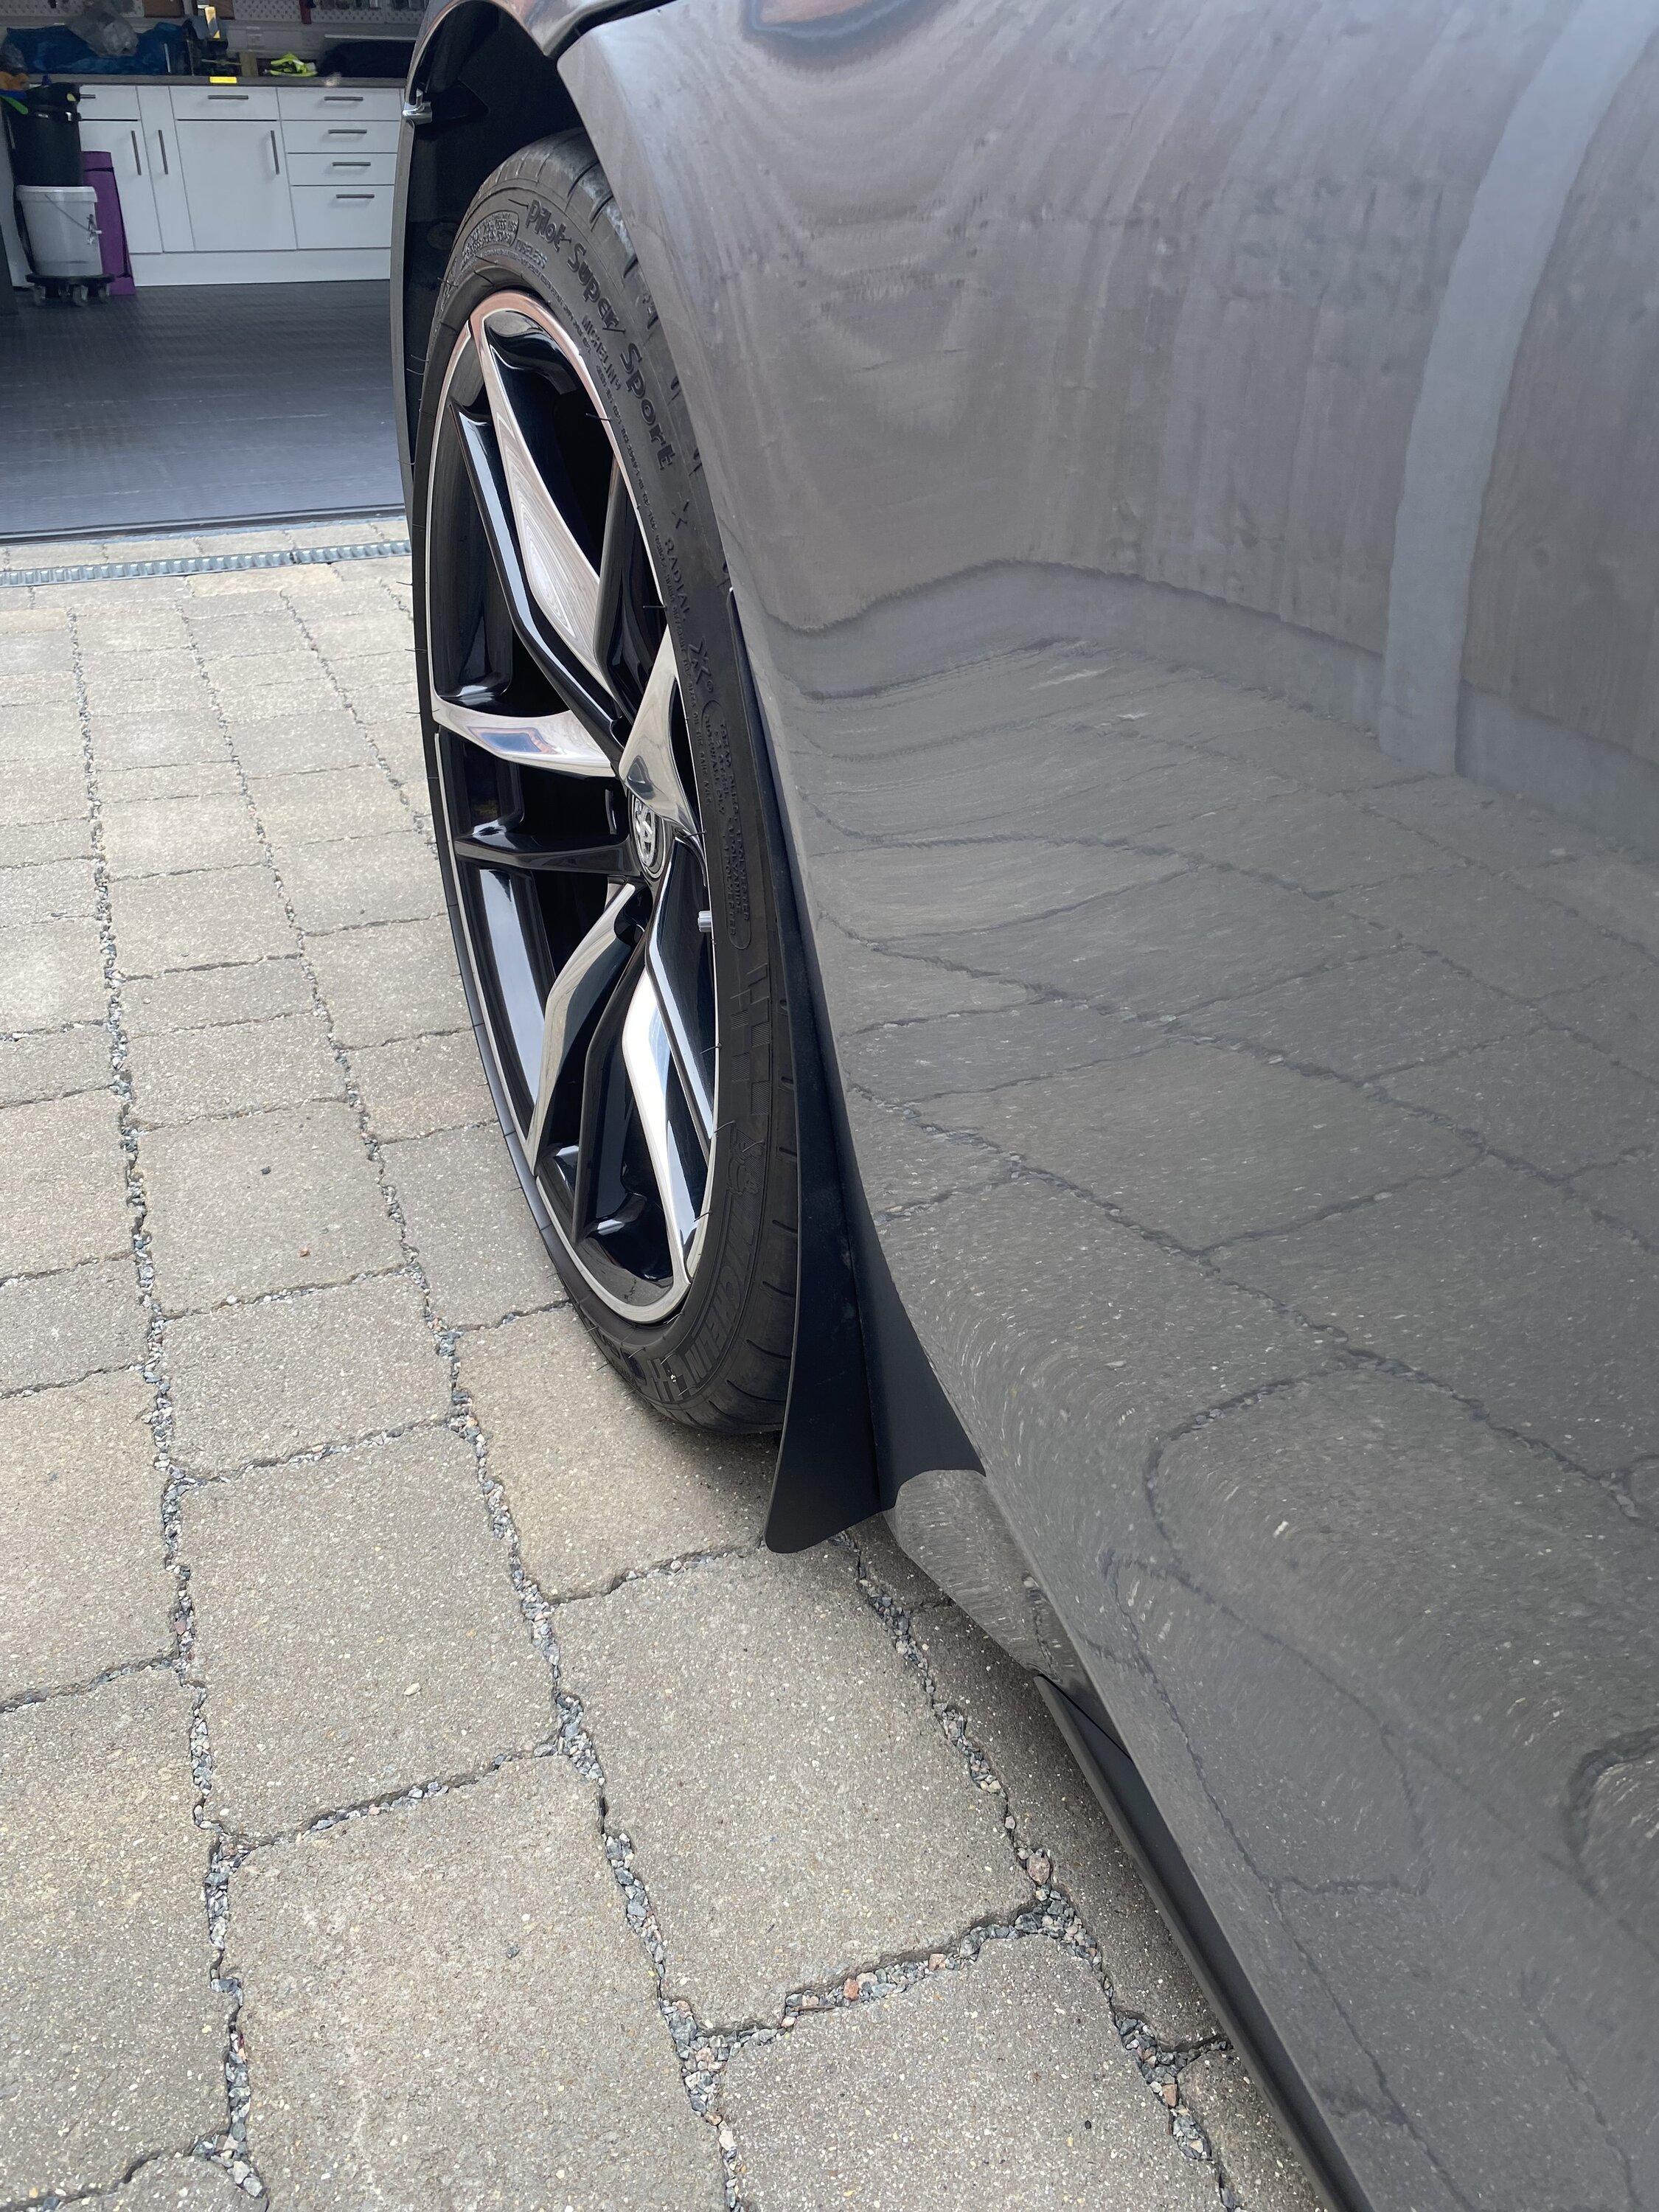
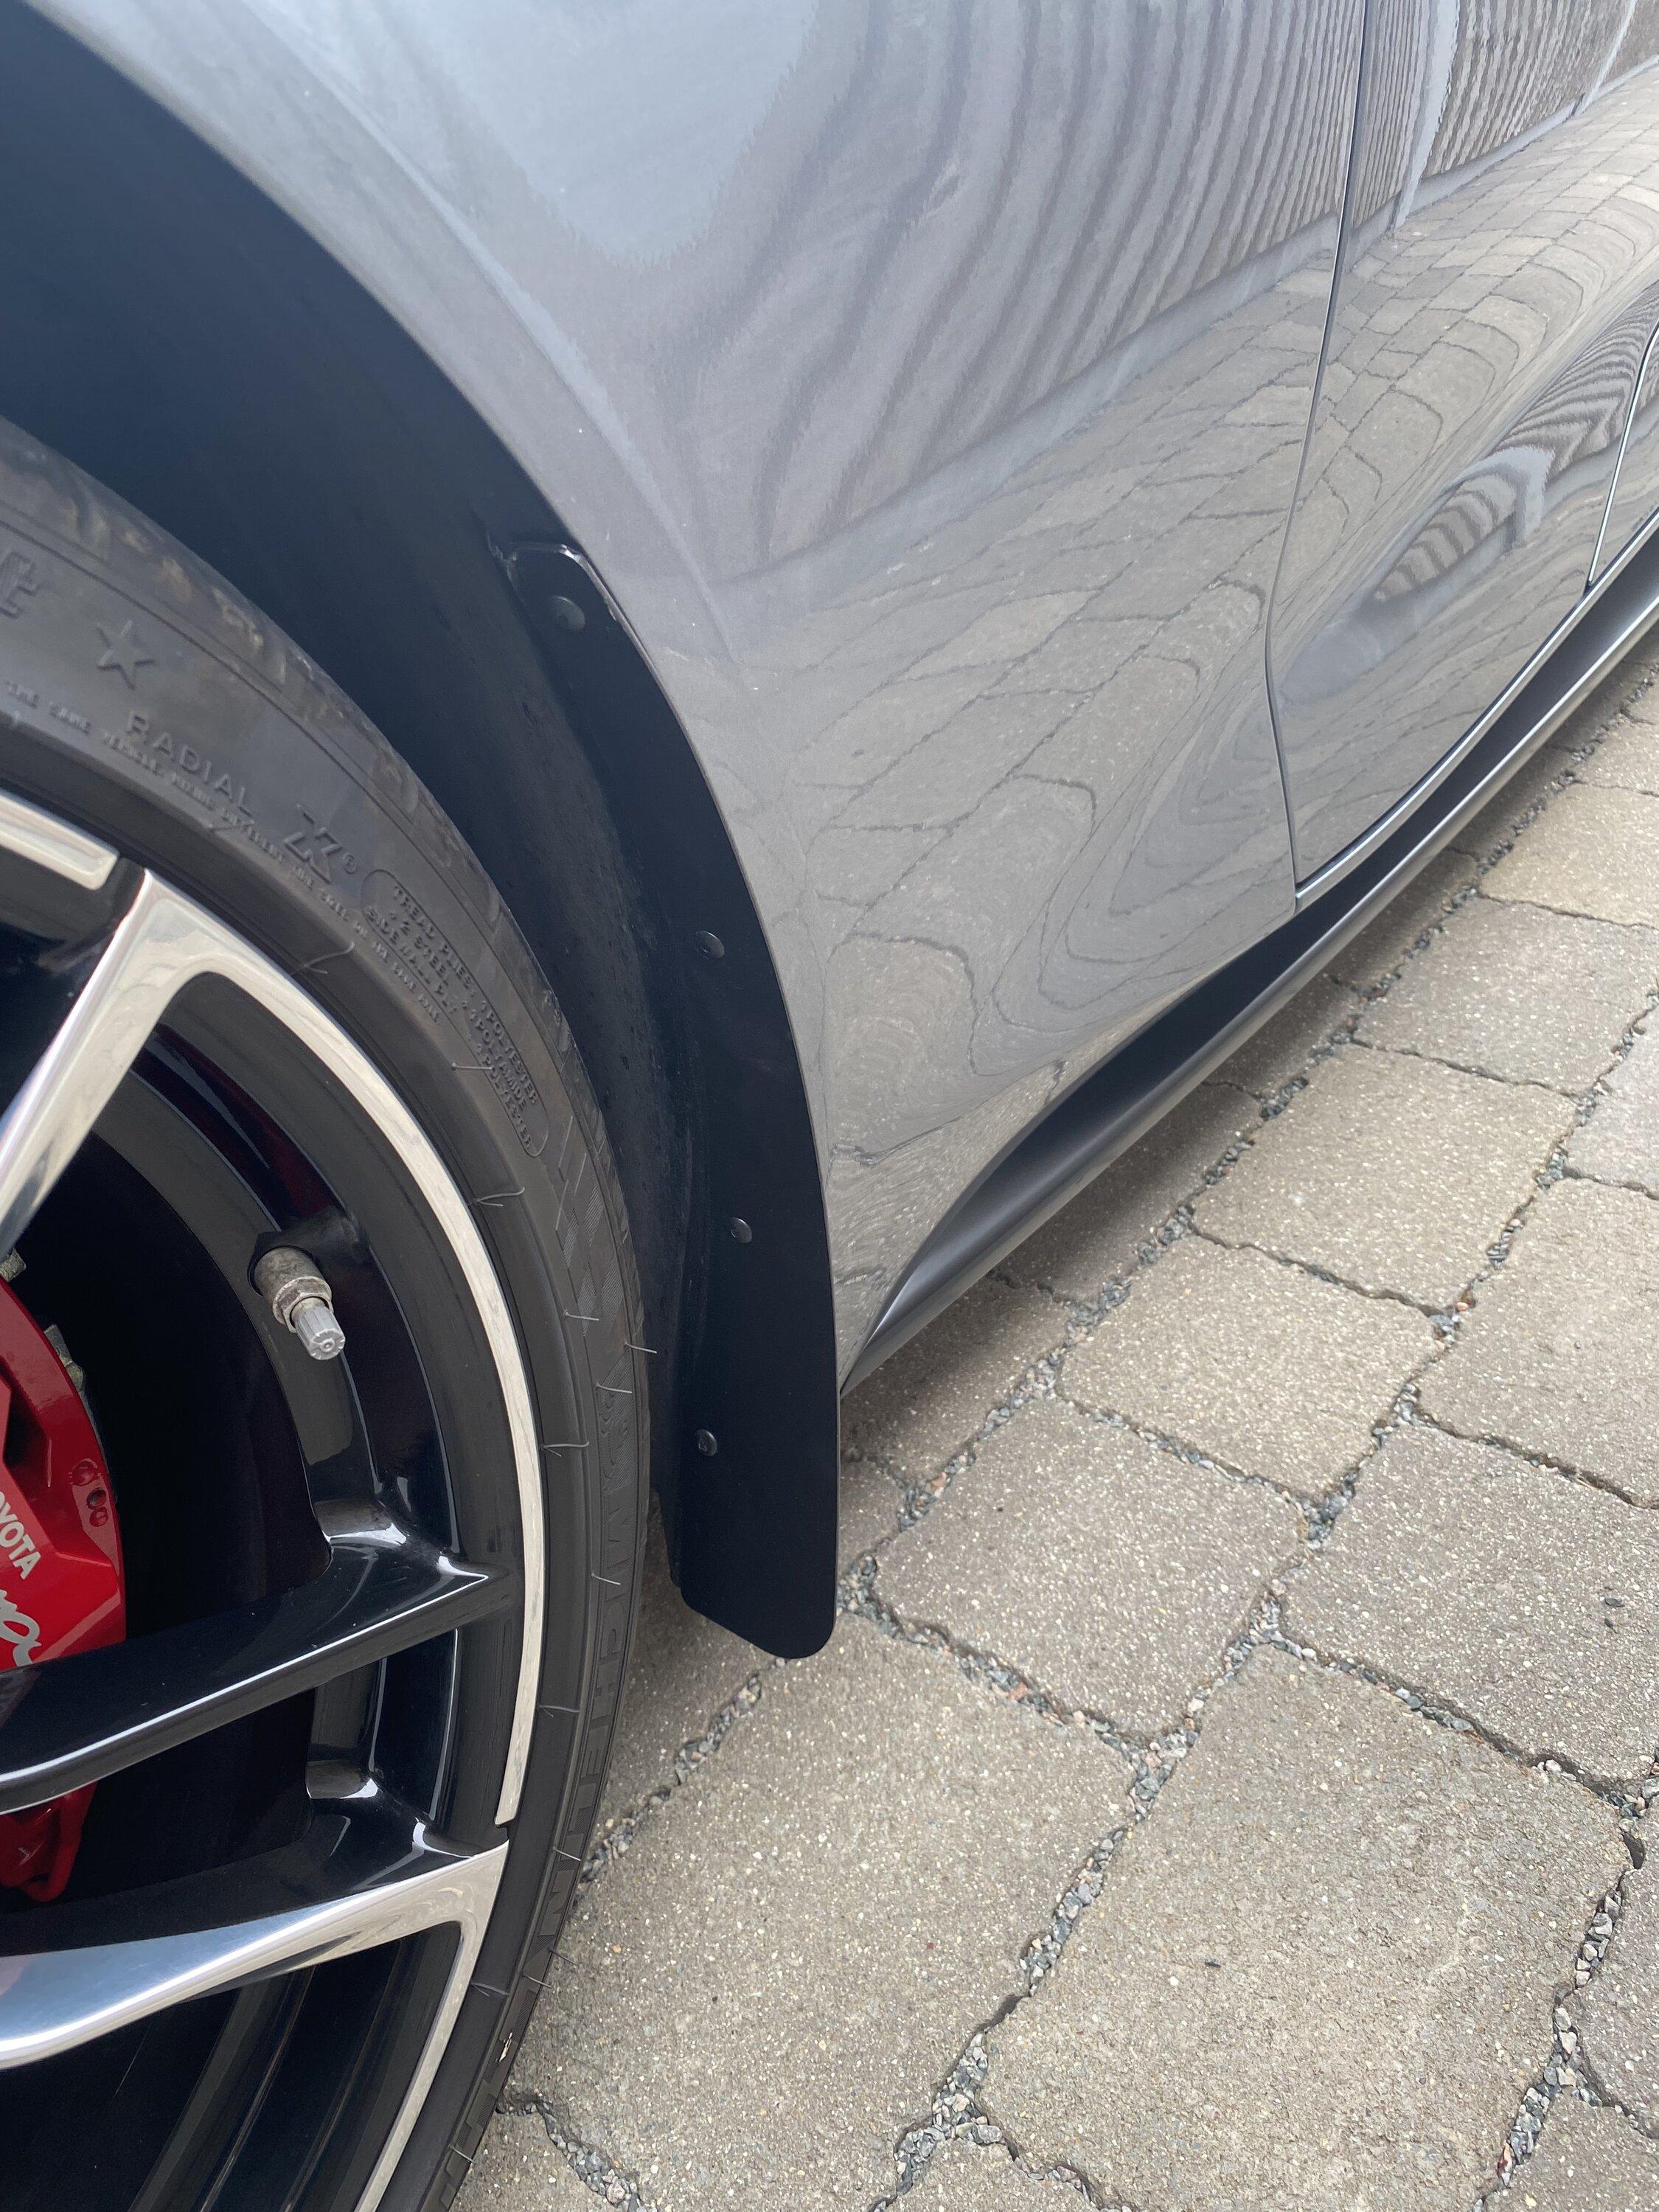
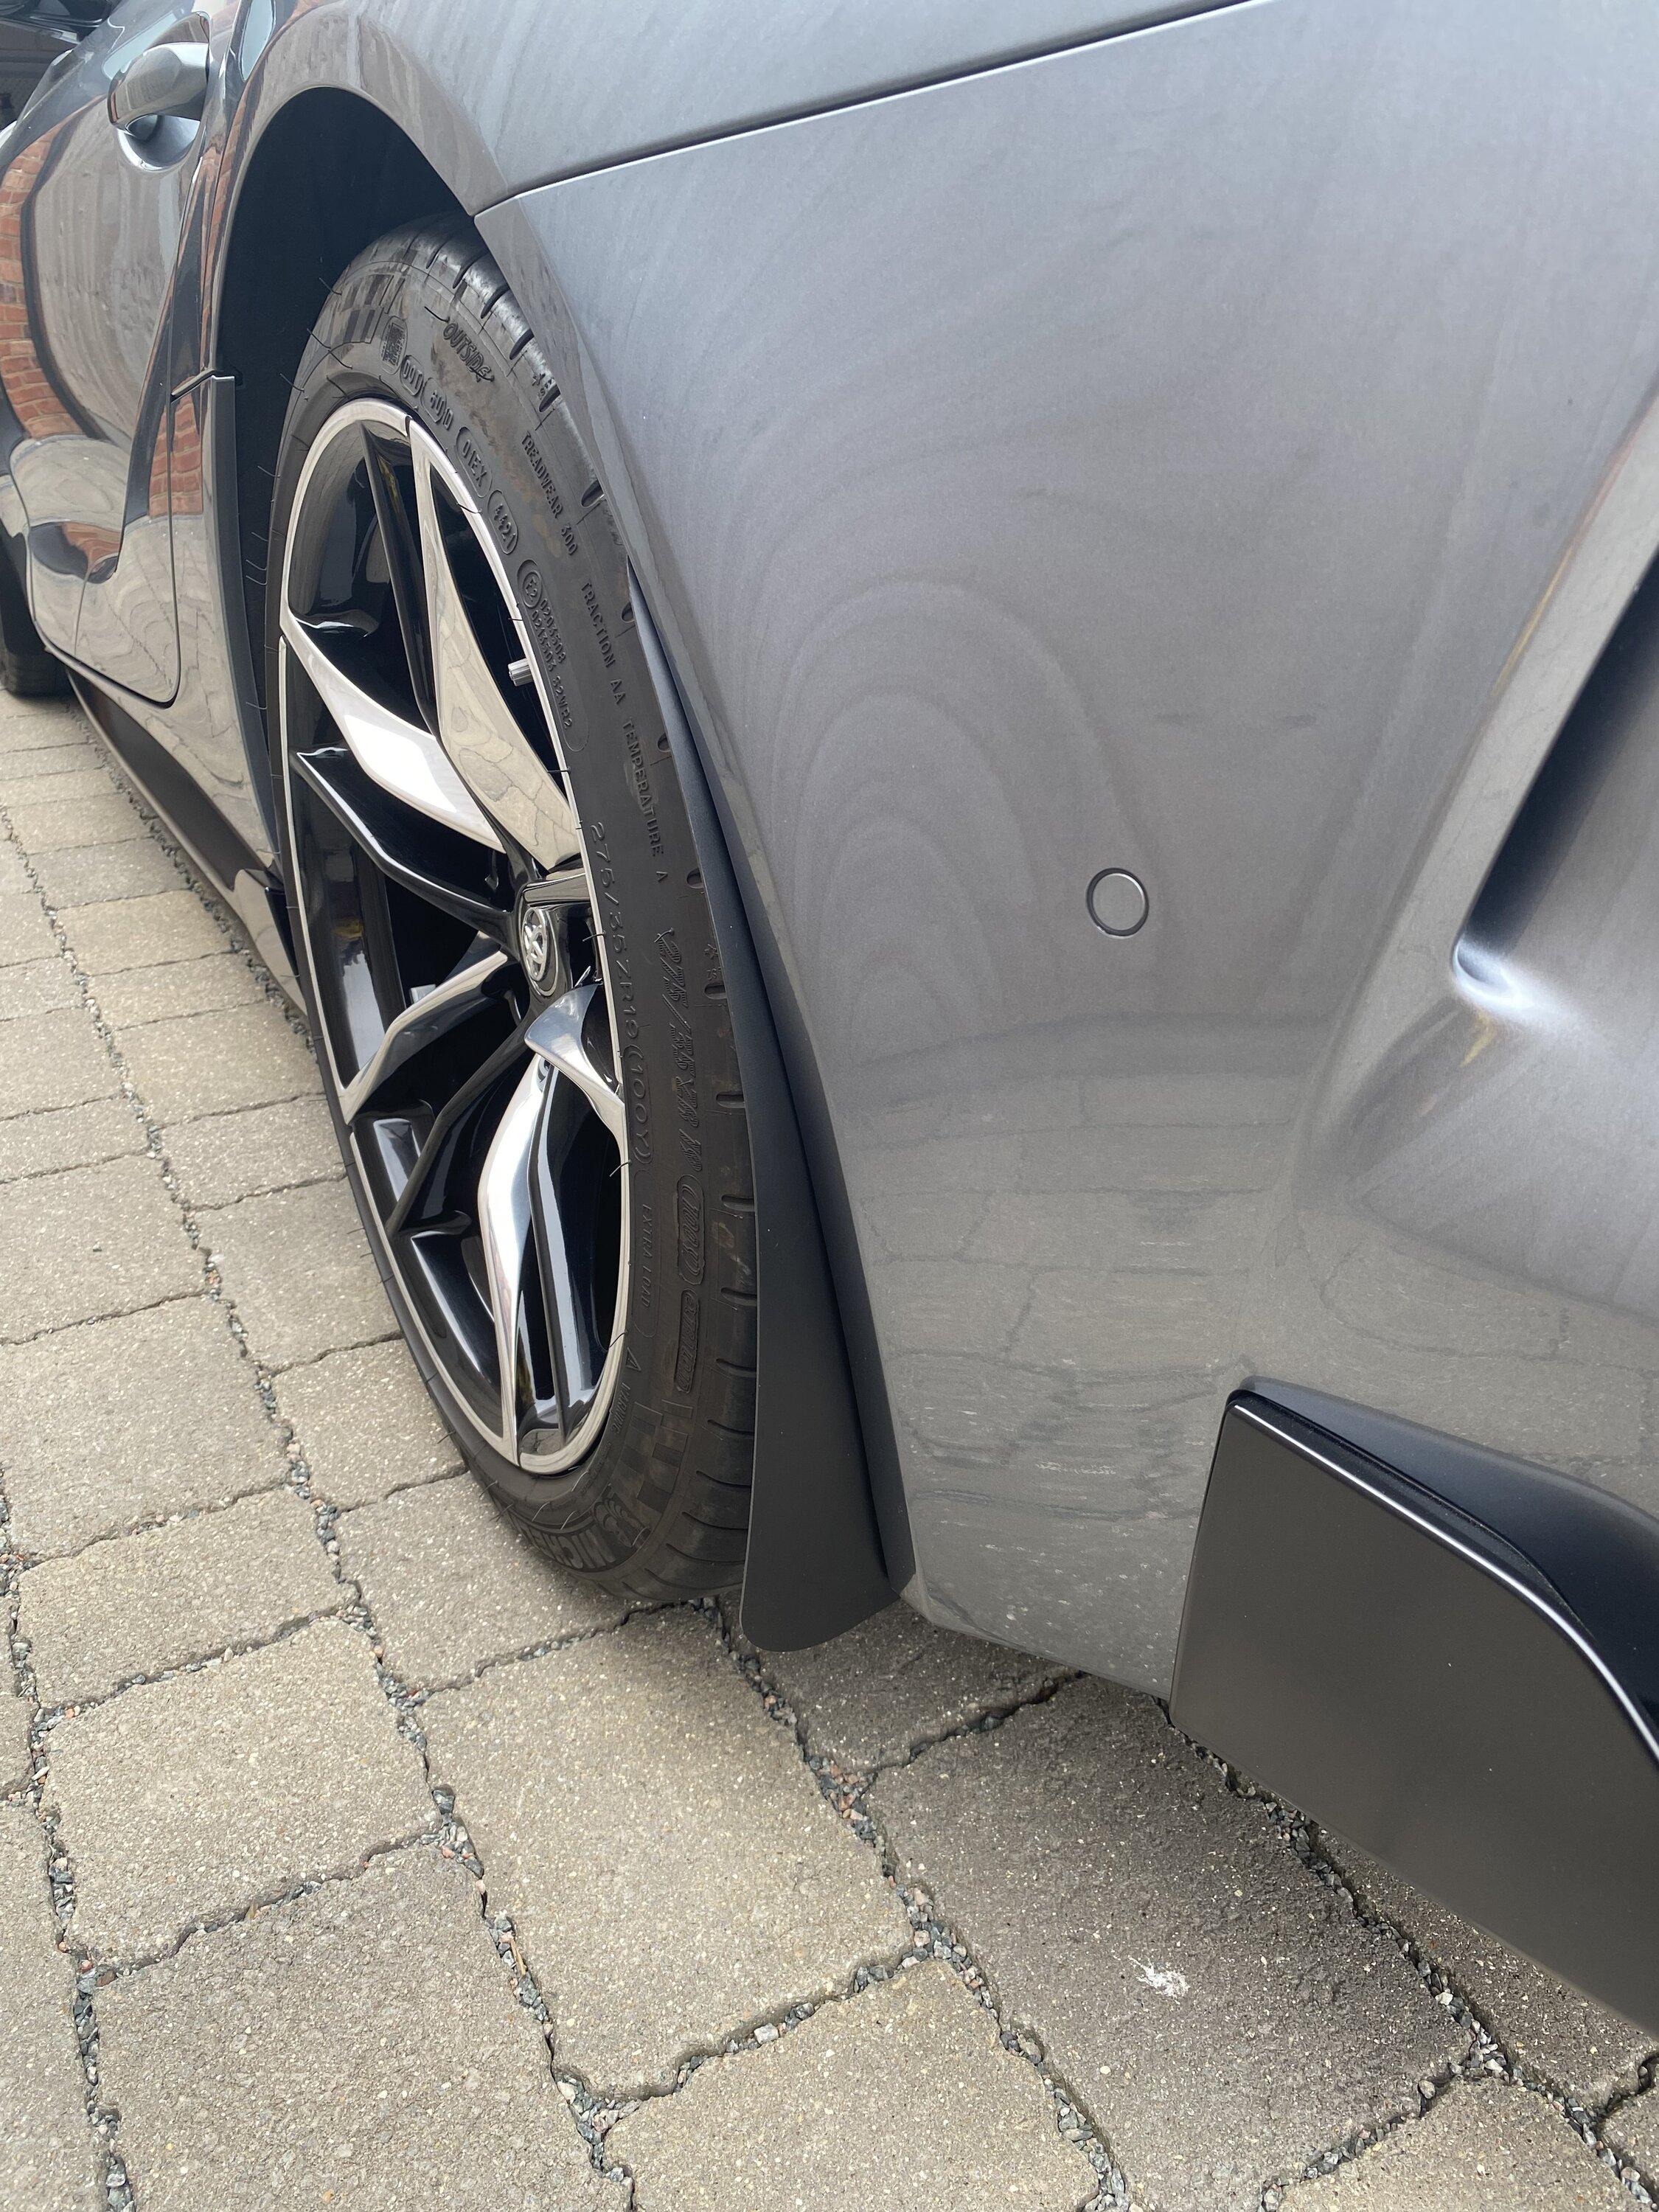
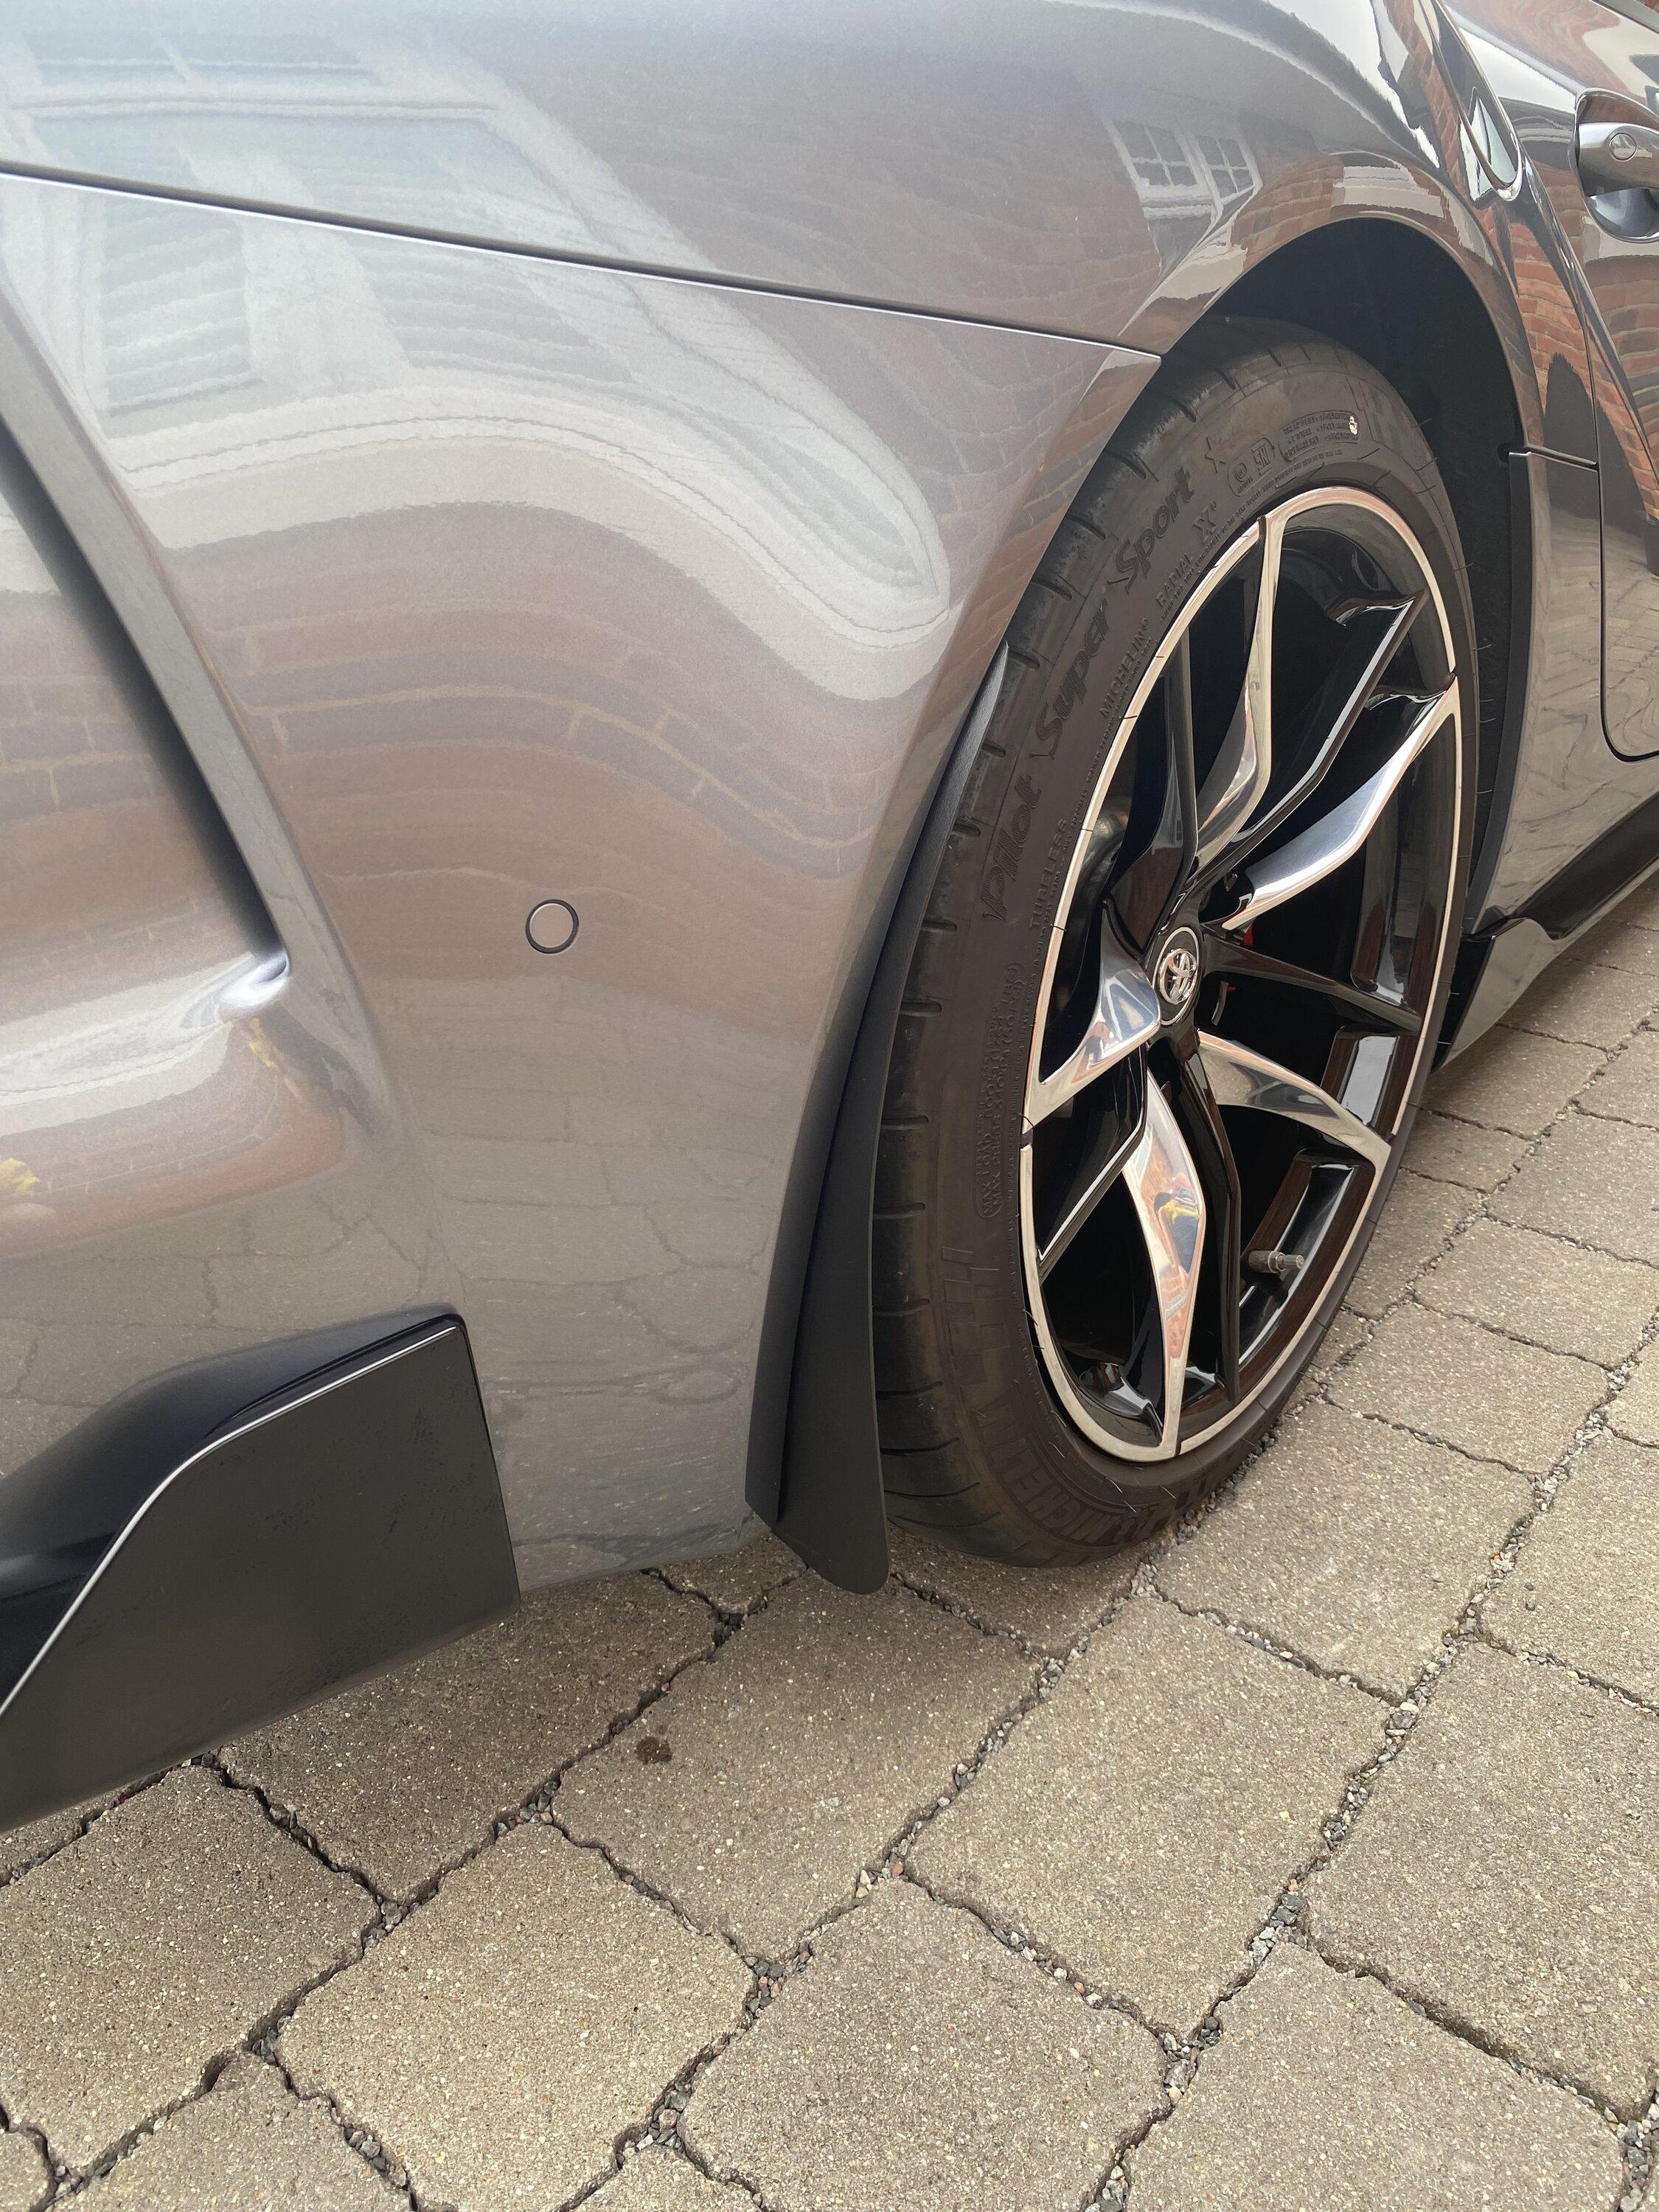
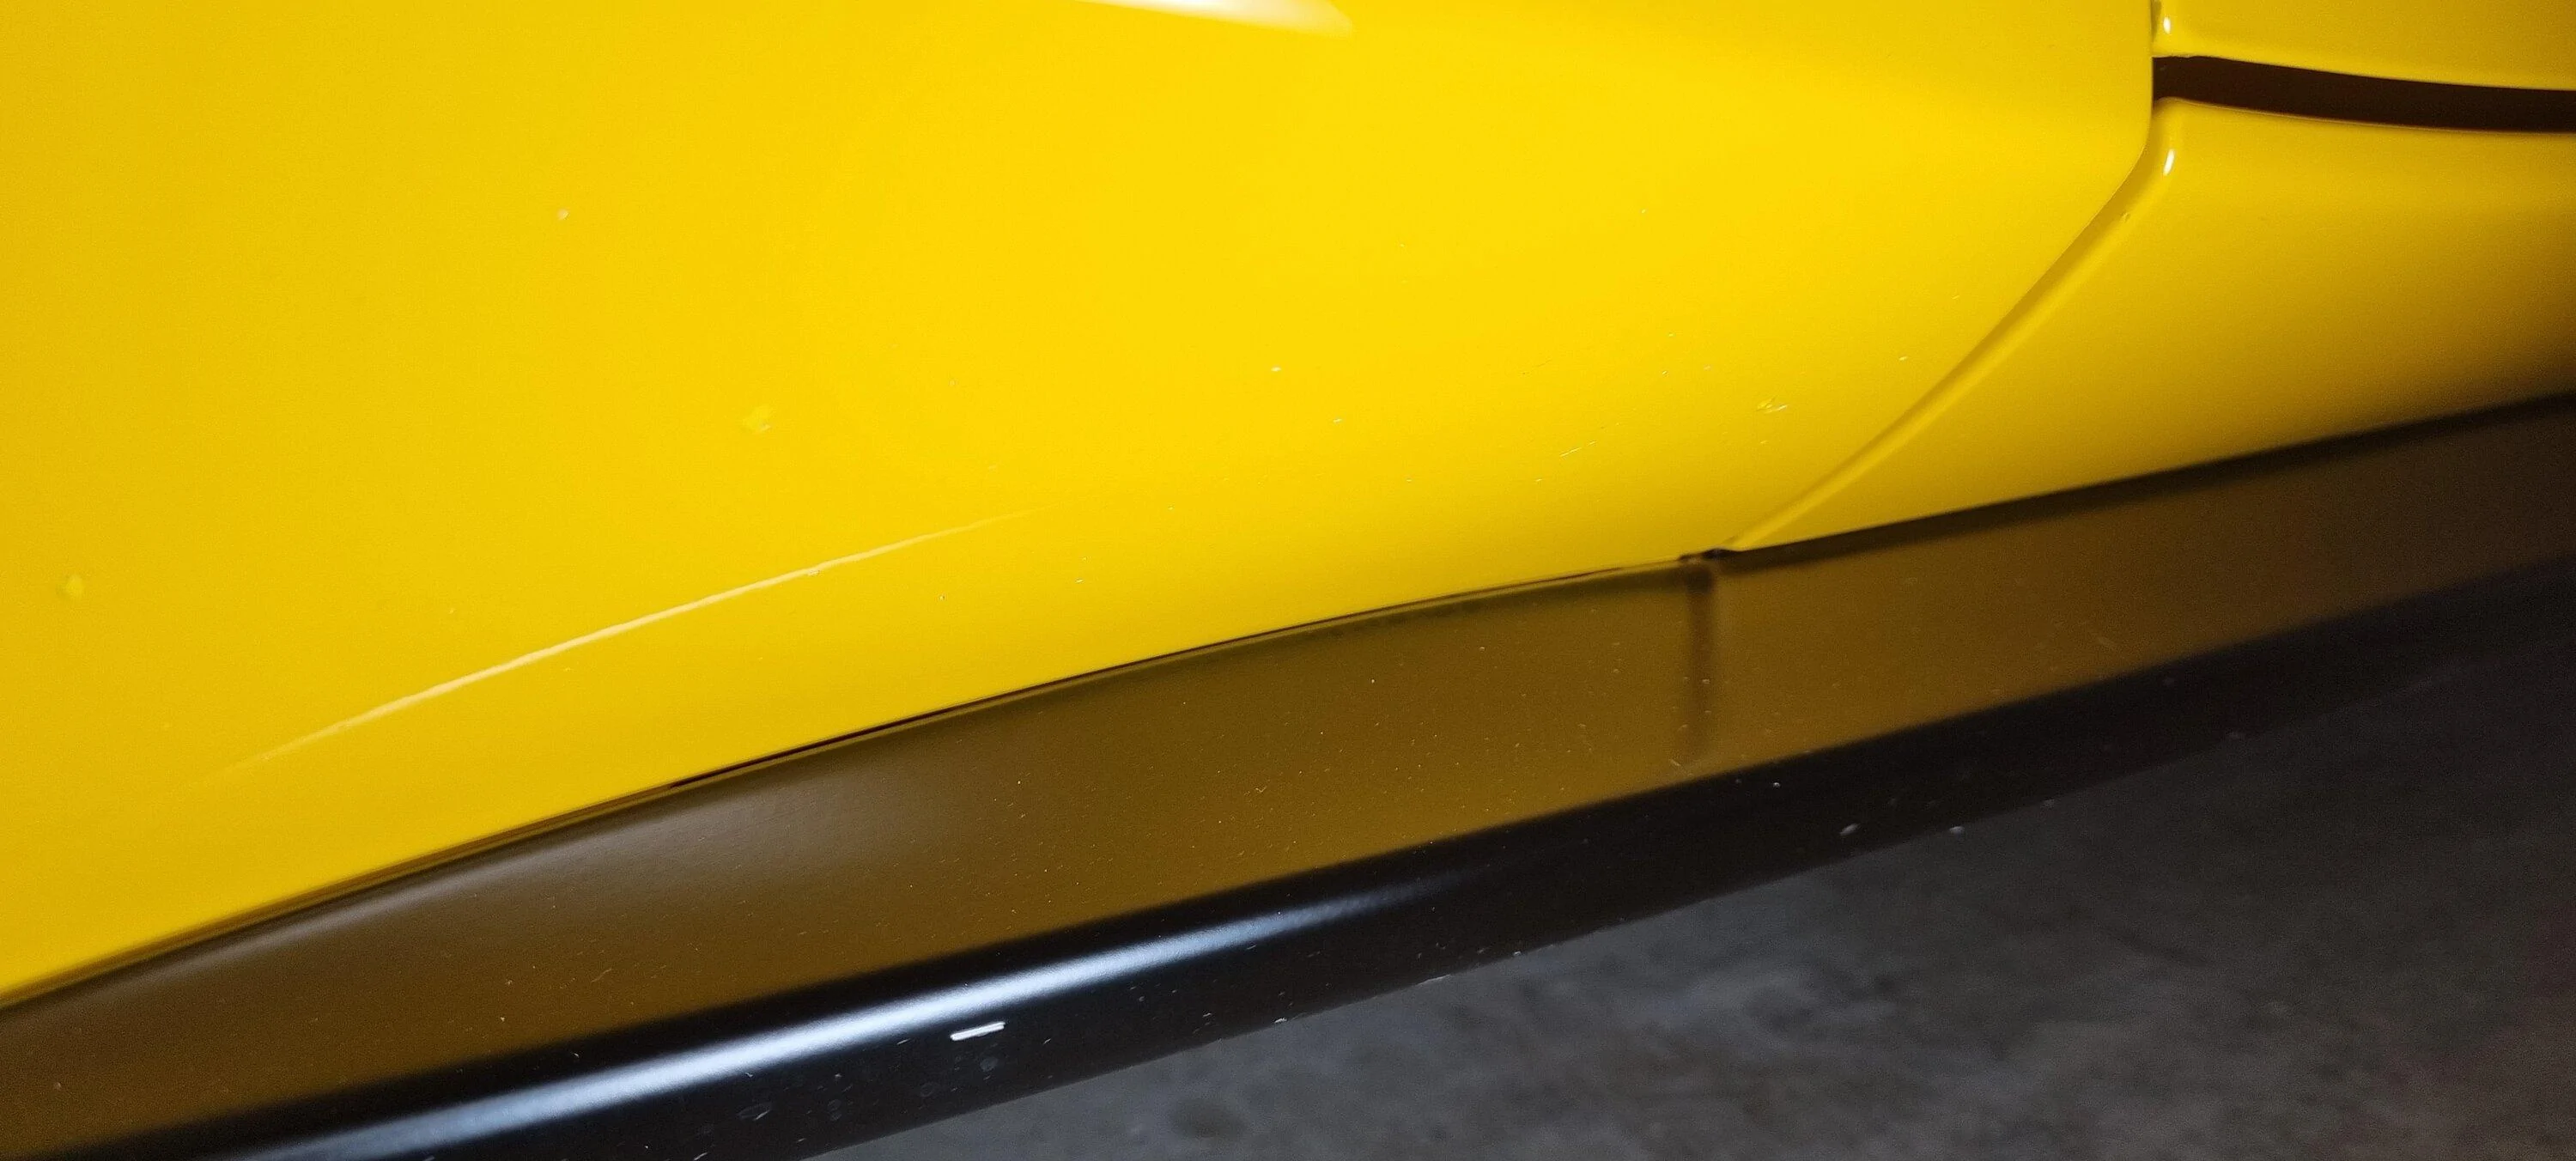
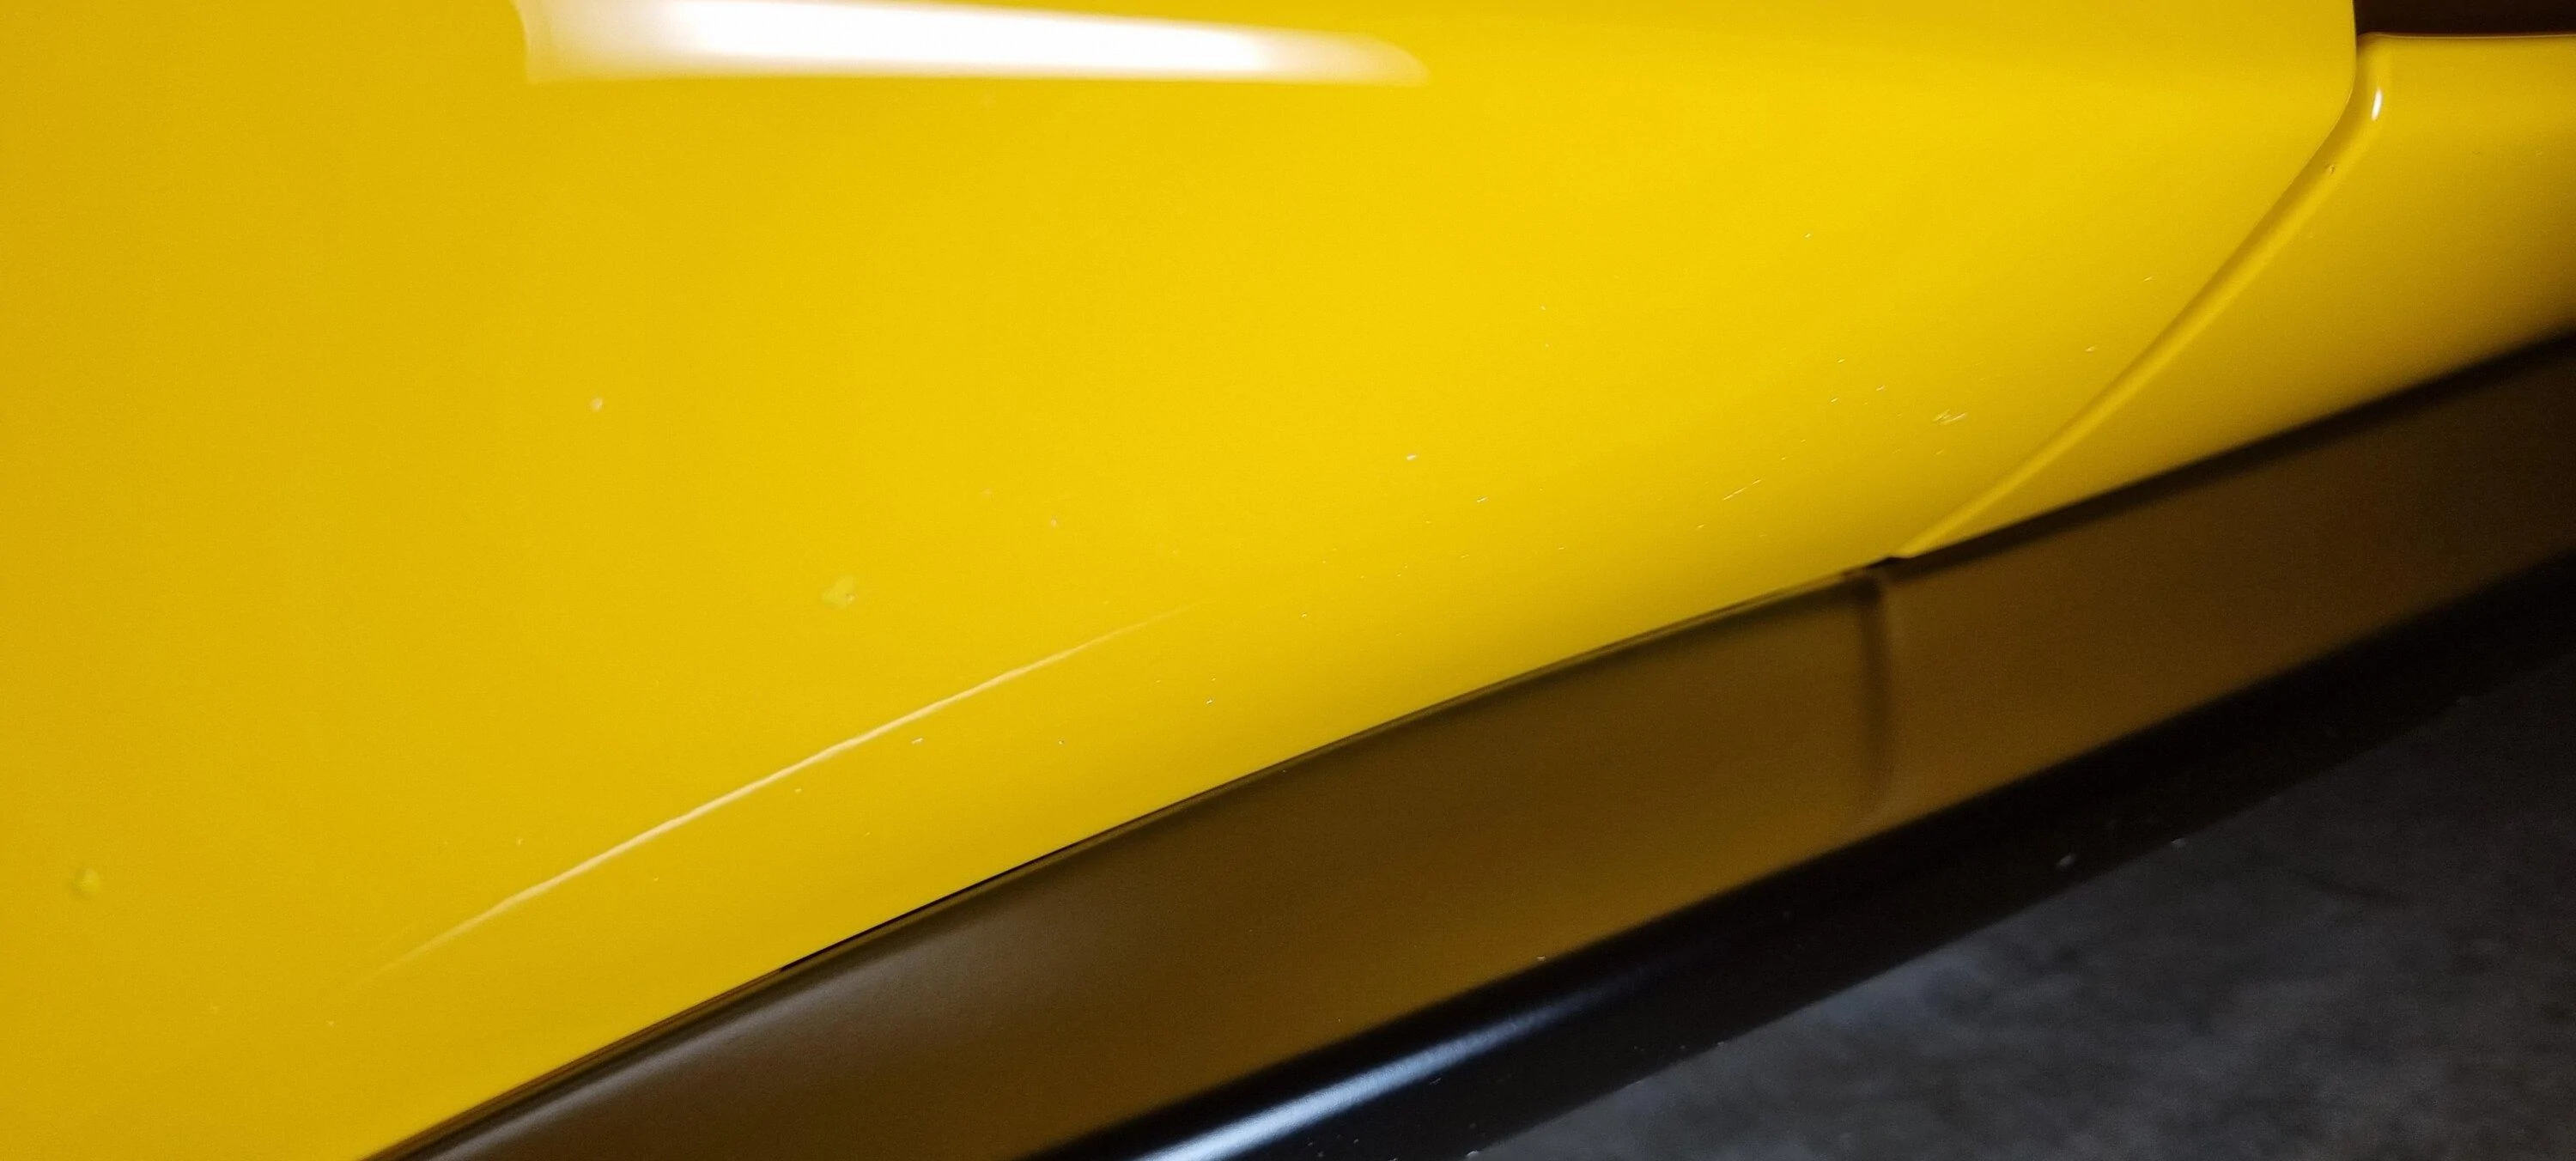
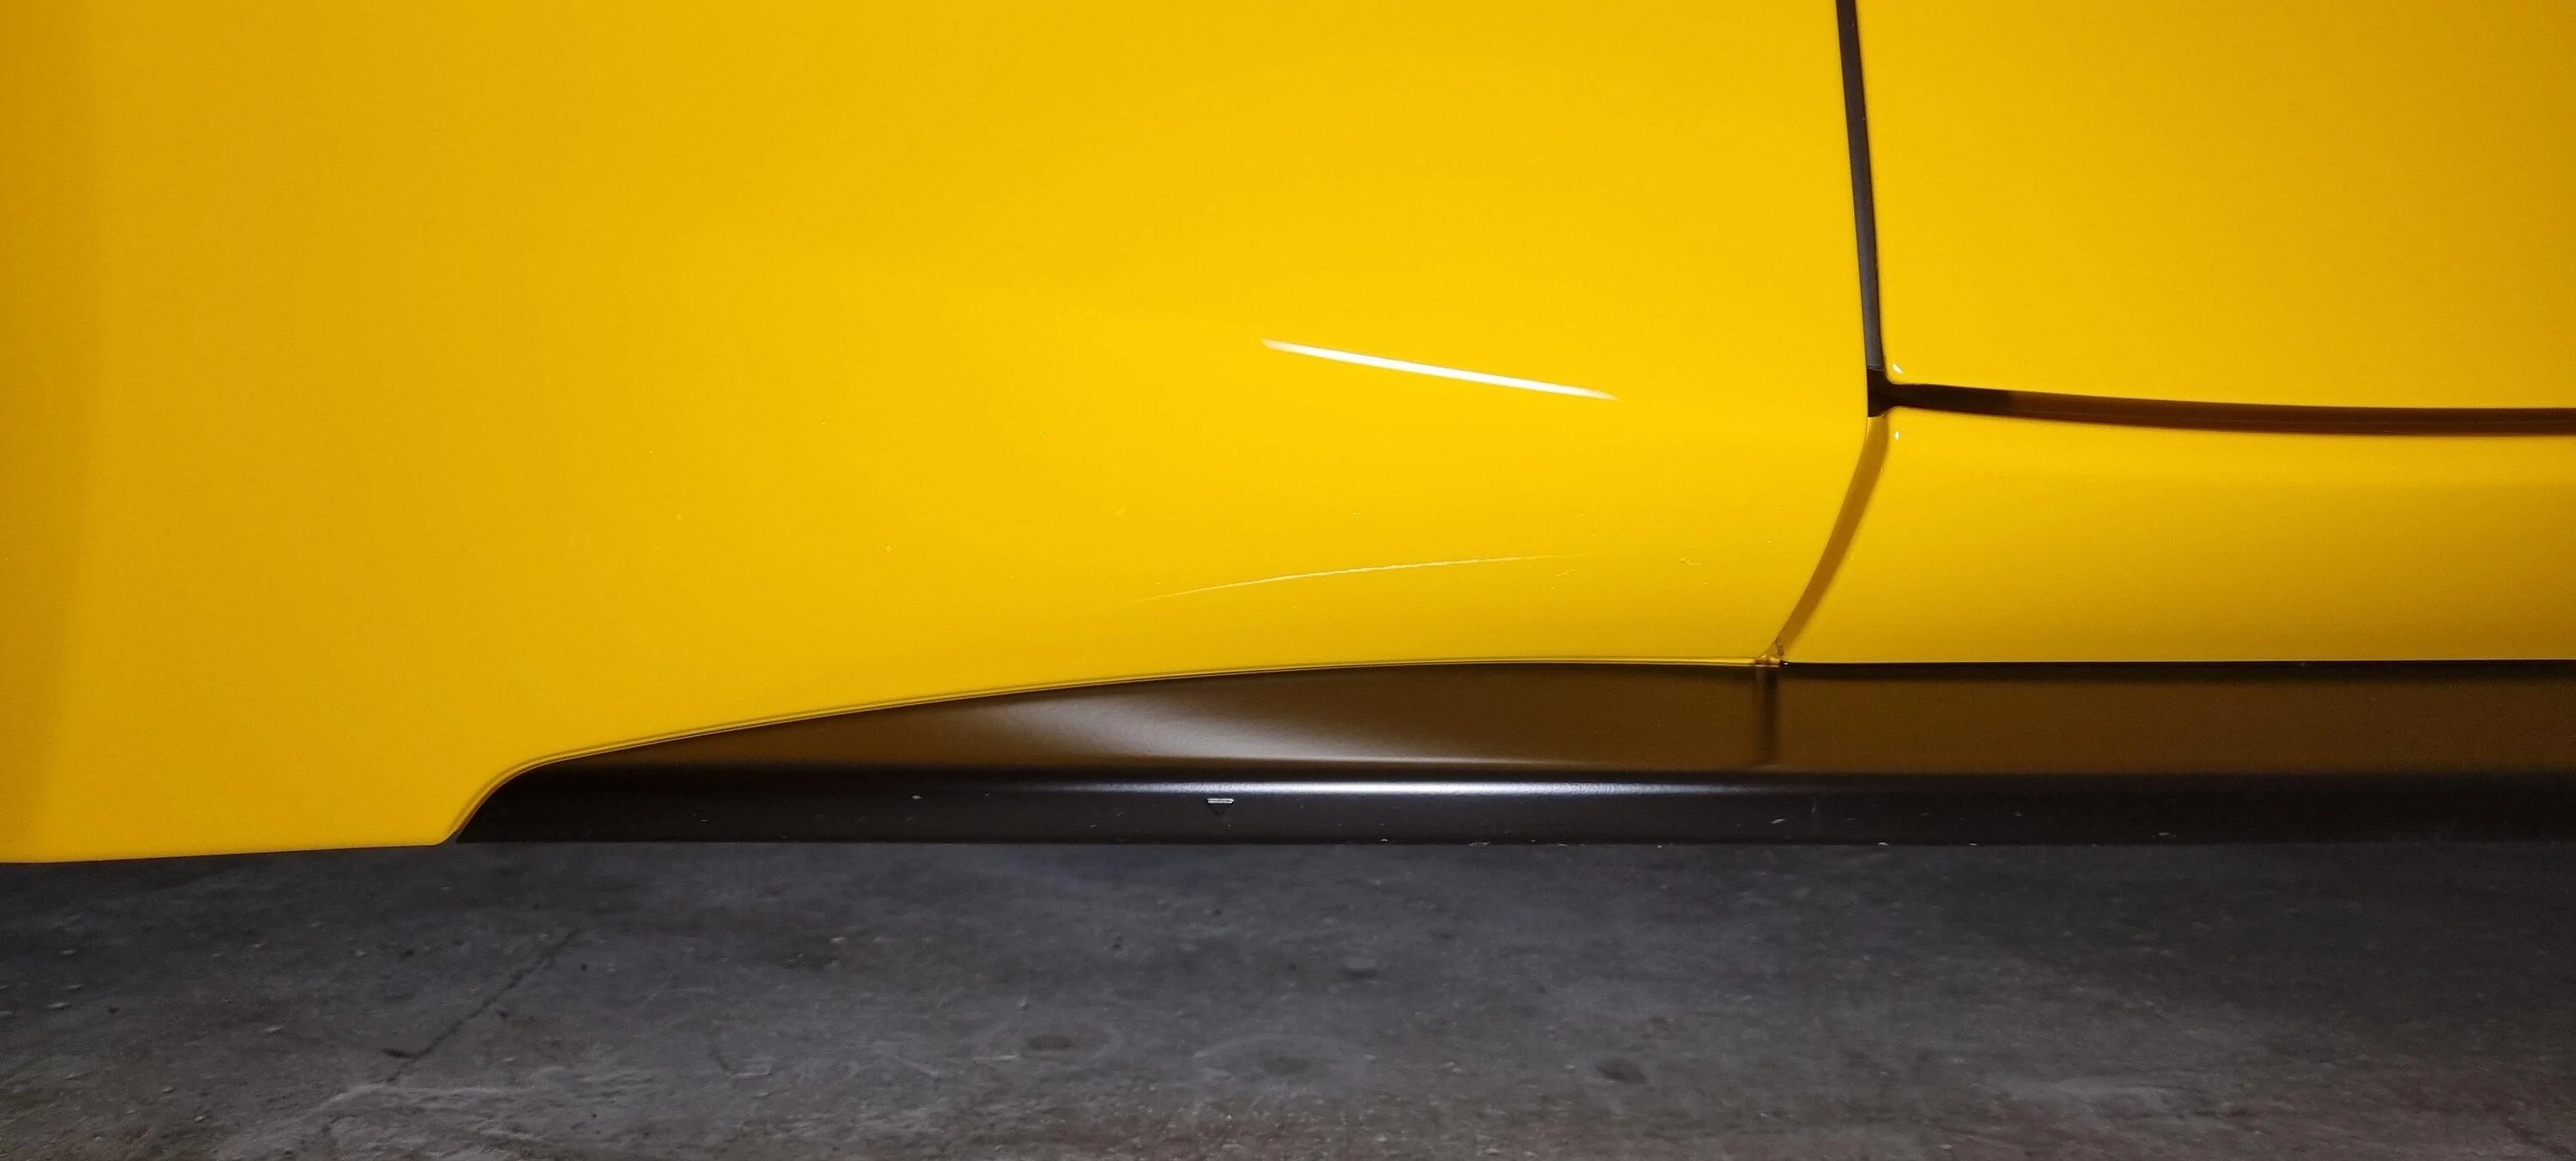
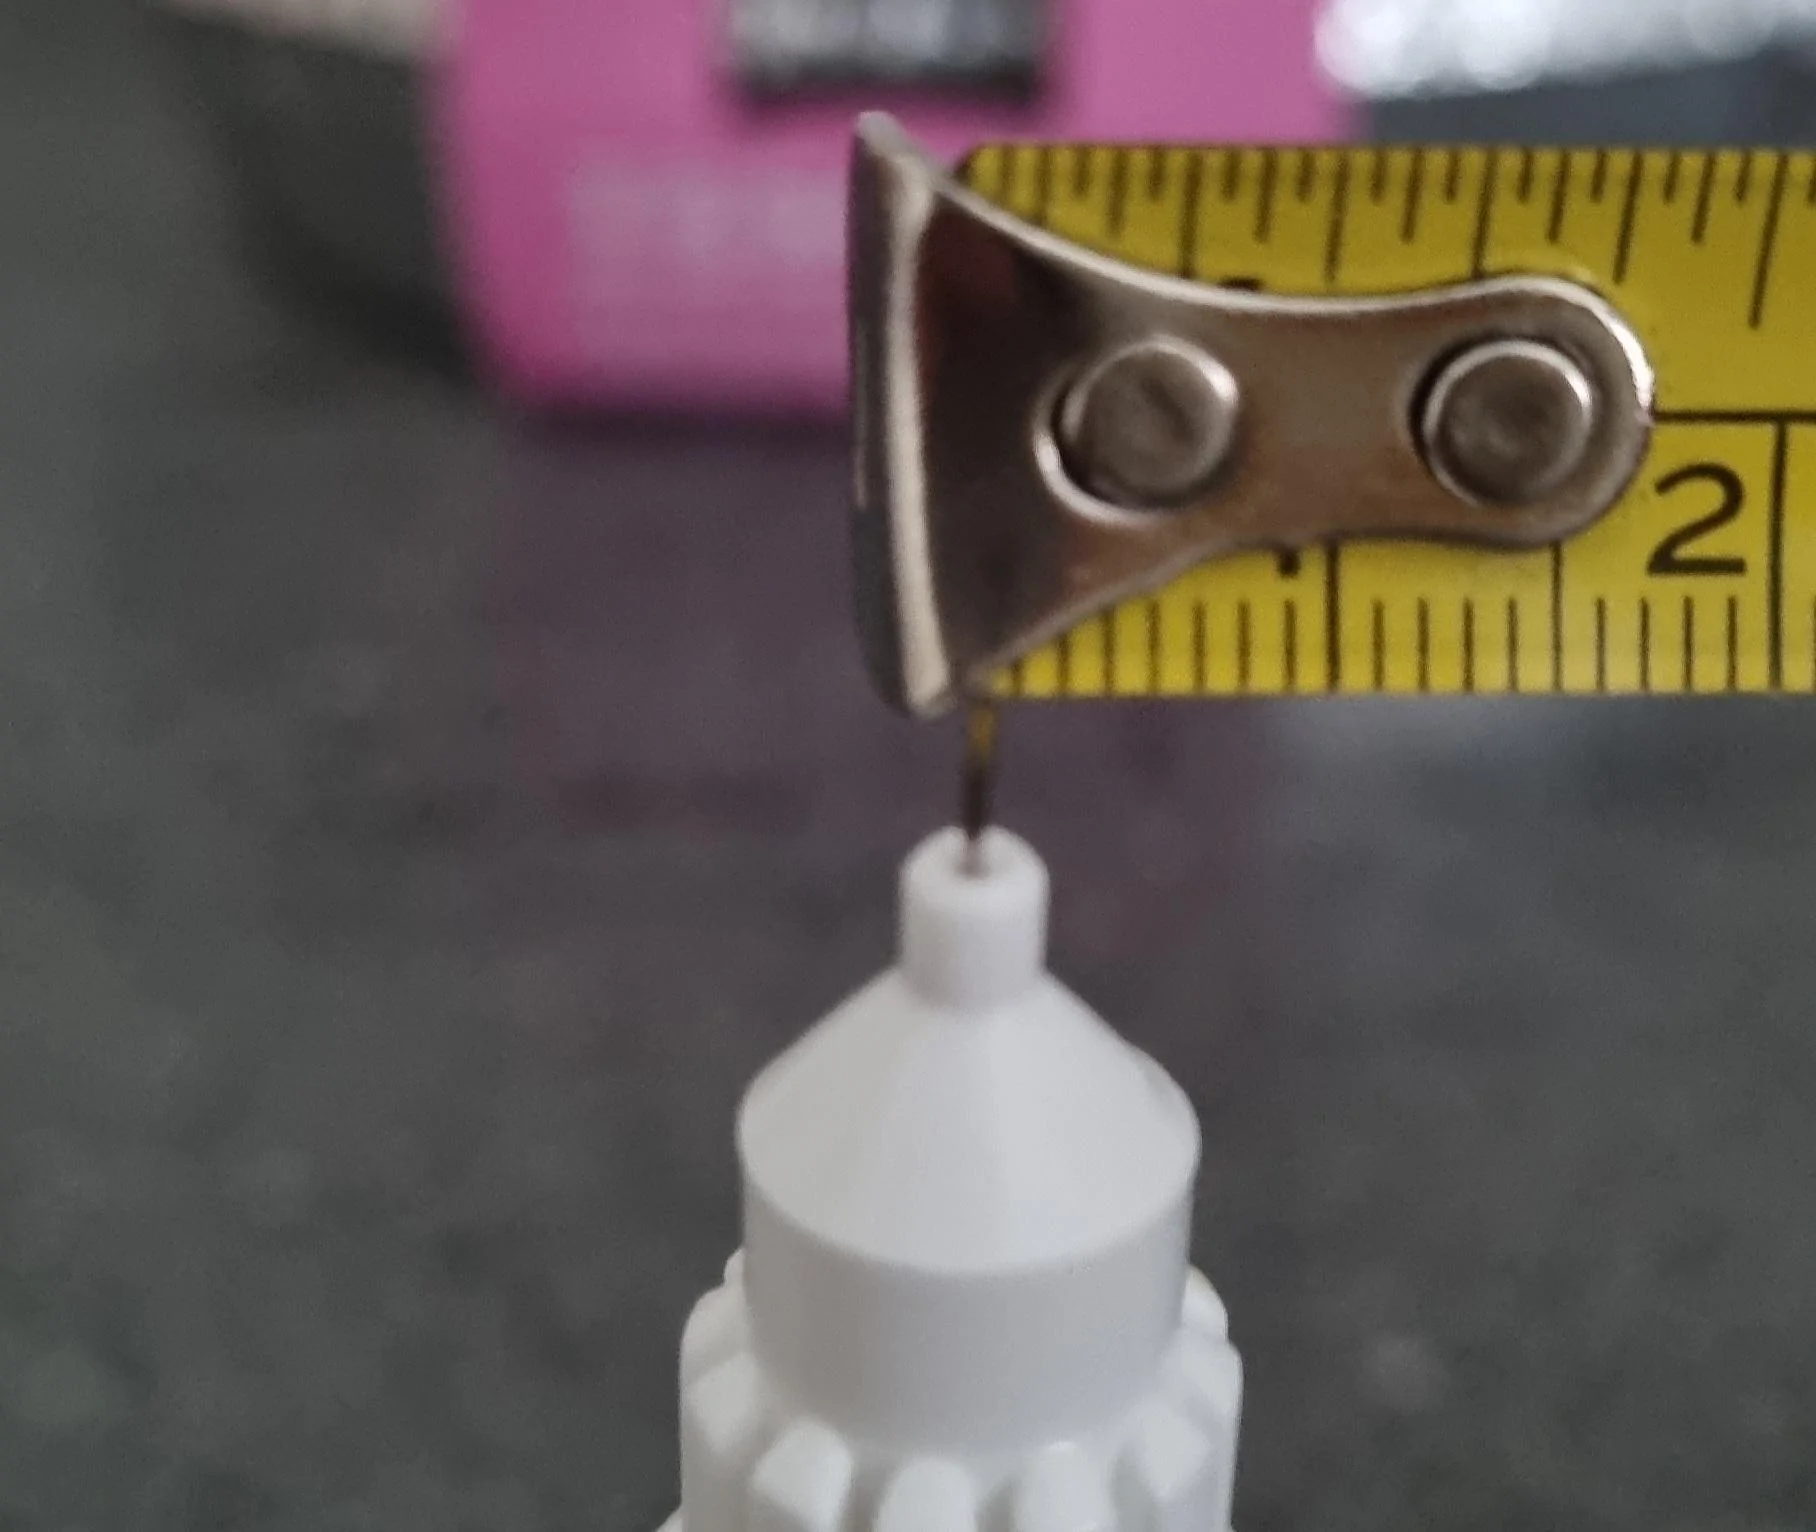
I don't know to be honest, mine is march 22 and the old style fit mine... I think there was something about the manuals being different but don't quote me on that, I think the lower bolt on the rear is slightly different
Sponsored


PaulBoxer

Well-Known Member
First Name
Paul
Joined
Mar 9, 2023
Threads
8
Messages
45
Reaction score
24
Location
Benfleet Essex U.K
Car(s)
Supra 3.0T GR Pro
Mine, just the fronts are coming from ZL1 Addons to the Uk from California on Wednesday by FedEx… once they’ve arrived and I’ve had a chance to fit them I’ll post in this thread if there any good
£29 for Front set plus £24 postage, expensive postage but I couldn’t get them here and I want to protect my car (it’s a 2022)
 

PaulBoxer

Well-Known Member
First Name
Paul
Joined
Mar 9, 2023
Threads
8
Messages
45
Reaction score
24
Location
Benfleet Essex U.K
Car(s)
Supra 3.0T GR Pro
So my “Front & Rear” Rock Guards arrived in the United Kingdom from California with no hiccups or damaged packaging via FedEx - excellent start (in great time too).
So I fitted the Fronts in 20 minutes as they are really simple to do with a Pin Punch and small hammer, the Rears I decided come what may I wasn’t going to remove the Rear wheels and as luck would have it I didn’t have to, so … the Rears are more difficult to fit than the Fronts however with the tools in the picture attached you can do it with a little patience.
My advice would be fix the bottom fixing first and the top fixing last as this gives you more flexibility to guide the Spacers, I went carefully and they took about an hour for both sides … In conclusion it’s possible to fit these with the Wheels on and a little patience ?

IMG_8822.jpeg
 
OP
OP
Supra_UK_

Supra_UK_

Well-Known Member
Joined
Apr 6, 2022
Threads
39
Messages
672
Reaction score
819
Location
Skyrim
Car(s)
Ex-Owner '23 GR Supra 6MT
So my “Front & Rear” Rock Guards arrived in the United Kingdom from California with no hiccups or damaged packaging via FedEx - excellent start (in great time too).
So I fitted the Fronts in 20 minutes as they are really simple to do with a Pin Punch and small hammer, the Rears I decided come what may I wasn’t going to remove the Rear wheels and as luck would have it I didn’t have to, so … the Rears are more difficult to fit than the Fronts however with the tools in the picture attached you can do it with a little patience.
My advice would be fix the bottom fixing first and the top fixing last as this gives you more flexibility to guide the Spacers, I went carefully and they took about an hour for both sides … In conclusion it’s possible to fit these with the Wheels on and a little patience ?

IMG_8822.jpeg
Nice one well done mate - do share photos :)

In the mean time, today the final tool I needed for the touch up arrived from ebay, some dispensing needles (I am squeamish, hate needles, so it was super awkward to get this in the post lol).

I chose to try this tool instead of the basic touch up pen solely based on the advice of AMMO NYC, one of the best and most respected detailers in the world [see video below if interested very insightful] - apparently the benefit is to fill the gap rather than wipe it with a touch up pen.
The issue I have is the chips are "upside down" so I'm not sure if it'll work, I'll try practise with some paper before touching the Supra.

(OK - I KNOW the amount of puns at disposal from the wording of this post is virtually unlimited, try to contain yourselves please ?? lmao)


20230607_163233.webp
 
OP
OP
Supra_UK_

Supra_UK_

Well-Known Member
Joined
Apr 6, 2022
Threads
39
Messages
672
Reaction score
819
Location
Skyrim
Car(s)
Ex-Owner '23 GR Supra 6MT
@PaulBoxer are you going to use a clear coat on top of the color?
No, not this time.
I bought the primer + paint kit, but just noticed there was also a bundle with clear coat as a third stage, bugger.

I won't bother this time but I might buy the lacquer pen for the next round of touch ups maybe 6 months down the line.

To be honest I am not overly worried as the car is always fully protected by wax, it's kept indoors in a dry garage, not daily driven, and not drived in the rain unless absolutely unavoidable (i.e. servicing).
 

PaulBoxer

Well-Known Member
First Name
Paul
Joined
Mar 9, 2023
Threads
8
Messages
45
Reaction score
24
Location
Benfleet Essex U.K
Car(s)
Supra 3.0T GR Pro
I feel you May struggle to fill an upside down chip …. As Issac Newton said in the law of gravity ? …. Keep us informed
 
OP
OP
Supra_UK_

Supra_UK_

Well-Known Member
Joined
Apr 6, 2022
Threads
39
Messages
672
Reaction score
819
Location
Skyrim
Car(s)
Ex-Owner '23 GR Supra 6MT
I feel you May struggle to fill an upside down chip …. As Issac Newton said in the law of gravity ? …. Keep us informed
Indeed - the dispensing needle tip is ever so small, it's hard to tell from the photo, hence the objective is to dispense such a small amount whereby the surface tension is ideally sufficient to defeat the gravity drip - that's the theory... but in practise I will probably start swearing, bin it, and brush it in instead lol but this is why I am documenting it because to my knowledge, other than the front splitter, this part of the lower front fender is THE worst area for chips on the Supra, so I want to see if this method works and share the experience.
Down the line I'll probably ppf anyway but ppf isn't perfect either, and I don't like the mudguards much.
 

PaulBoxer

Well-Known Member
First Name
Paul
Joined
Mar 9, 2023
Threads
8
Messages
45
Reaction score
24
Location
Benfleet Essex U.K
Car(s)
Supra 3.0T GR Pro
The Mud / Rock Guards don’t look to bad at all in my view and definitely better than getting your paintwork damaged …. It’s all subjective I guess ….. here’s some pictures

IMG_8832.jpeg


IMG_8831.jpeg


IMG_8830.jpeg


IMG_8829.jpeg


IMG_8828.jpeg
 

Sunstorm

Well-Known Member
Joined
Oct 18, 2018
Threads
4
Messages
134
Reaction score
113
Location
UK
Car(s)
GR Yaris, A90 Edition Supra
So my “Front & Rear” Rock Guards arrived in the United Kingdom from California with no hiccups or damaged packaging via FedEx - excellent start (in great time too).
So I fitted the Fronts in 20 minutes as they are really simple to do with a Pin Punch and small hammer, the Rears I decided come what may I wasn’t going to remove the Rear wheels and as luck would have it I didn’t have to, so … the Rears are more difficult to fit than the Fronts however with the tools in the picture attached you can do it with a little patience.
My advice would be fix the bottom fixing first and the top fixing last as this gives you more flexibility to guide the Spacers, I went carefully and they took about an hour for both sides … In conclusion it’s possible to fit these with the Wheels on and a little patience ?

IMG_8822.jpeg
Thanks for the info on the fitting. I was going to order and fit the fronts to mine.
I fitted some mud flaps to my Yaris and the fronts went easy enough, but I gave up on the rears as I can't easily remove the wheels myself.
 
OP
OP
Supra_UK_

Supra_UK_

Well-Known Member
Joined
Apr 6, 2022
Threads
39
Messages
672
Reaction score
819
Location
Skyrim
Car(s)
Ex-Owner '23 GR Supra 6MT
Results documentation:

What I used:
- PaintNuts touch up pen - color matched.
- PaintNuts Primer (as reccomended by the company as the chip is deep and right down to metal)
- 3 or 4 small microfibre towels
- Small foam pad to polish
- Bright working led lamp
- Gloves
- Meguiars polish
- Meguiars spray wax
- My incompetence
- A slightly jerky hand
- A foam kneepad for my old knees

See below the photos in chronological order, same lighting, done indoors, tried to be consistent:

20230701_153109.webp
20230701_170632.webp
20230701_182525.webp
20230701_182849.webp
20230701_183219.webp
20230701_183237.webp
20230701_184316.webp


There were several more miniscule chips, talking less than a millimetre in size so I skipped those as you can't "fill" the gap without touch up paint spilling over onto good paint which you do not want, I just focused on 2/3 main ones for the test (on each side of the car).

The pen - turns out the pen comes with a needle already so I wasted money buying these separately (as well as a brush which I do not reccomend, it's extremely messy) - the needle works well to fill the holes even if they're almost upside down due to the shape of the lower fender - it is roughly 0.5/1 mm (see photo).

It takes a lot of patience - what worked for me was to squeeze out some paint with the pen pointing downwards to prime the tip into a tissue, then clean the tip from residue, then proceed to fill the gap with a miniscule amount of paint/squeezing - after 2/3 pumps it will stop working again due to gravity and it'll just make air/bubbles, so you just repeat the process - use a rag/tissue to keep doing this process of re-priming the tip (if you're filling a gap top down then this won't be necessary!).

Time intervals:
I gave the primer 1 hour to dry, then the paint 1 hour to dry, then I lightly hand polished, then added some spray wax - overall roughly 3 hours start to finish. I only applied 1 coat.

I feel like the polish might have been too much even though I was gentle - the result is not perfect.

Overall, if you're 30 cm away you will obviously notice, but for 99.9% of time / situations, I think it's good enough to cover up the unsightly tiny metal holes in the yellow paint, and probably ÂŁ25-30 in total.

It was harder than I thought, and you need a very steady hand ideally.

If anyone has any questions on the products or the process let me know, this was my first ever attempt so I didn't expect it to be perfect but it should at least slow down/reduce the decay process slightly.

I may eventually get the area ppfd, still think I prefer PPF to rock guards, just my personal preference ?
Sponsored


Top