Blazinsupra
Member
- First Name
- Miguel
- Joined
- Nov 26, 2024
- Threads
- 4
- Messages
- 6
- Reaction score
- 12
- Location
- Pittsburgh
- Car(s)
- 2021 Toyota GR Supra
- Thread starter
- #1
Hi ??
Made this quick tutorial on how to eliminate creaks cause by the interior plastic on plastic in the car. This can be mostly heard on bumpy uneven roads and more on a hotter climate. This is focused on the rear panels located next to the seats and behind them as it’s not so common to have creaks around the dashboard.
What you need:
Plastic pry tool
Velcro strips(can be easily found for $1 at your dollar tree)
Scissors
Foam(optional)
30min-1hour
1. Remove your cargo cover
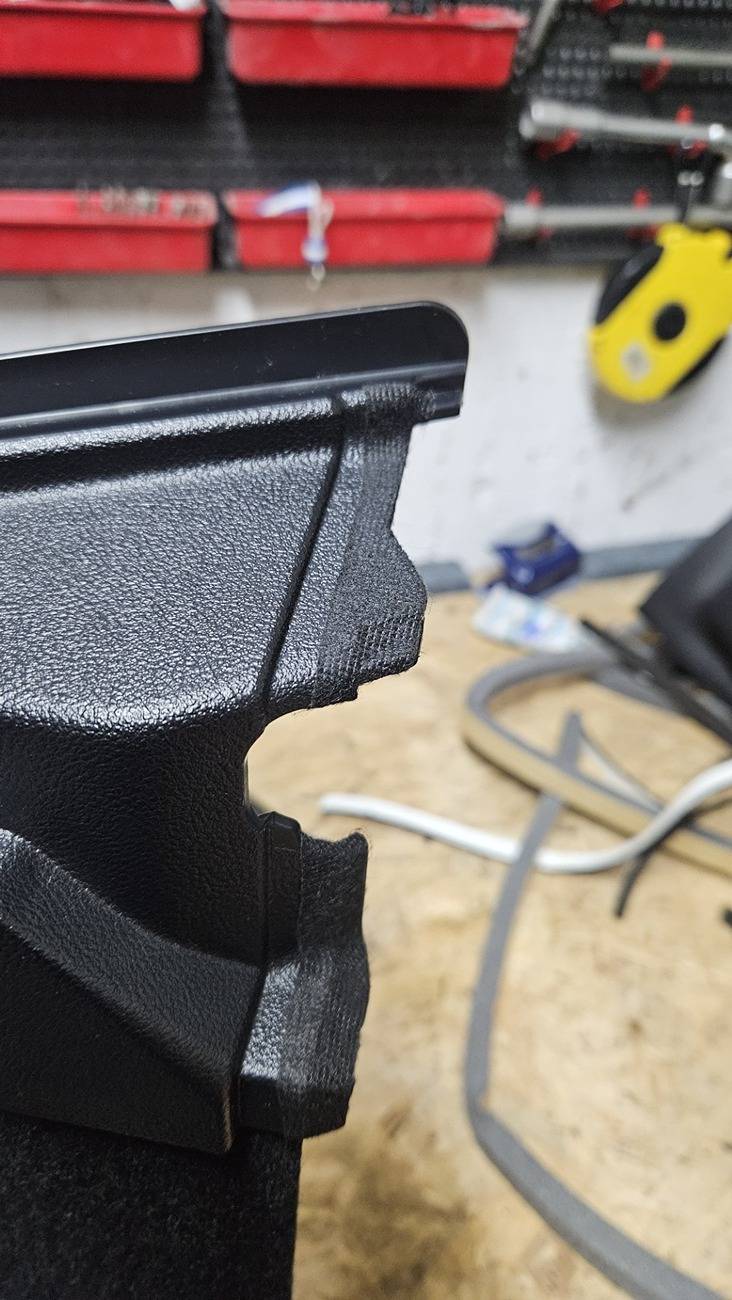
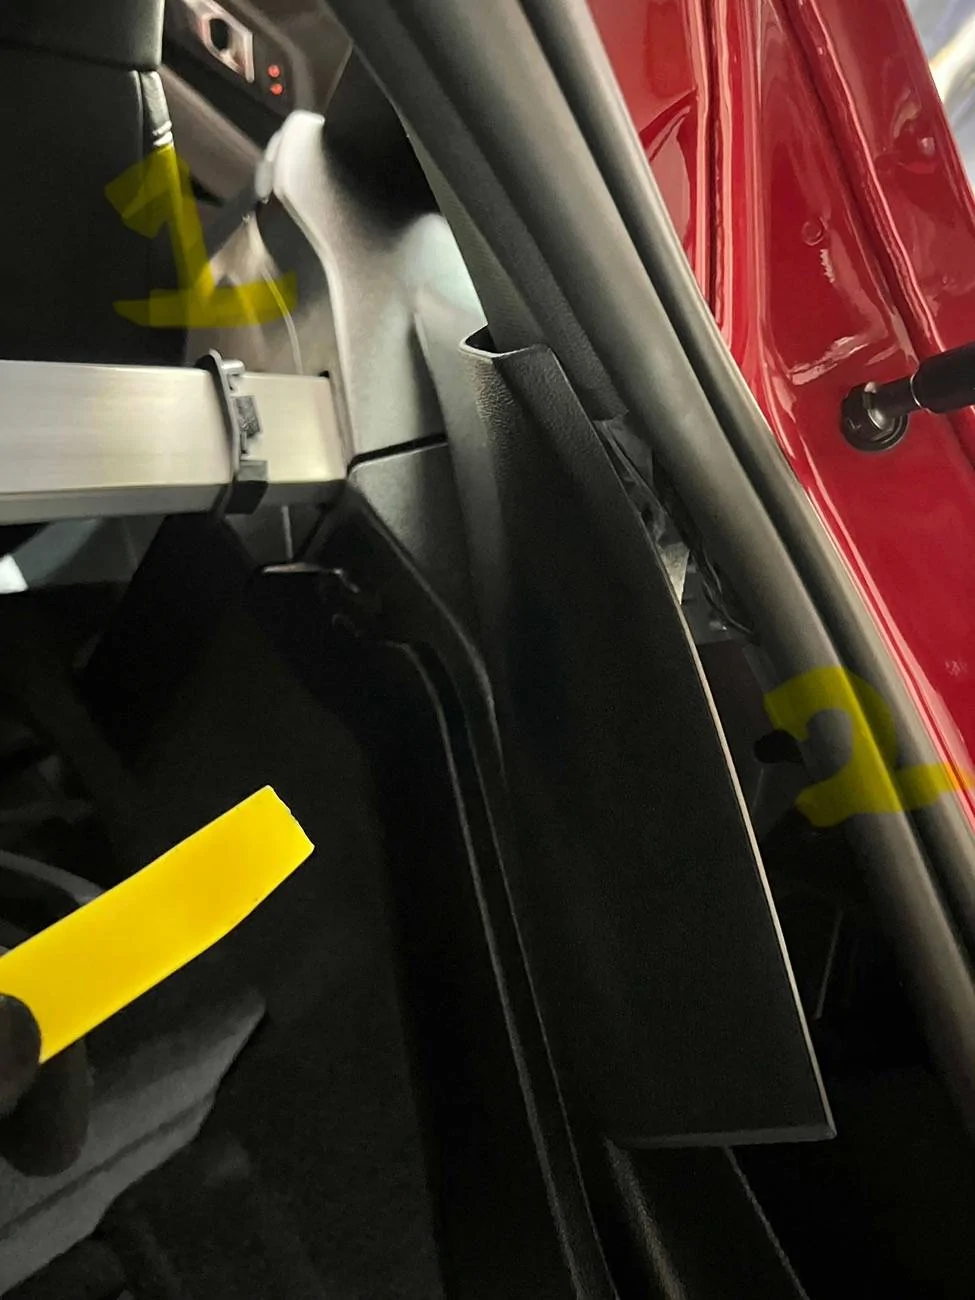
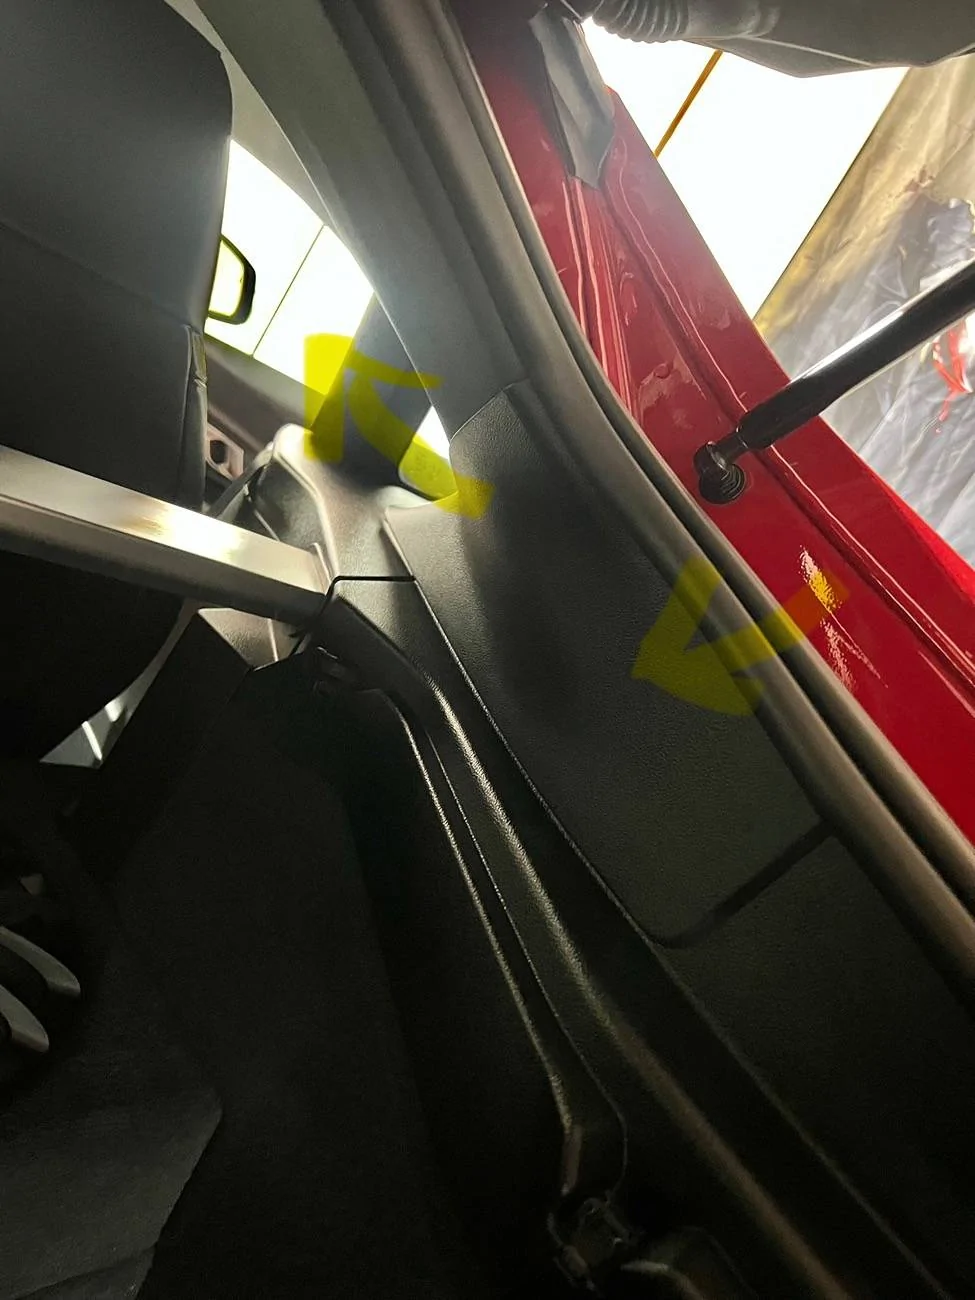
2. Locate the surrounding trim on silver bar and remove(1) my pulling it towards the side as the image shows.
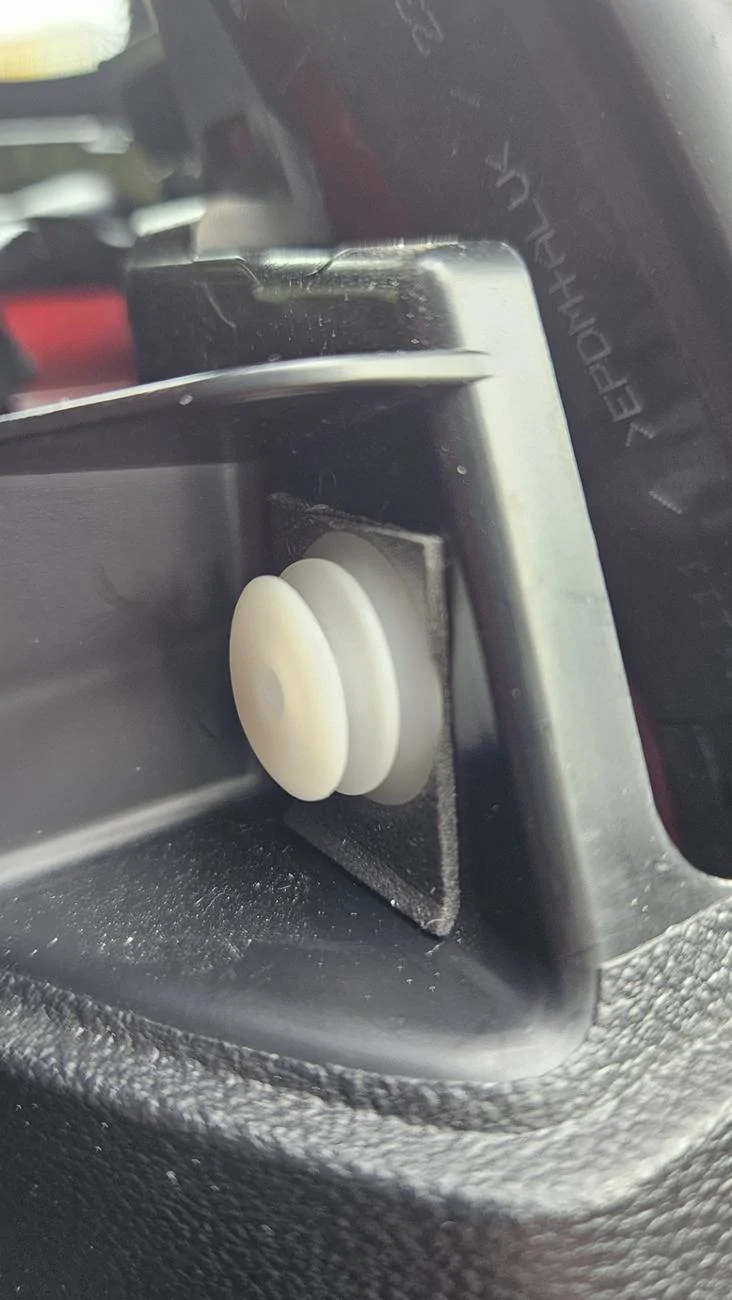
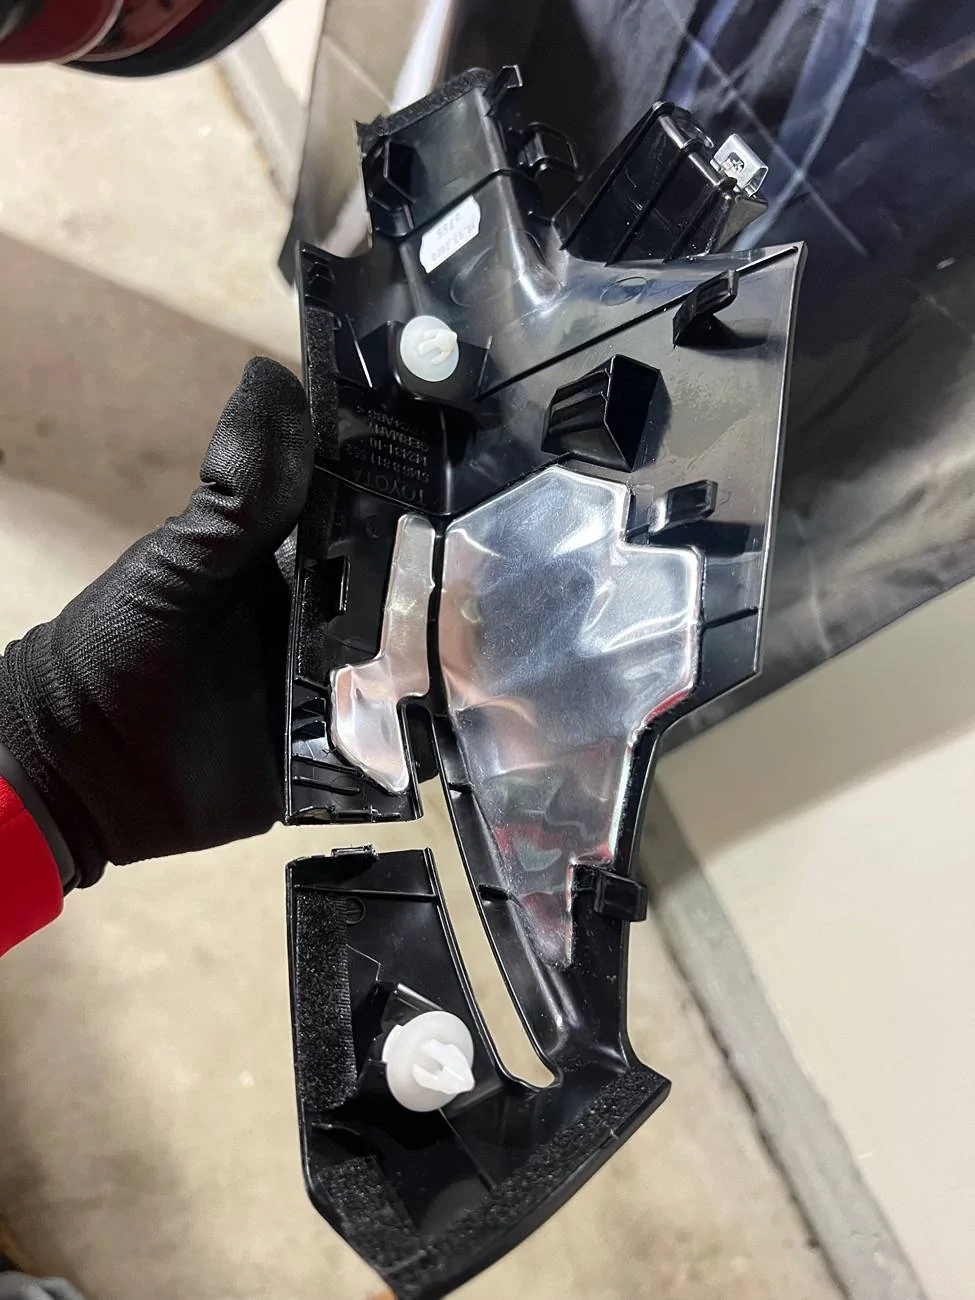
Pop plastic trim(2) by prying from the rear as shown as the image. You will then need to push the trim directing to the front of the car for removal(pulling it from the front seats was easier for me)

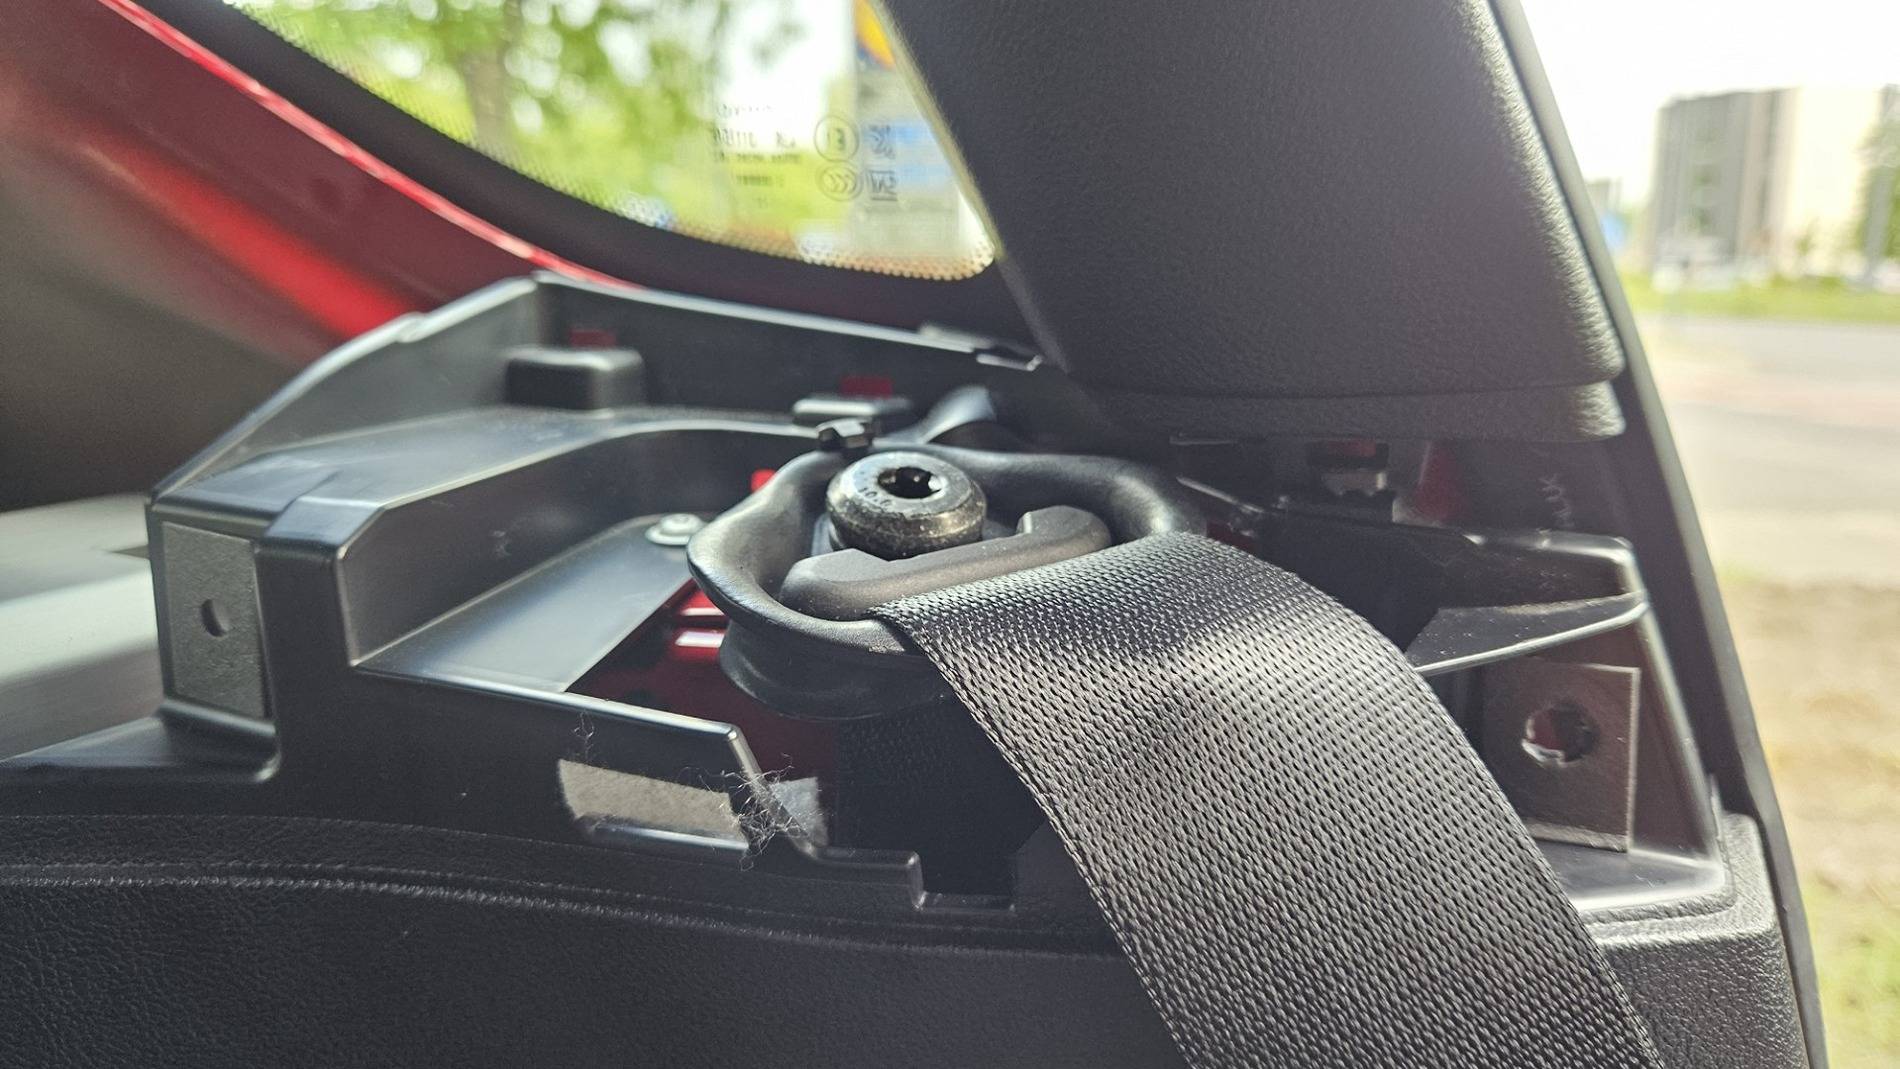
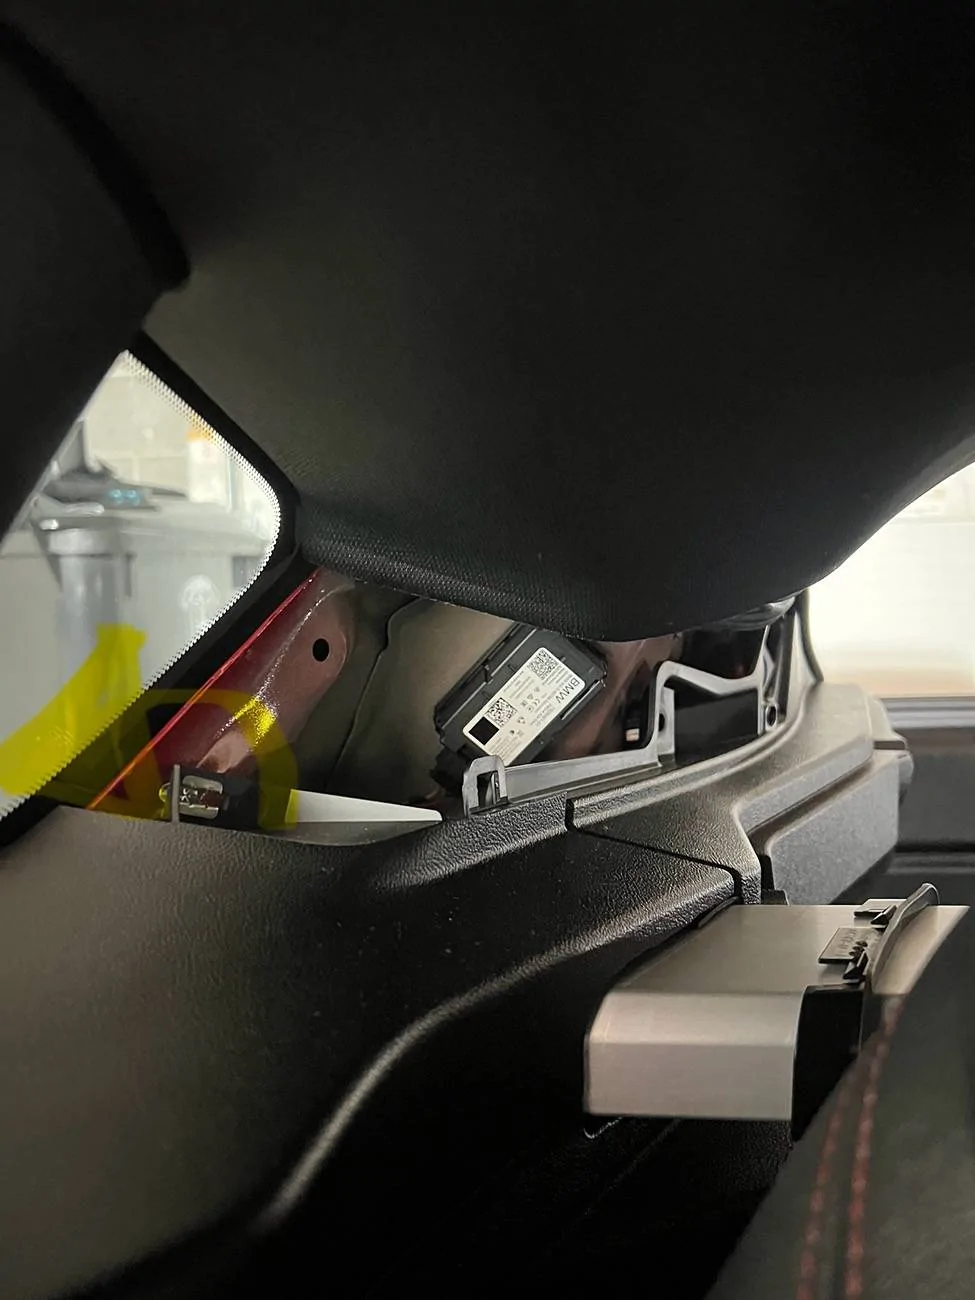
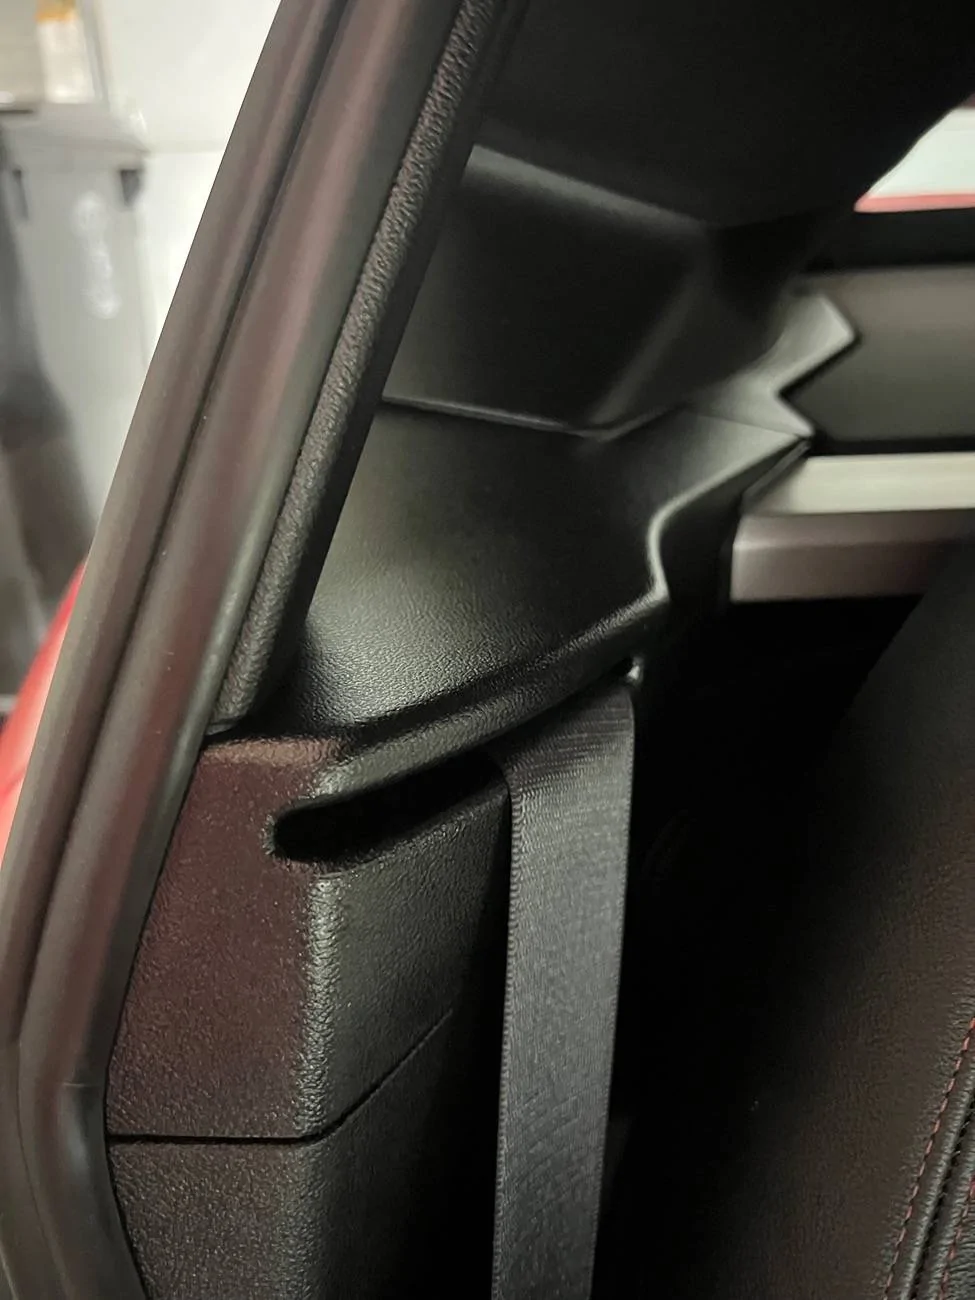
3. Remove plastic trim around the seat belt by pulling it towards you while you are siting in the front seat. Once the trim is remove you could also check if the rear bar needs tightening as you have a clear view access to the bolt(s) holding it in place.
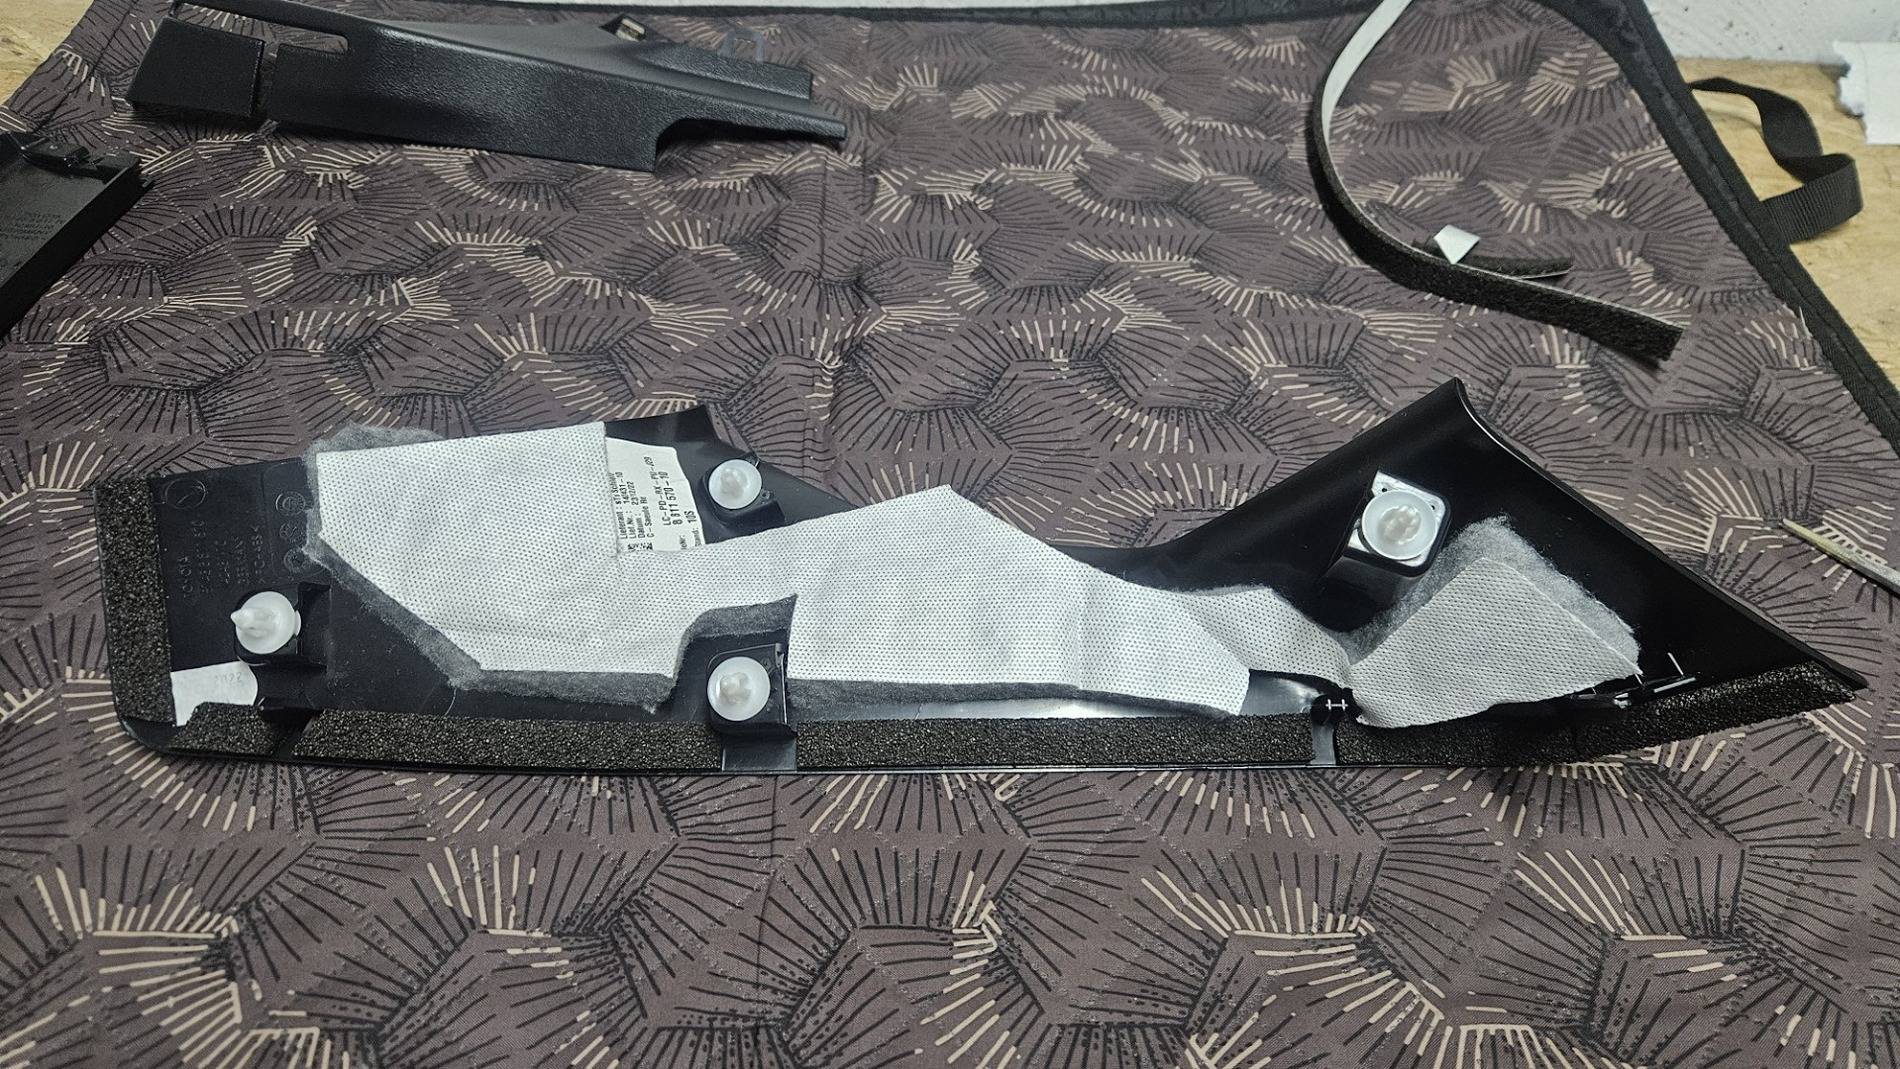
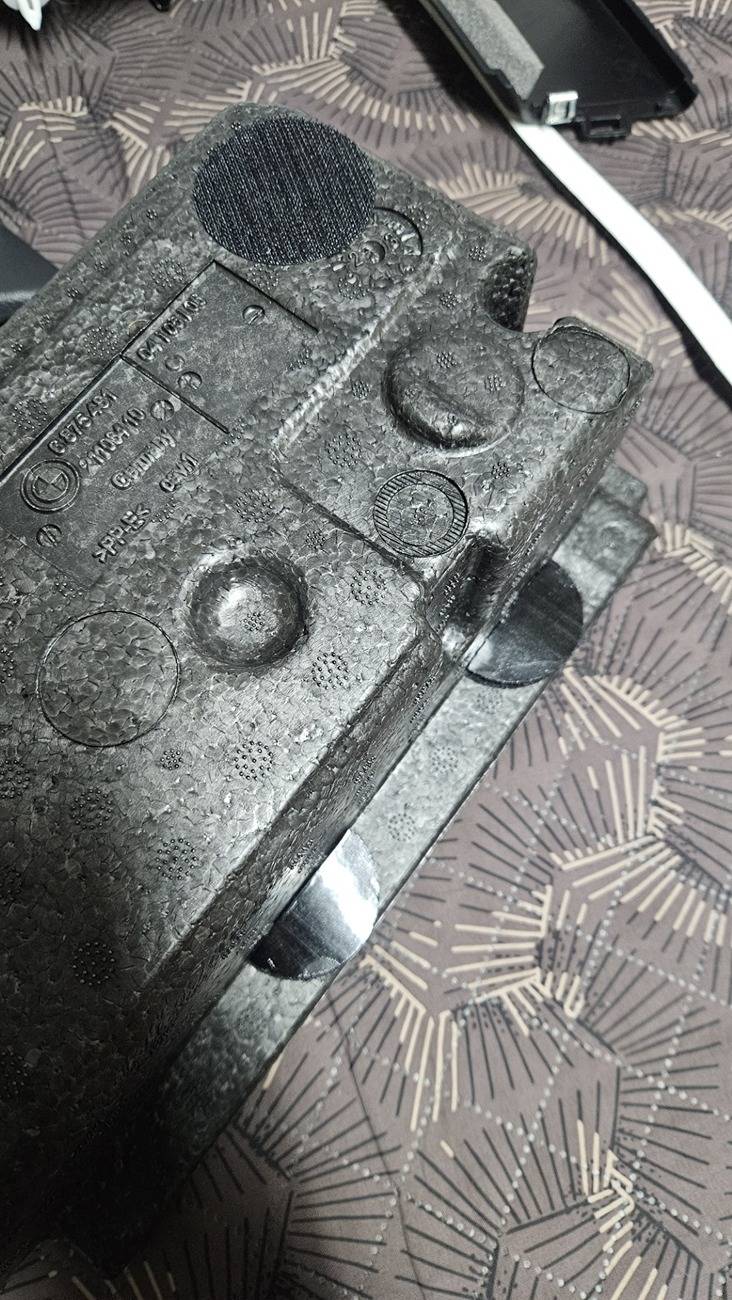
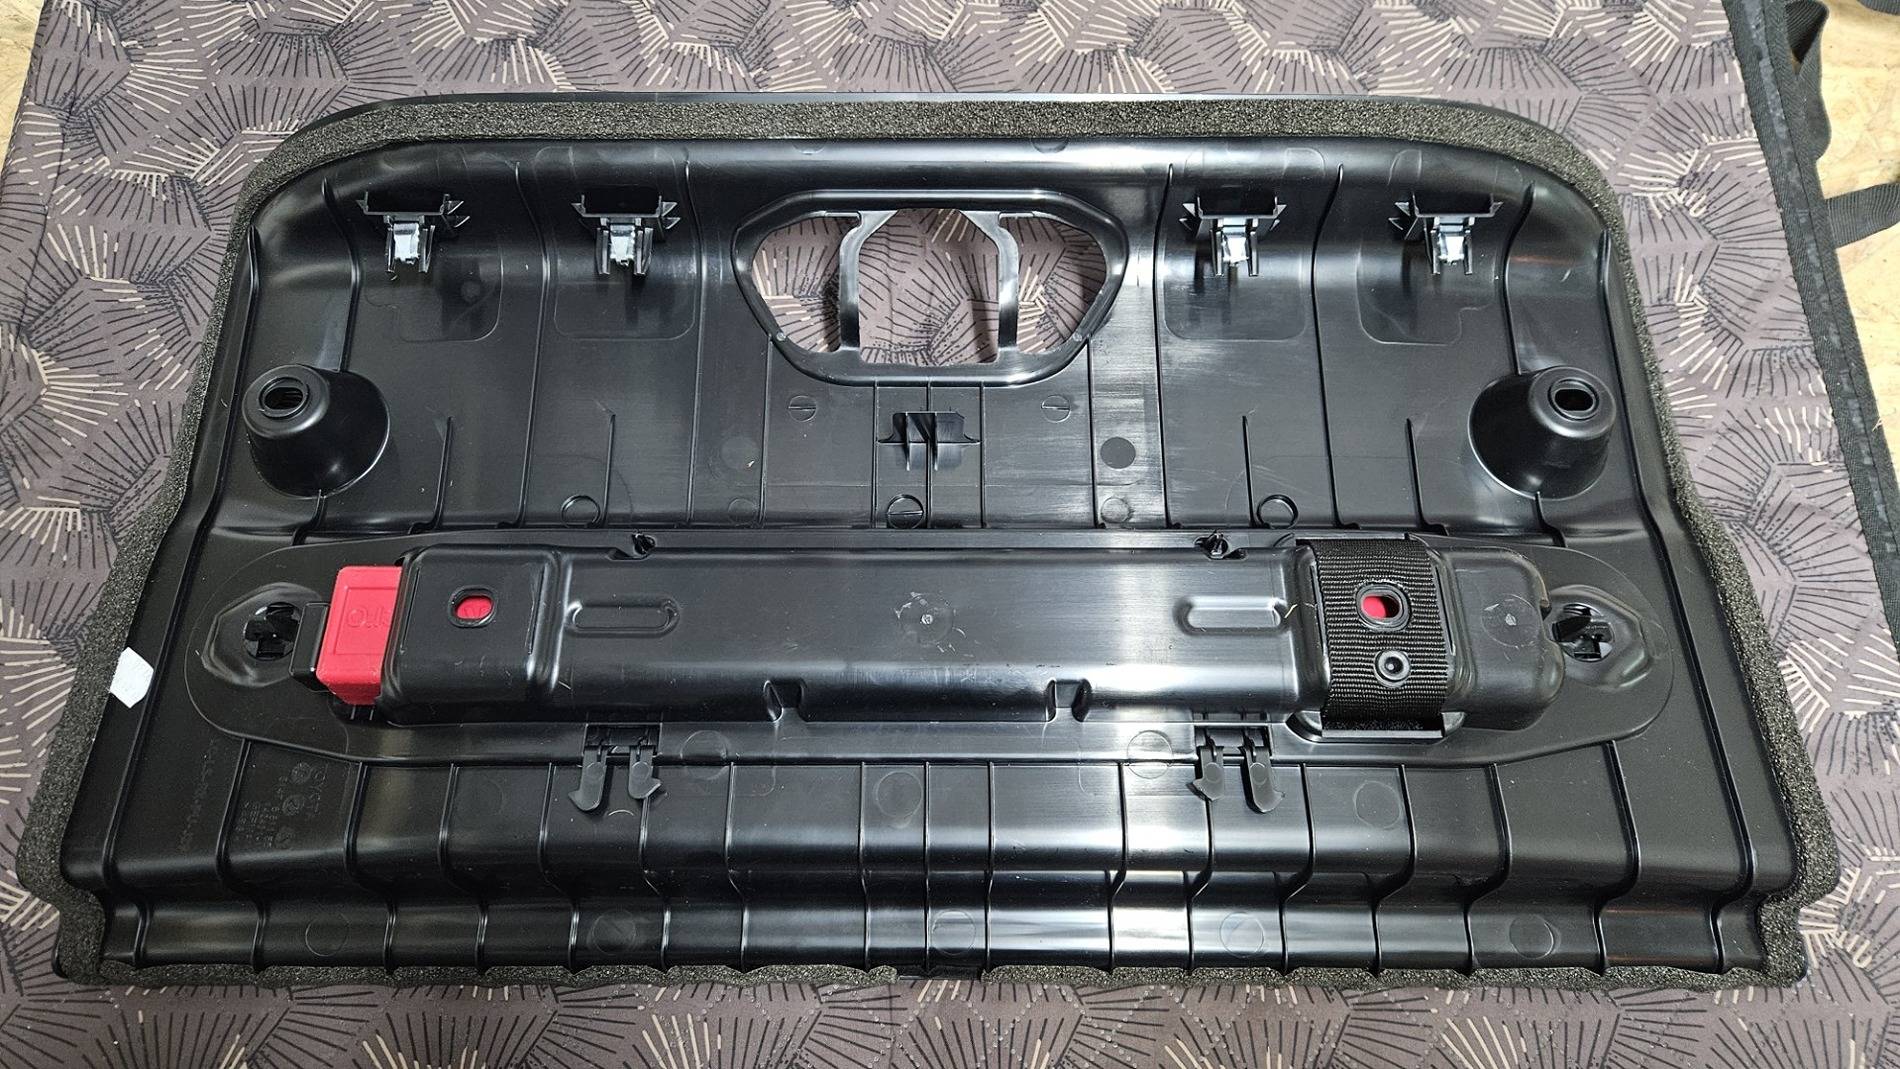
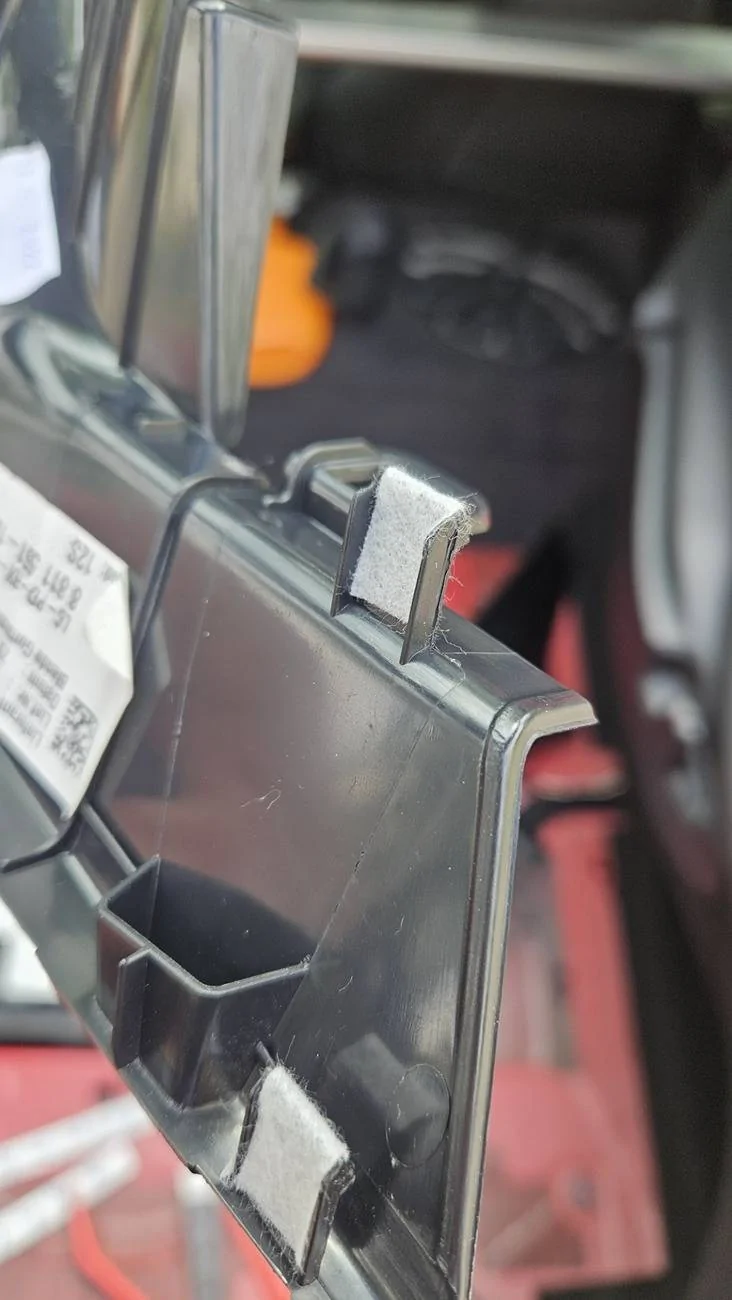
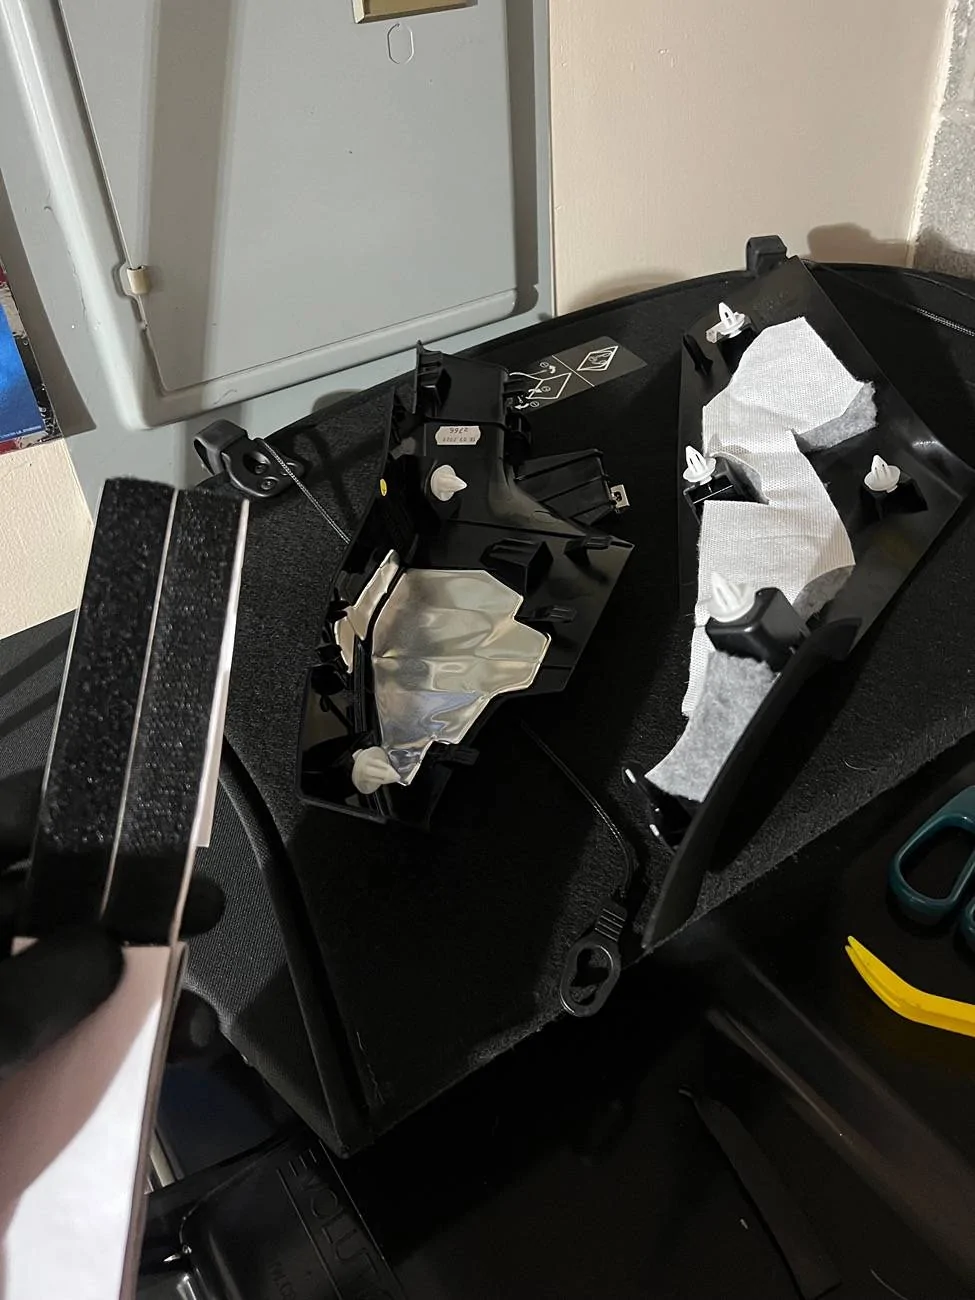
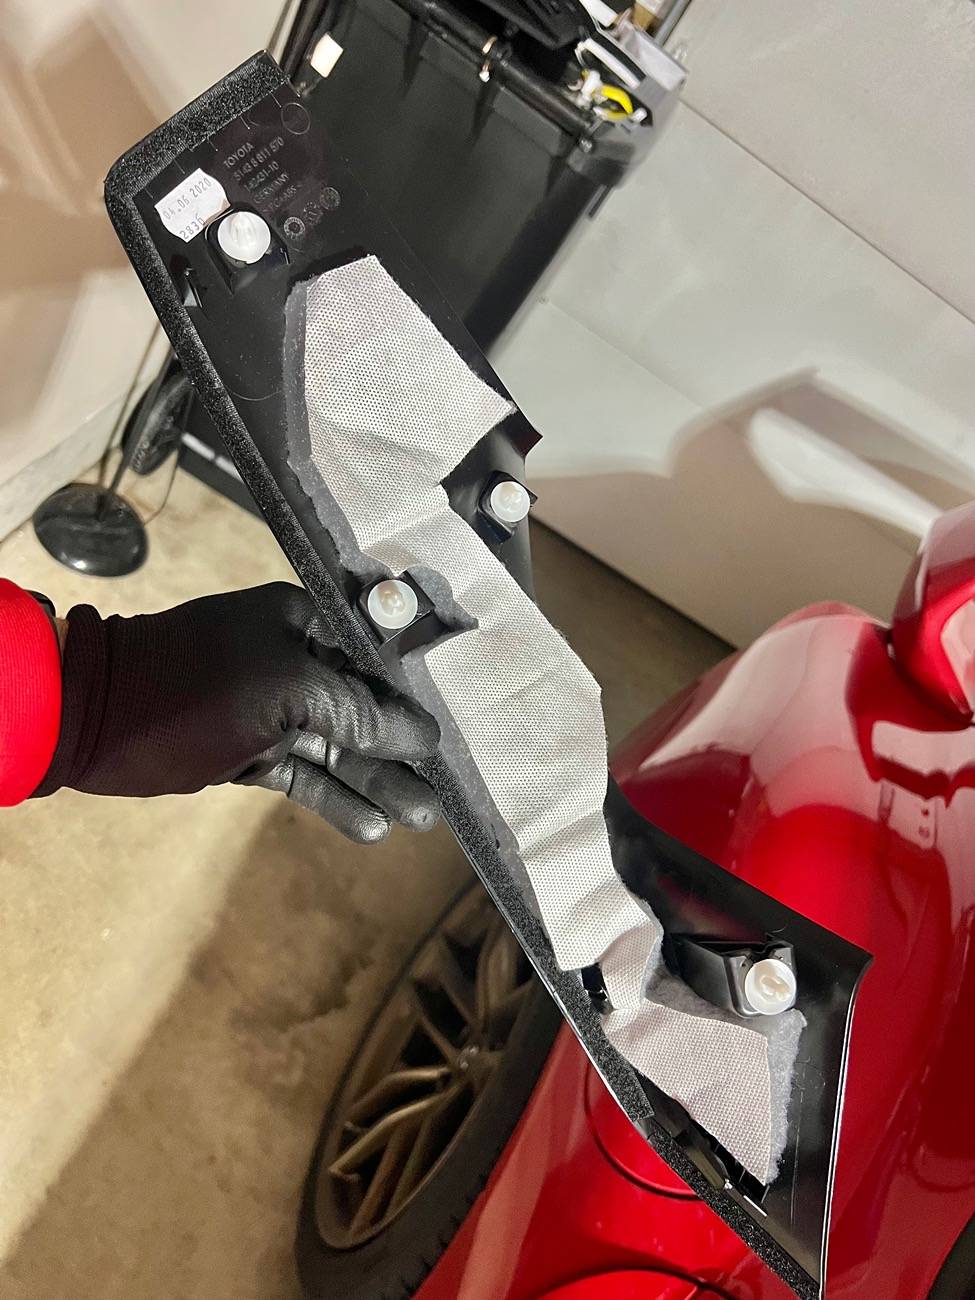
4. With the two panels add the Velcro strips as shown in these images. With the scissors I trimmed down the Velcro to have a nice clean finish.
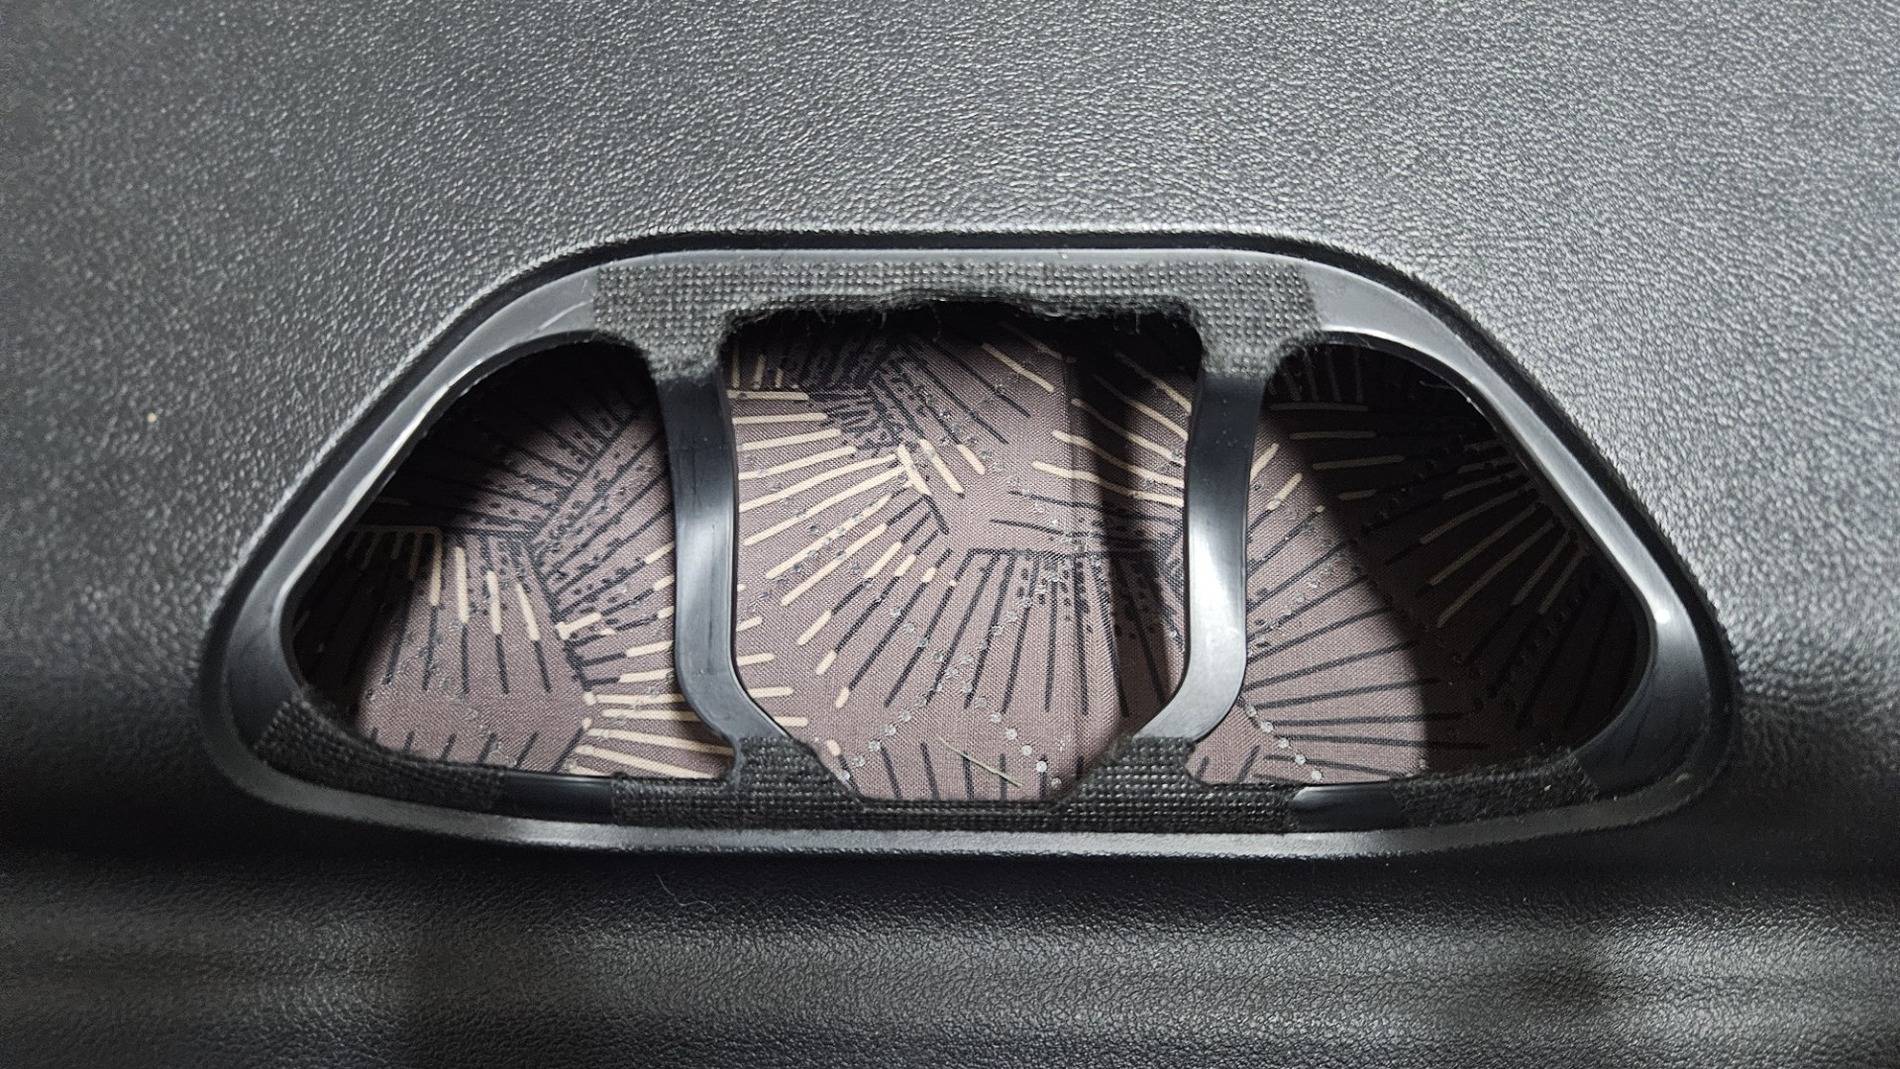
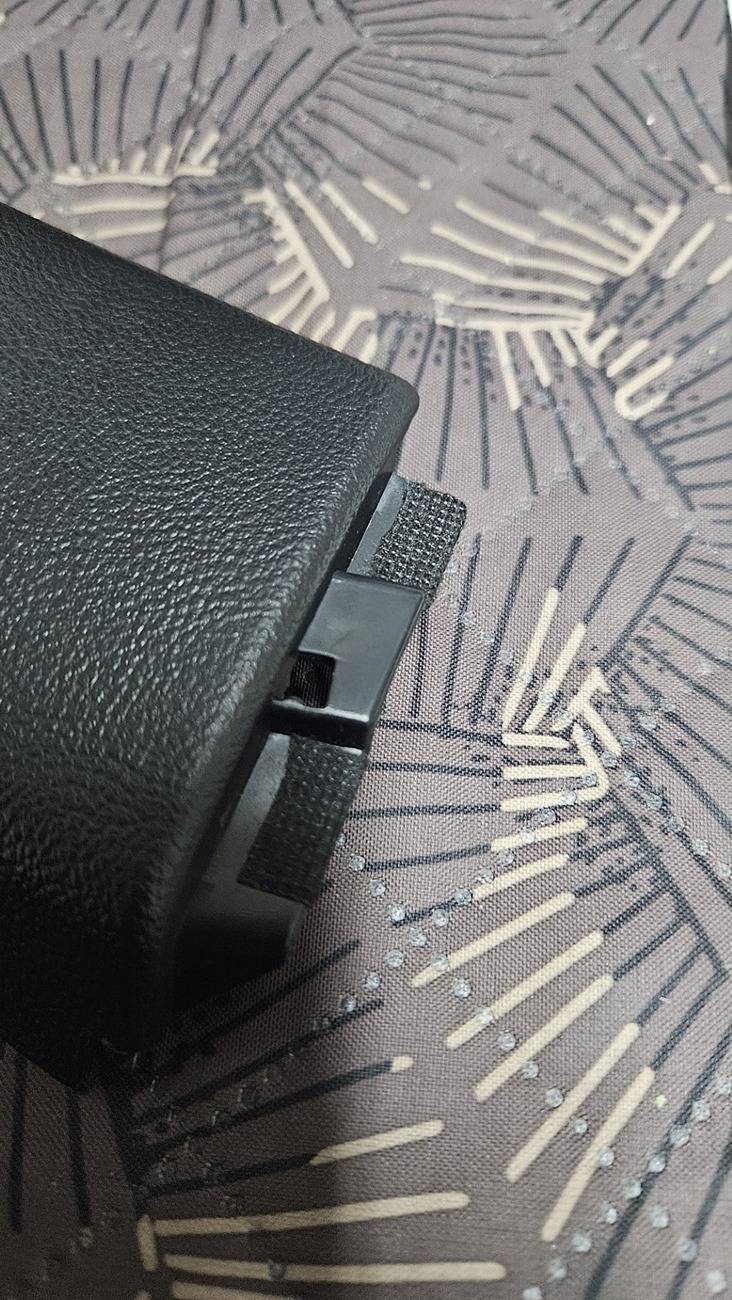
3. Add Velcro to the small panel placed next to the glass as shown below.
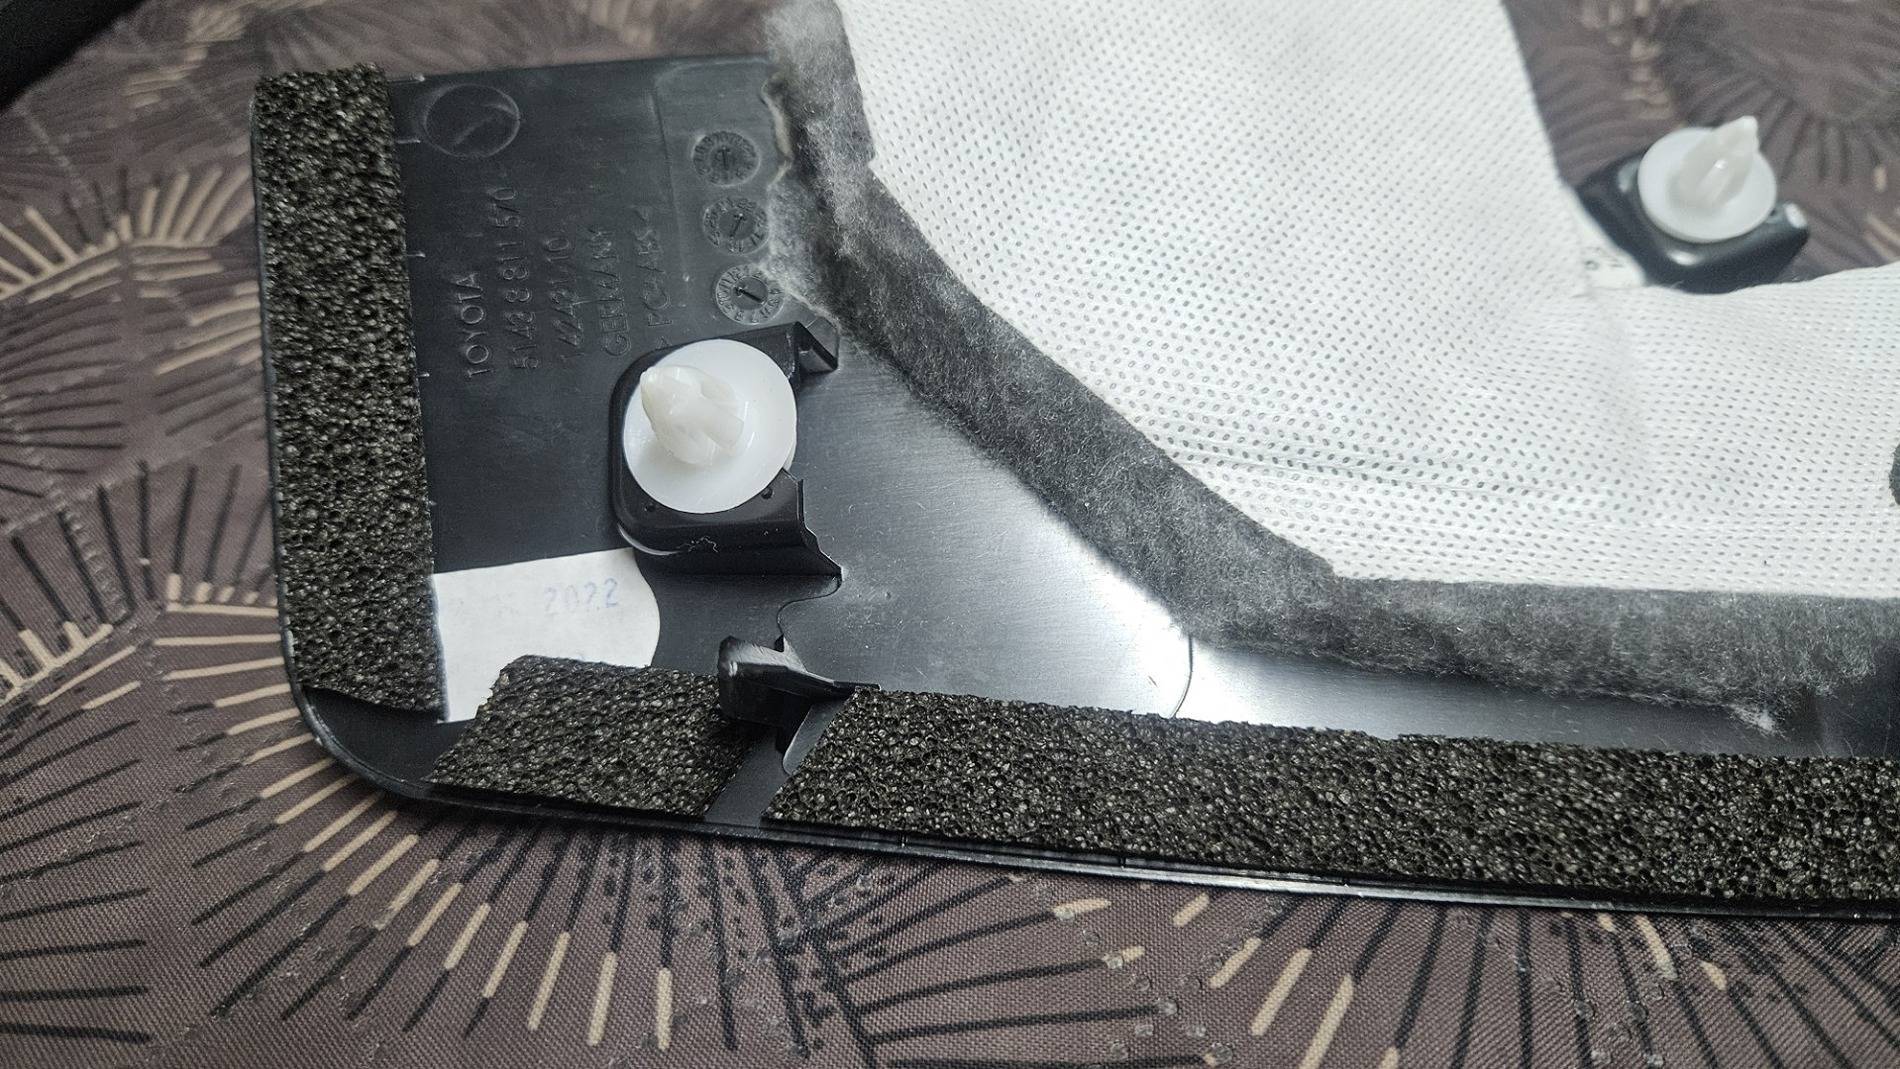
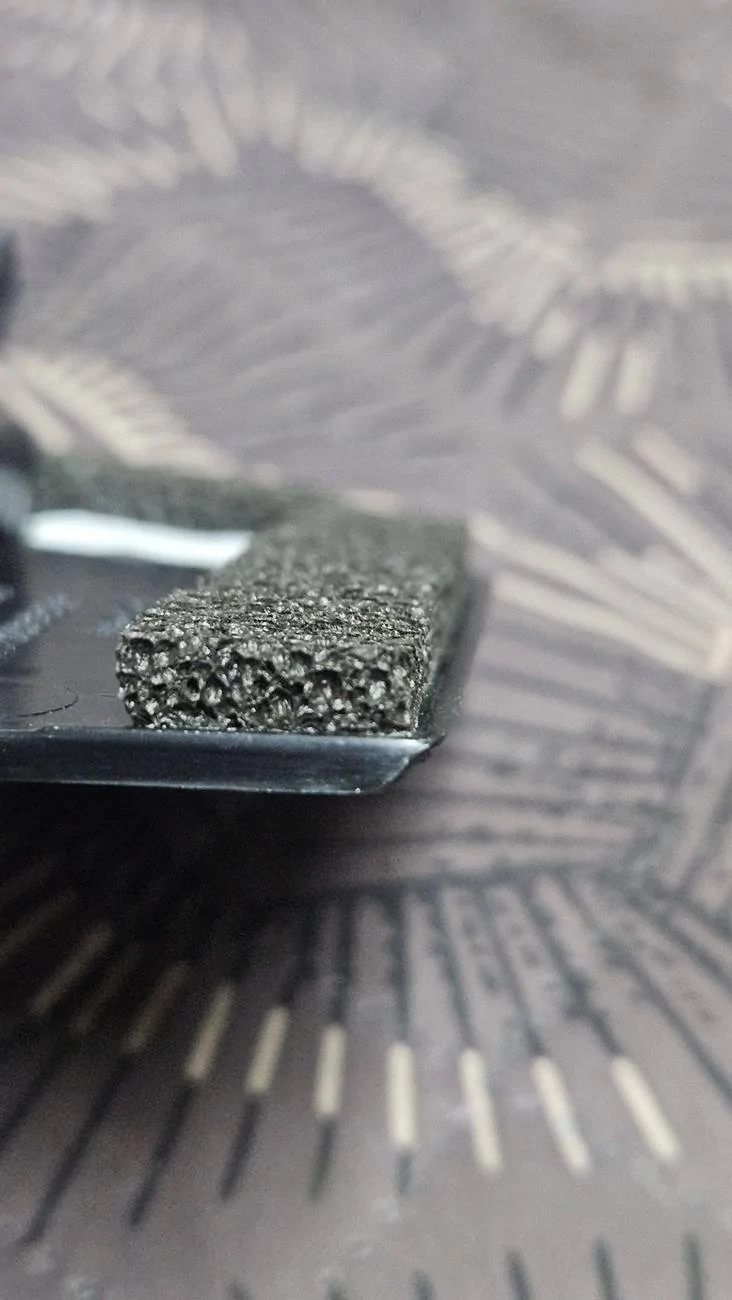
I added a piece of foam on the bottom clip holding it into place but you can add a Velcro as well to secure this trim.
4. Place the trim pieces back in reverse order.
It is important to double check the trunk cover is well secured and the two panels located in the trunk closed
Made this quick tutorial on how to eliminate creaks cause by the interior plastic on plastic in the car. This can be mostly heard on bumpy uneven roads and more on a hotter climate. This is focused on the rear panels located next to the seats and behind them as it’s not so common to have creaks around the dashboard.
What you need:
Plastic pry tool
Velcro strips(can be easily found for $1 at your dollar tree)
Scissors
Foam(optional)
30min-1hour
1. Remove your cargo cover
2. Locate the surrounding trim on silver bar and remove(1) my pulling it towards the side as the image shows.
Pop plastic trim(2) by prying from the rear as shown as the image. You will then need to push the trim directing to the front of the car for removal(pulling it from the front seats was easier for me)
3. Remove plastic trim around the seat belt by pulling it towards you while you are siting in the front seat. Once the trim is remove you could also check if the rear bar needs tightening as you have a clear view access to the bolt(s) holding it in place.
4. With the two panels add the Velcro strips as shown in these images. With the scissors I trimmed down the Velcro to have a nice clean finish.
3. Add Velcro to the small panel placed next to the glass as shown below.
I added a piece of foam on the bottom clip holding it into place but you can add a Velcro as well to secure this trim.

4. Place the trim pieces back in reverse order.
It is important to double check the trunk cover is well secured and the two panels located in the trunk closed
Sponsored
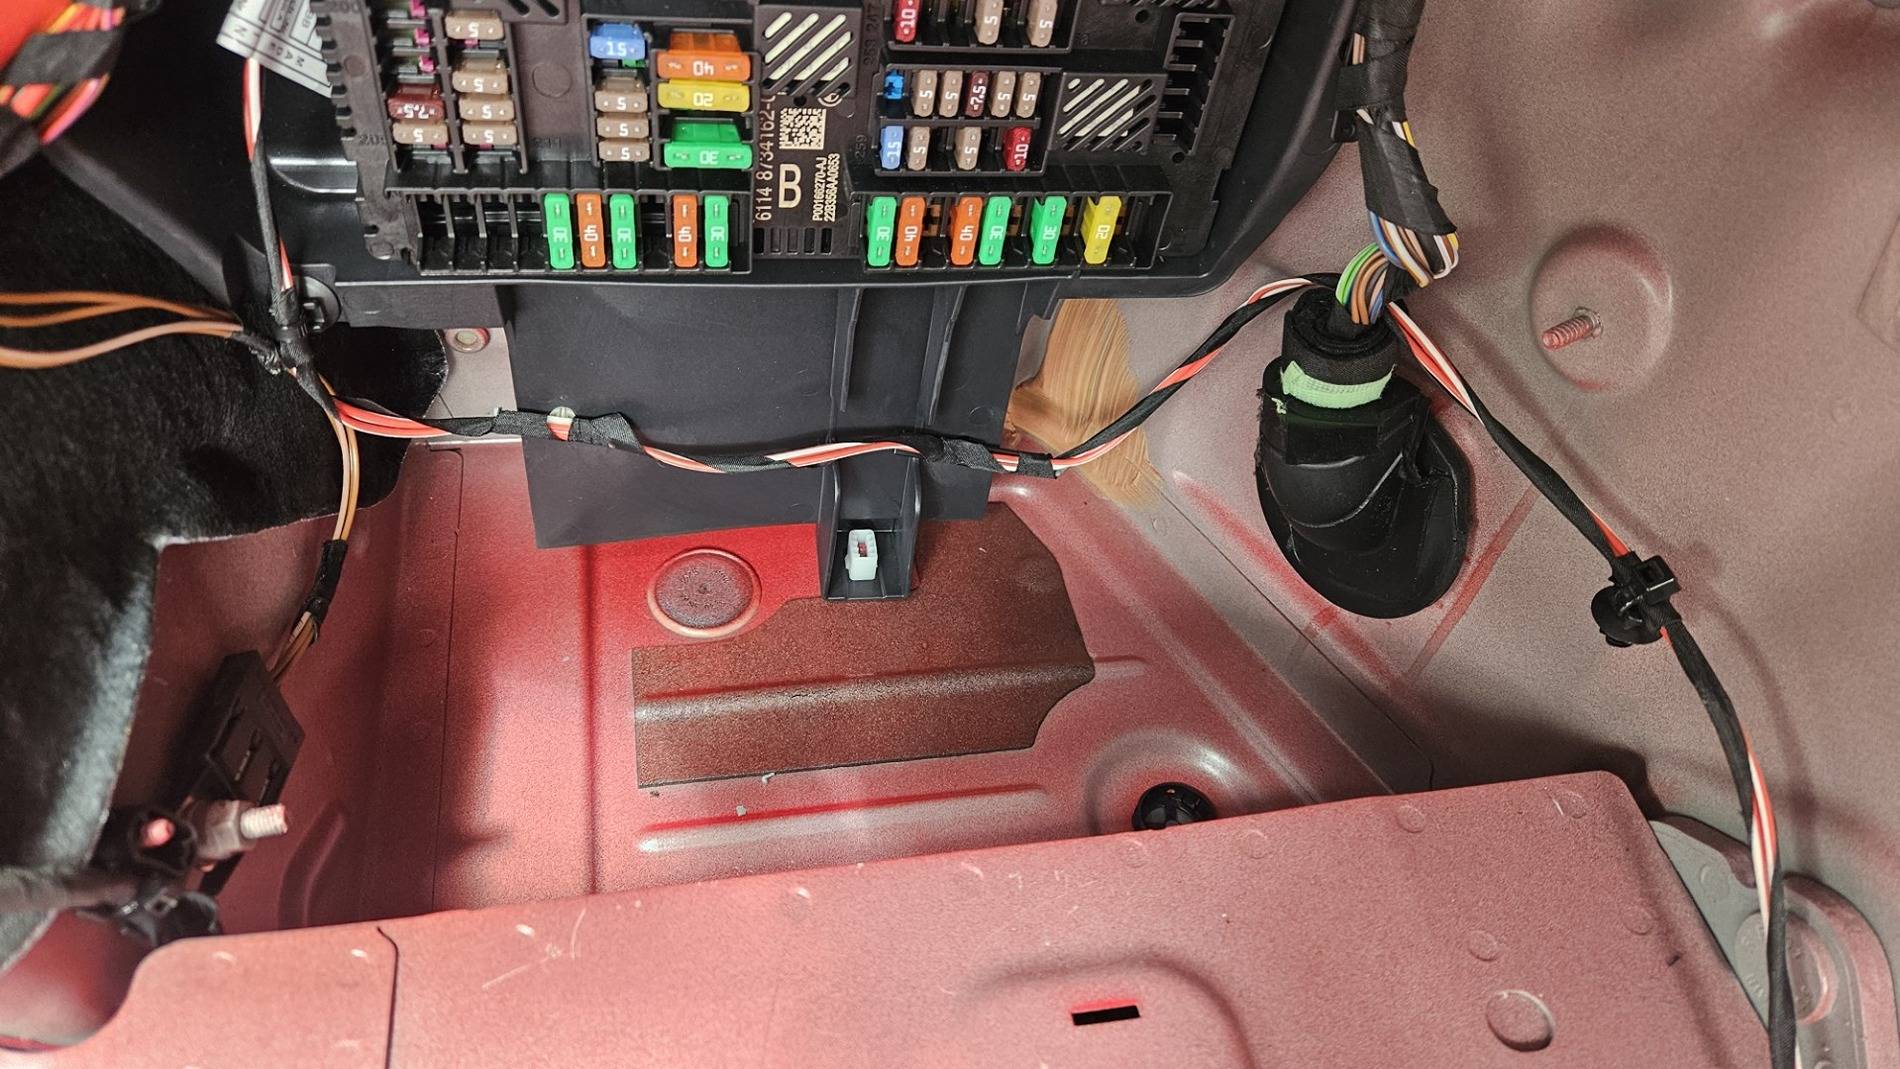
") Subjectively 99% of the noise is gone, sometimes there's a single creak coming from this lifted trunk cover (aka package tray trim) from these metal clips where it's pressed into the side trunk trim. I also used self adhesive velcro pads on the polystyrene box for the wheel repair kit, since it was jumping on the potholes making a lot of noise on its own.
Subjectively 99% of the noise is gone, sometimes there's a single creak coming from this lifted trunk cover (aka package tray trim) from these metal clips where it's pressed into the side trunk trim. I also used self adhesive velcro pads on the polystyrene box for the wheel repair kit, since it was jumping on the potholes making a lot of noise on its own.