evendale
Member
- Joined
- May 15, 2021
- Threads
- 4
- Messages
- 24
- Reaction score
- 27
- Location
- Dallas, TX
- Car(s)
- G37, FRS, Supra
- Thread starter
- #1
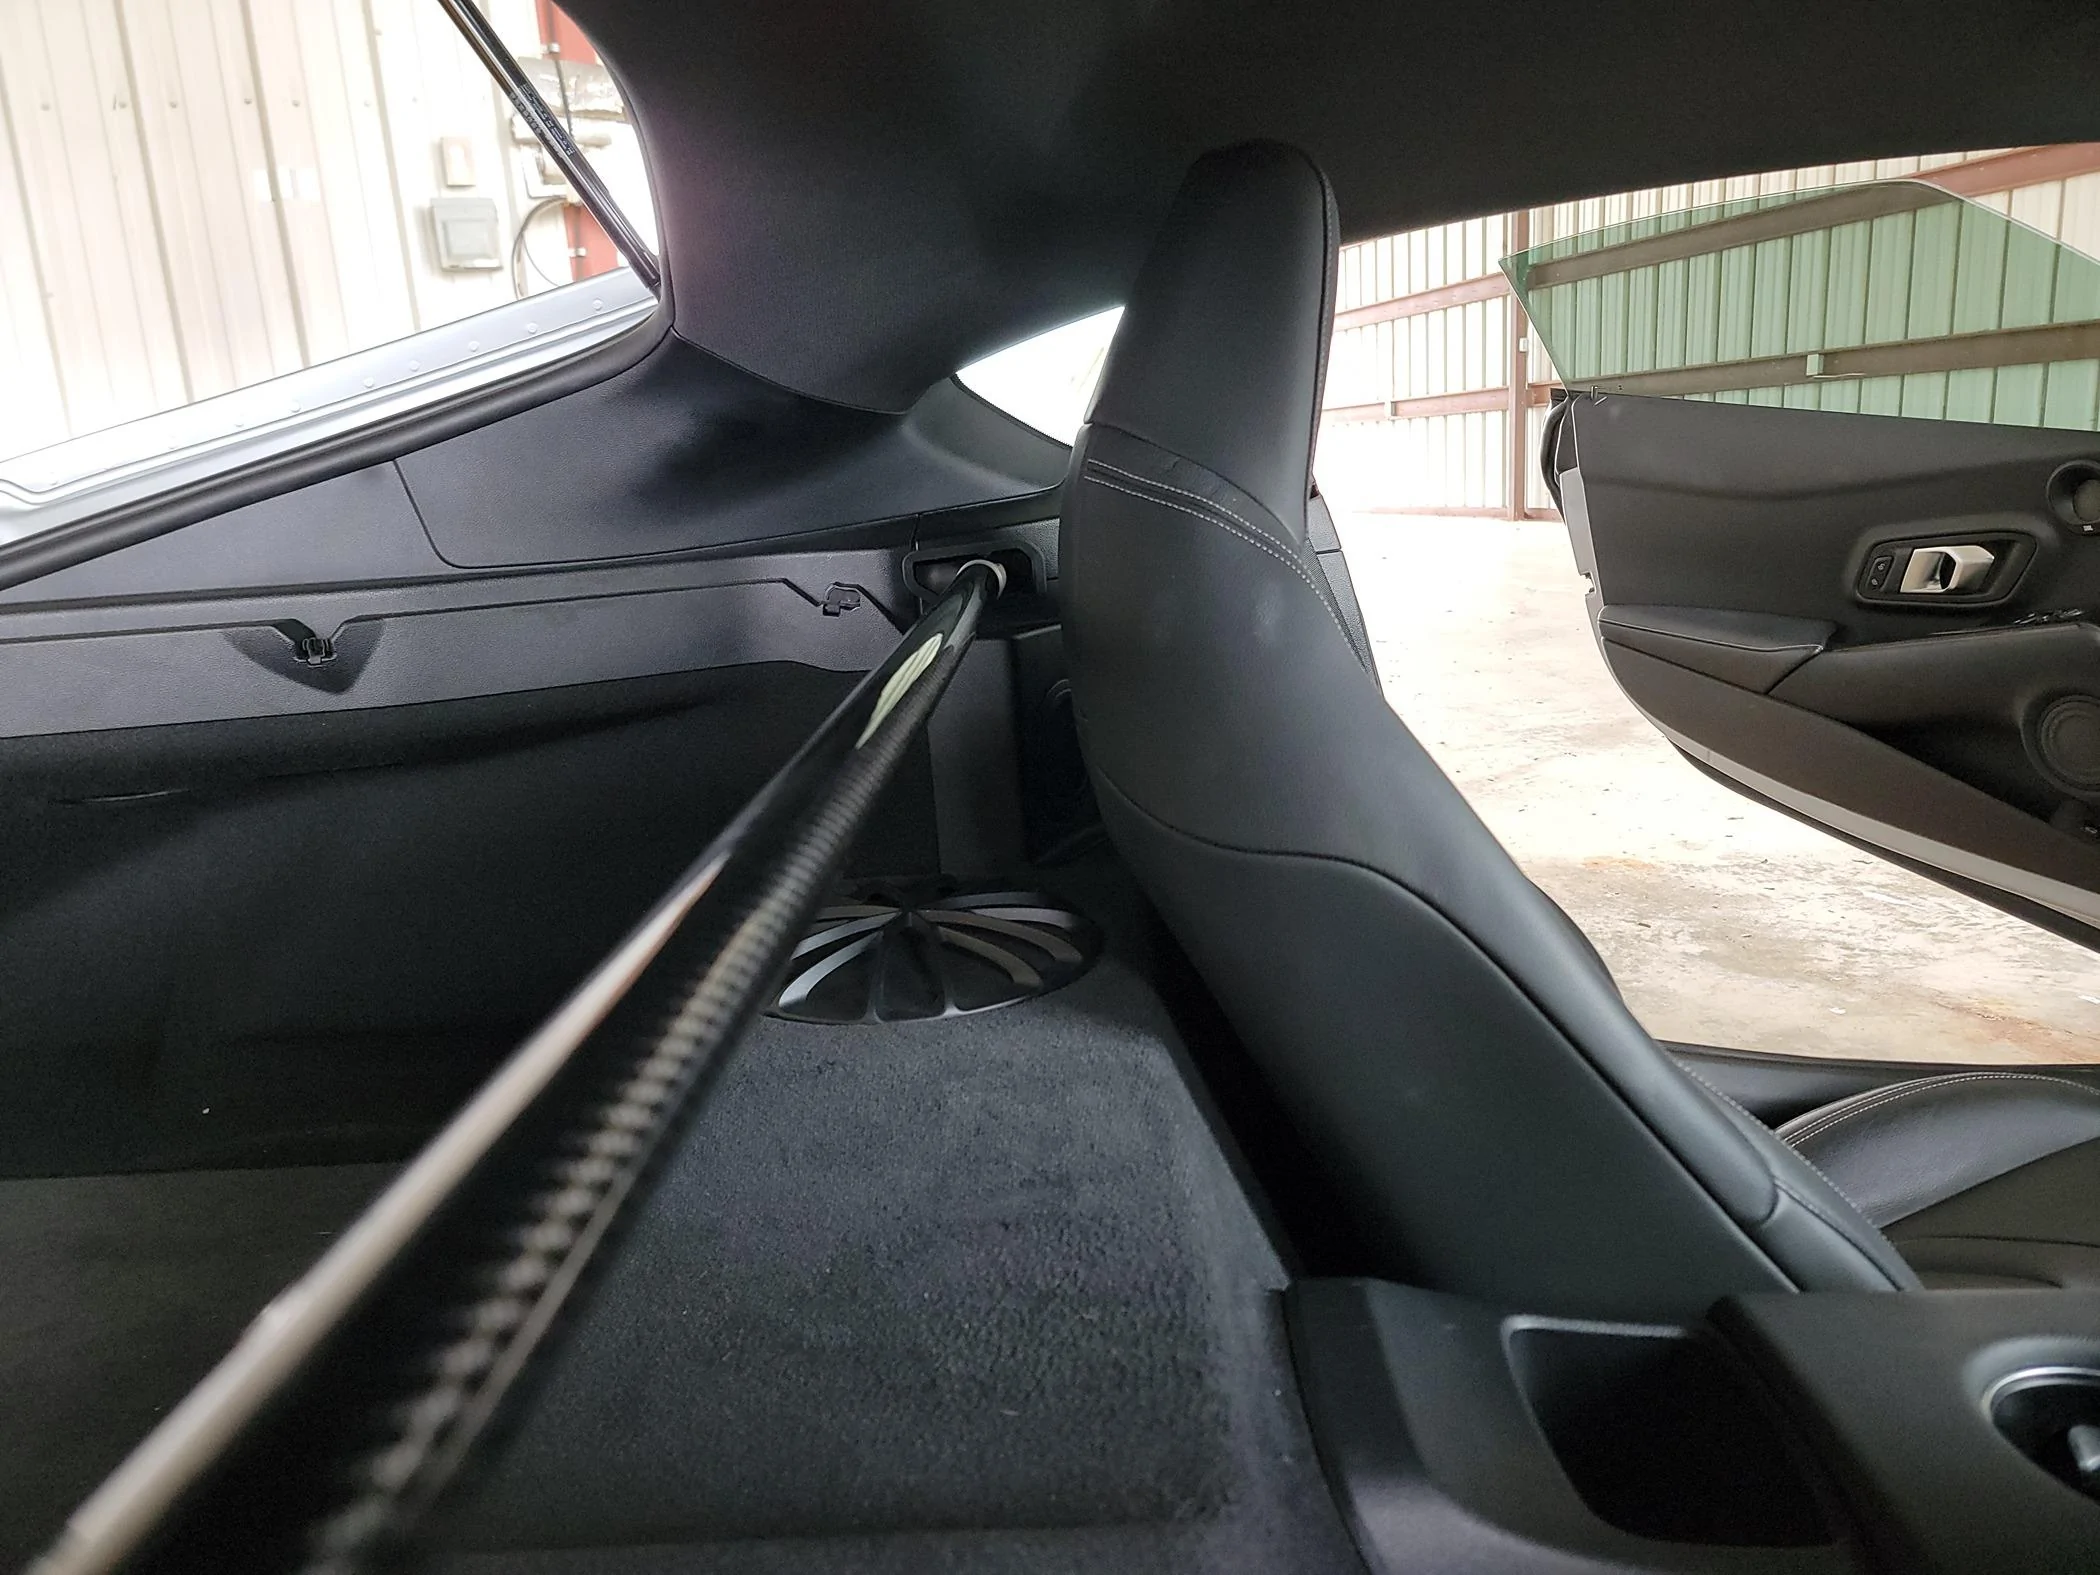
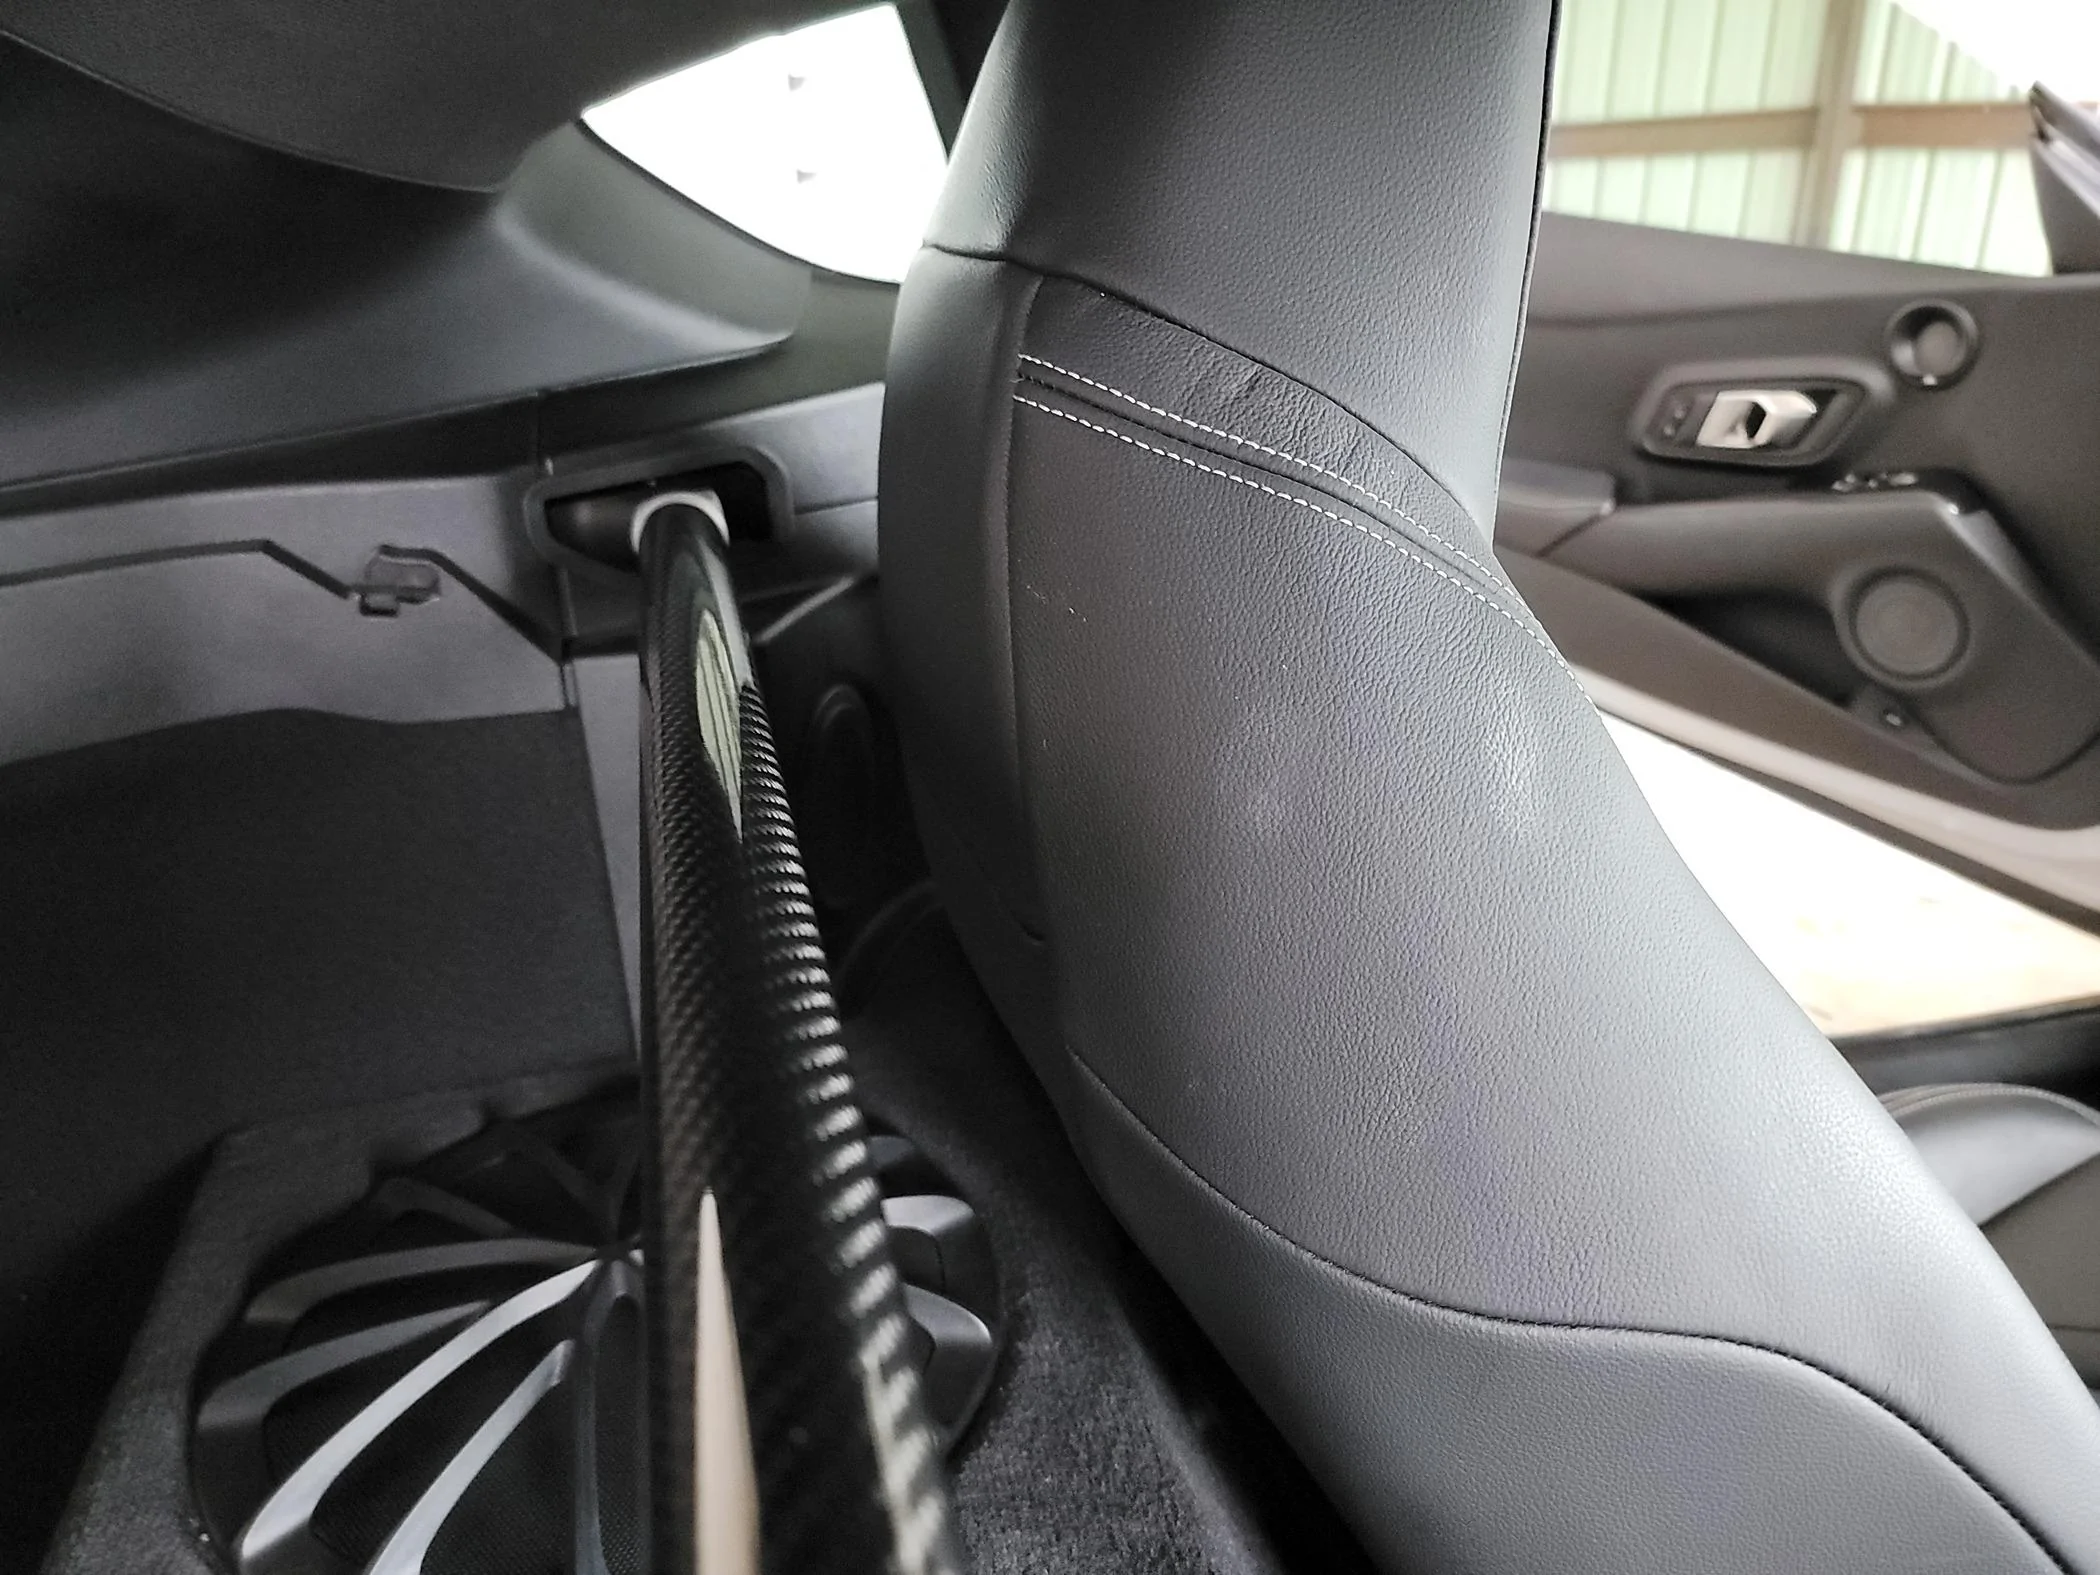
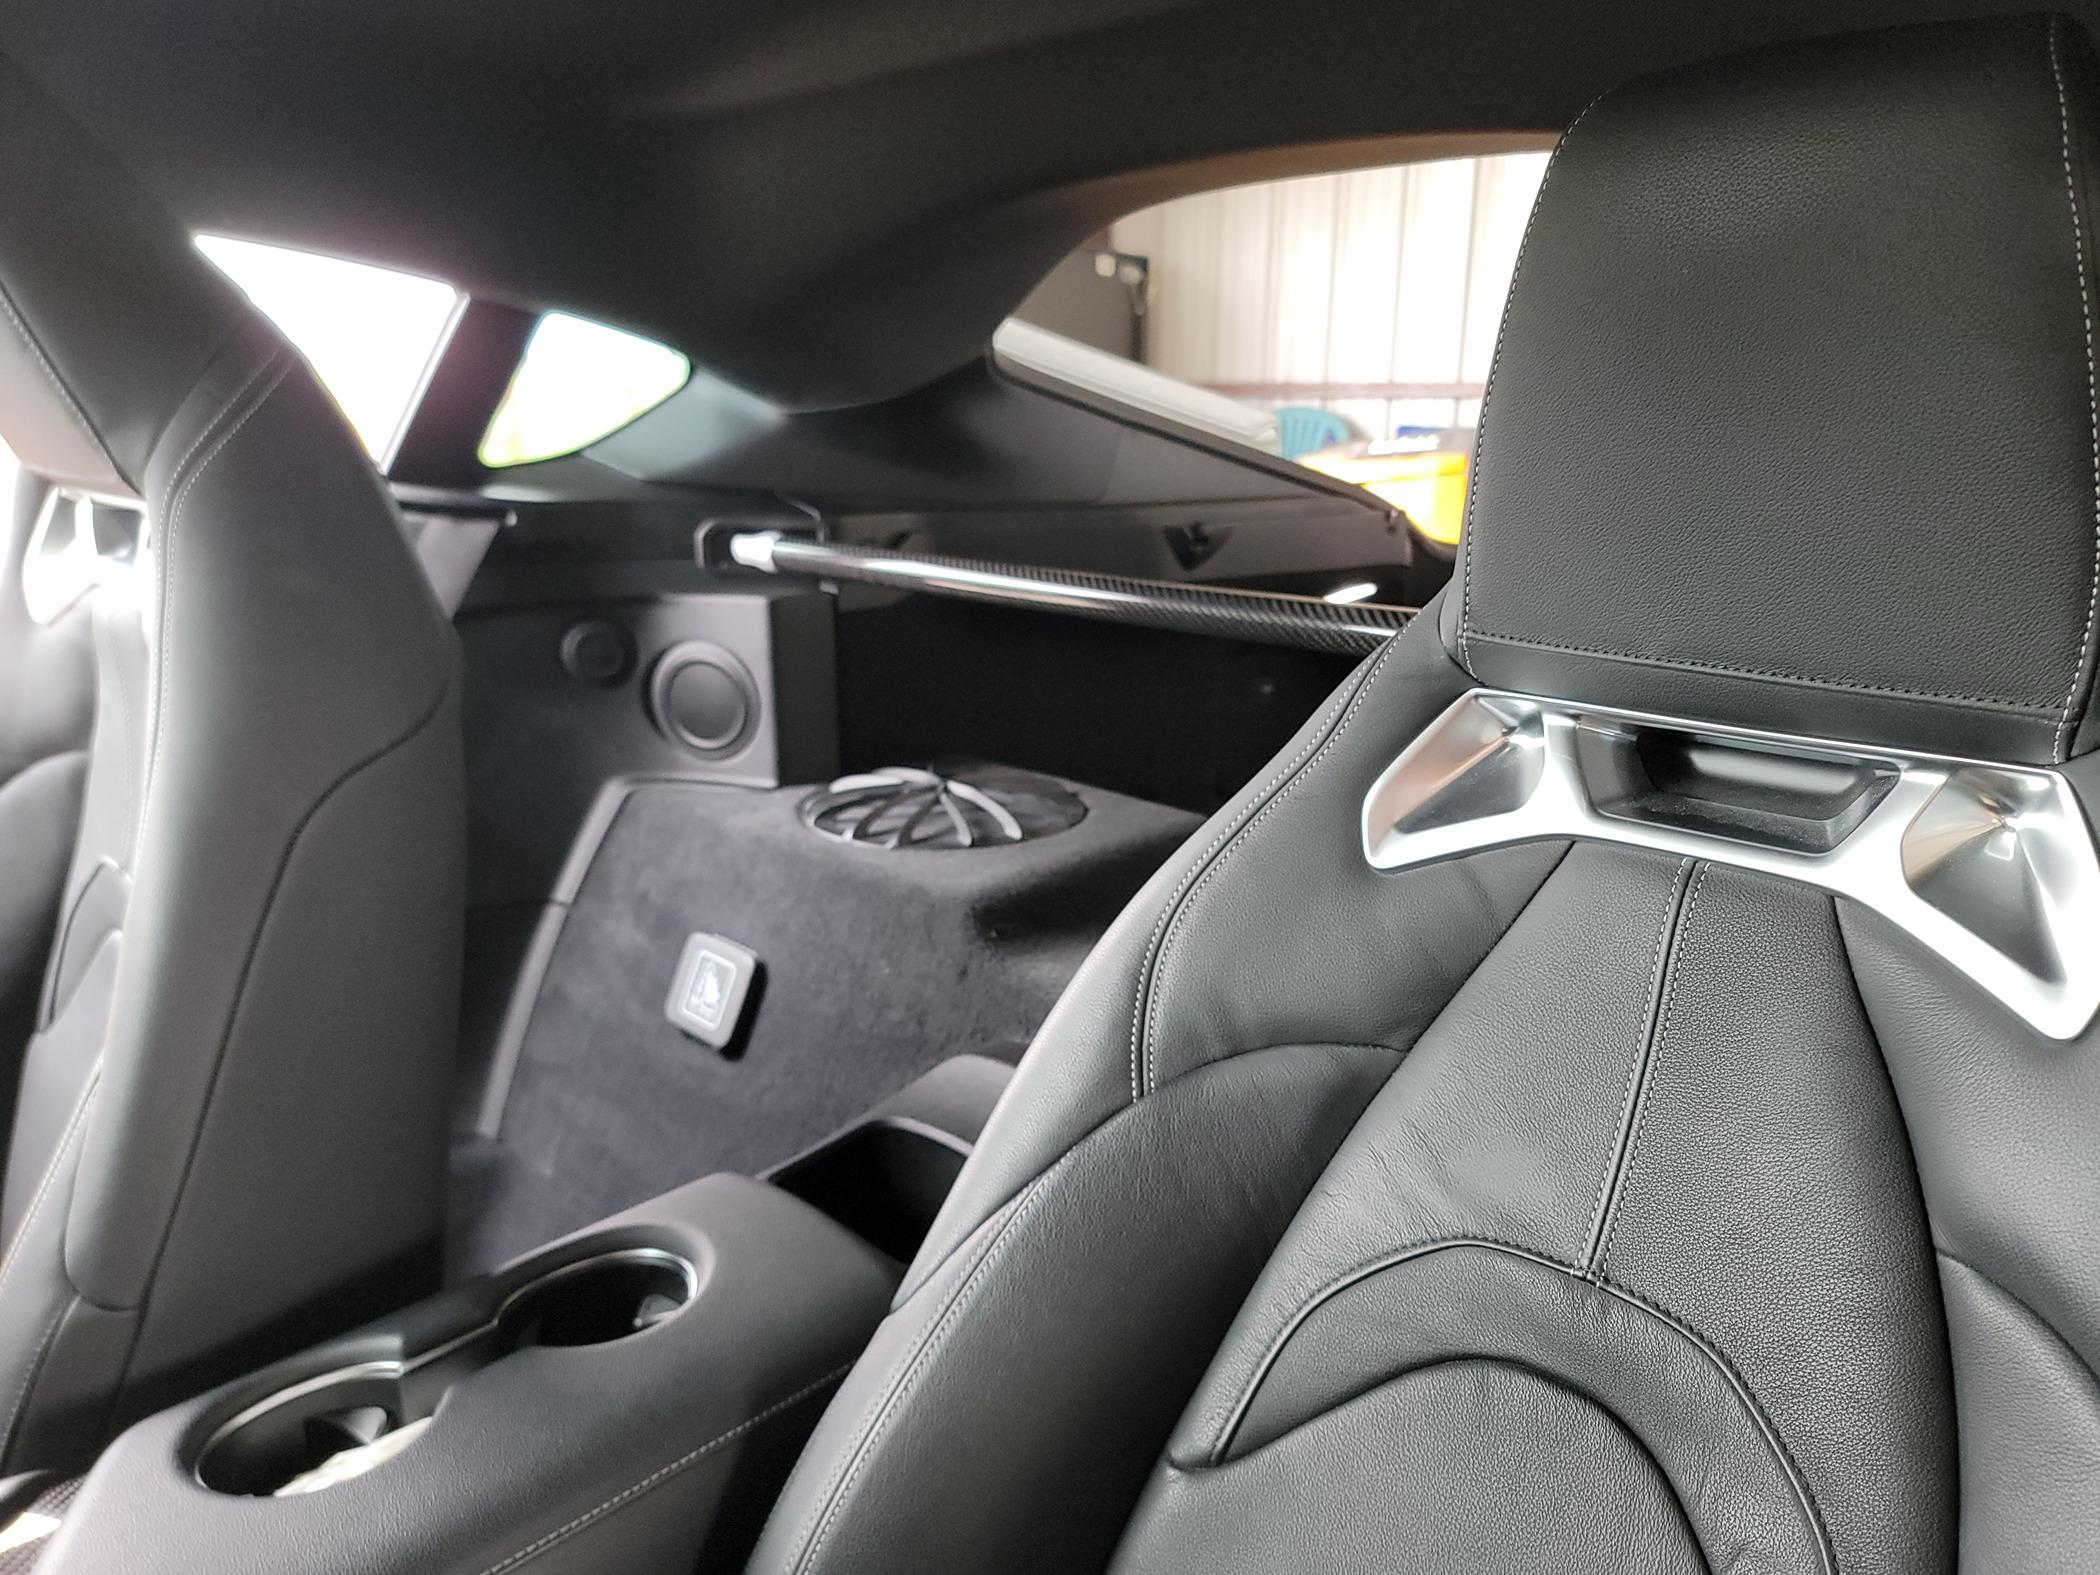
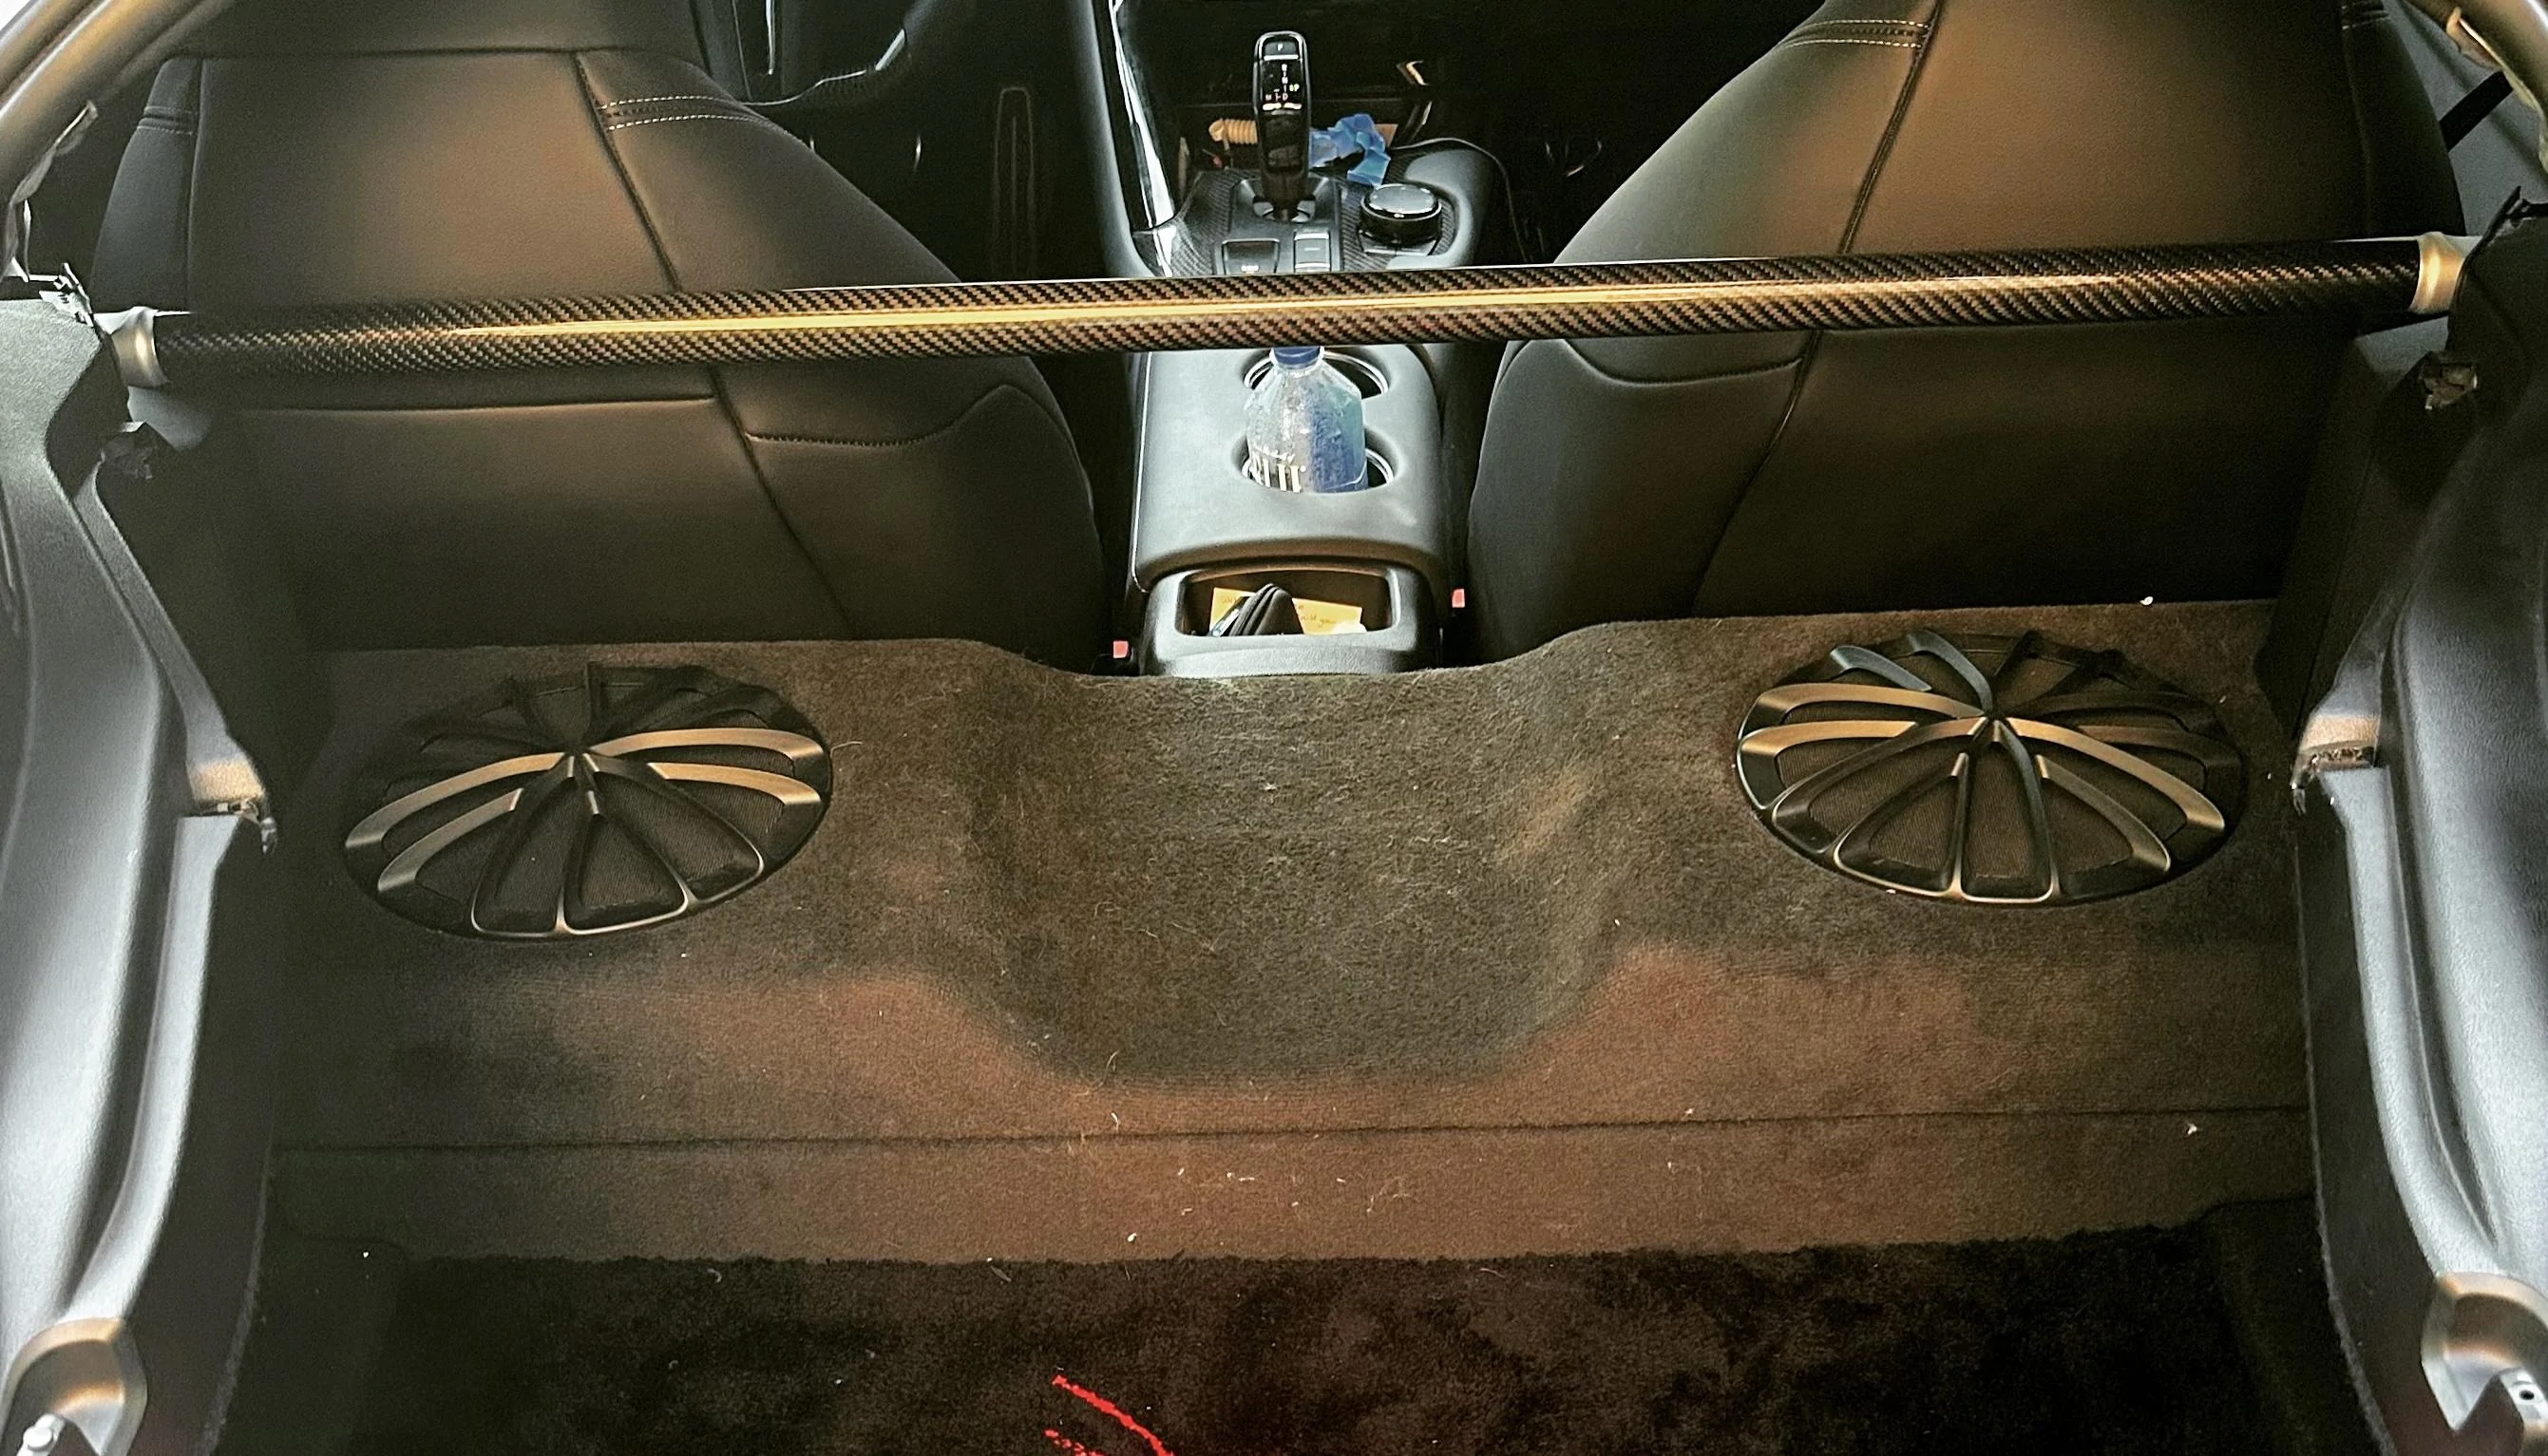
I installed the cabin strut brace from Rexpeed and wanted to share my thoughts on the installation process.
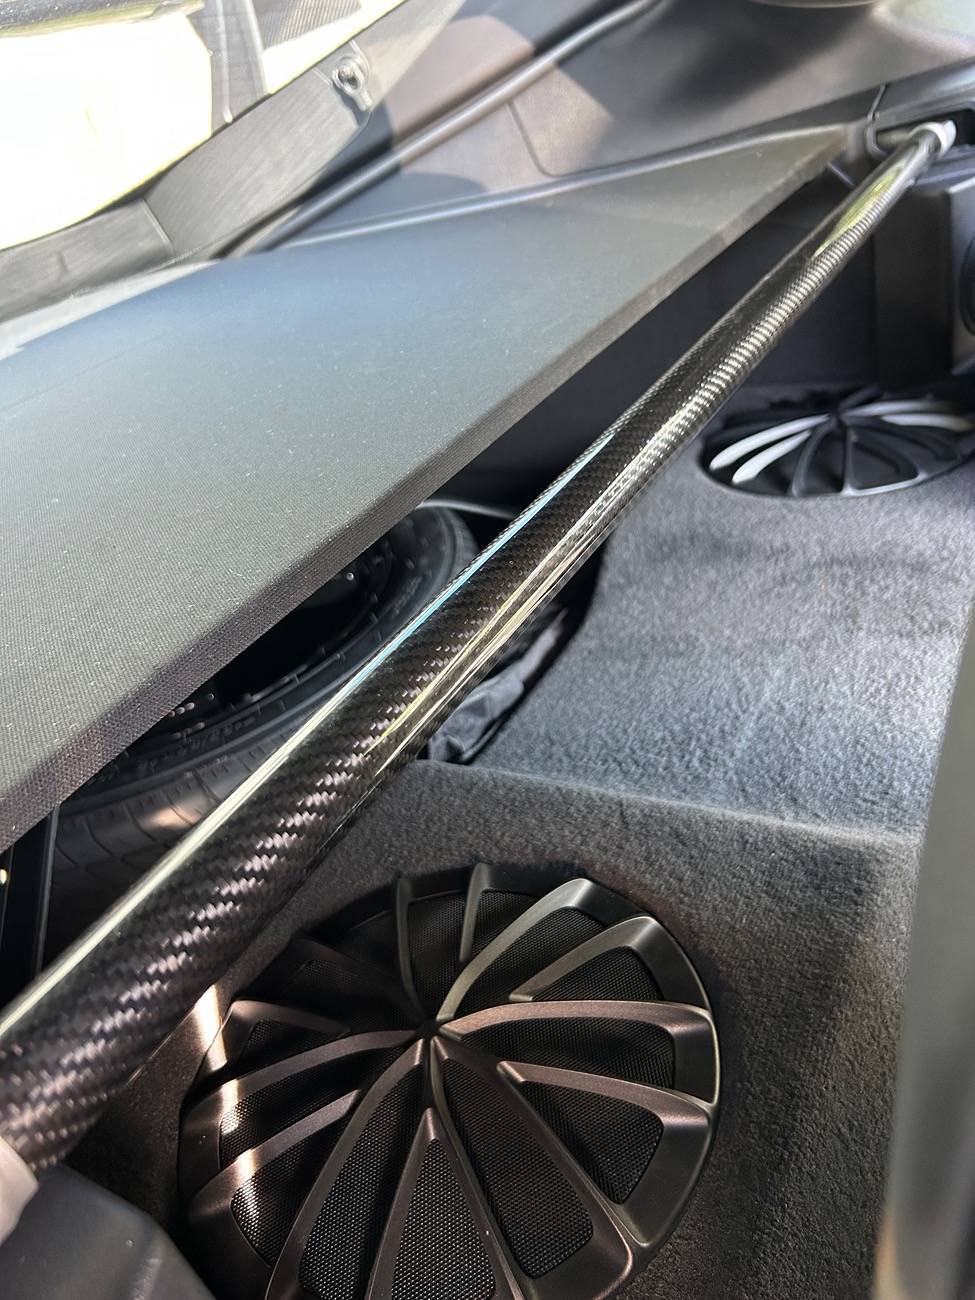
This product is a replica of the HKS strut brace, but the quality is truly impressive. Rexpeed claims it is made of dry carbon fiber, and I hope it's strong enough for supporting purpose, I did not feel any stiffness change after installation. And it's lighter than stock one 750g vs 1400g. Big shout-out to Rexpeed for their great customer service. The carbon fiber had two tiny scratches for the first delivery, I reached out to them, and they promptly sent a replacement. The shipping was remarkably fast, taking only about 4 days from Taiwan to the US.

Regarding installation instructions, it is same as HKS one, attached link here: https://www.hks-power.co.jp/product_search/product/download/4999/ja_en/83001-AT001.pdf
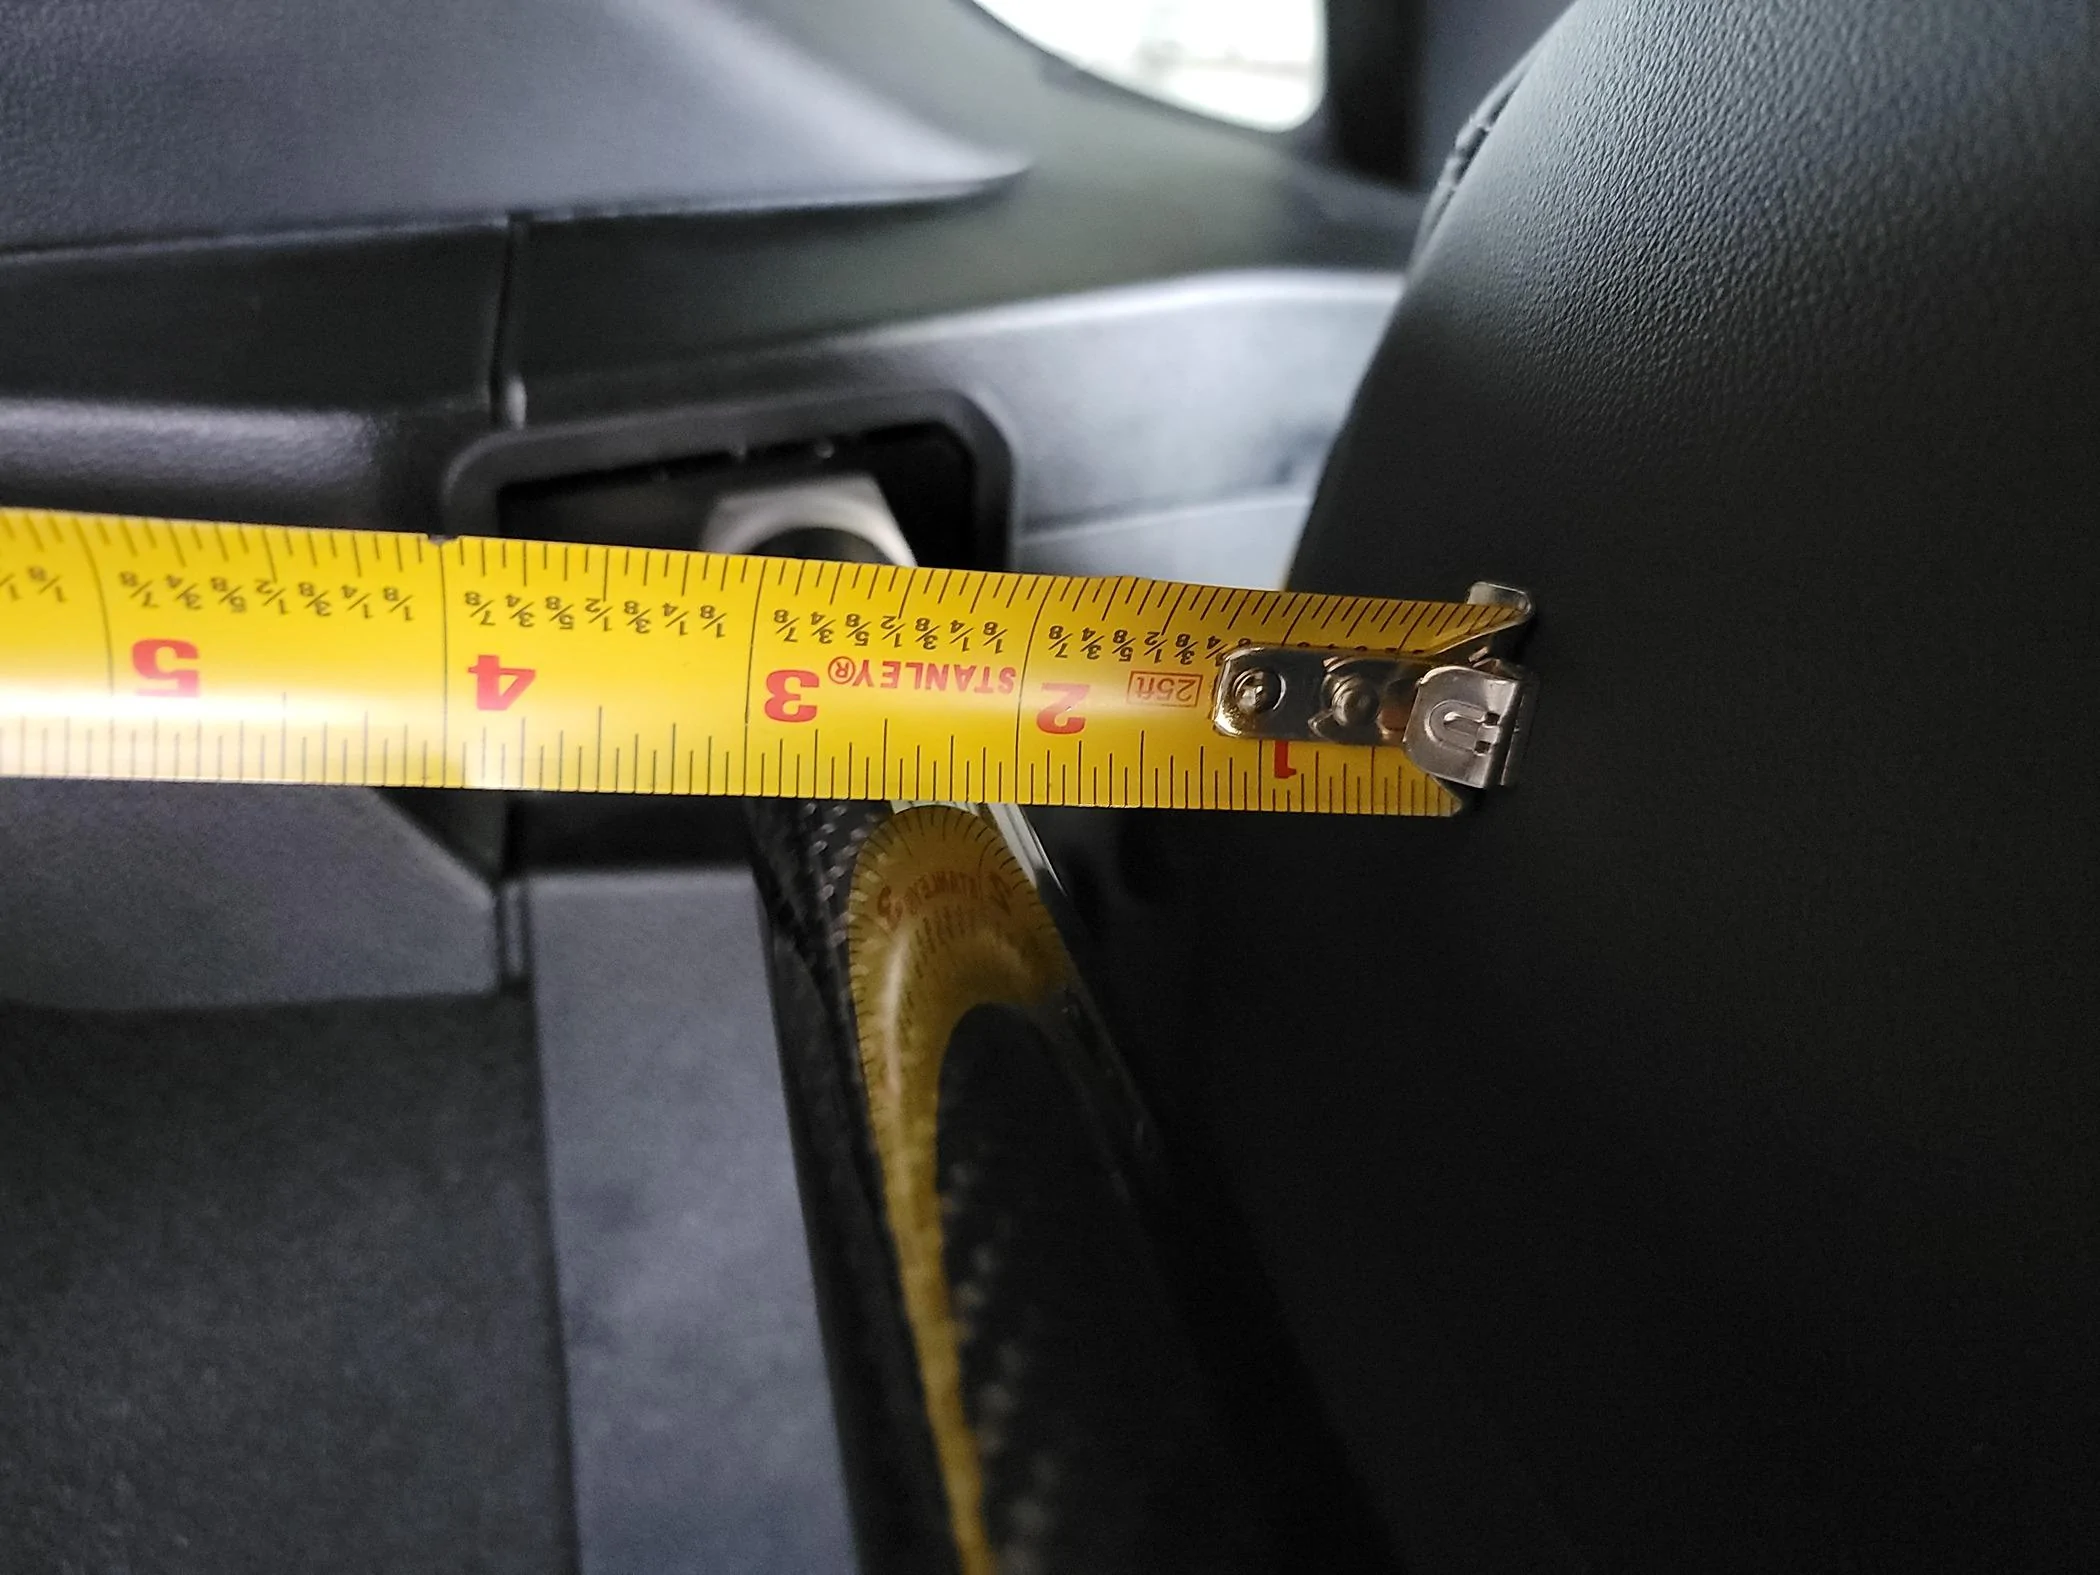
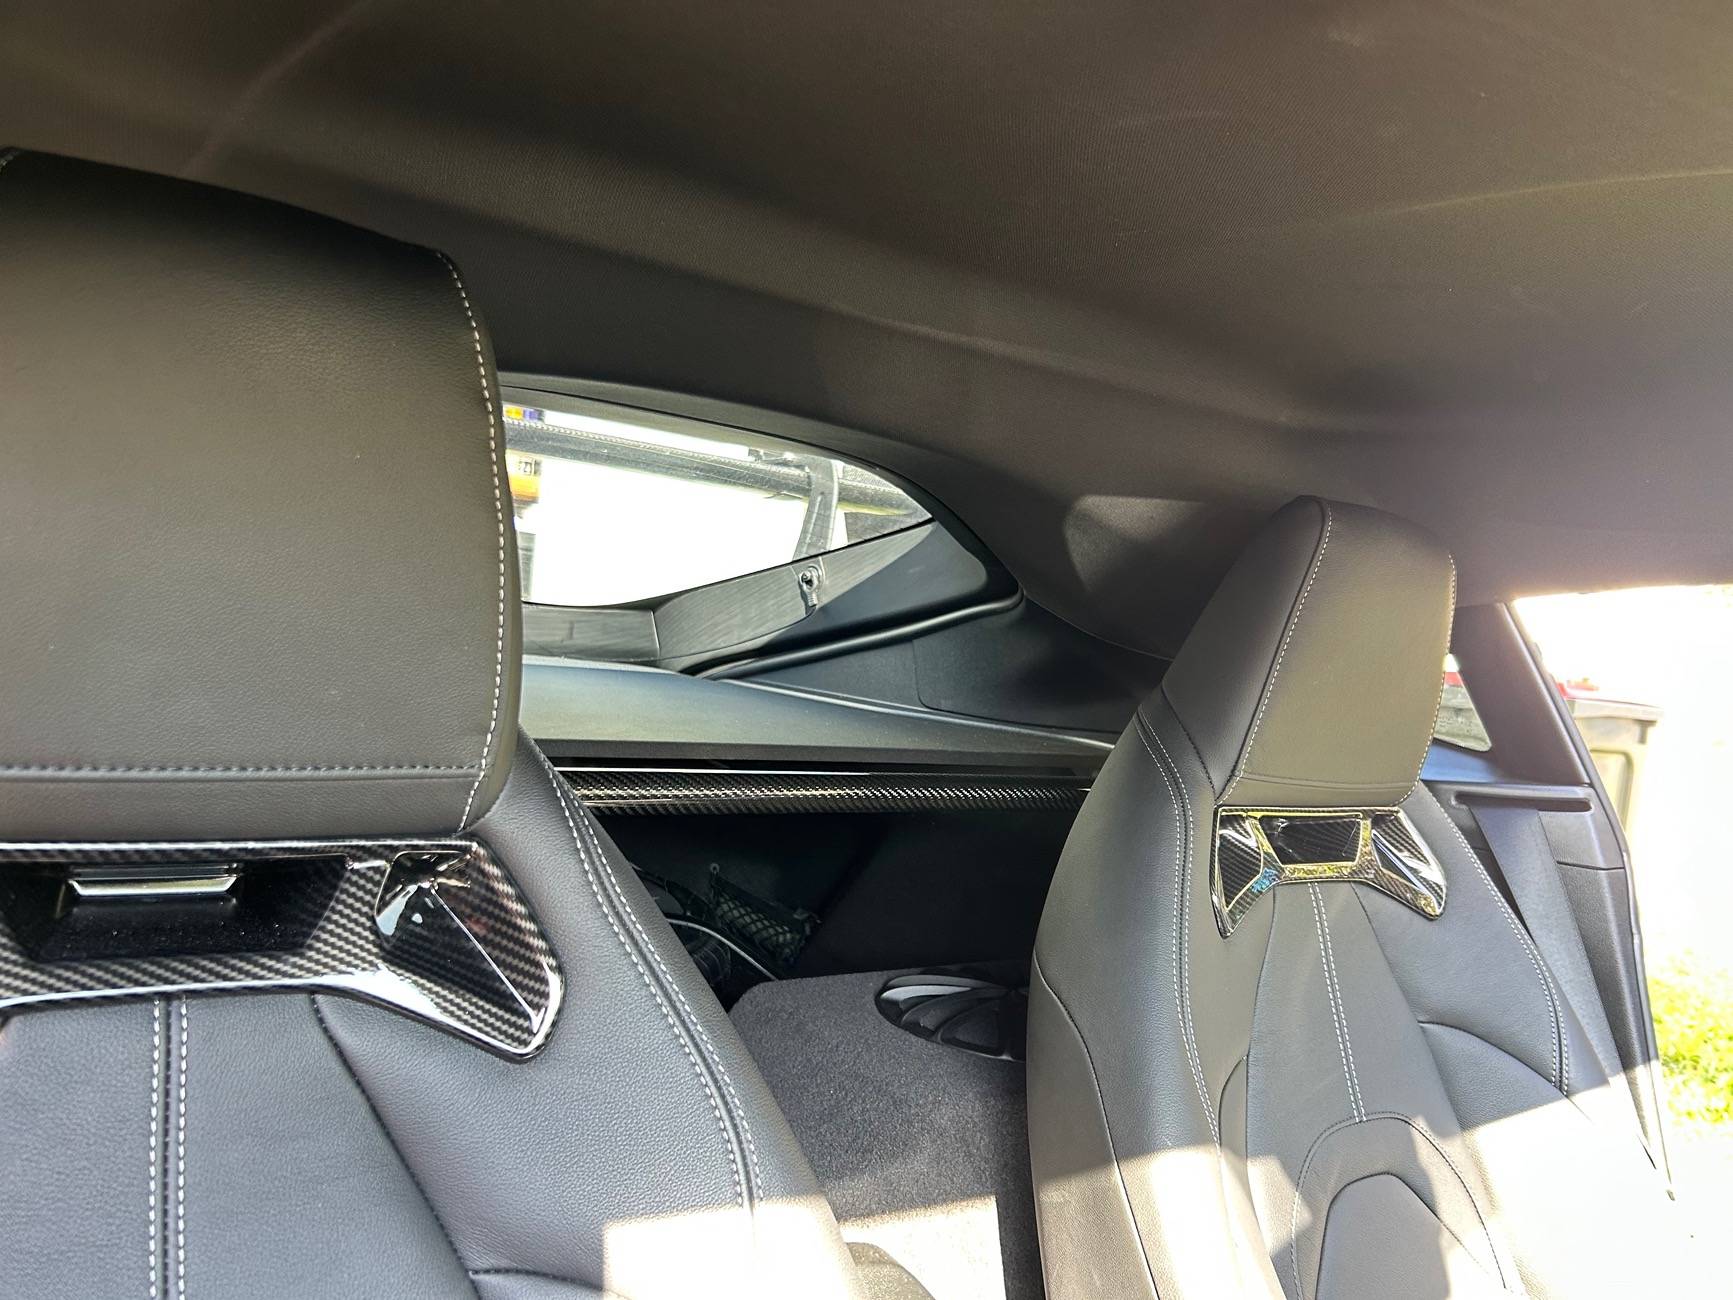
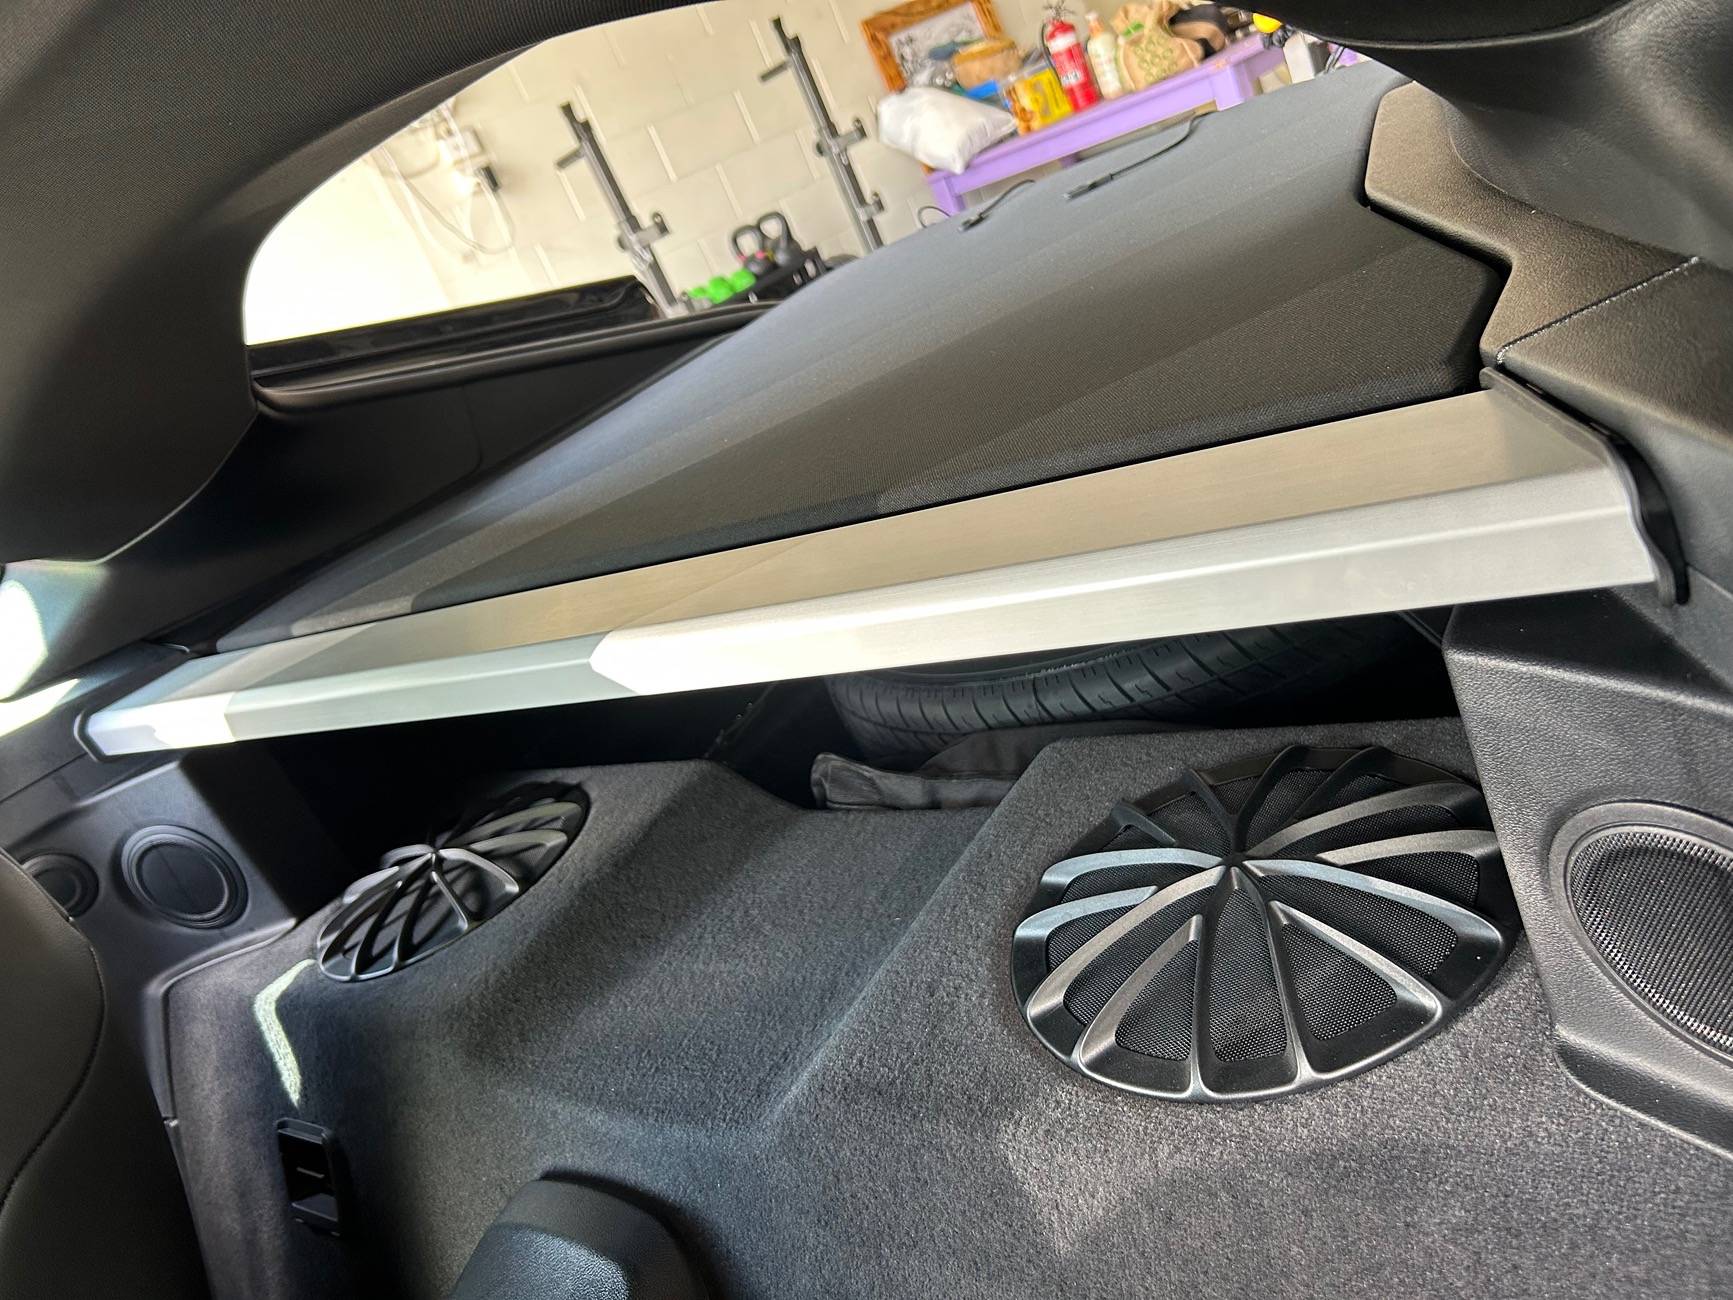
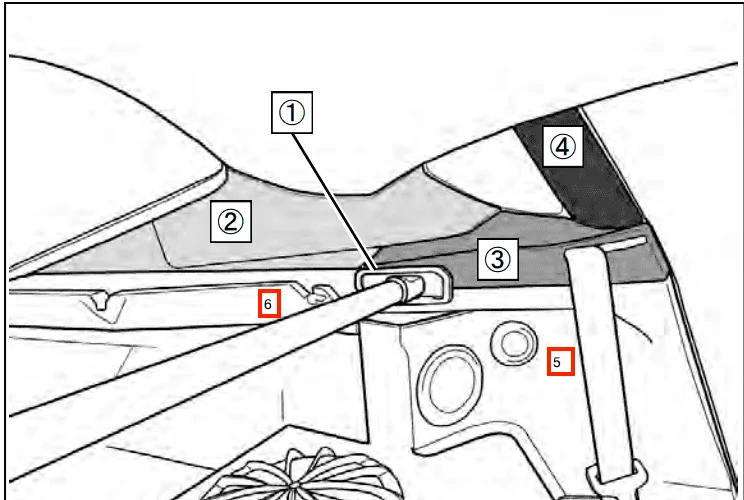
The instructions indicated the removal of panels 2, 3, 4, and 5 as shown in the diagram below. However, panel 5 is difficult to remove, I broke the clip on panel below panel 5 since it is fasten by a bolt and I pulled too hard. Even after panel 5 was removed, tightening the bolt was still a bit tricky. To make things easier, I decided to partially loosen panel 6 to create more space. On the driver's side, I just removed screws on panel 5 and 6, and loosen the panel, did not completely remove them, which is much easier. There is no need to remove panel4.
Tools used: 10mm socket, T20 and T50

Some youtube I found helpful:
This product is a replica of the HKS strut brace, but the quality is truly impressive. Rexpeed claims it is made of dry carbon fiber, and I hope it's strong enough for supporting purpose, I did not feel any stiffness change after installation. And it's lighter than stock one 750g vs 1400g. Big shout-out to Rexpeed for their great customer service. The carbon fiber had two tiny scratches for the first delivery, I reached out to them, and they promptly sent a replacement. The shipping was remarkably fast, taking only about 4 days from Taiwan to the US.
Regarding installation instructions, it is same as HKS one, attached link here: https://www.hks-power.co.jp/product_search/product/download/4999/ja_en/83001-AT001.pdf
The instructions indicated the removal of panels 2, 3, 4, and 5 as shown in the diagram below. However, panel 5 is difficult to remove, I broke the clip on panel below panel 5 since it is fasten by a bolt and I pulled too hard. Even after panel 5 was removed, tightening the bolt was still a bit tricky. To make things easier, I decided to partially loosen panel 6 to create more space. On the driver's side, I just removed screws on panel 5 and 6, and loosen the panel, did not completely remove them, which is much easier. There is no need to remove panel4.
Tools used: 10mm socket, T20 and T50
Some youtube I found helpful:
Sponsored