Cptnslo
Well-Known Member
But he’s getting it built in a week lolLol. I saw that thread. It's a stock bottom that's been to beat to shit on. Great stuff.

But he’s getting it built in a week lolLol. I saw that thread. It's a stock bottom that's been to beat to shit on. Great stuff.

¯\_(ツ)_/¯ lol.But he’s getting it built in a week lol
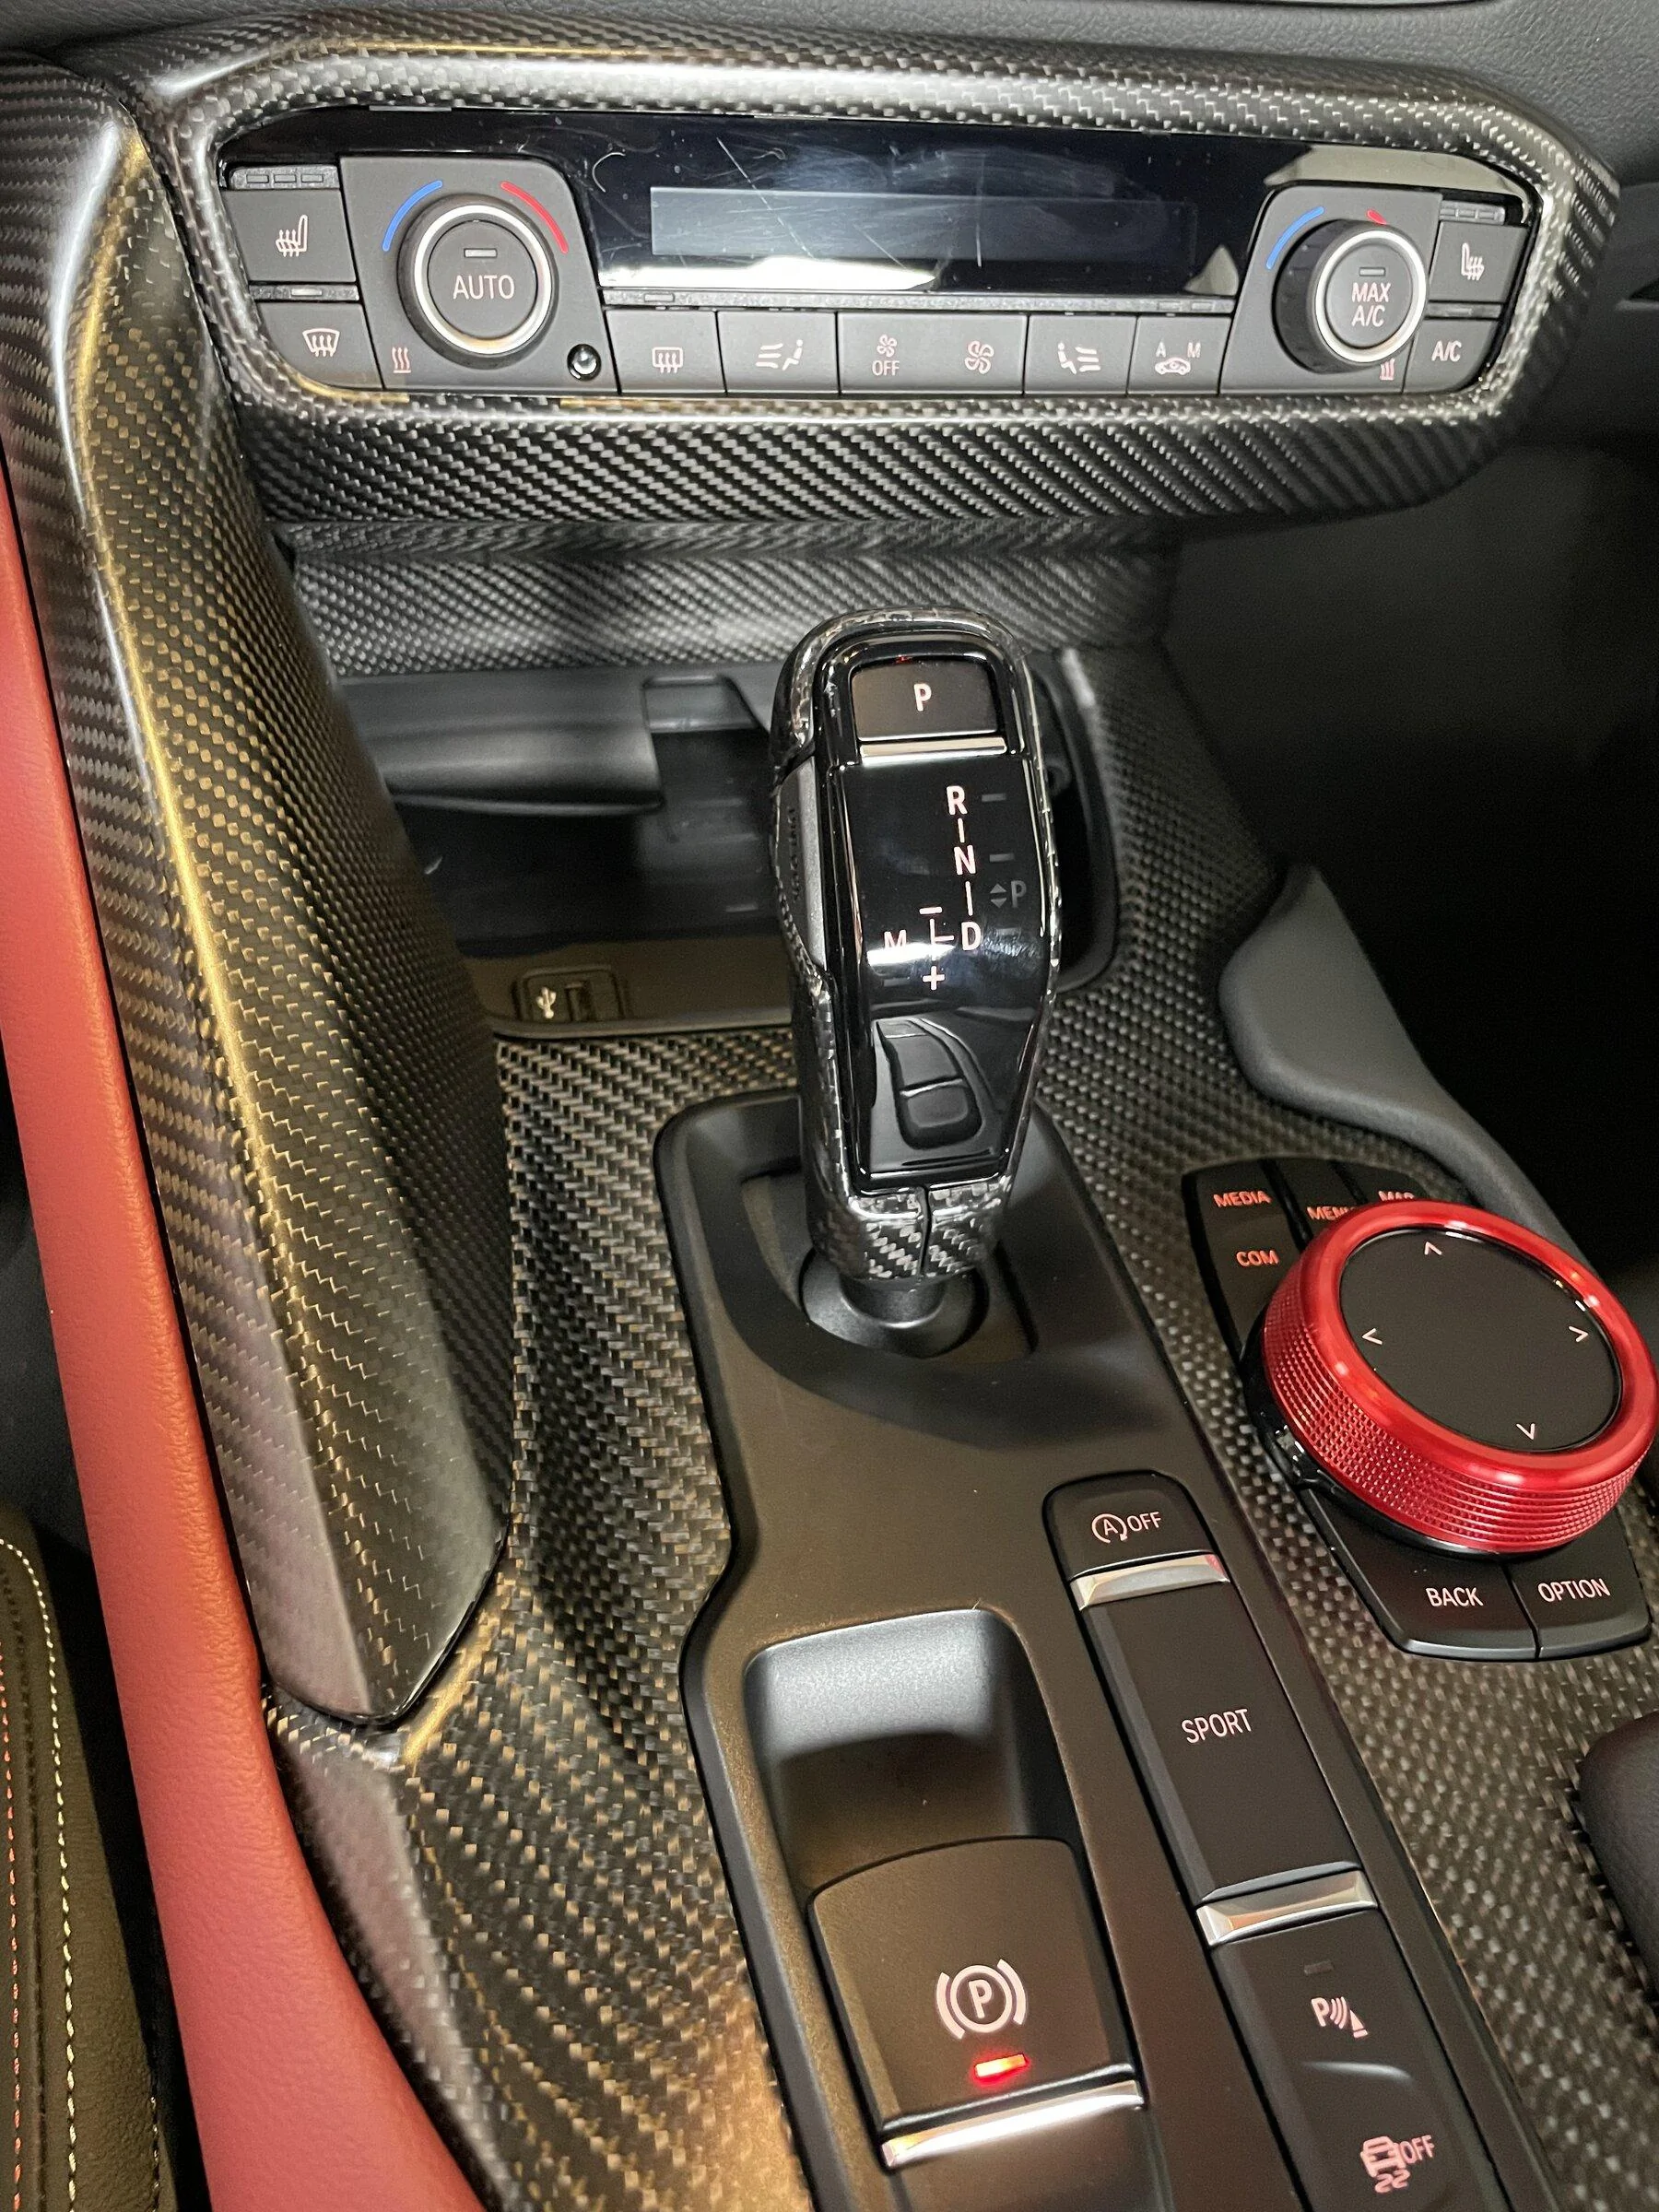
Which brand are these especially on the piece by your knee, the fitment is much better than most I’ve seenOn my particular vehicle, I’m not a fan of the ultra-high gloss carbon fiber. IMO It looks plastic, kinda cheap (don’t get me wrong, some other peoples applications it looks great.)
Whilst my exterior was being wrapped in matte PPF, I had him do the center console too.
Hard to capture the matte carbon fiber in the photo, but I’m a big fan. Will add some small high-gloss emblems to contrast in the near future.
(I’m not to keen on the red garnish for the control knob either. Thought it was fun at the time, but would like an anodized black one).

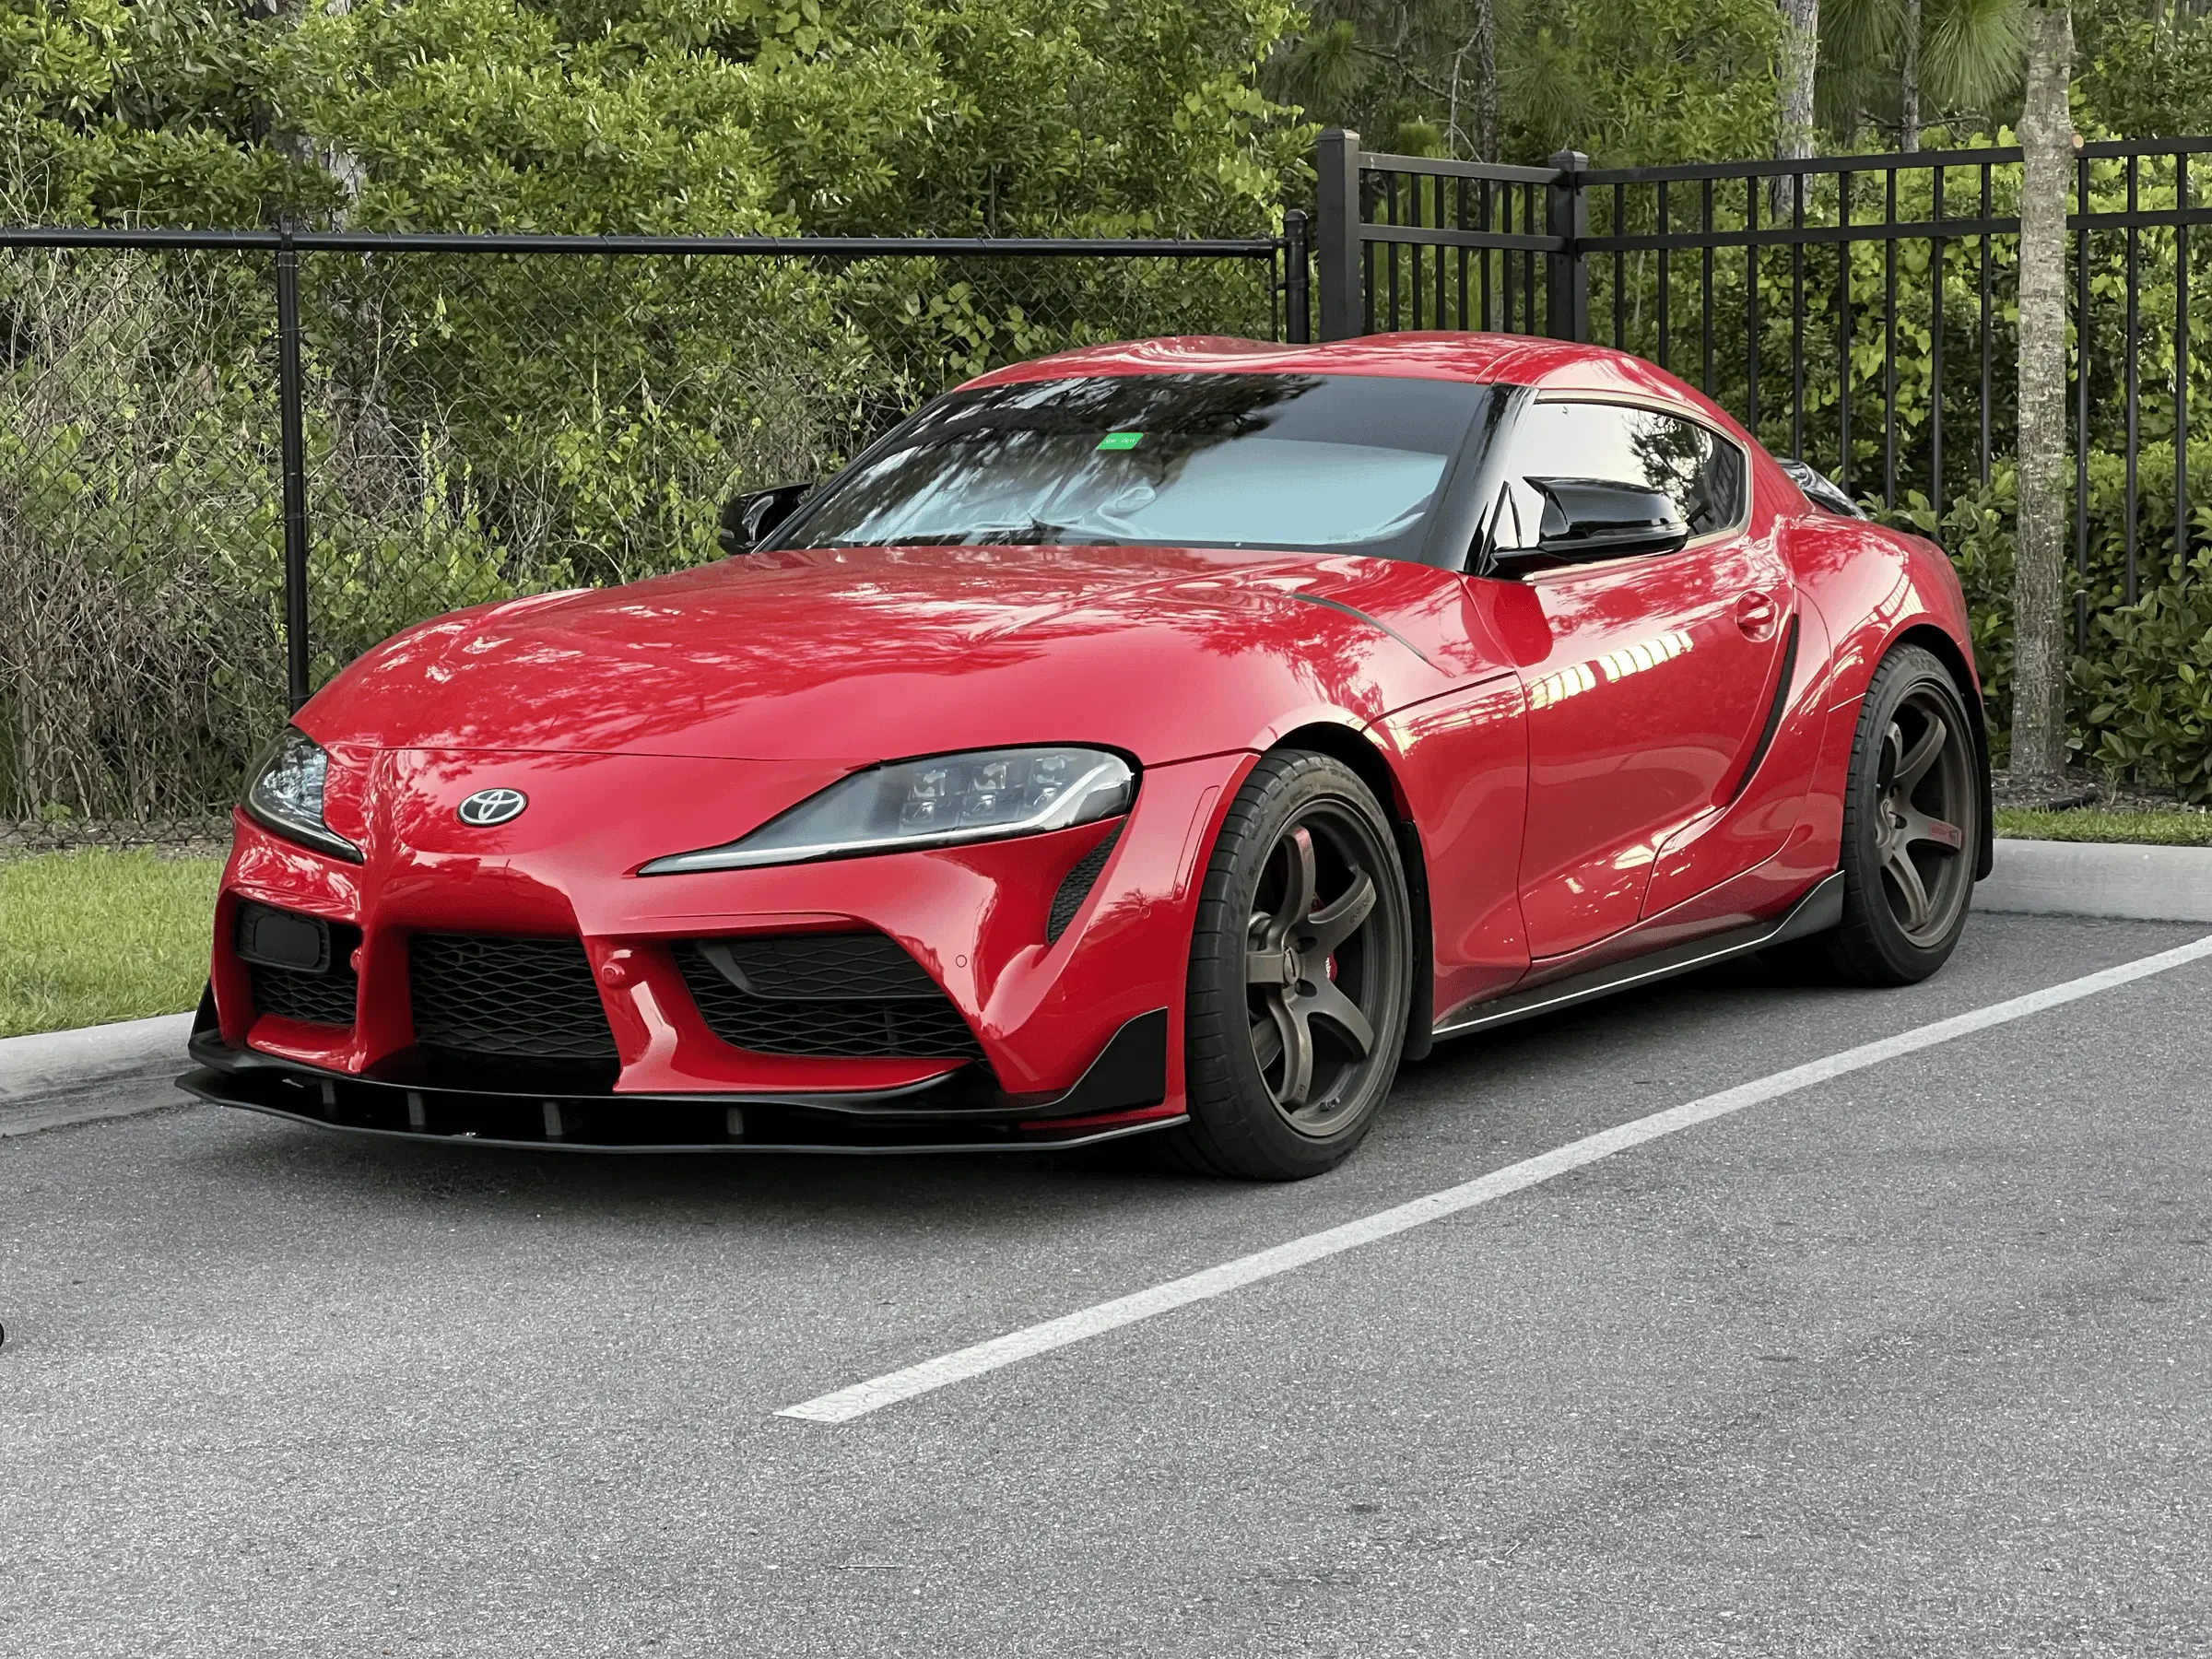
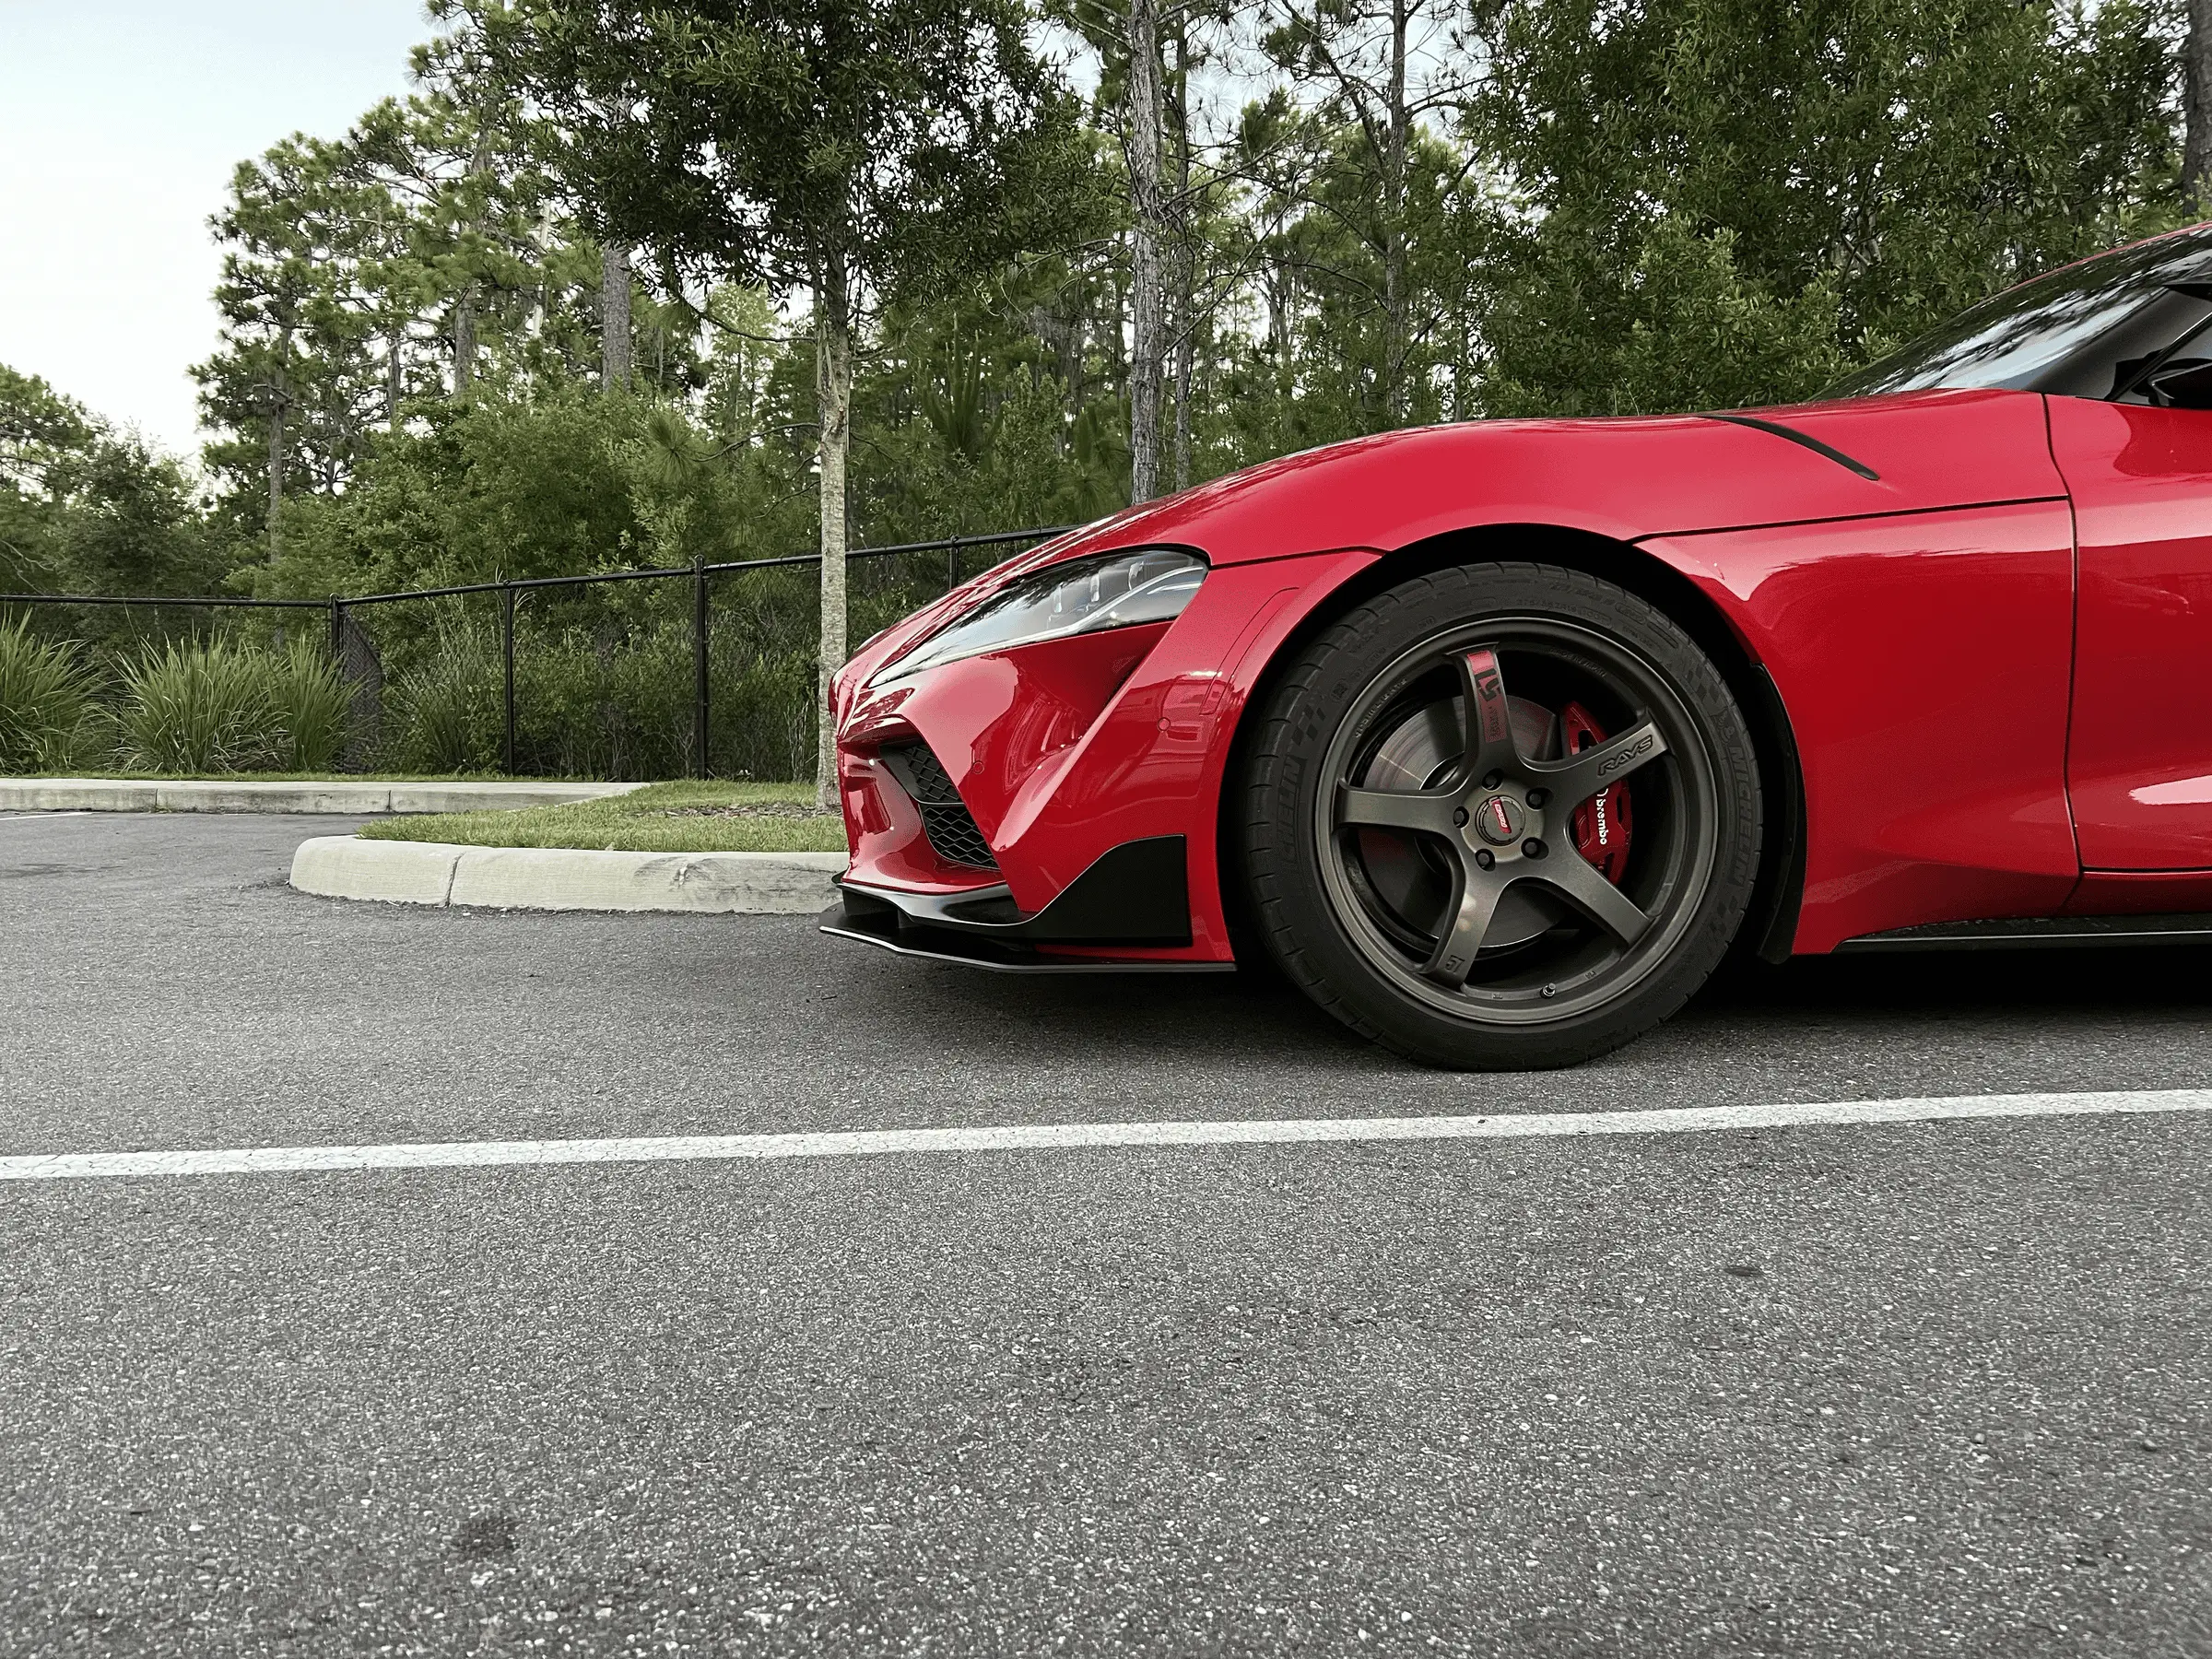



If I recall correctly there is a member on here with their Supra that color. It looks amazing. I think from Florida maybe? Hopefully he will chime in if he sees this with some pics!So basically, I don't really do anything with my Supra, apart from park beside nice cars.
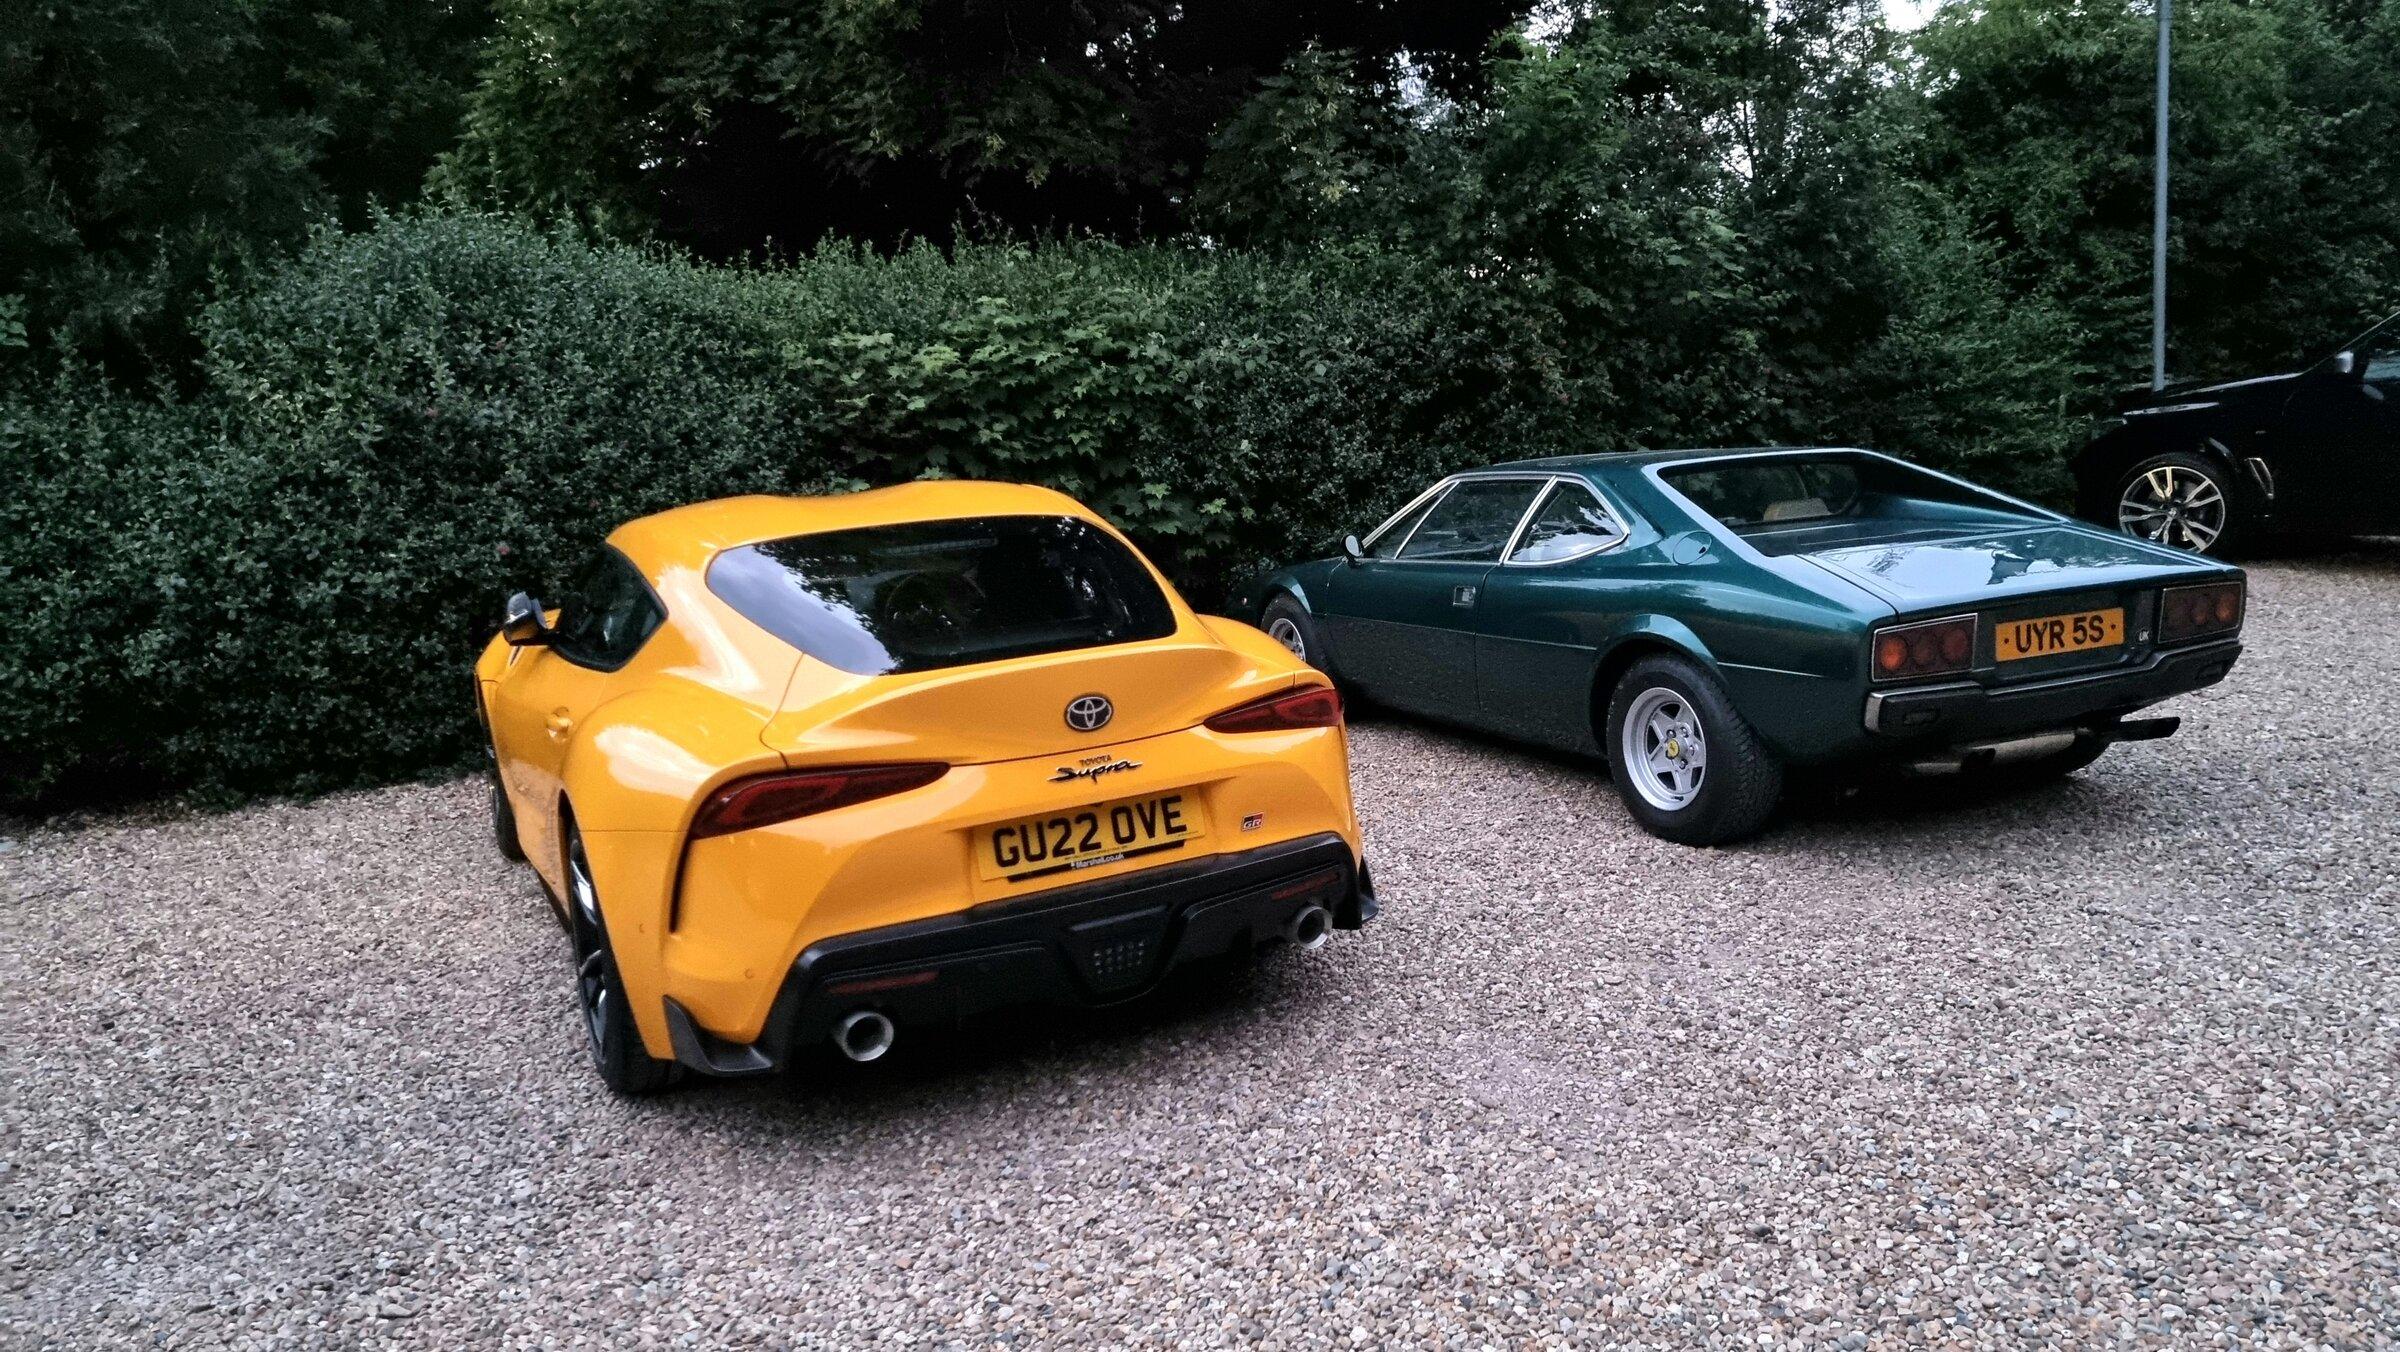
Ferrari last night at the pub

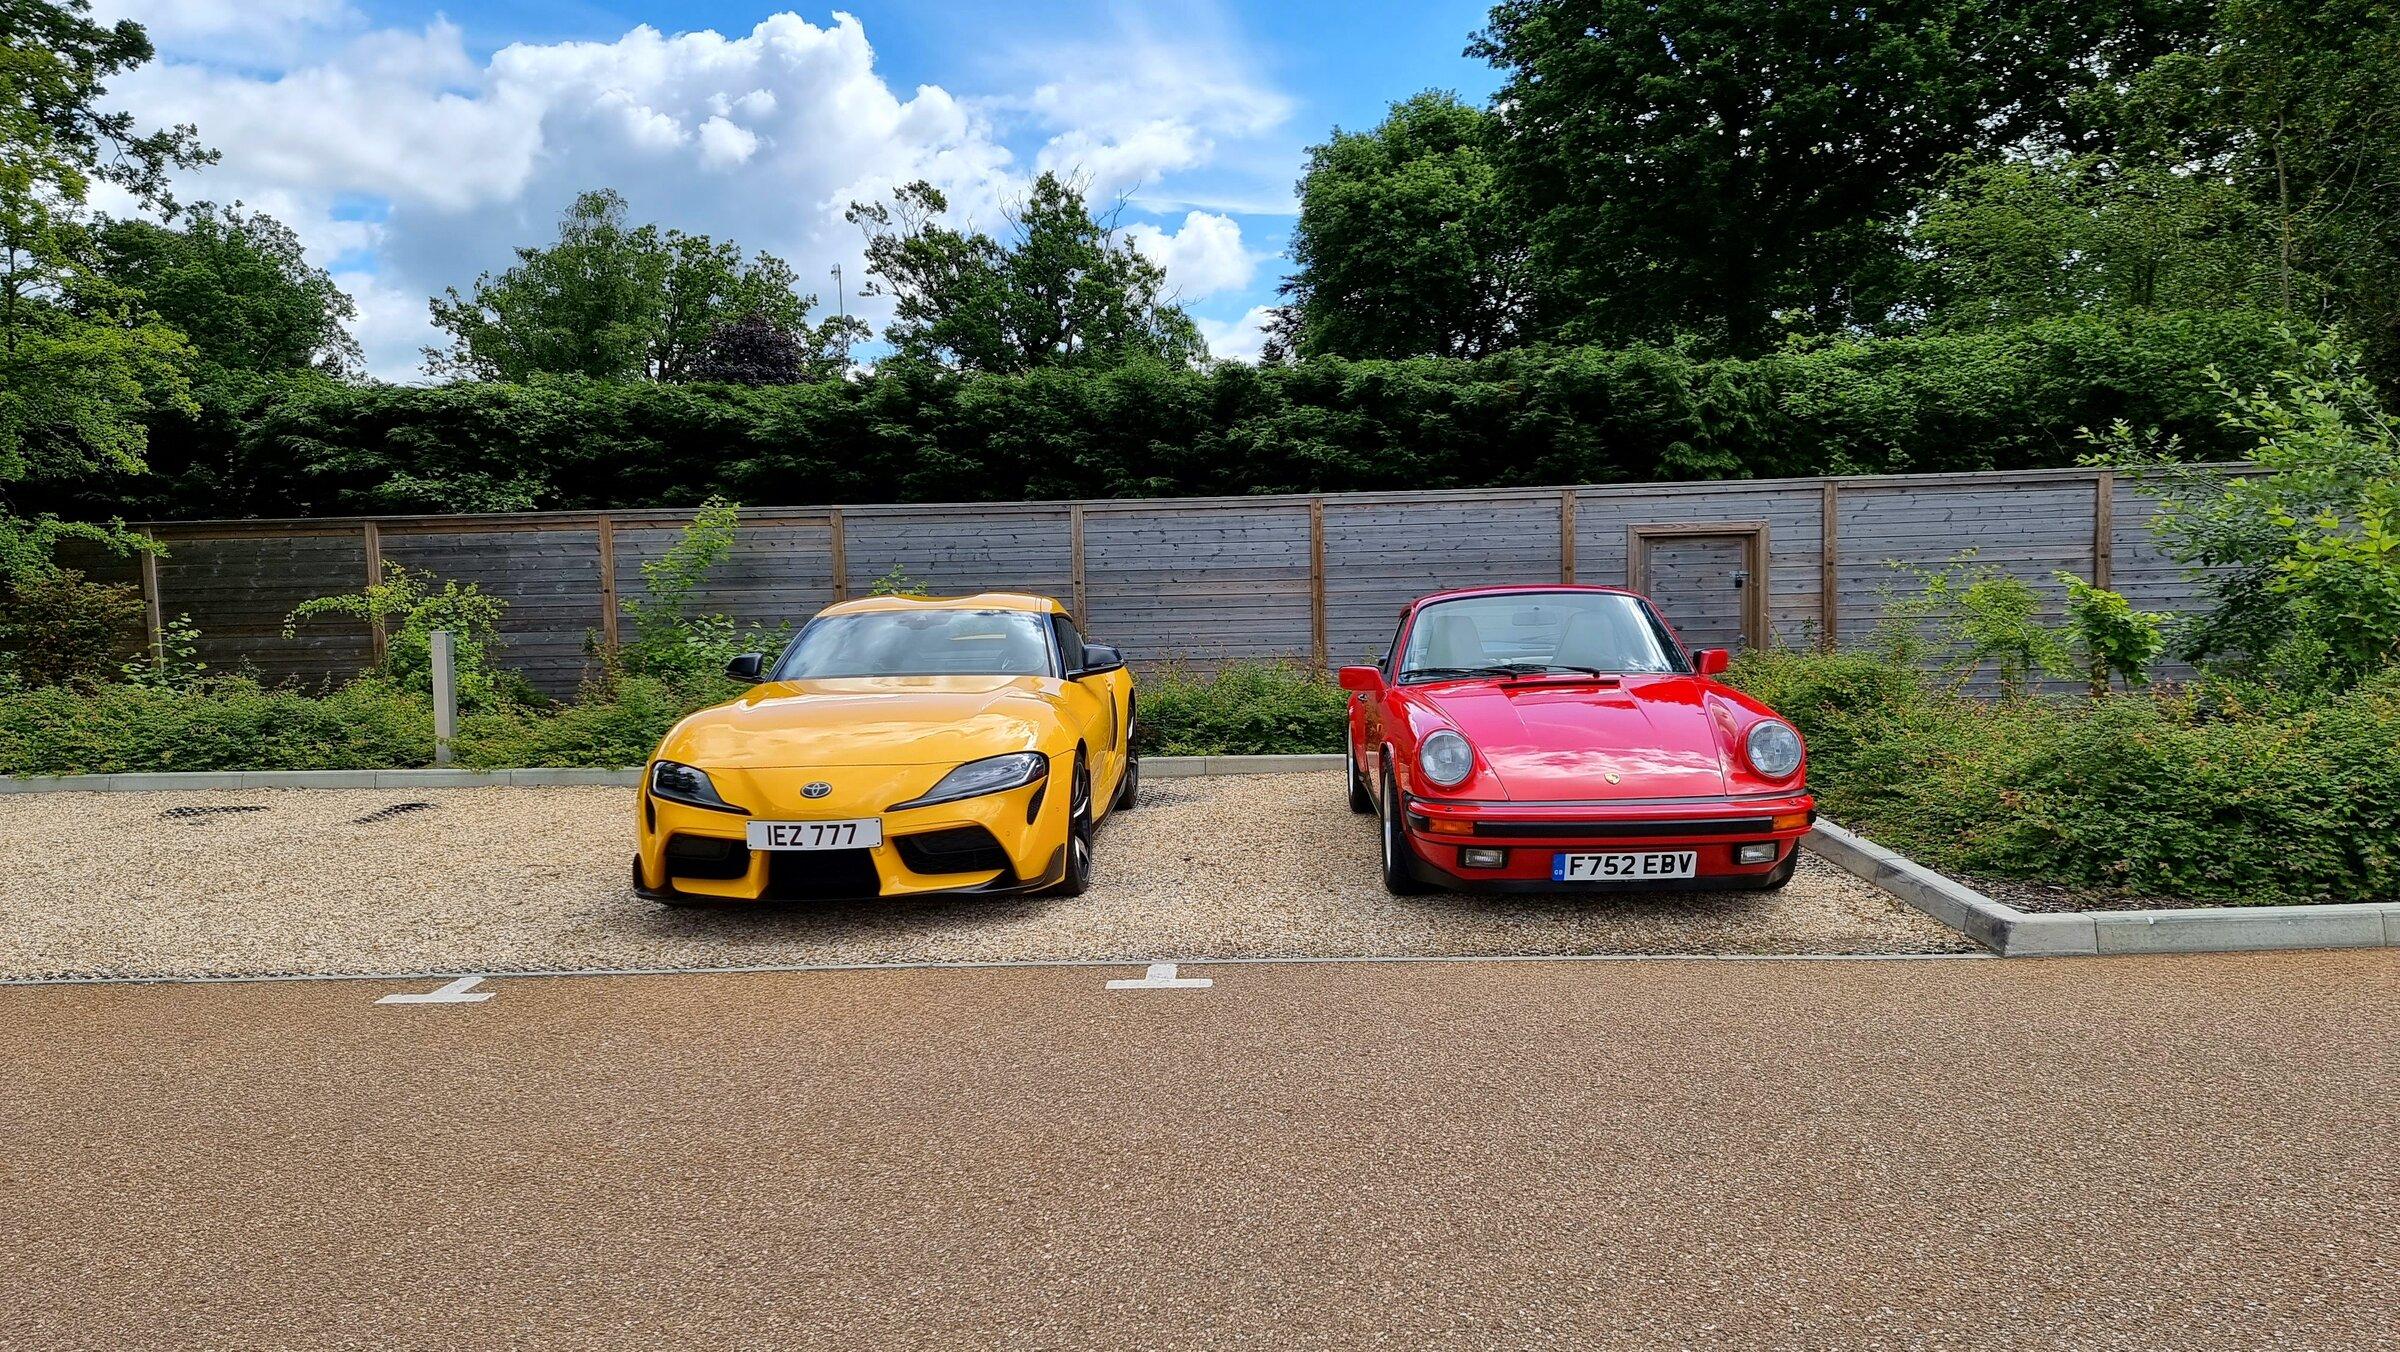
Changed to my Northern Irish plate this morning and parked beside this PRISTINE 911 at the garden centre.
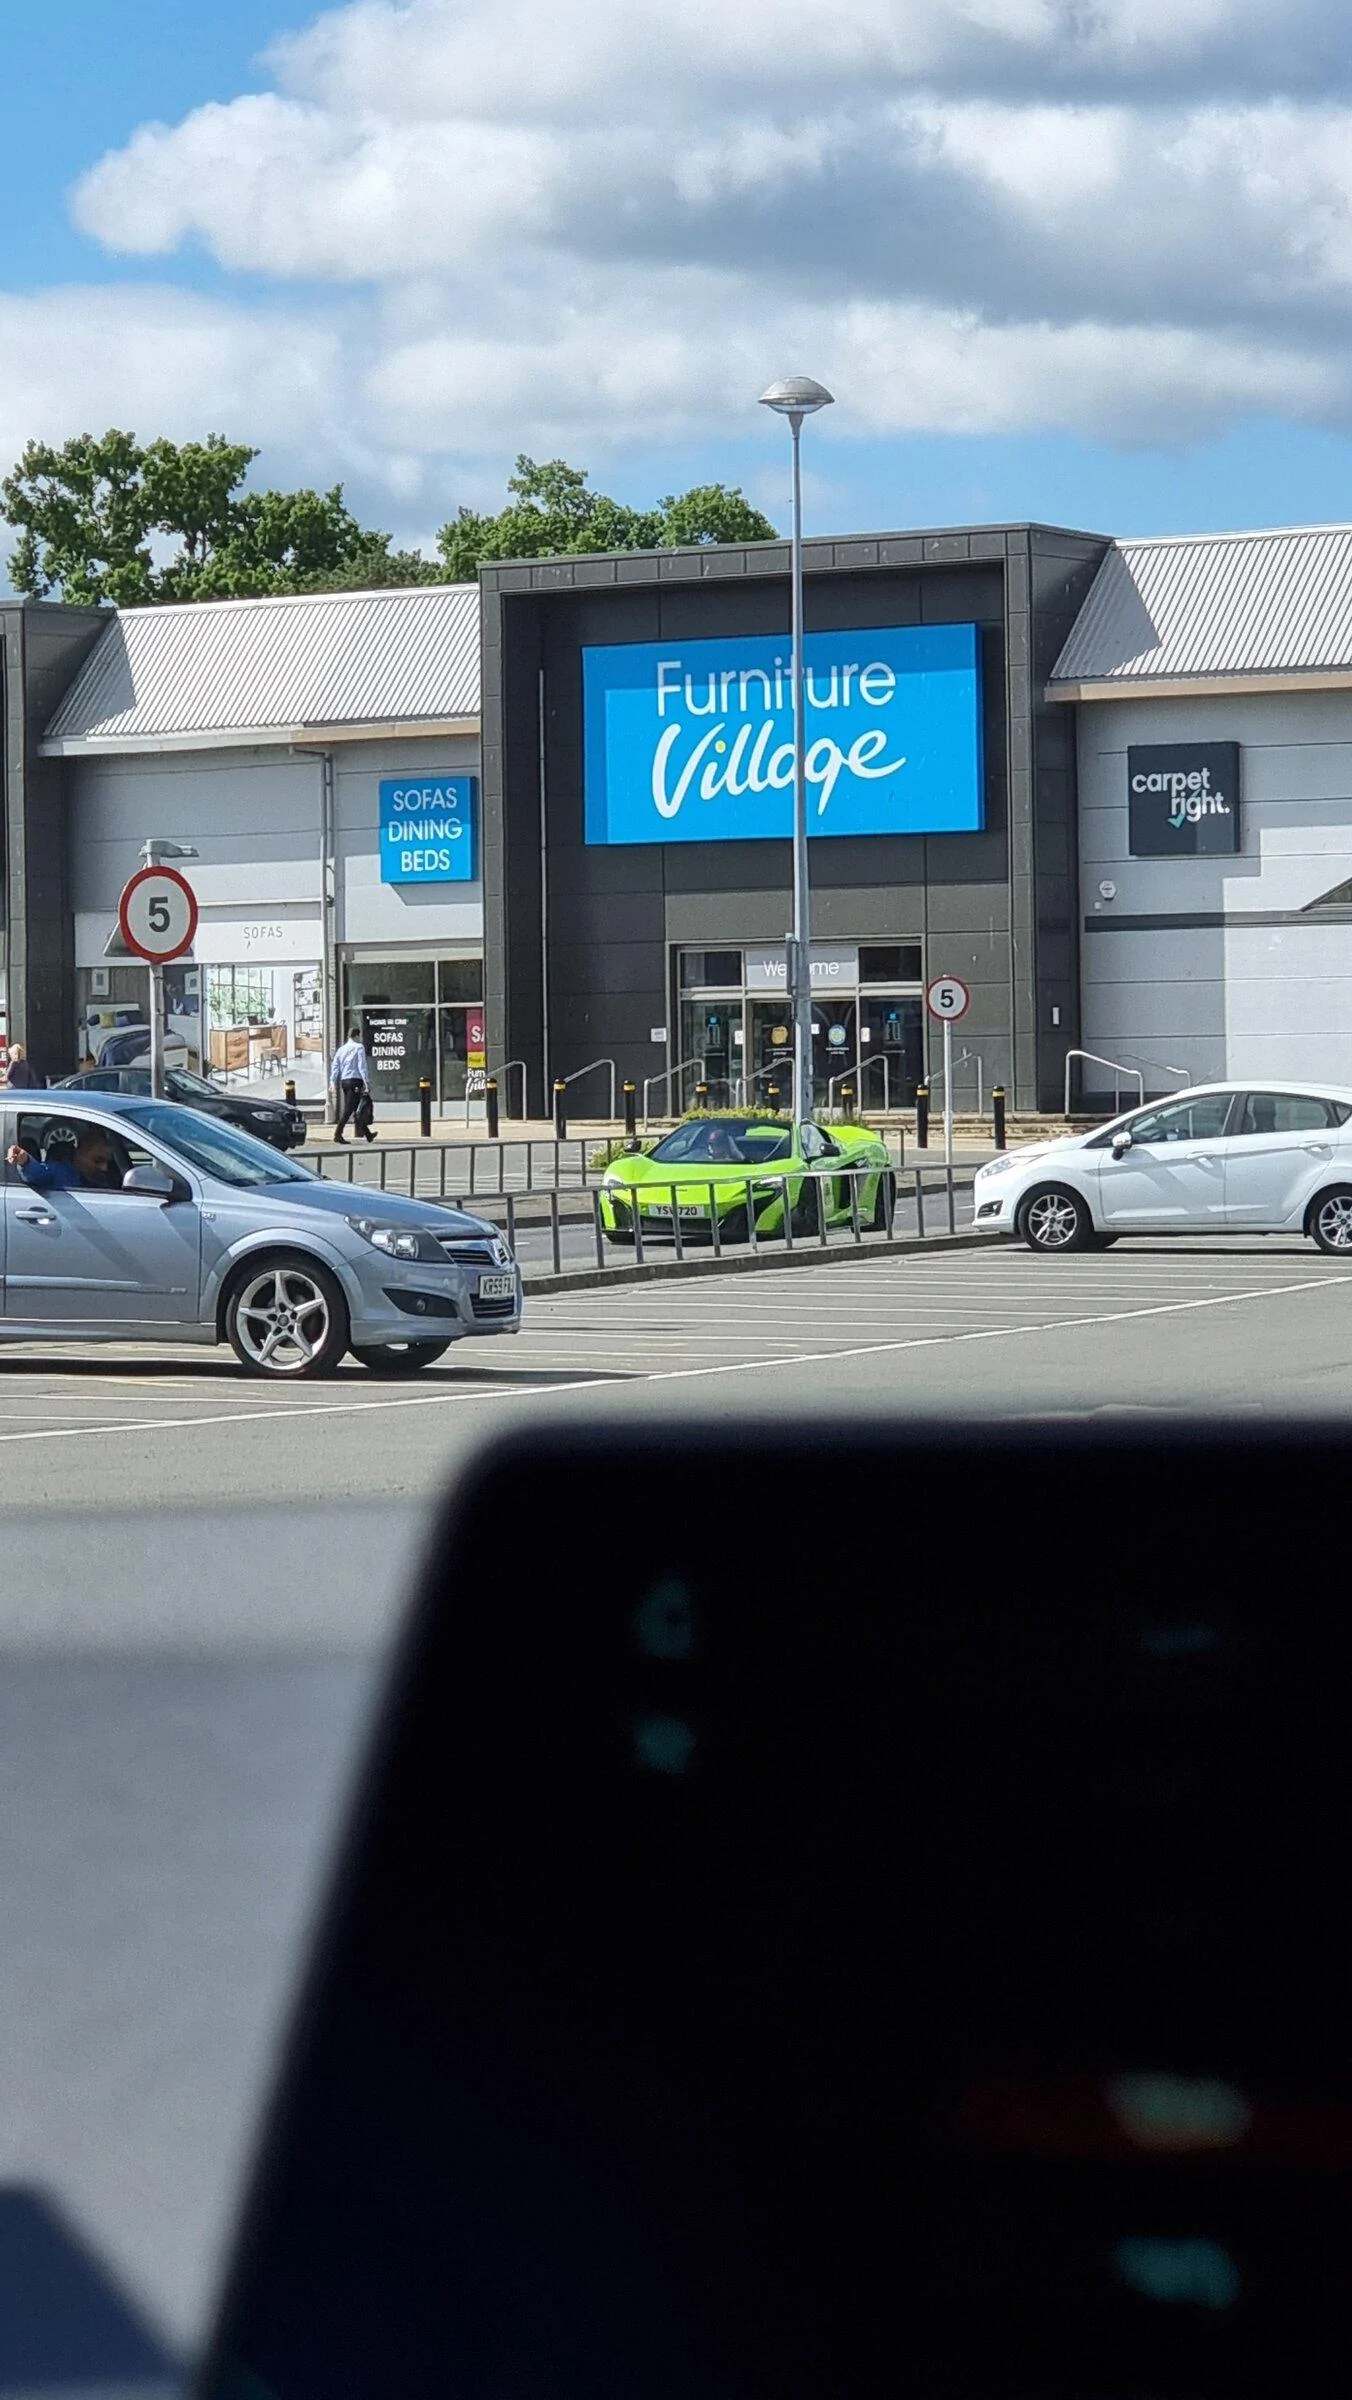
Not Supra related, but also seen this morning and I'd definitely have the Supra in this McLaren colour, if possible ??




Guess they aren’t lying by calling it SpeedShine, just not explaining that it’s slow speed and not fast.Cleaned her up real nice after I got her home. Ive been a long time Griots SpeedShine user and recently got their new version.. while it works well if you're like an old guy with too much time on his hands buffing like the last thing to do in life it works very well, but for me buffing for so long extends my "quick detailing" time from 45min to near 2 hours.. not sure which part is "quick".
Going to get the original formula next time.
The original formula is carnauba based and it dries a lot faster and does not smear making buffing a lot less work.Guess they aren’t lying by calling it SpeedShine, just not explaining that it’s slow speed and not fast.
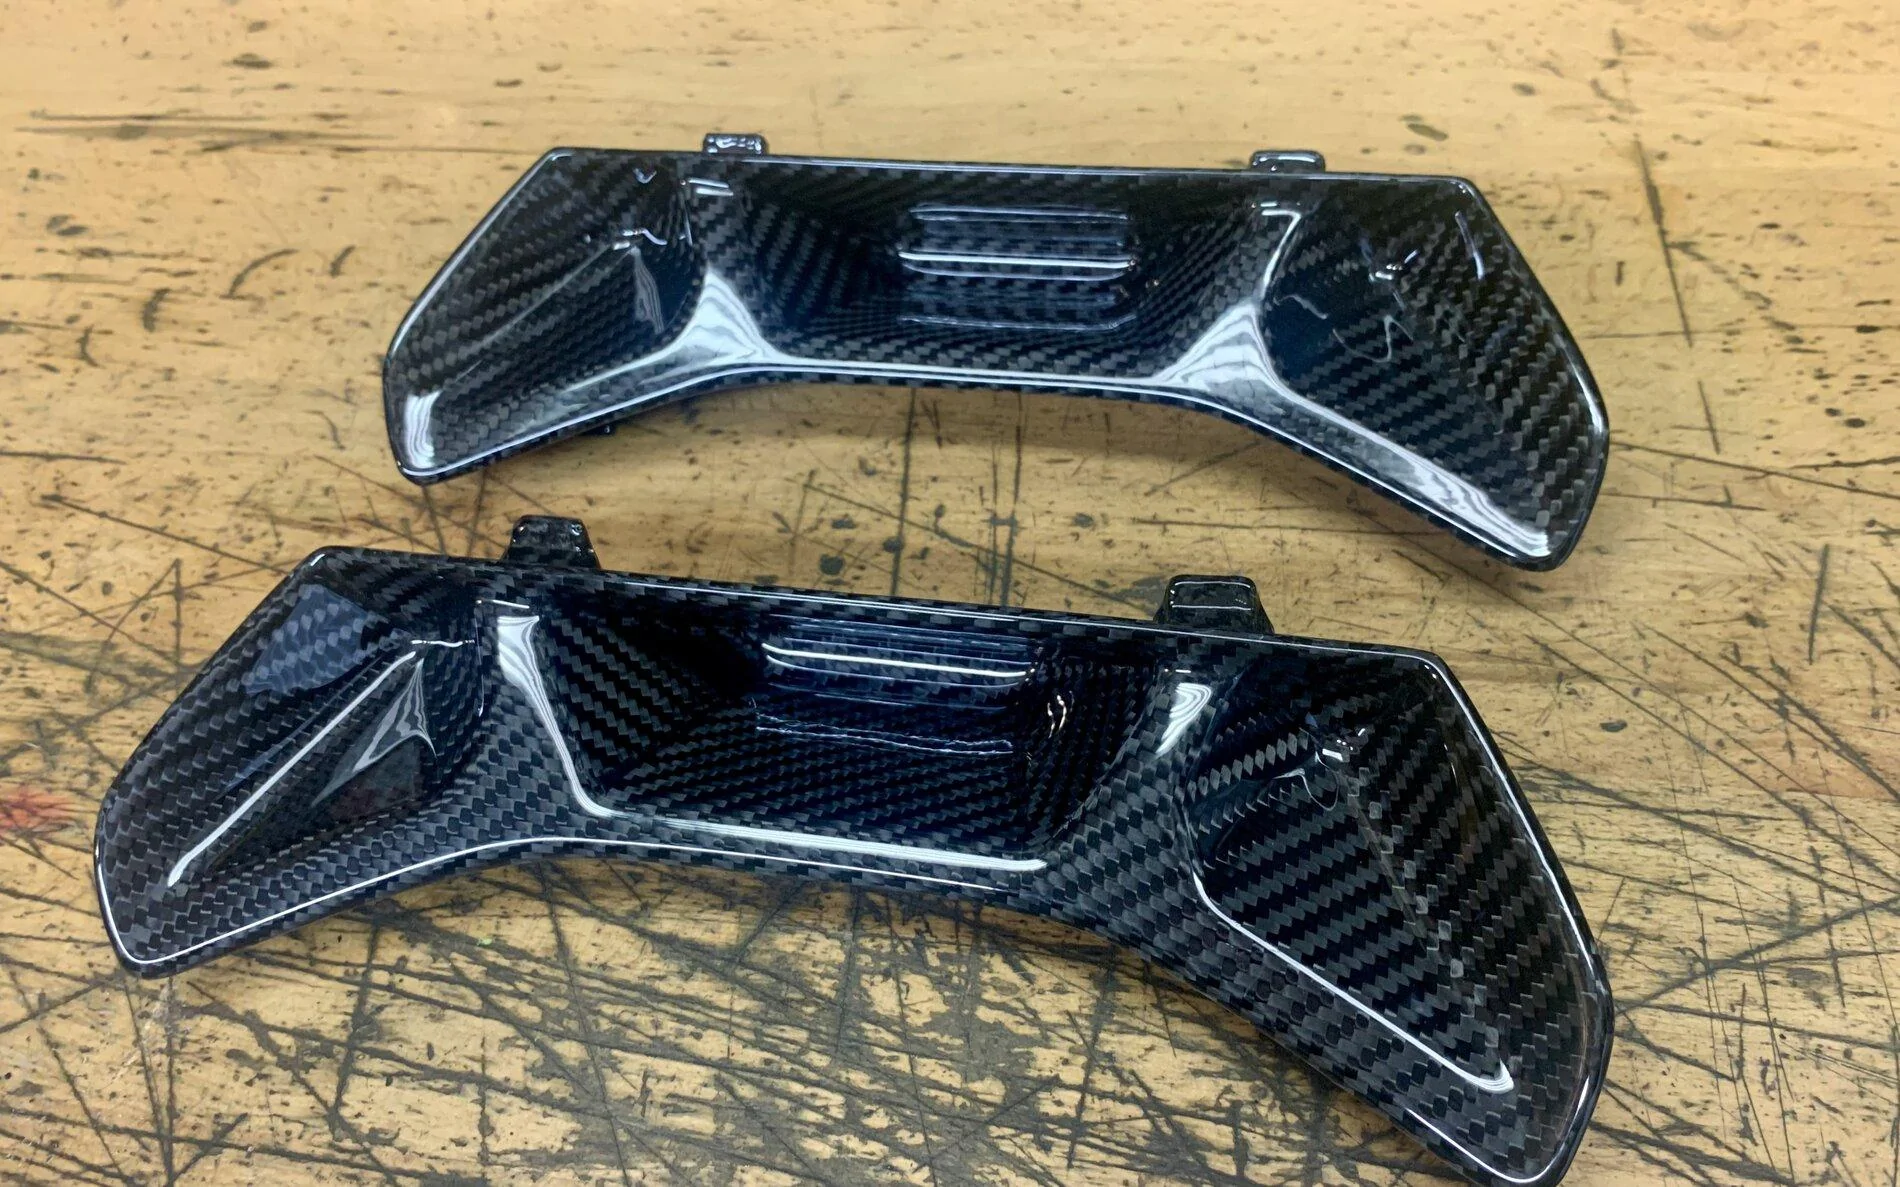
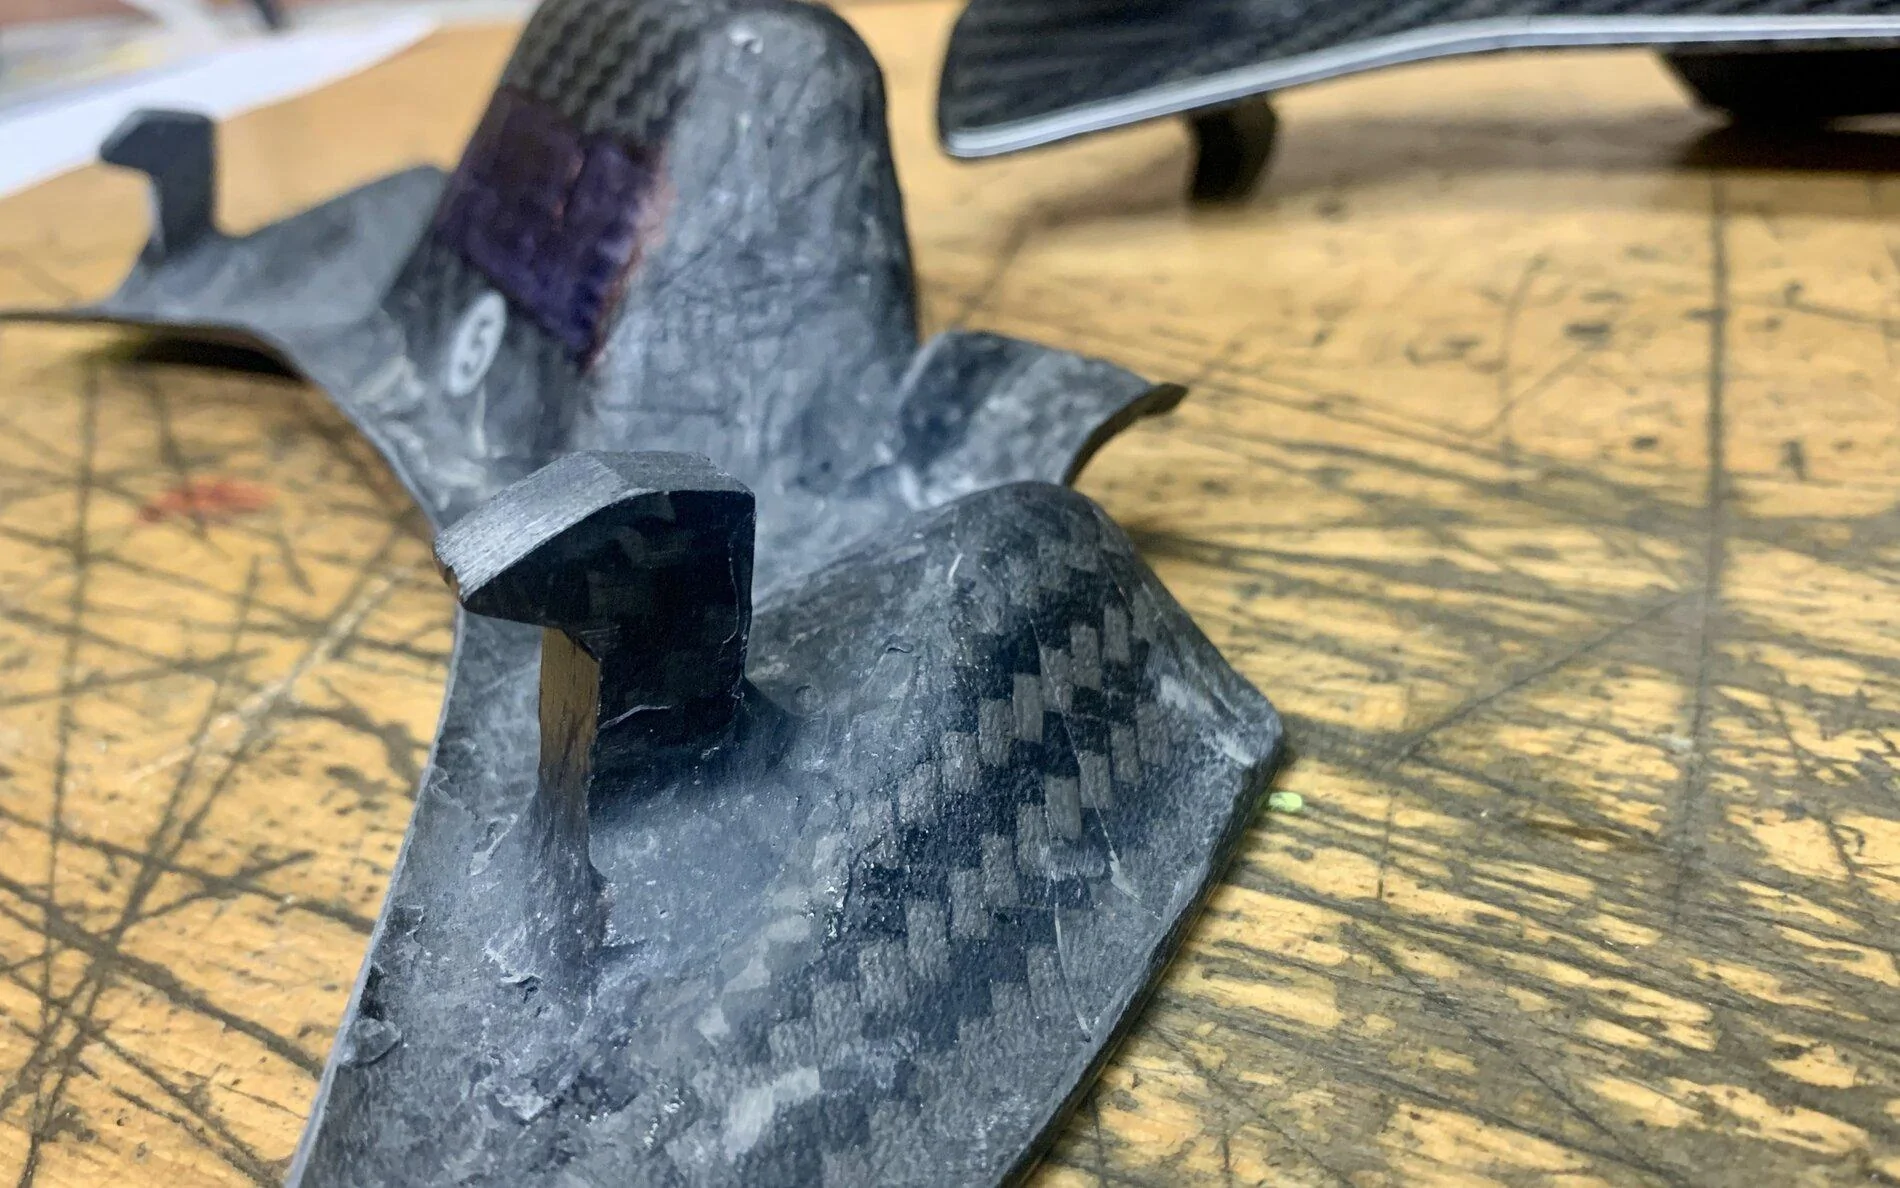
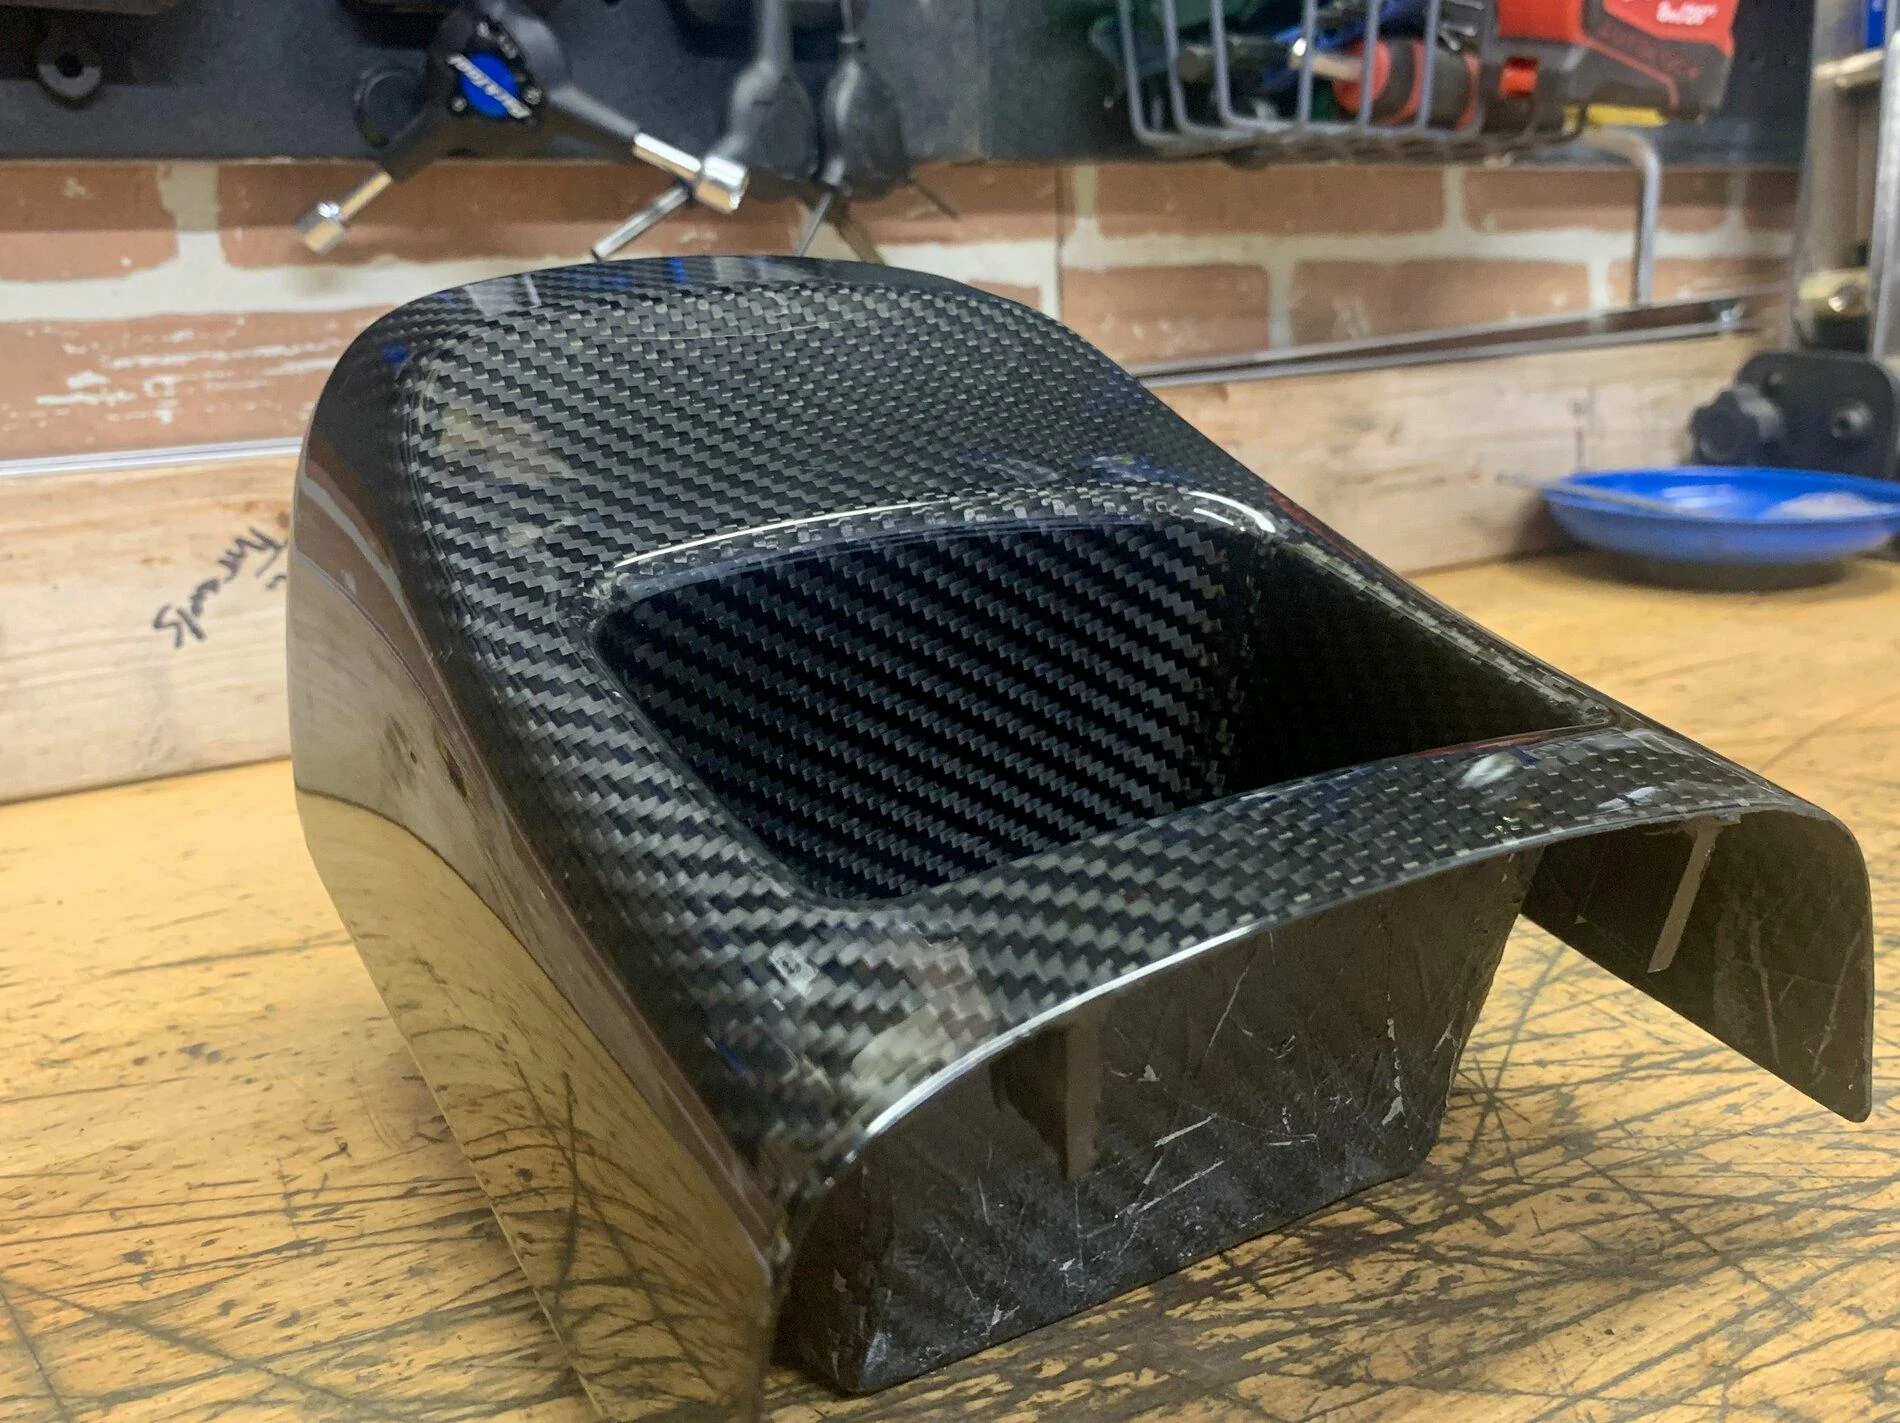
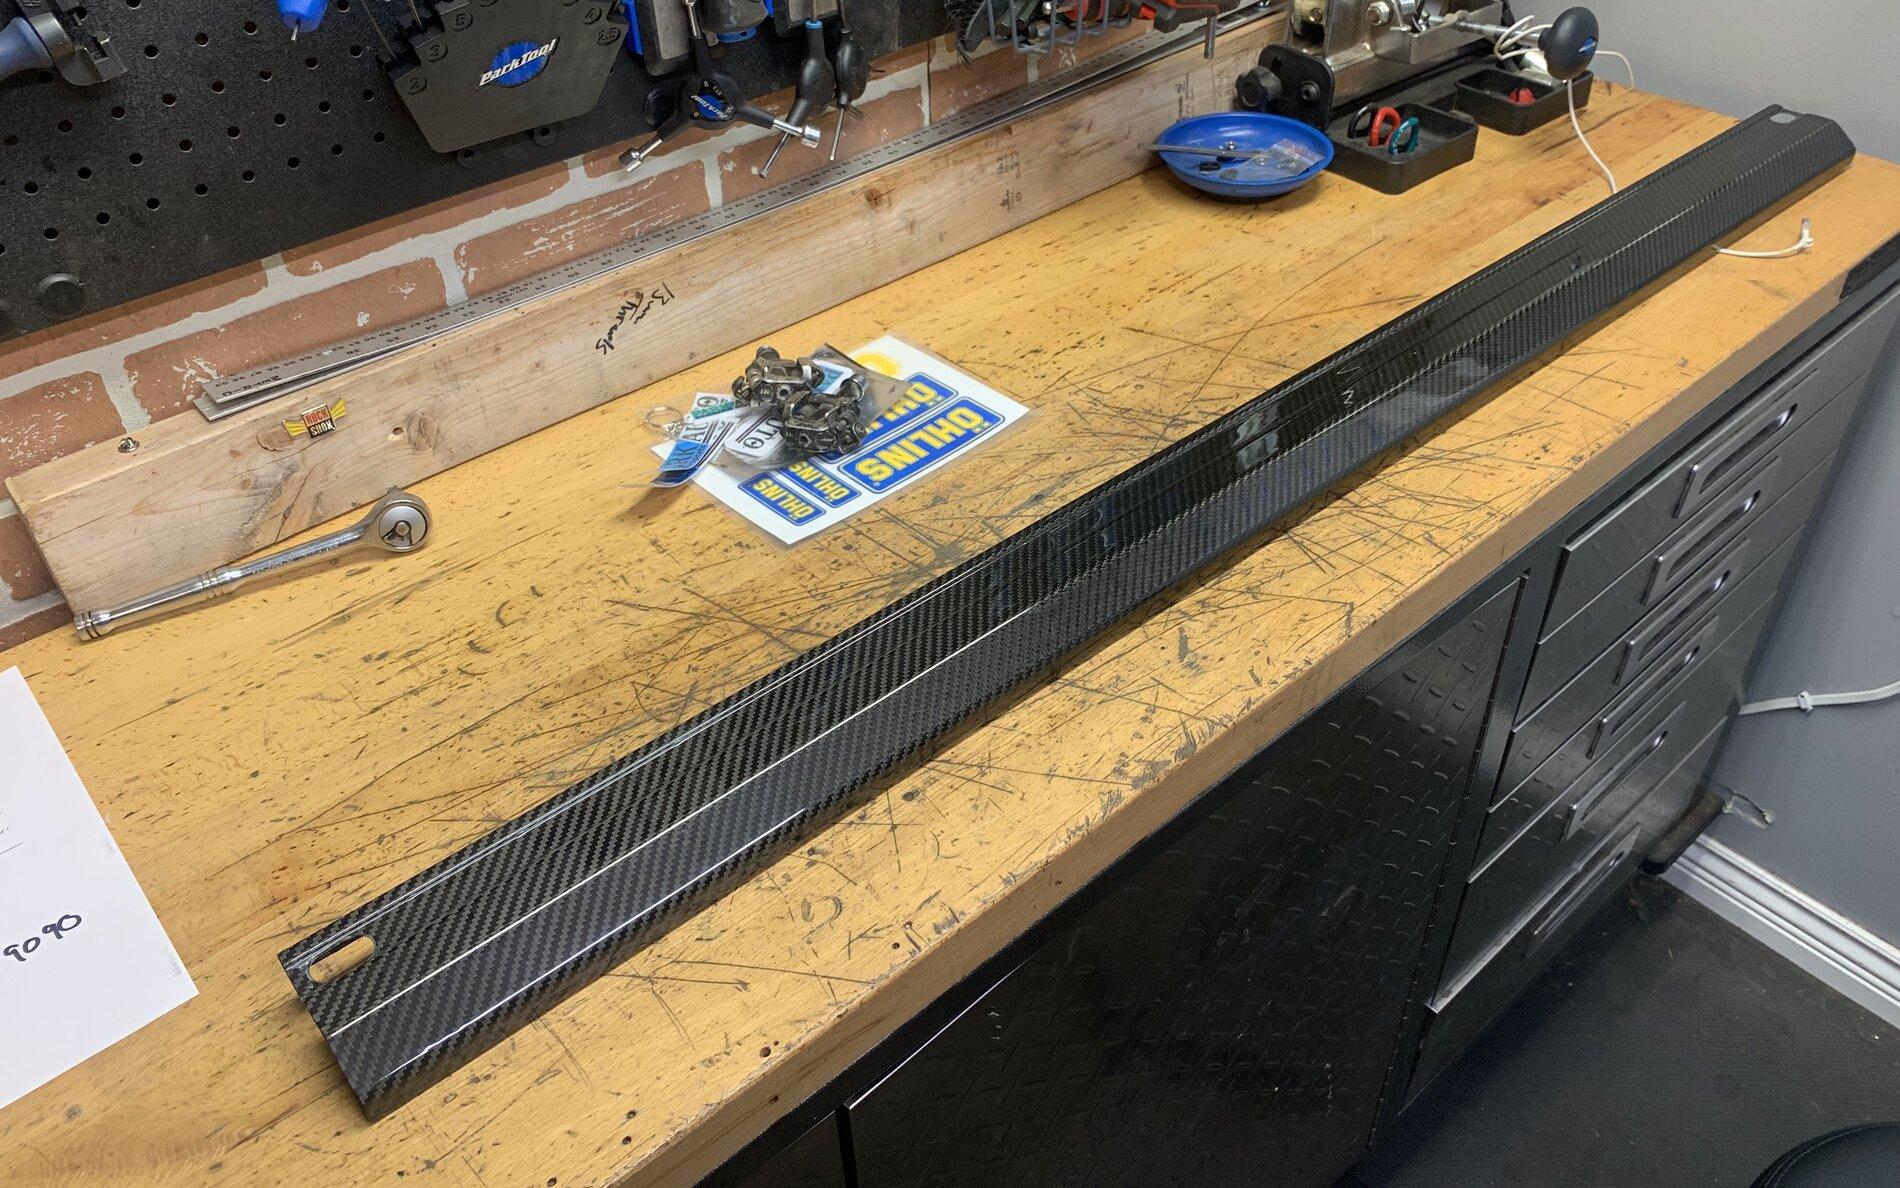
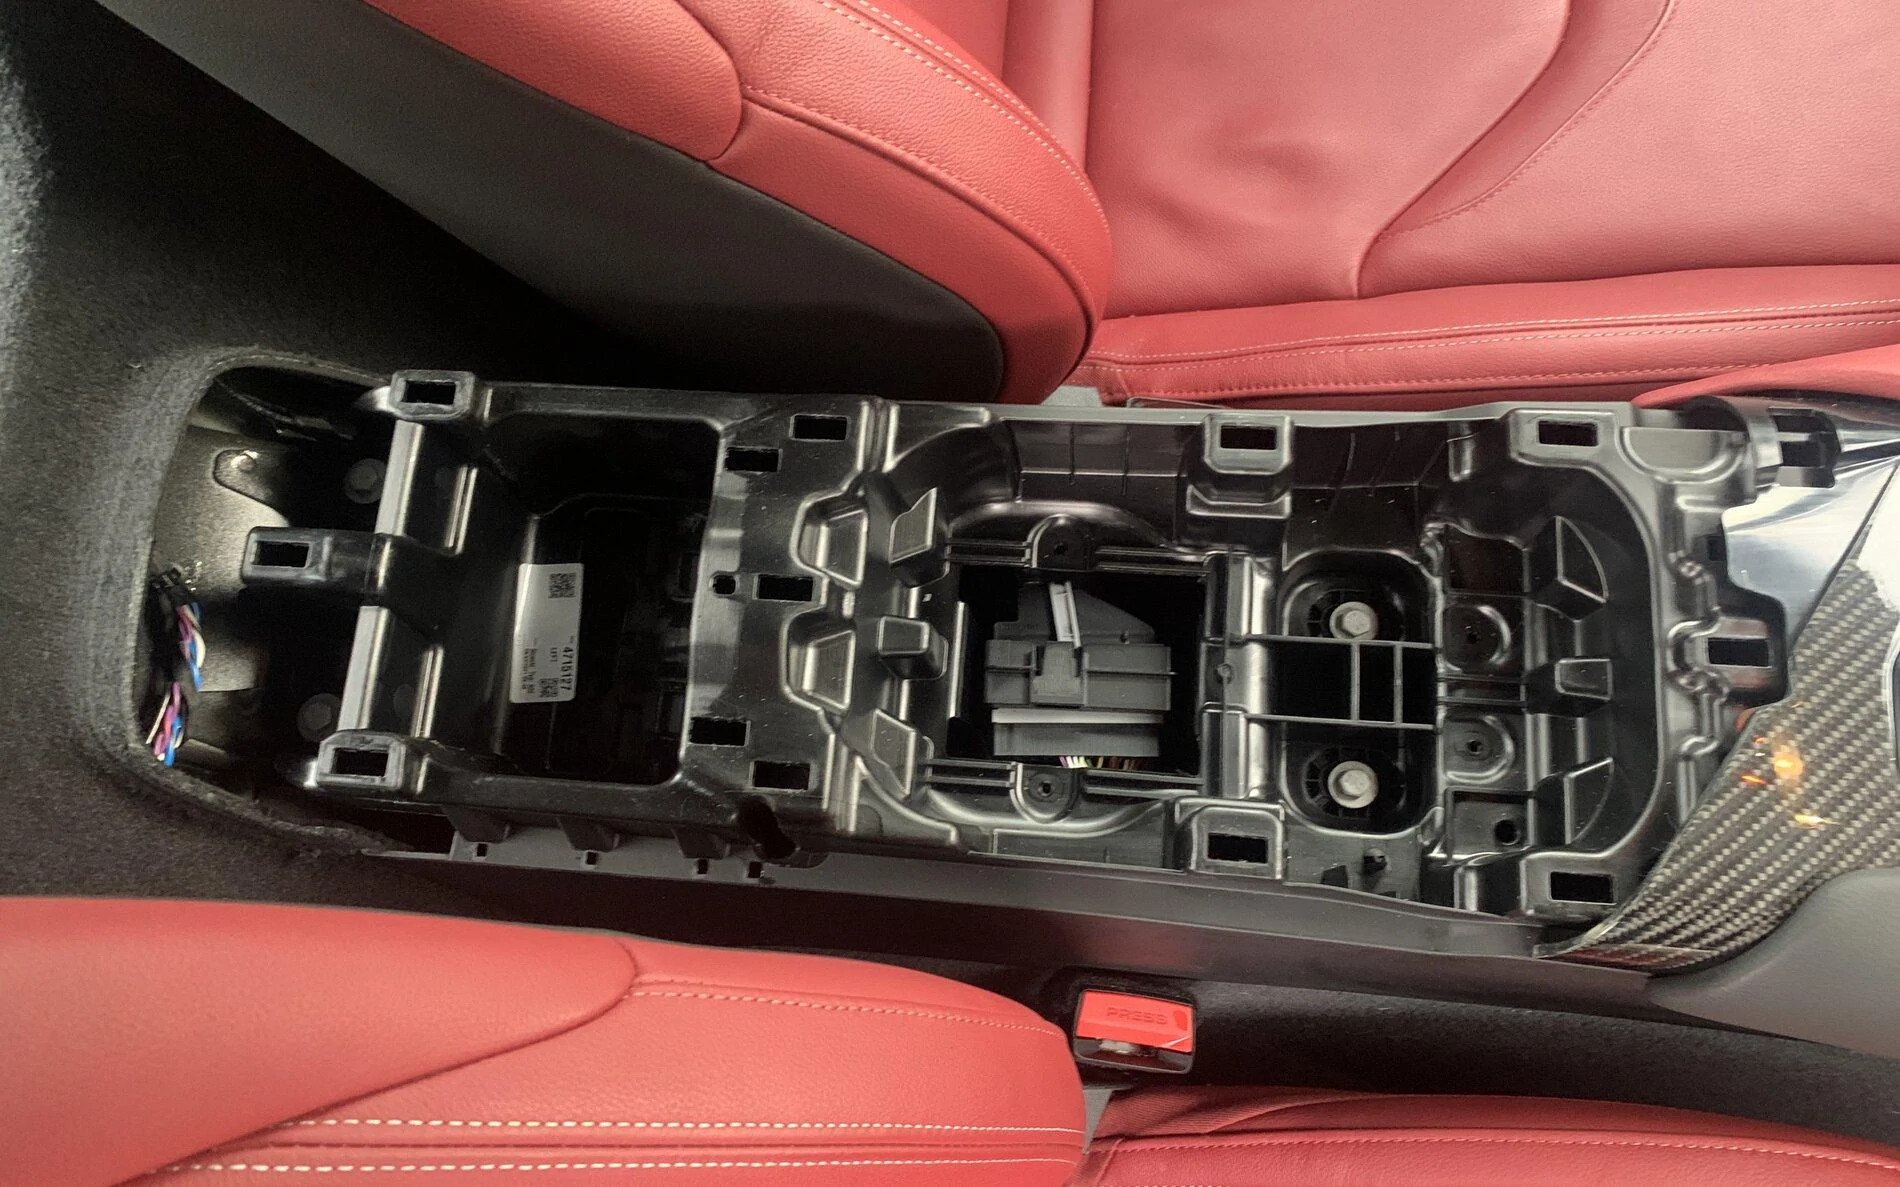
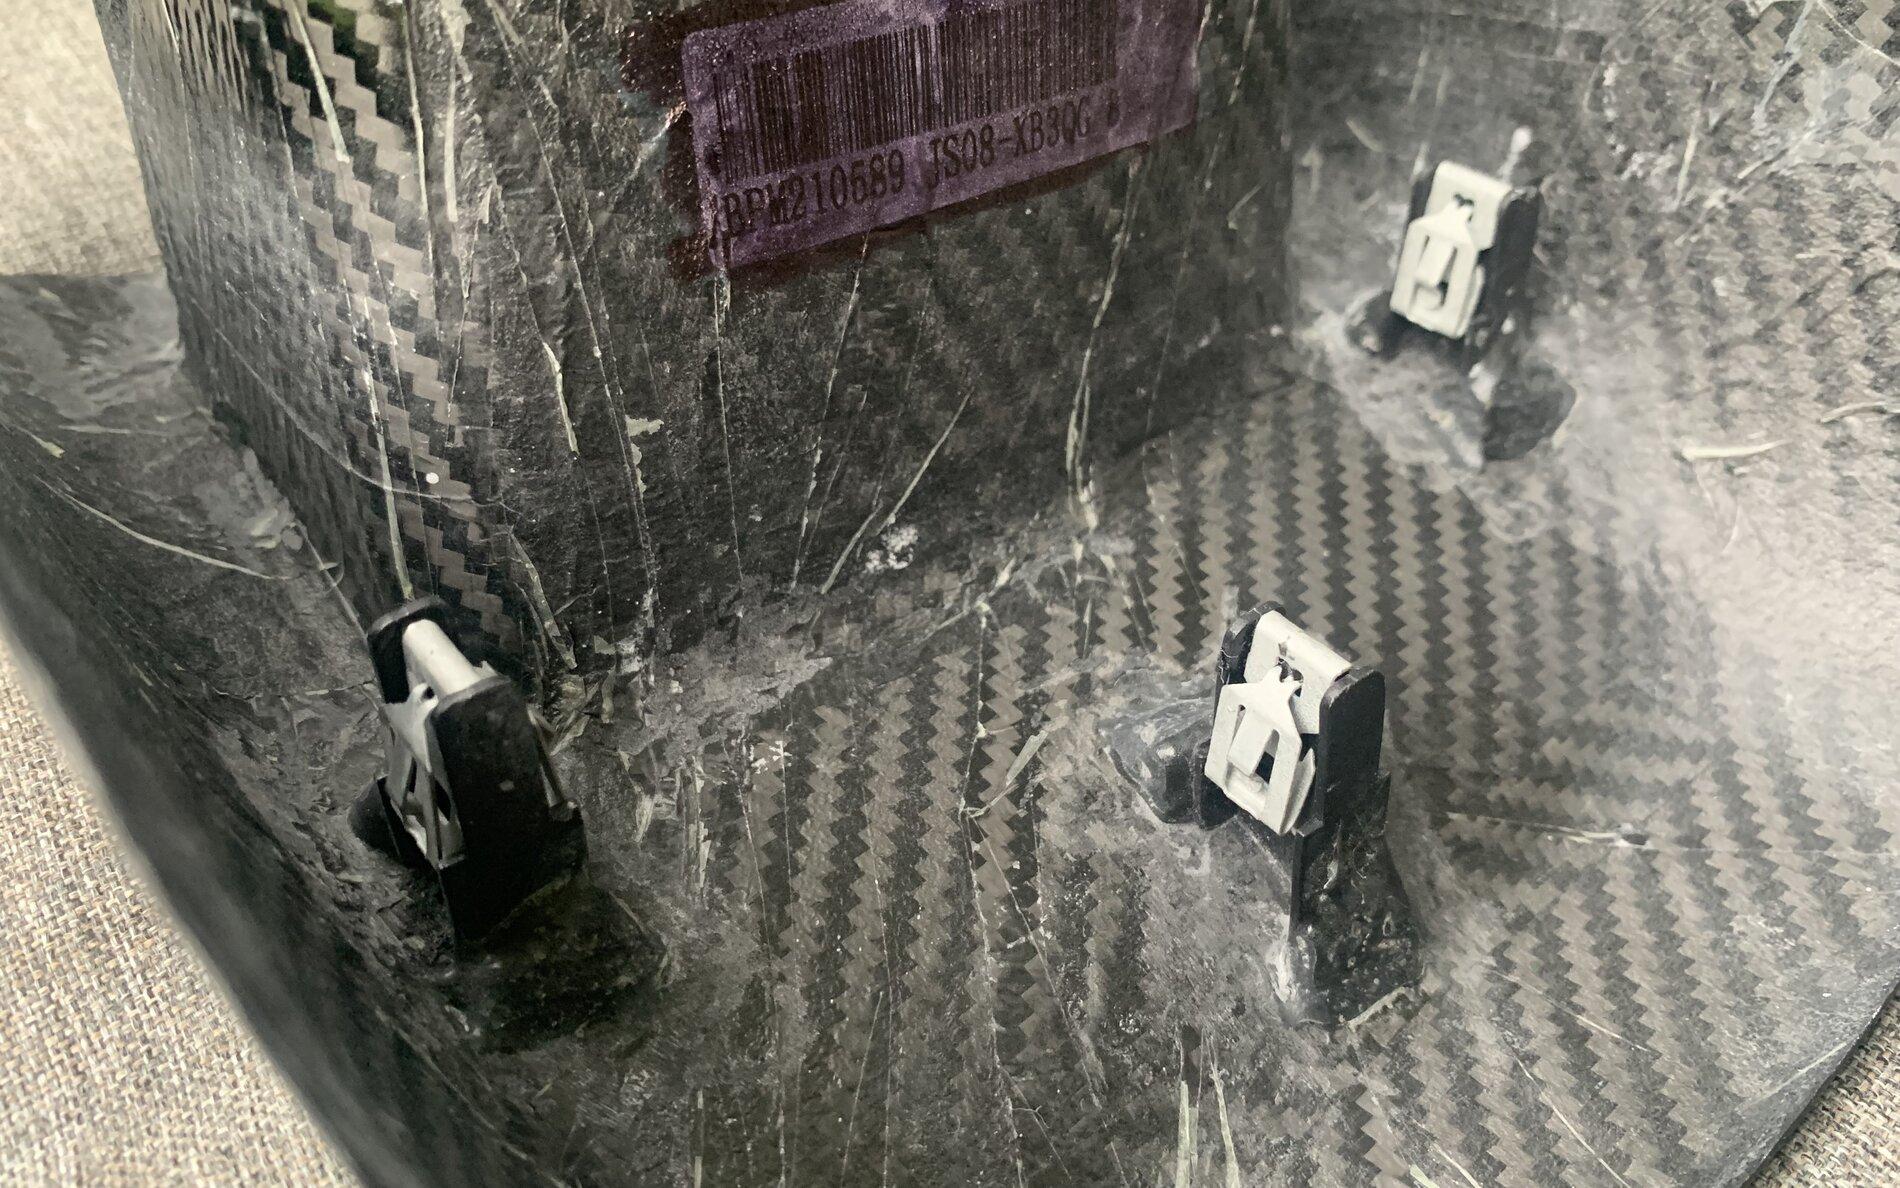
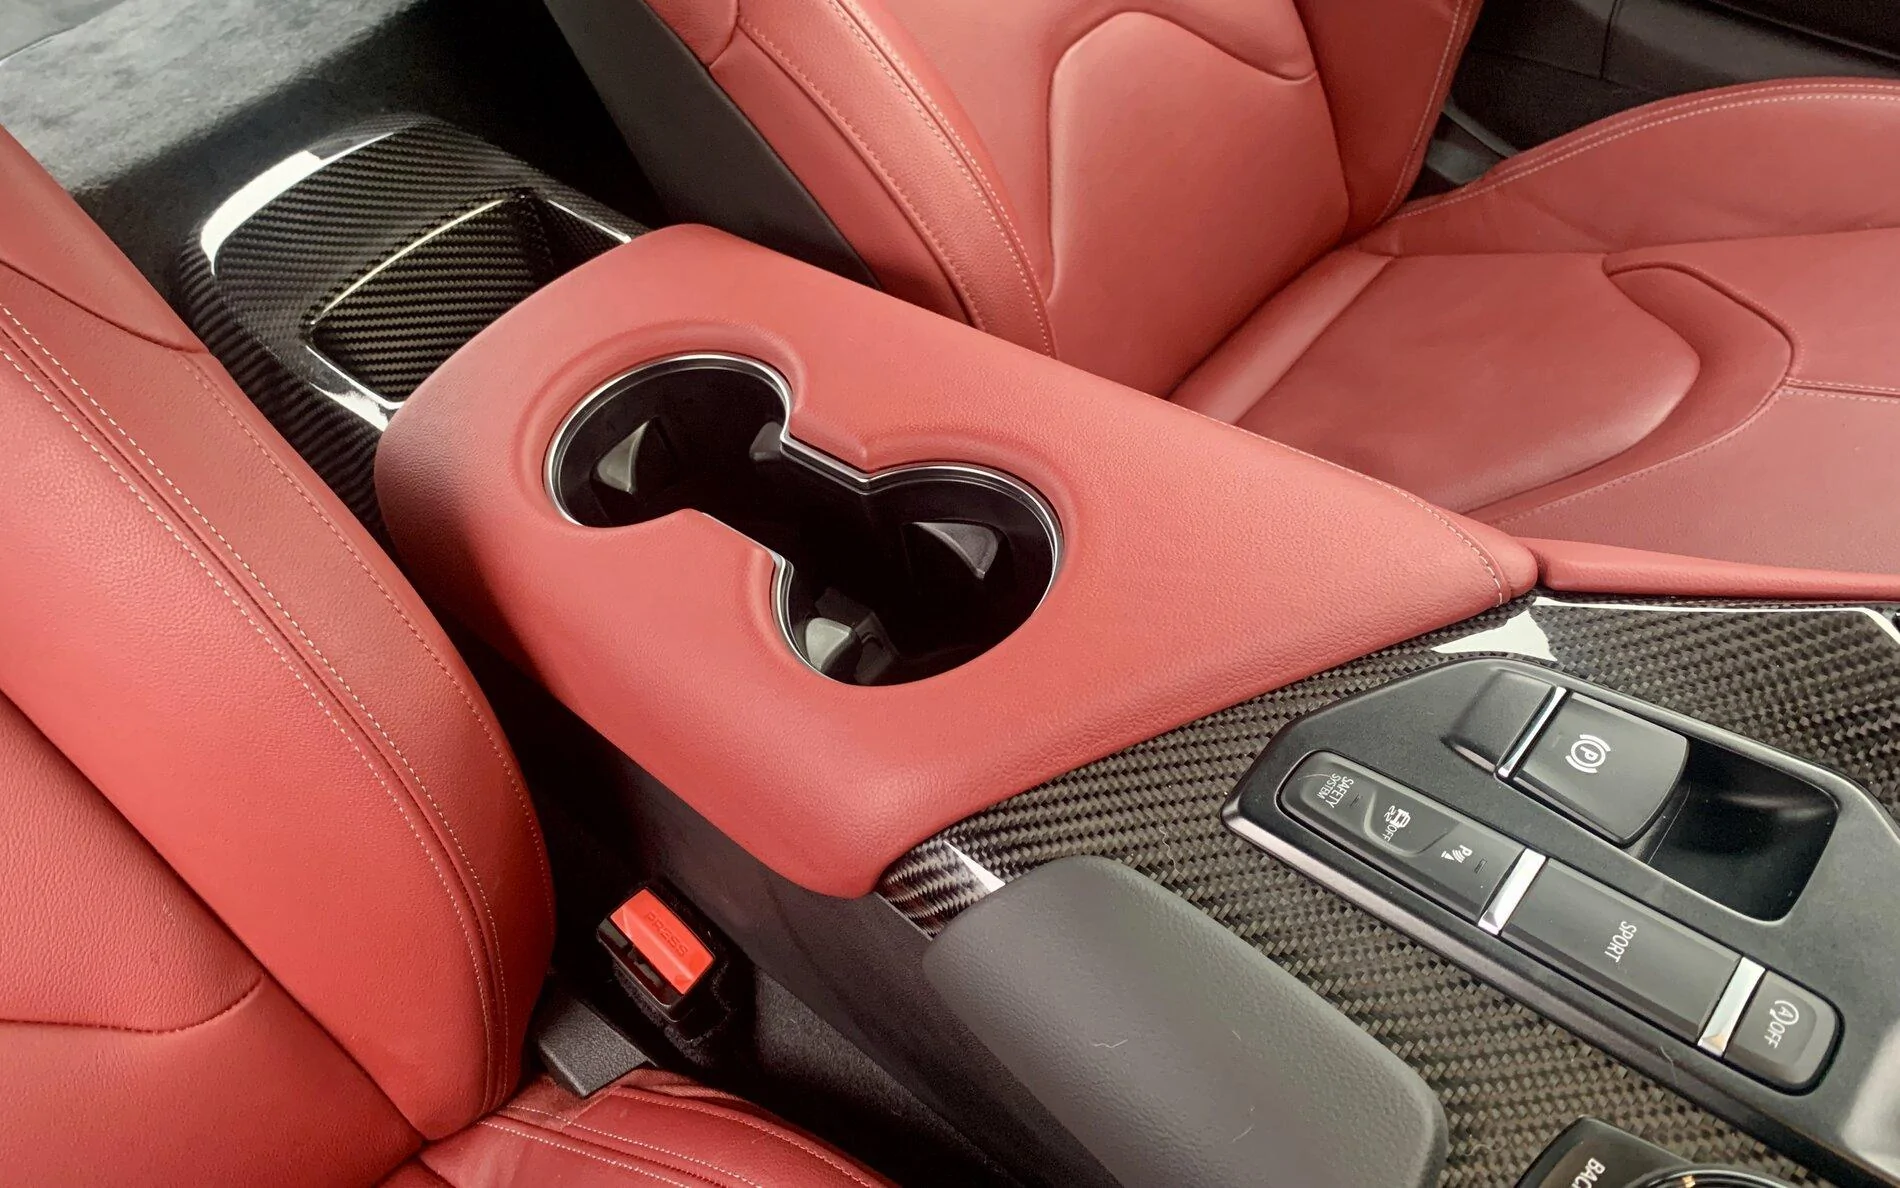
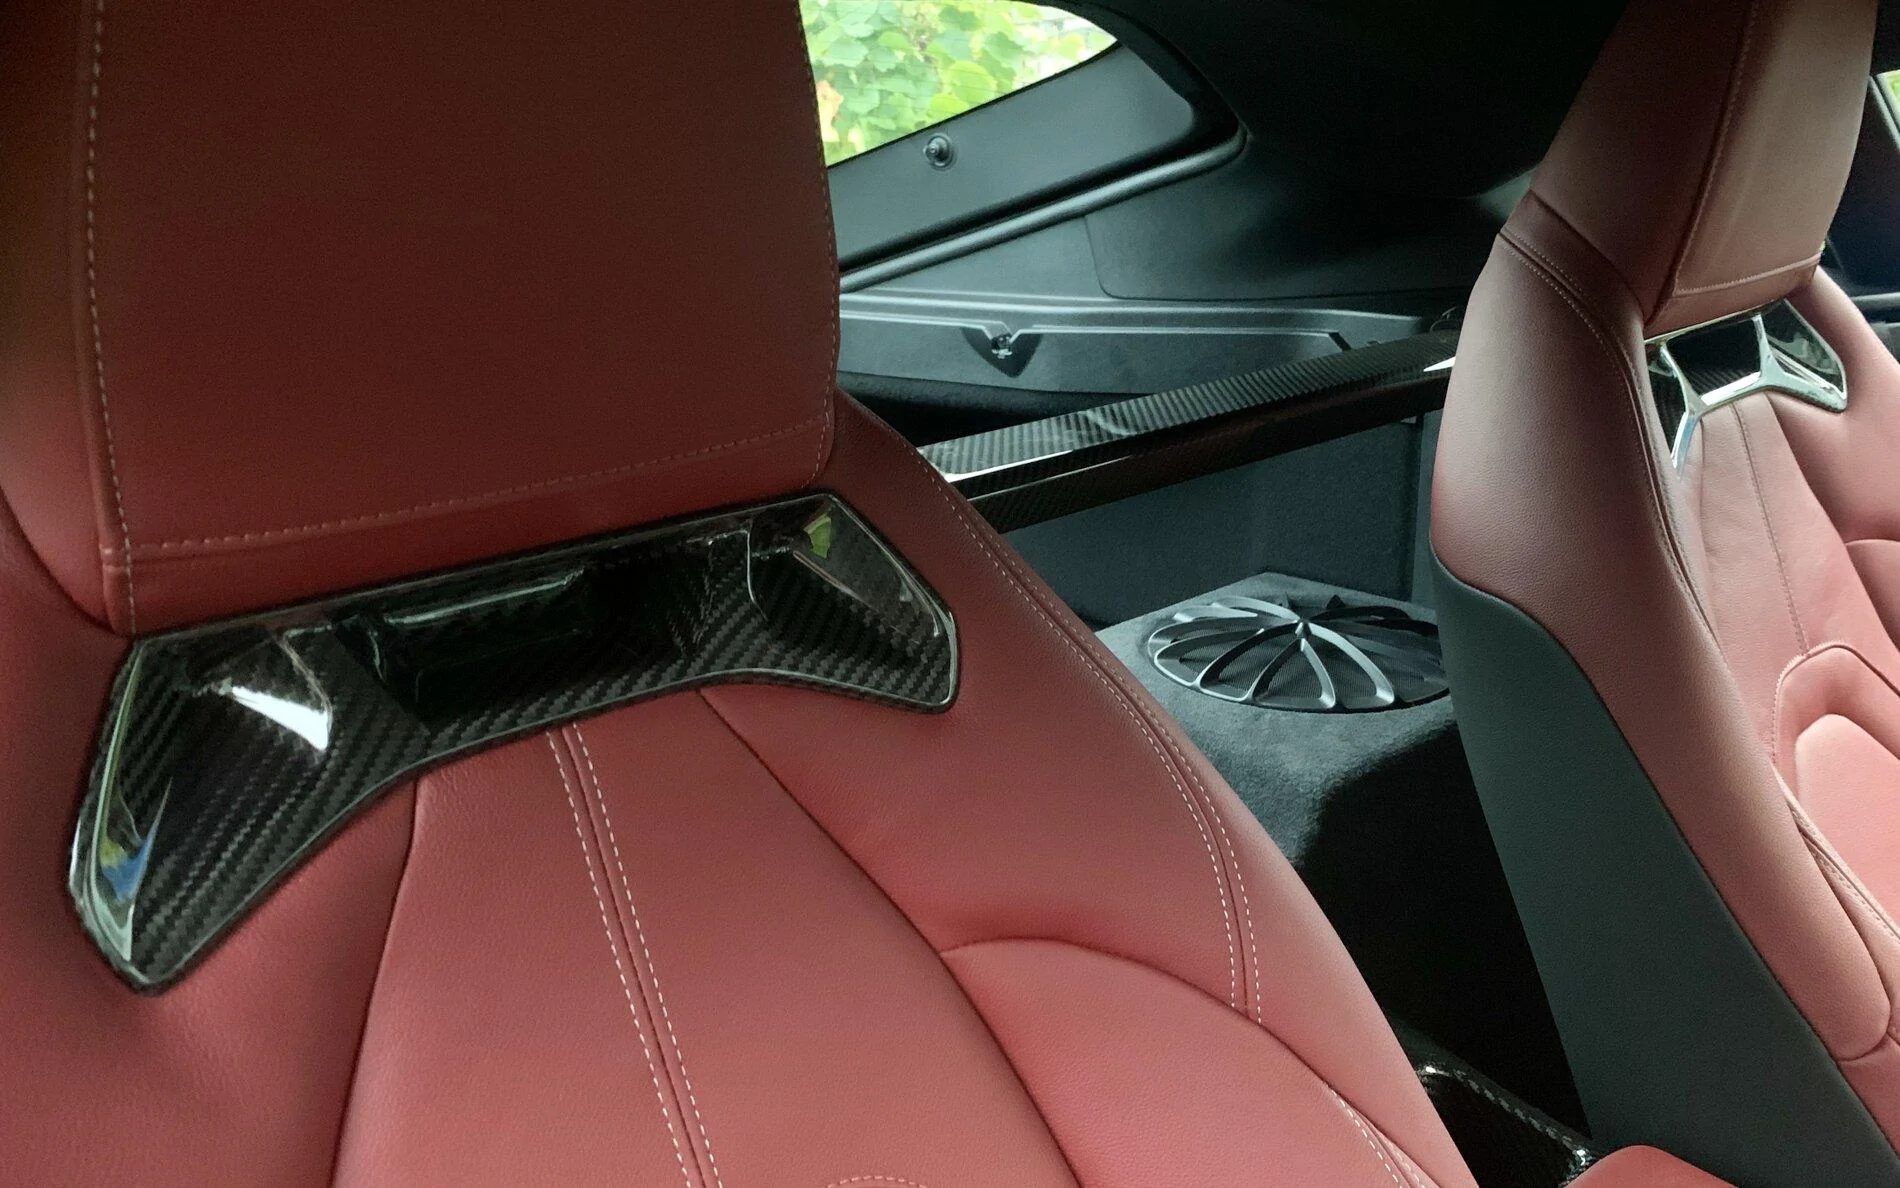
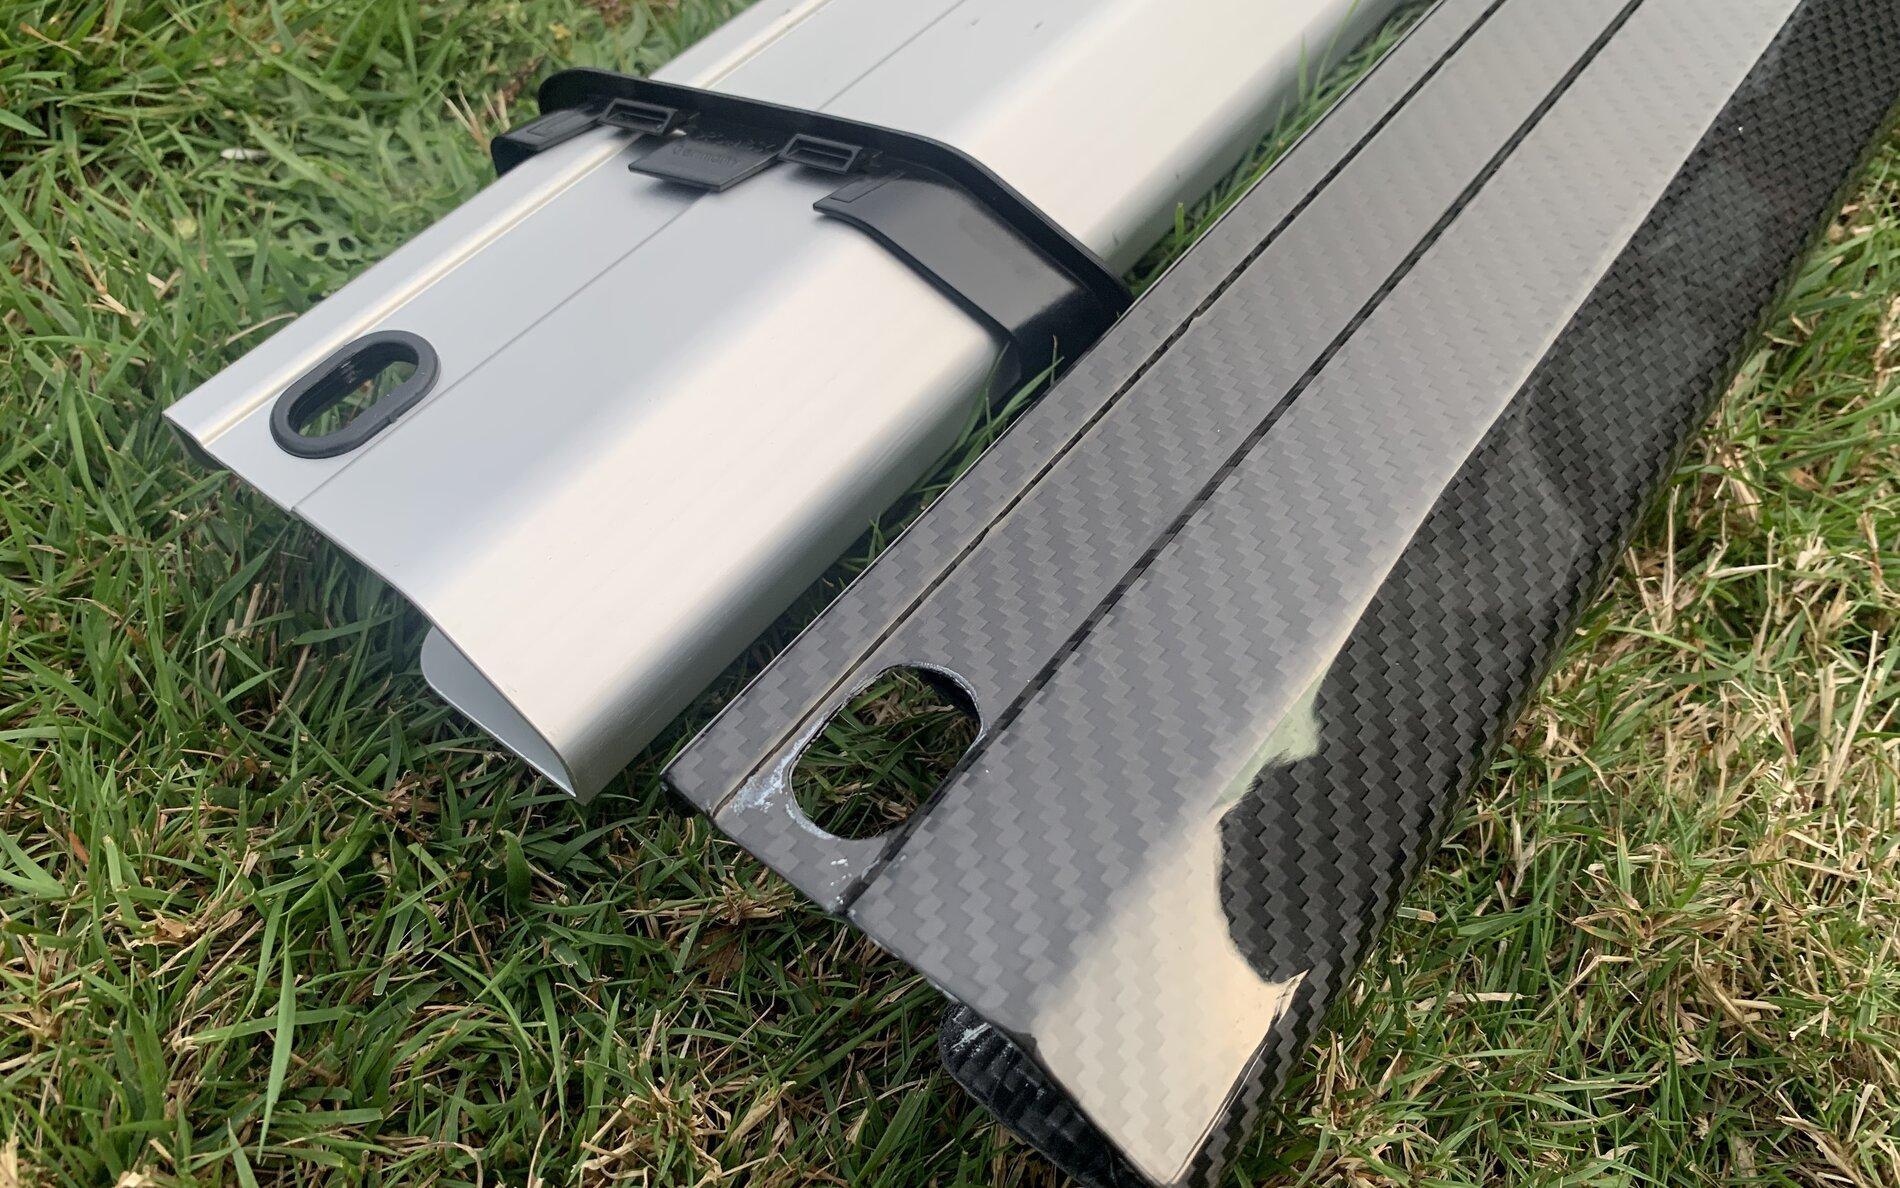
Thanks for the detailed write-up. I have same exact interior pieces on the way. Did you break clips or anything while installing those? I don't worry about chubby and seat insert installation, but I feel like I'm gonna break something when I do the cabin brace lol. Where can I find the other post you are talking about btw?I installed three parts from NV Specialties yesterday, including the carbon seat inserts, carbon change cubby, and carbon transverse bar. All three are replacements, not add-on covers that go over the top of the original. The outward faces of the parts are finished extremely well; glossy with no imperfections and pretty much matches the stock carbon as well. If you flip the parts over you can see the telltale vacuum bagging lines and where they've bonded the hooks to the backside.
I've seen a ton of carbon over the years and while none of these parts are of structural importance, it's nice to see that they're still manufactured with a ton of care. Installation for all three was super easy and while the parts aren't exactly inexpensive, they really change the interior look of the Supra.


For the cubby, all you need to do is remove the center console cover (two T20 torx screws under the cup holders and some clips) to pull off the original part. You don't need to swap the gator clips to the new cubby, but it fits a bit loose if you don't take the time to swap the clips over to the new cubby's posts. Make sure to also swap over the rubber bottom to the new cubby so stuff doesn't rattle in it. This job takes fifteen ten minutes or so.
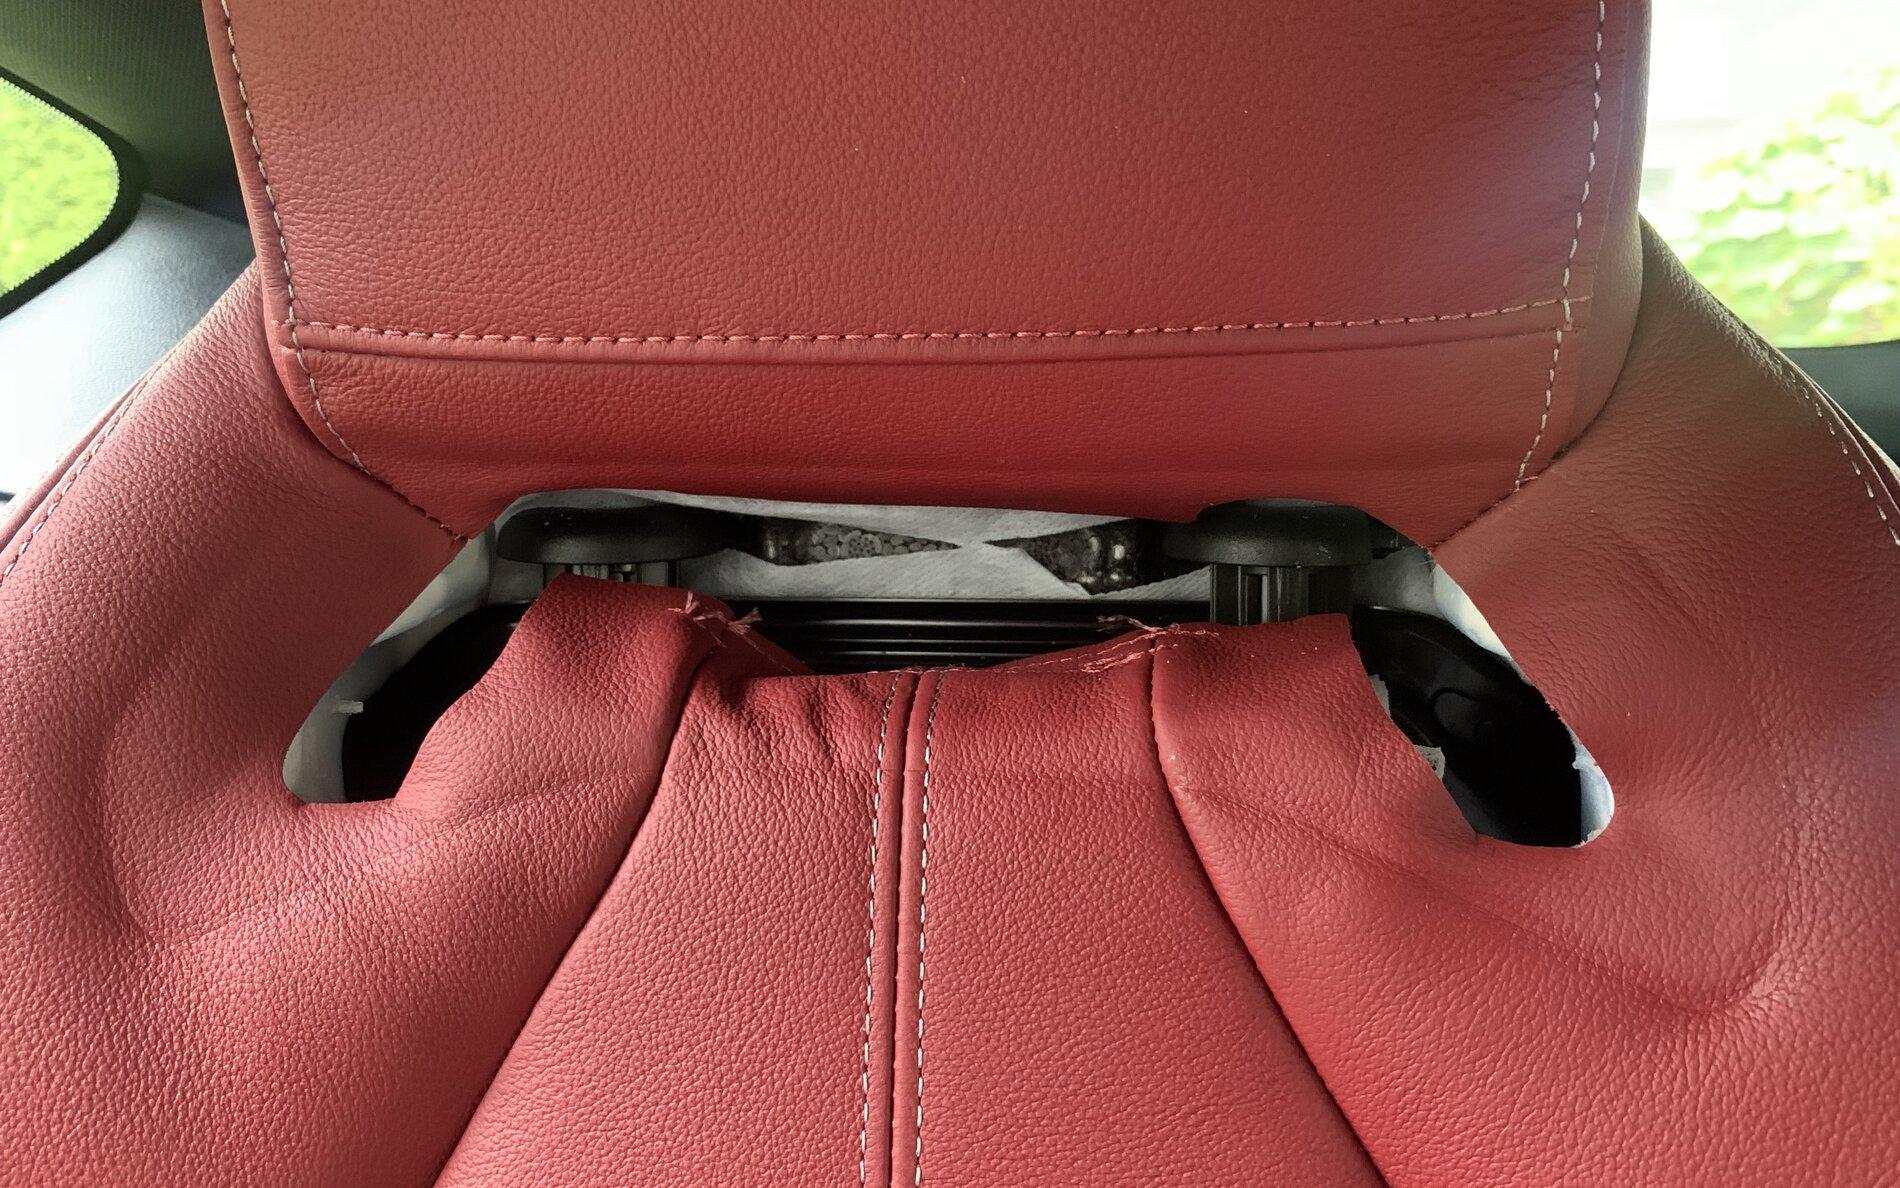
For the seat inserts, it's just a matter of using your thumbs to push the seat in enough to pop off the original inserts. NV Specialties has bonded hooks onto the new inserts and you only need to reverse the technique to install the new pieces. This job takes ten minutes. It also reveals some poor stitching where you normally wouldn't be able to spot it.
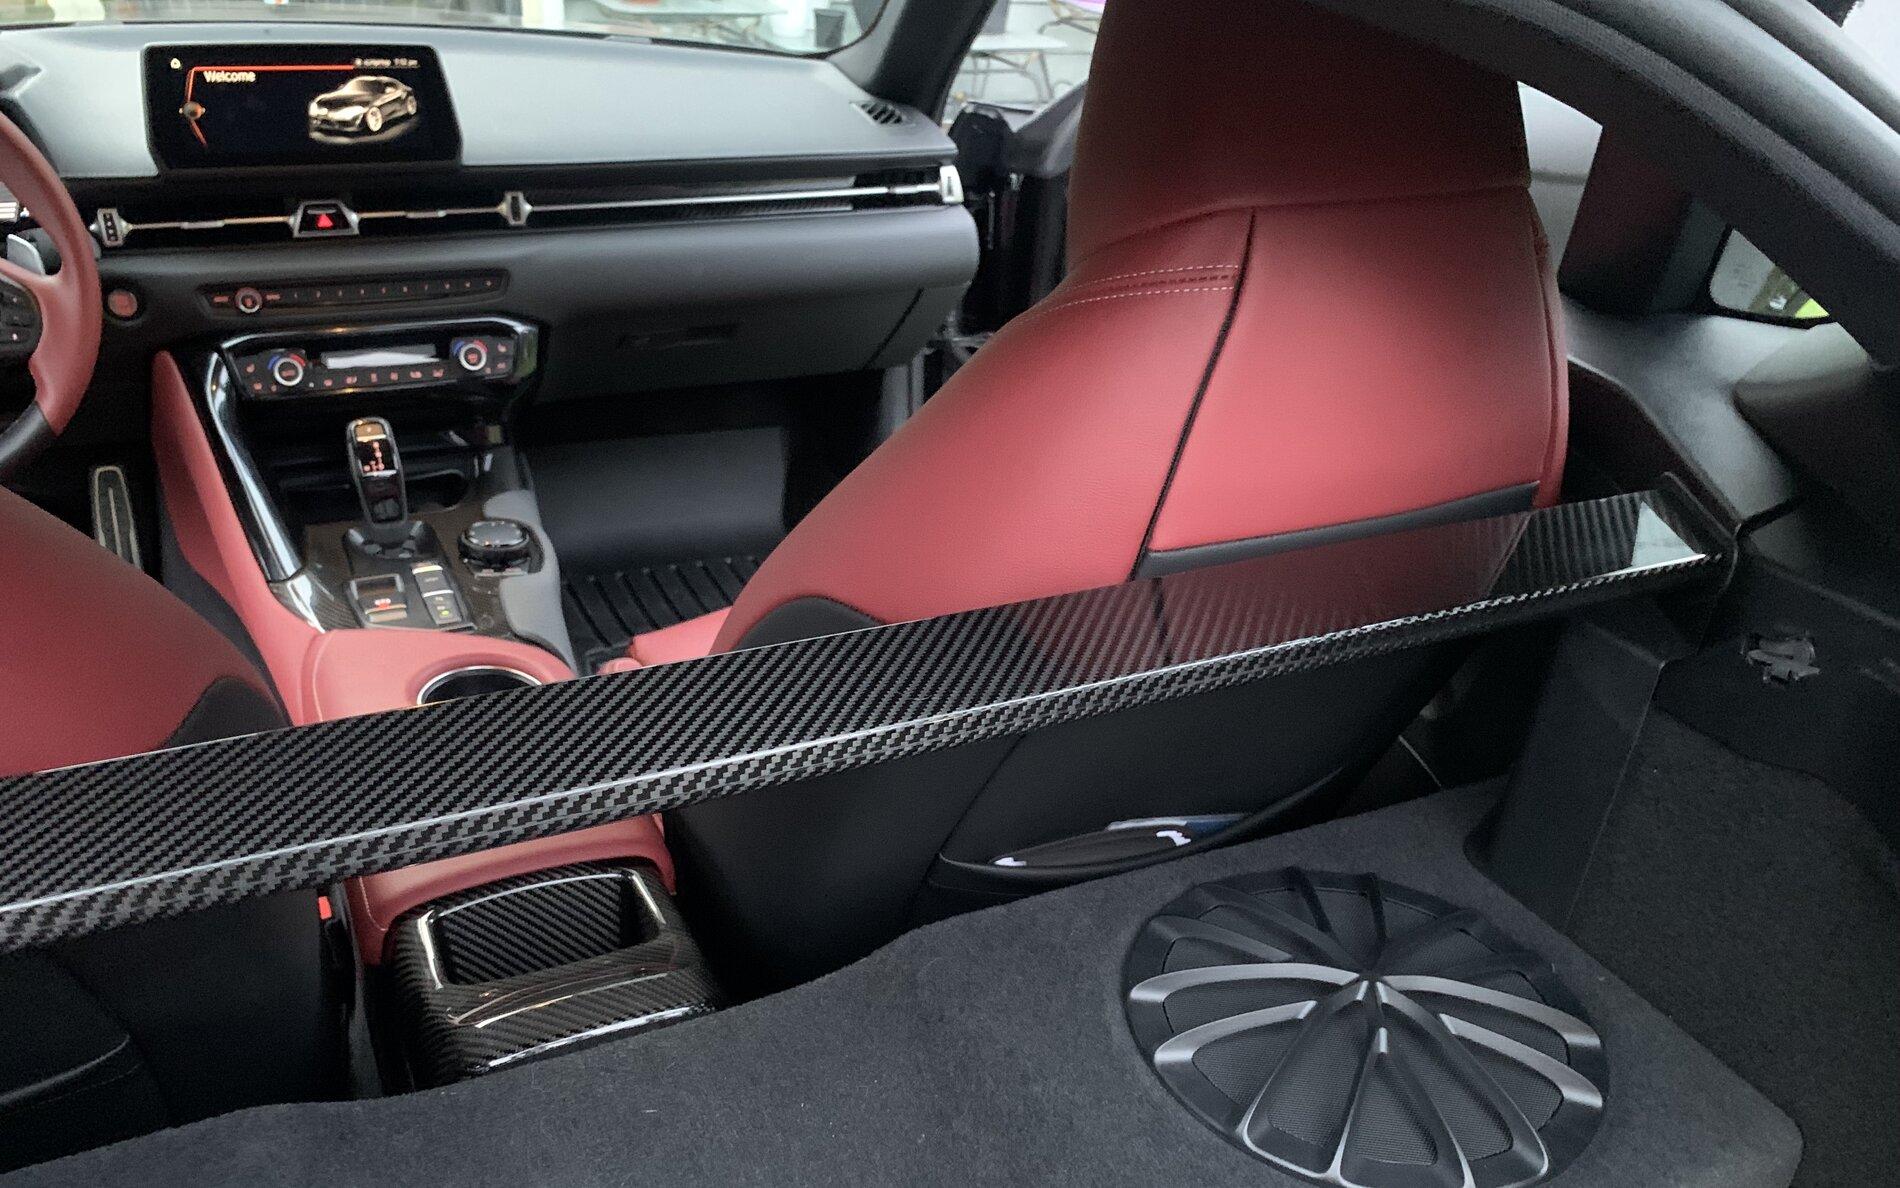
For the transverse bar, you only need to remove two trim pieces near the seatbelt anchor (detailed in other posts on this forum) on each side and then use that big ol' t50 torx bit to remove the fixing bolts. These were barely hand tight on my car - I could have removed them by hand if I could have grabbed the bolt. The NV Specialties transverse bar weighs about 1/4 of the stock aluminum one, but I'm positive that neither has any effect on the car's performance. It sure does look good, though. If you pick one up, make sure to also swap over the angled rubbered gasket on each side, as well as the plastic bushing for each bolt hole.
Obviously, none of this stuff changes how the car performs, but my goal was to make the cabin feel more like a supercar than a sports car. The carbon cubby makes it look like the entire tunnel is carbon fiber, and when you look through the car's side or front windows you see that, the carbon inserts, and the carbon transverse bar - I love it!
The next things to go on are the Öhlins Road and Track suspension that just arrived and my gold 18" Apex EC-7Rs and 275/40 Yoko A052s. Then I'll start thinking about losing some weight with an Anti-Gravity battery (or something similar), carbon roof, and maybe some MUCH lighter seats of some kind. I also hate the speaker box (and things rattle) and don't give a shit about sound quality, so I might get rid of all that crap behind the seats.
How do you activate the rear DRL?
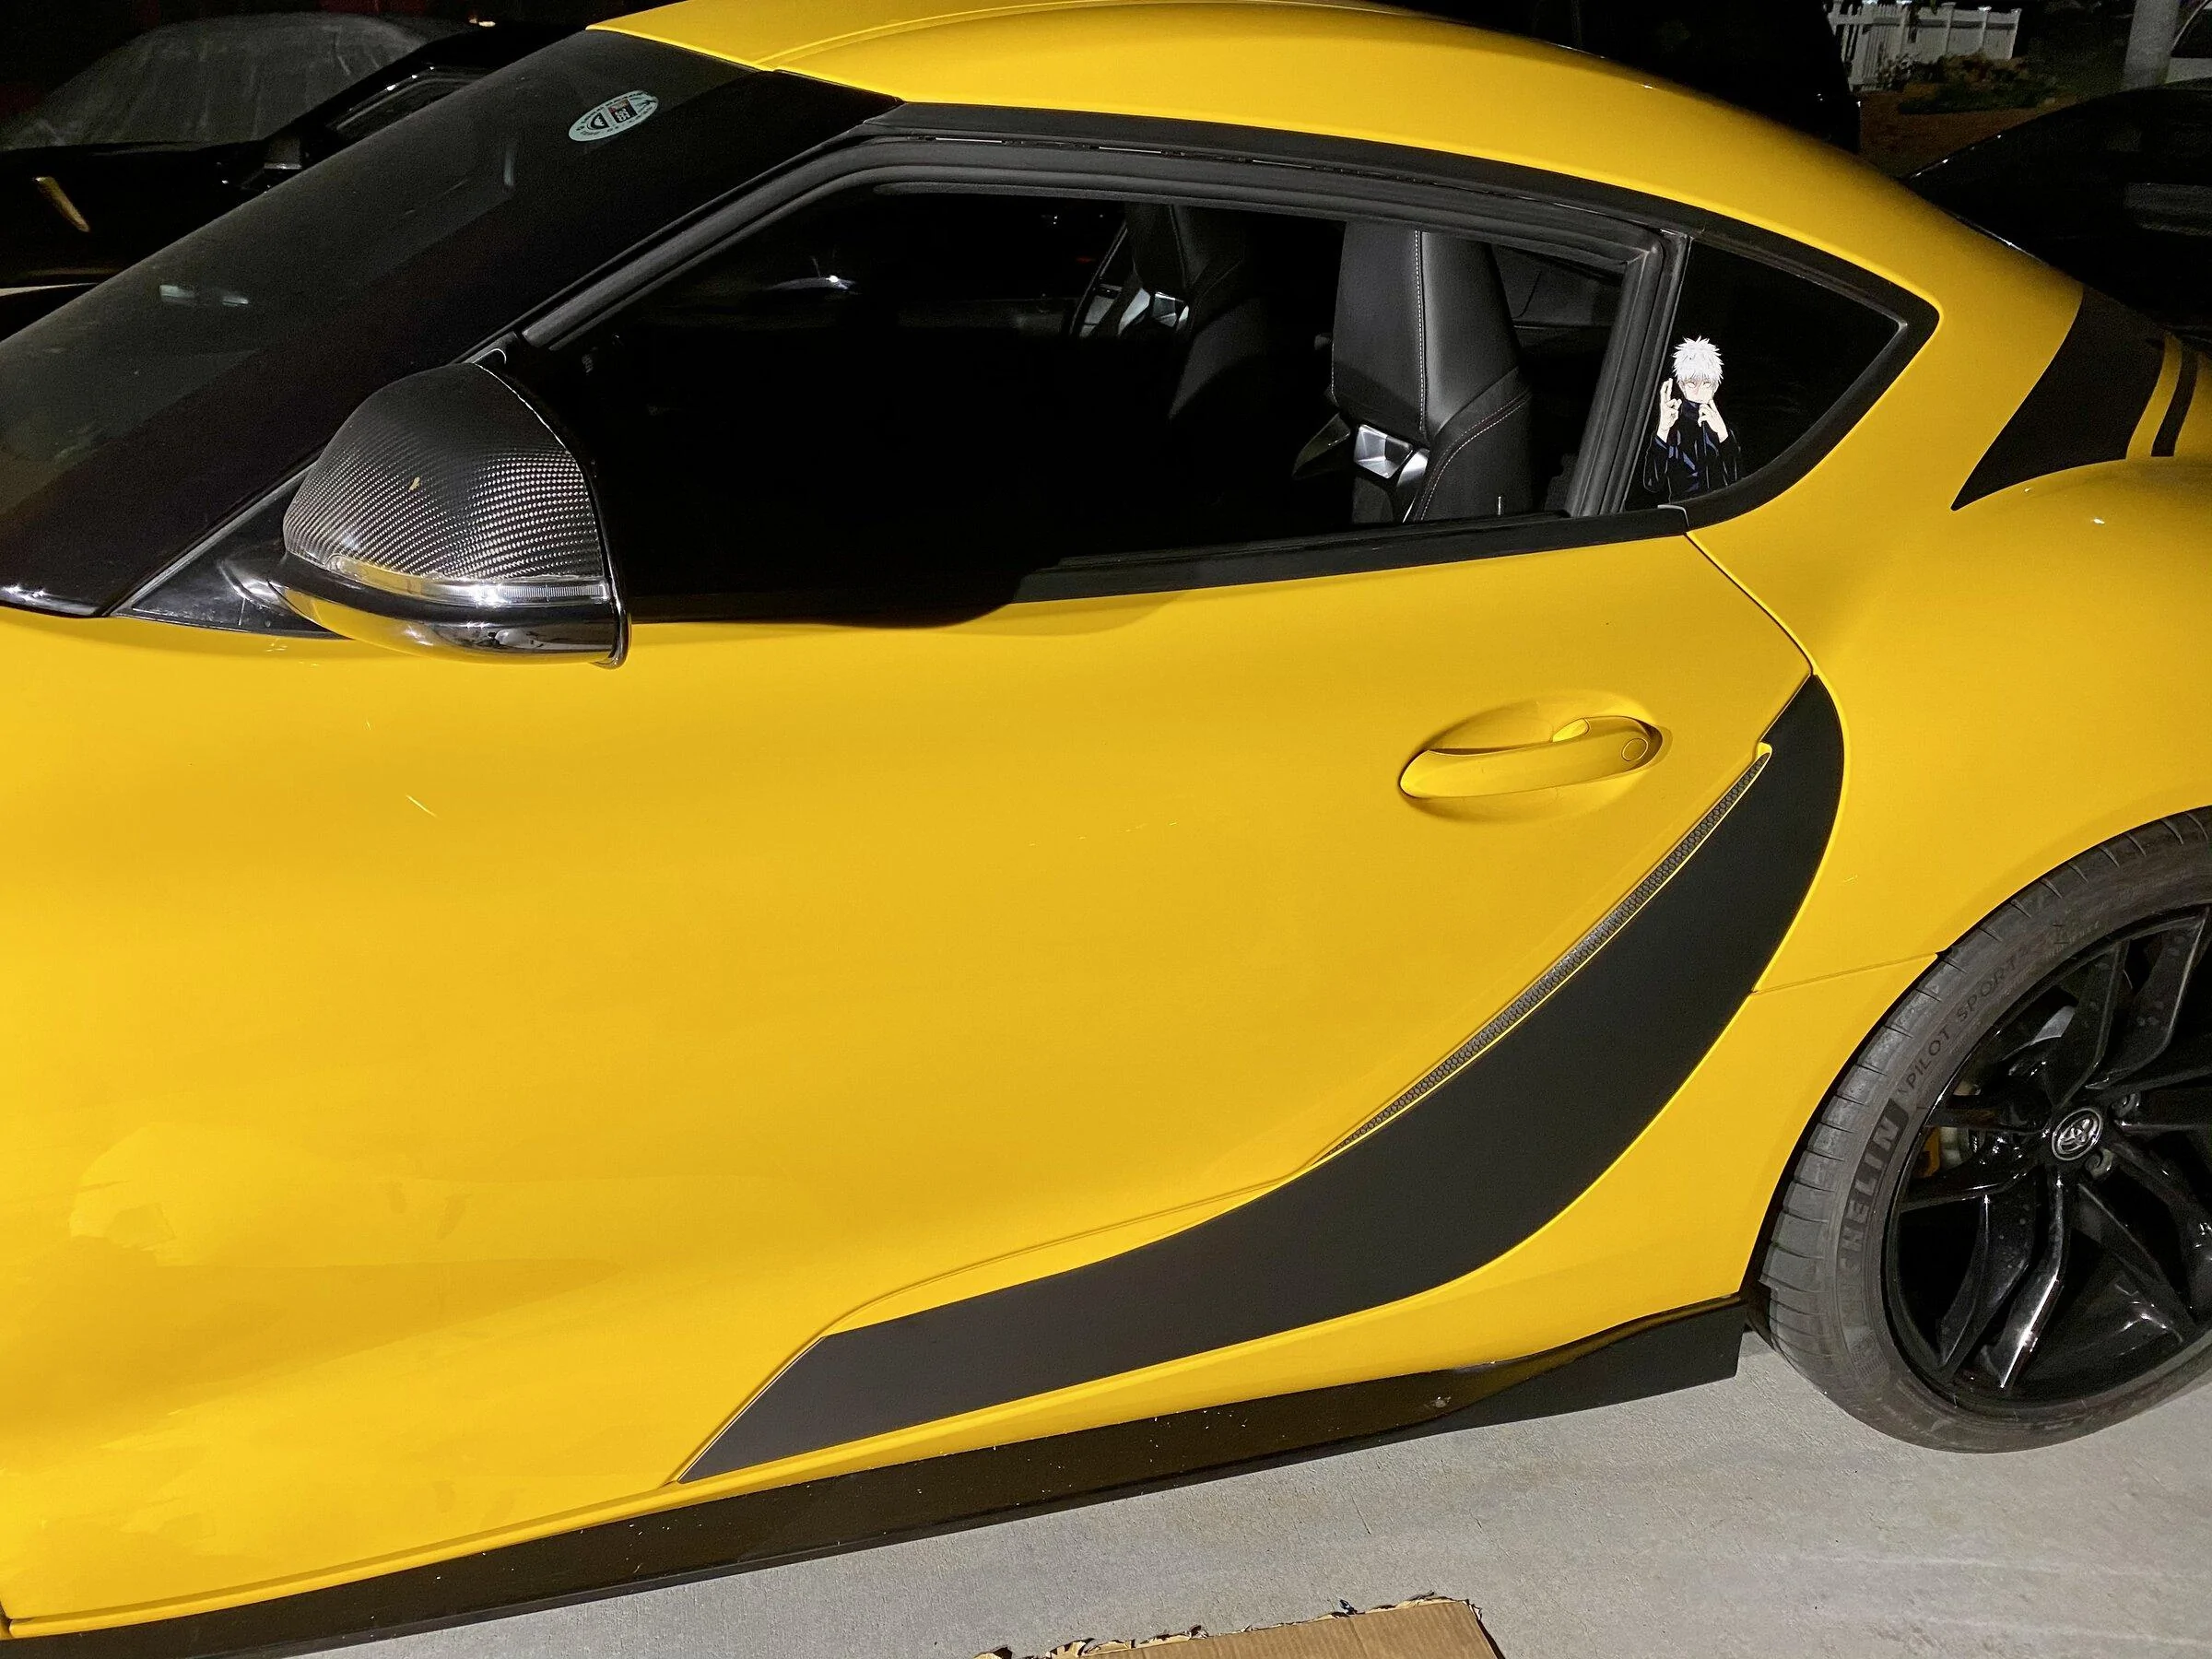
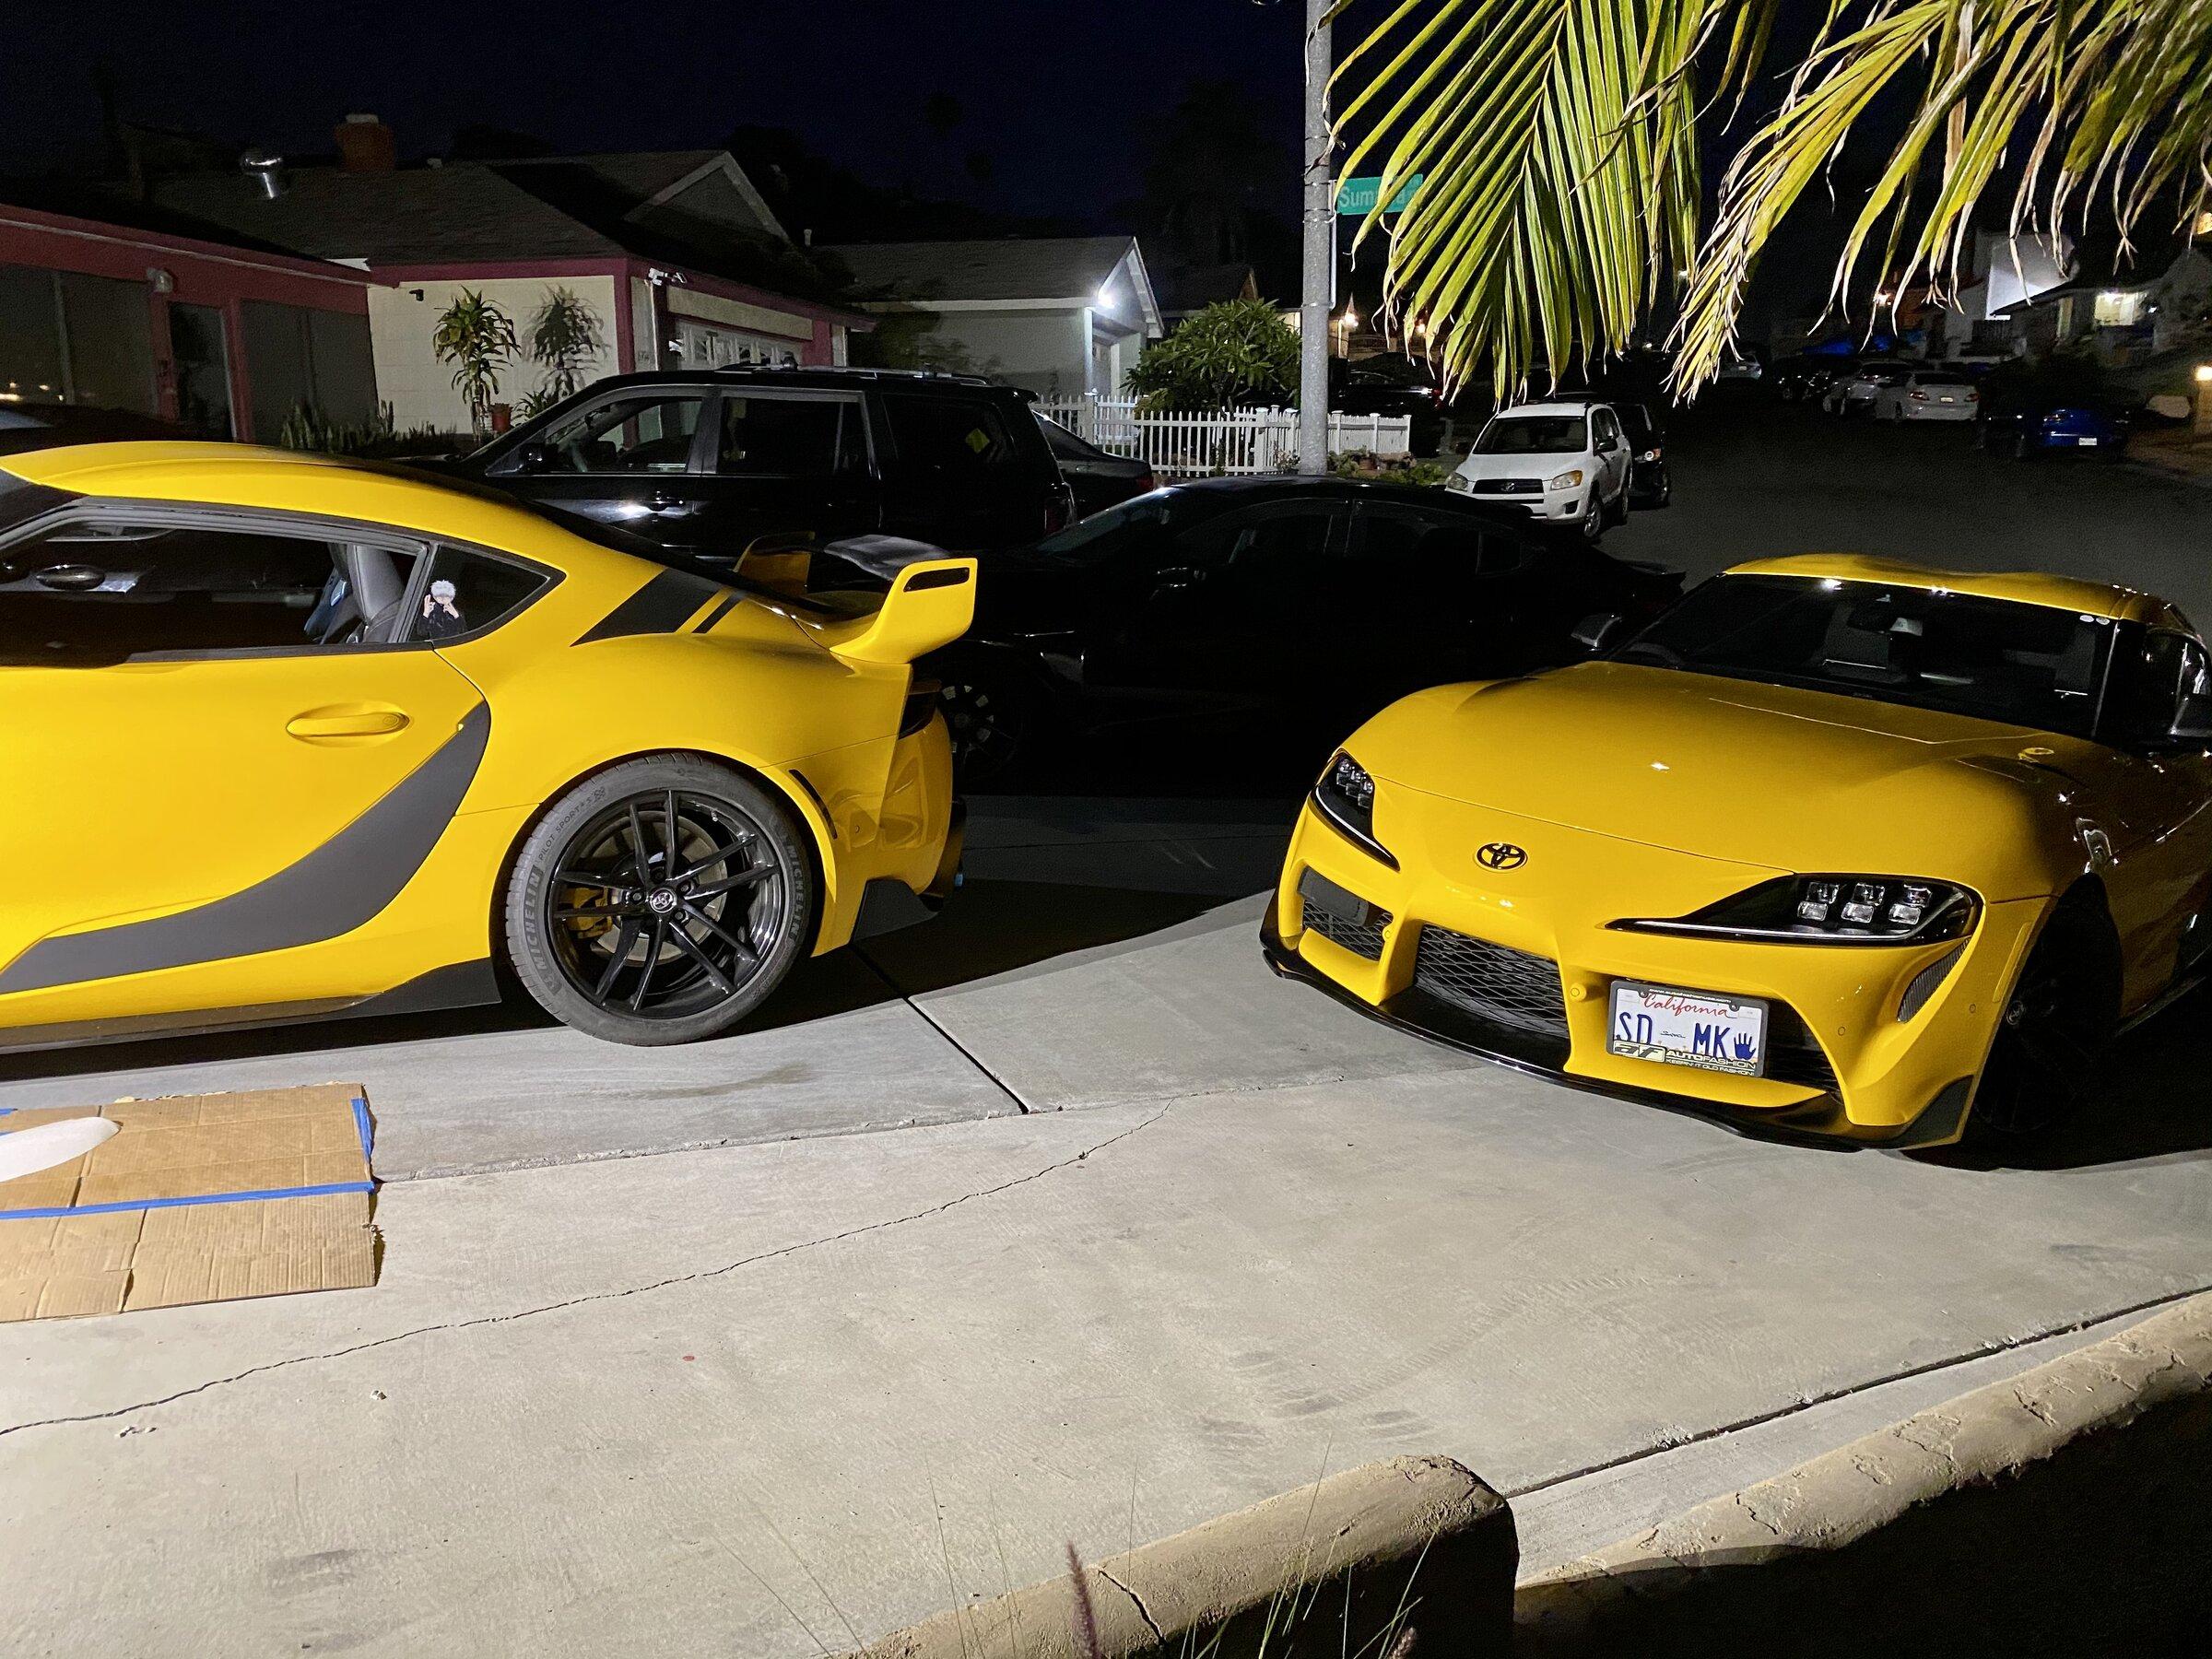
Did the door garnish wrap on my twin lol. Also now 3 other Supras besides mine have the rear DRL feature activated because i showed them. Lol