32bitsofGil
Well-Known Member
- First Name
- Gilbert
- Joined
- Nov 9, 2021
- Threads
- 23
- Messages
- 620
- Reaction score
- 677
- Location
- Taylor, TX
- Car(s)
- 2021 Supra 3.0
- Thread starter
- #1
Hello fellow nerds,
I recently came into possession of a MG1 ECU that is "cloneable," the catch is this ECU was clearly involved in nasty wreck. I want to take this opportunity to do what I think has not been documented before. We are tearing open this enclosure and going to attempt to repair the ECU on a component level.
This thread will attempt to follow our journey, and maybe inspire someone smarter than me to pry these open and make a cool discovery or break the dreaded Bosch encryption for good. Our intent is to remove the enclosure, repair or replace any damaged components or the connectors, then seal it all back up and attempt an ECU flash over the currently non-working Can bus. If we are successful then we have gained one working "cloneable" ECU in this world, and maybe even given the courage to others to attempt similar repairs on other damaged MG1s
With the goal of flashing a working ECU in mind, we are taking precautions, but we have low expectations for this repair. I will do my best to stay chronological and detailed in my documentation of the process, but expect some jumping around as we are in very uncharted waters. The best case scenario is we get a fully working ECU again, the worst case we inspire someone else to fix a non-working ECU.
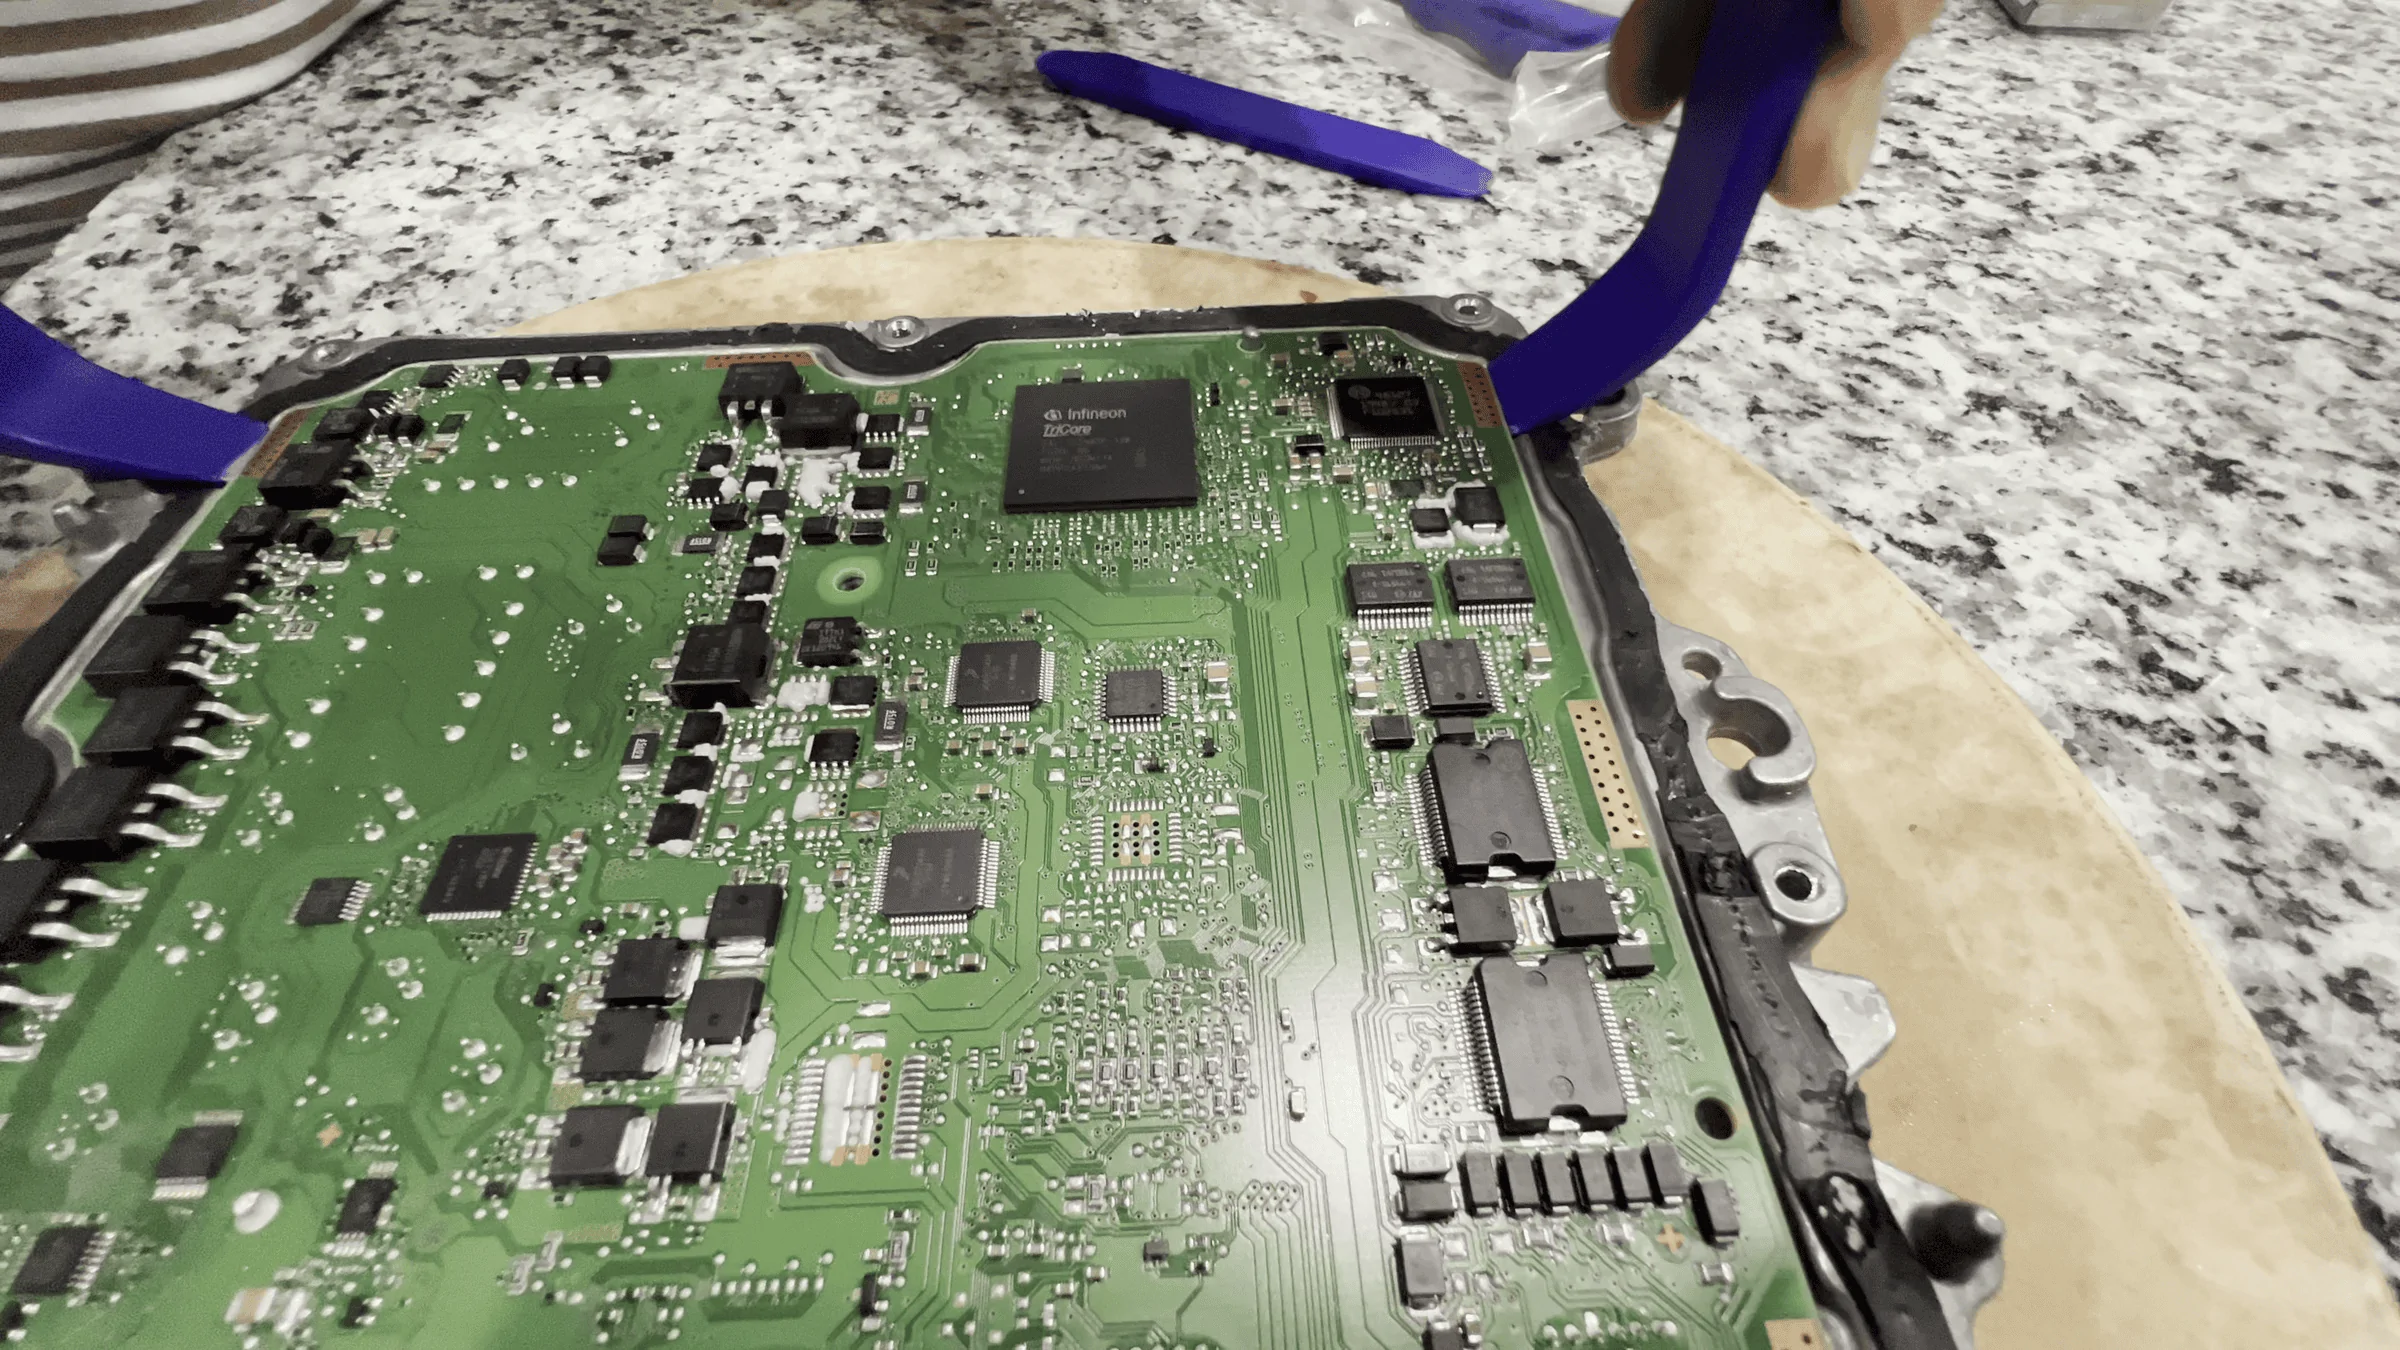
We started by following some decent videos detailing how to open the lid on other Bosch ECUs. It is very similar process and I will leave it to them to explain in detail how to separate the lid, and cut away the black silicone glue holding down the lid:
In the above video he used some "special lid extraction tool" or whatever he called it. Not at all needed. We used M5 screws and the trick is here that the OEM threads are smaller than that, but the hole on the lid of the enclosure is just big enough the M5 threads grab on to it and pry it up from the bottom half. We took it slowly, applying heat with a heat gun, slowly screwing down the M5 screw, then getting in there with a hobby knife to cut away at the silicone. Once we got all three sides that we could reach cut away from it's silicone bonds the lid just gently lifted away from the bottom half of the enclosure and we are left with this scene:

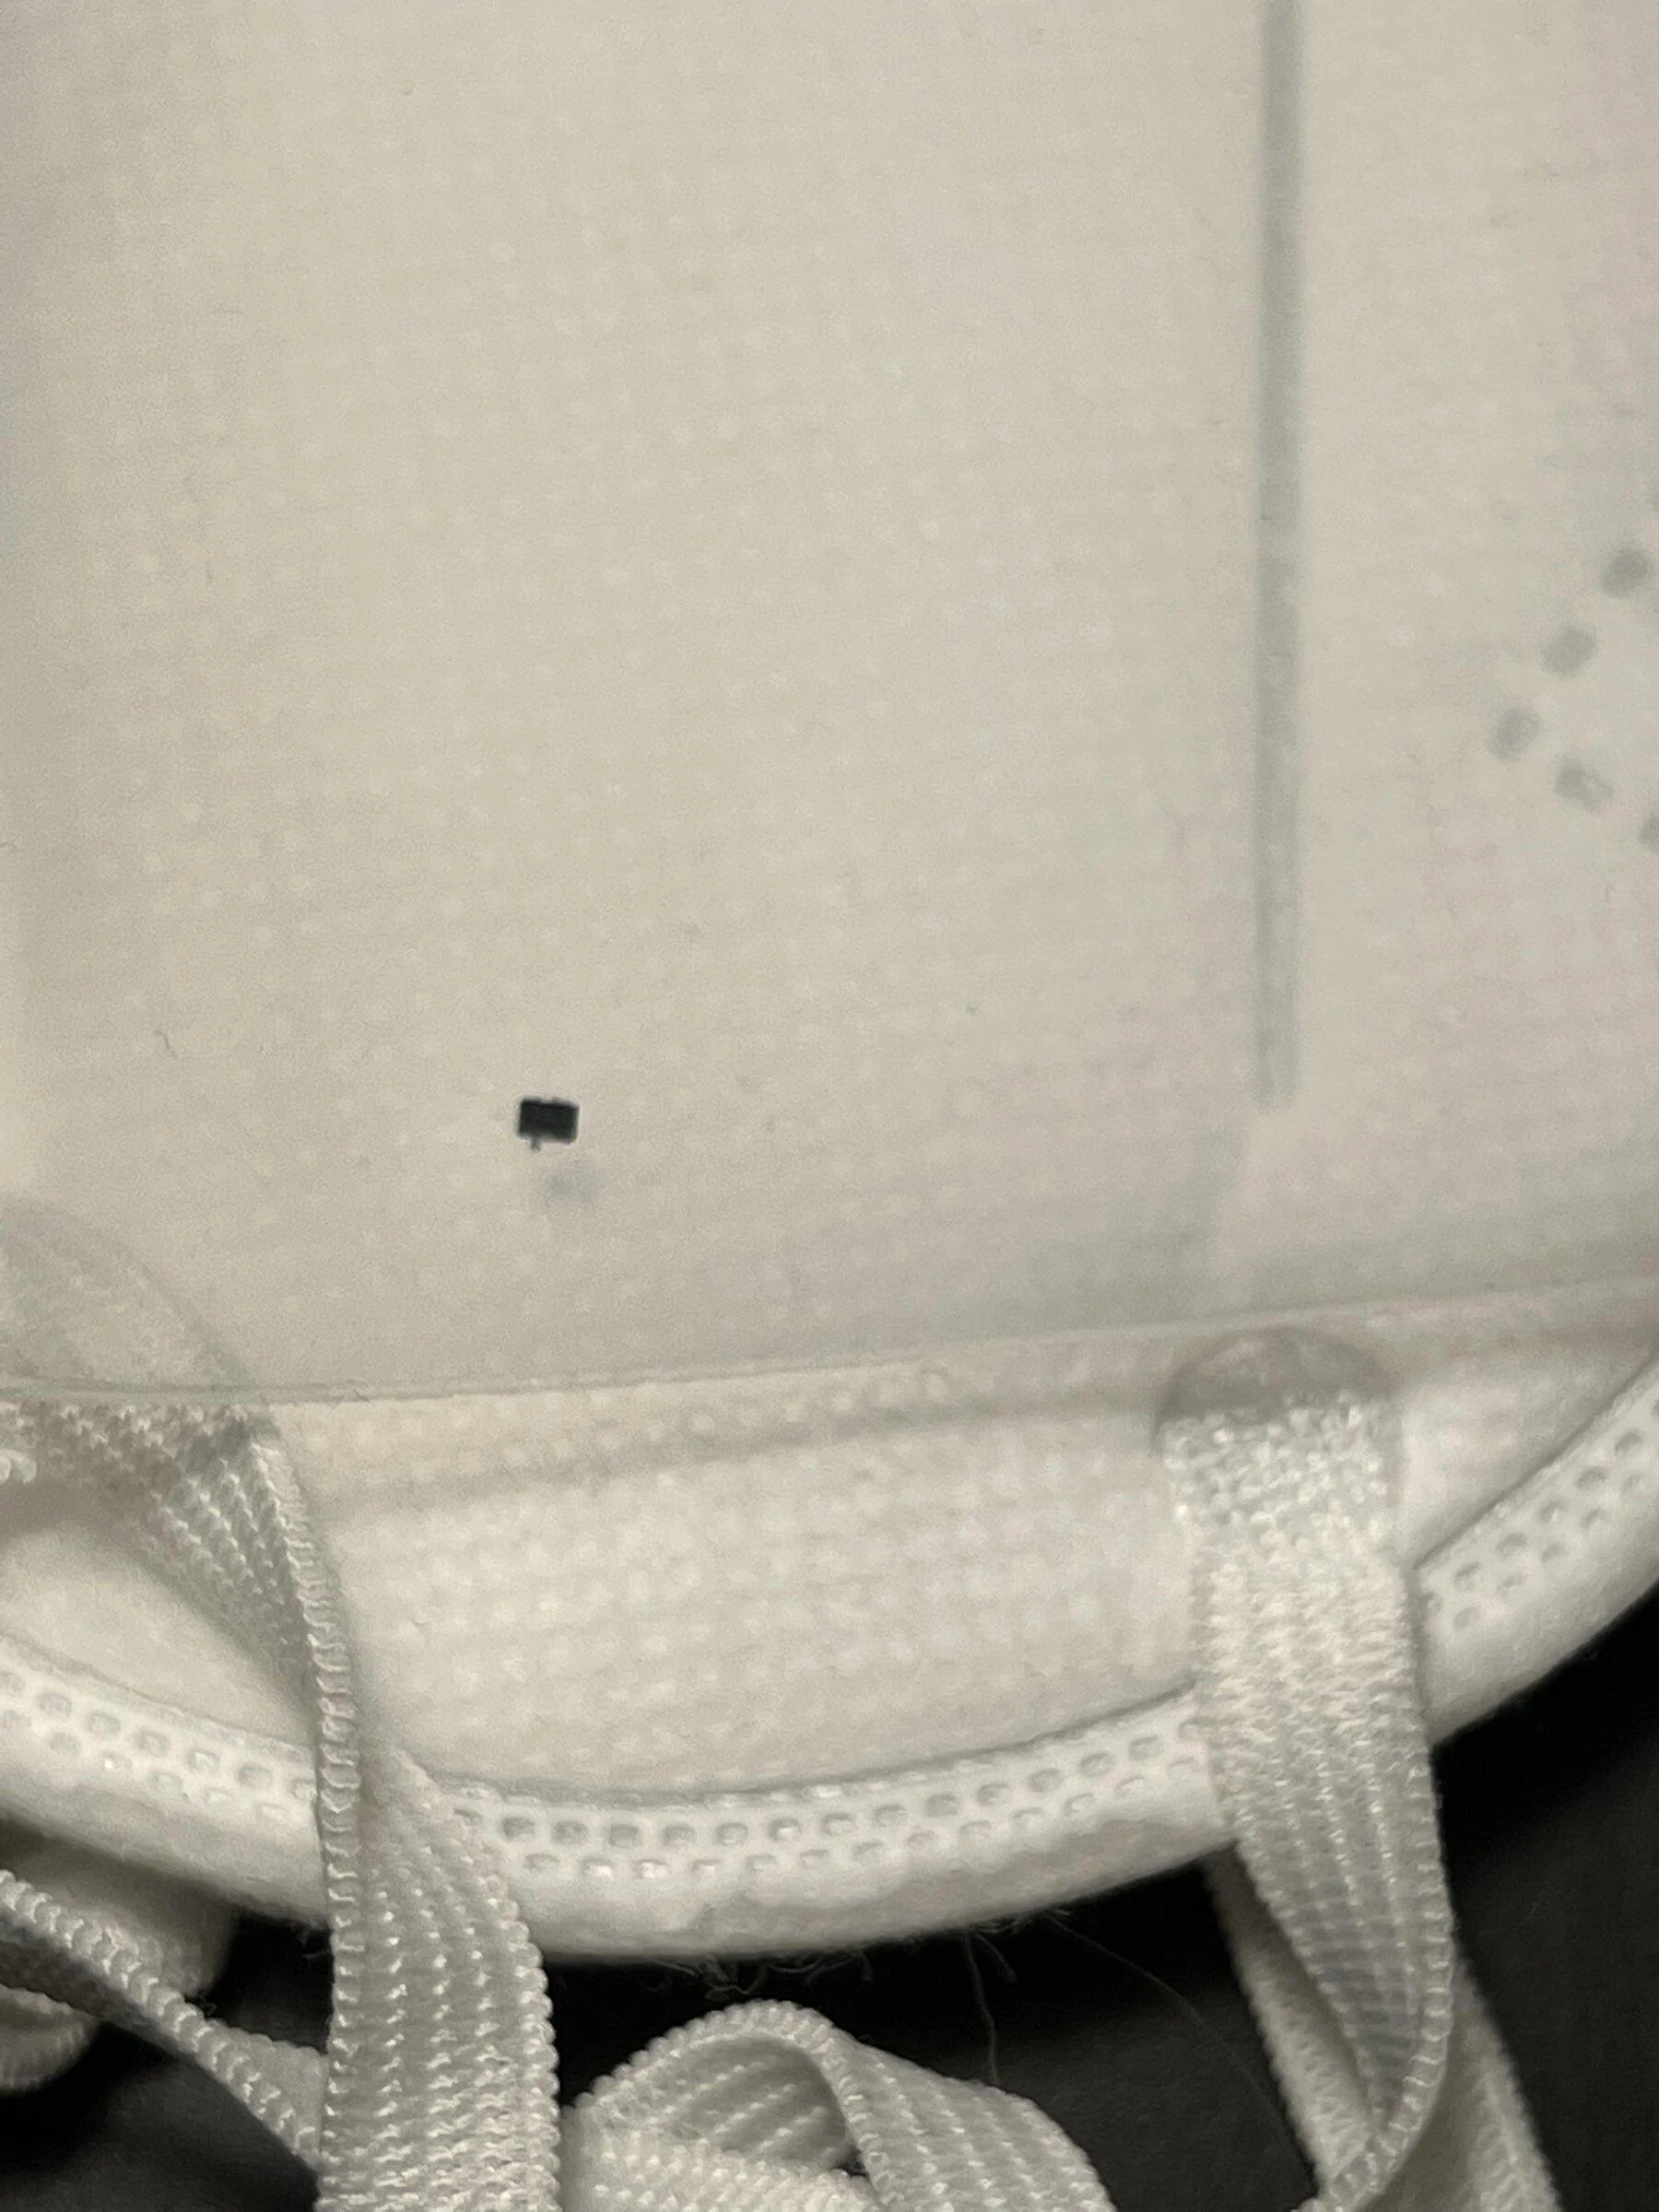
Once we reached this stage we stopped to do some light analysis and inspection immediately we noticed a small component fall out from between the PCB and the bottom half of the enclosure. This signaled to us that the extent of the damage must only really be observable from the other side.
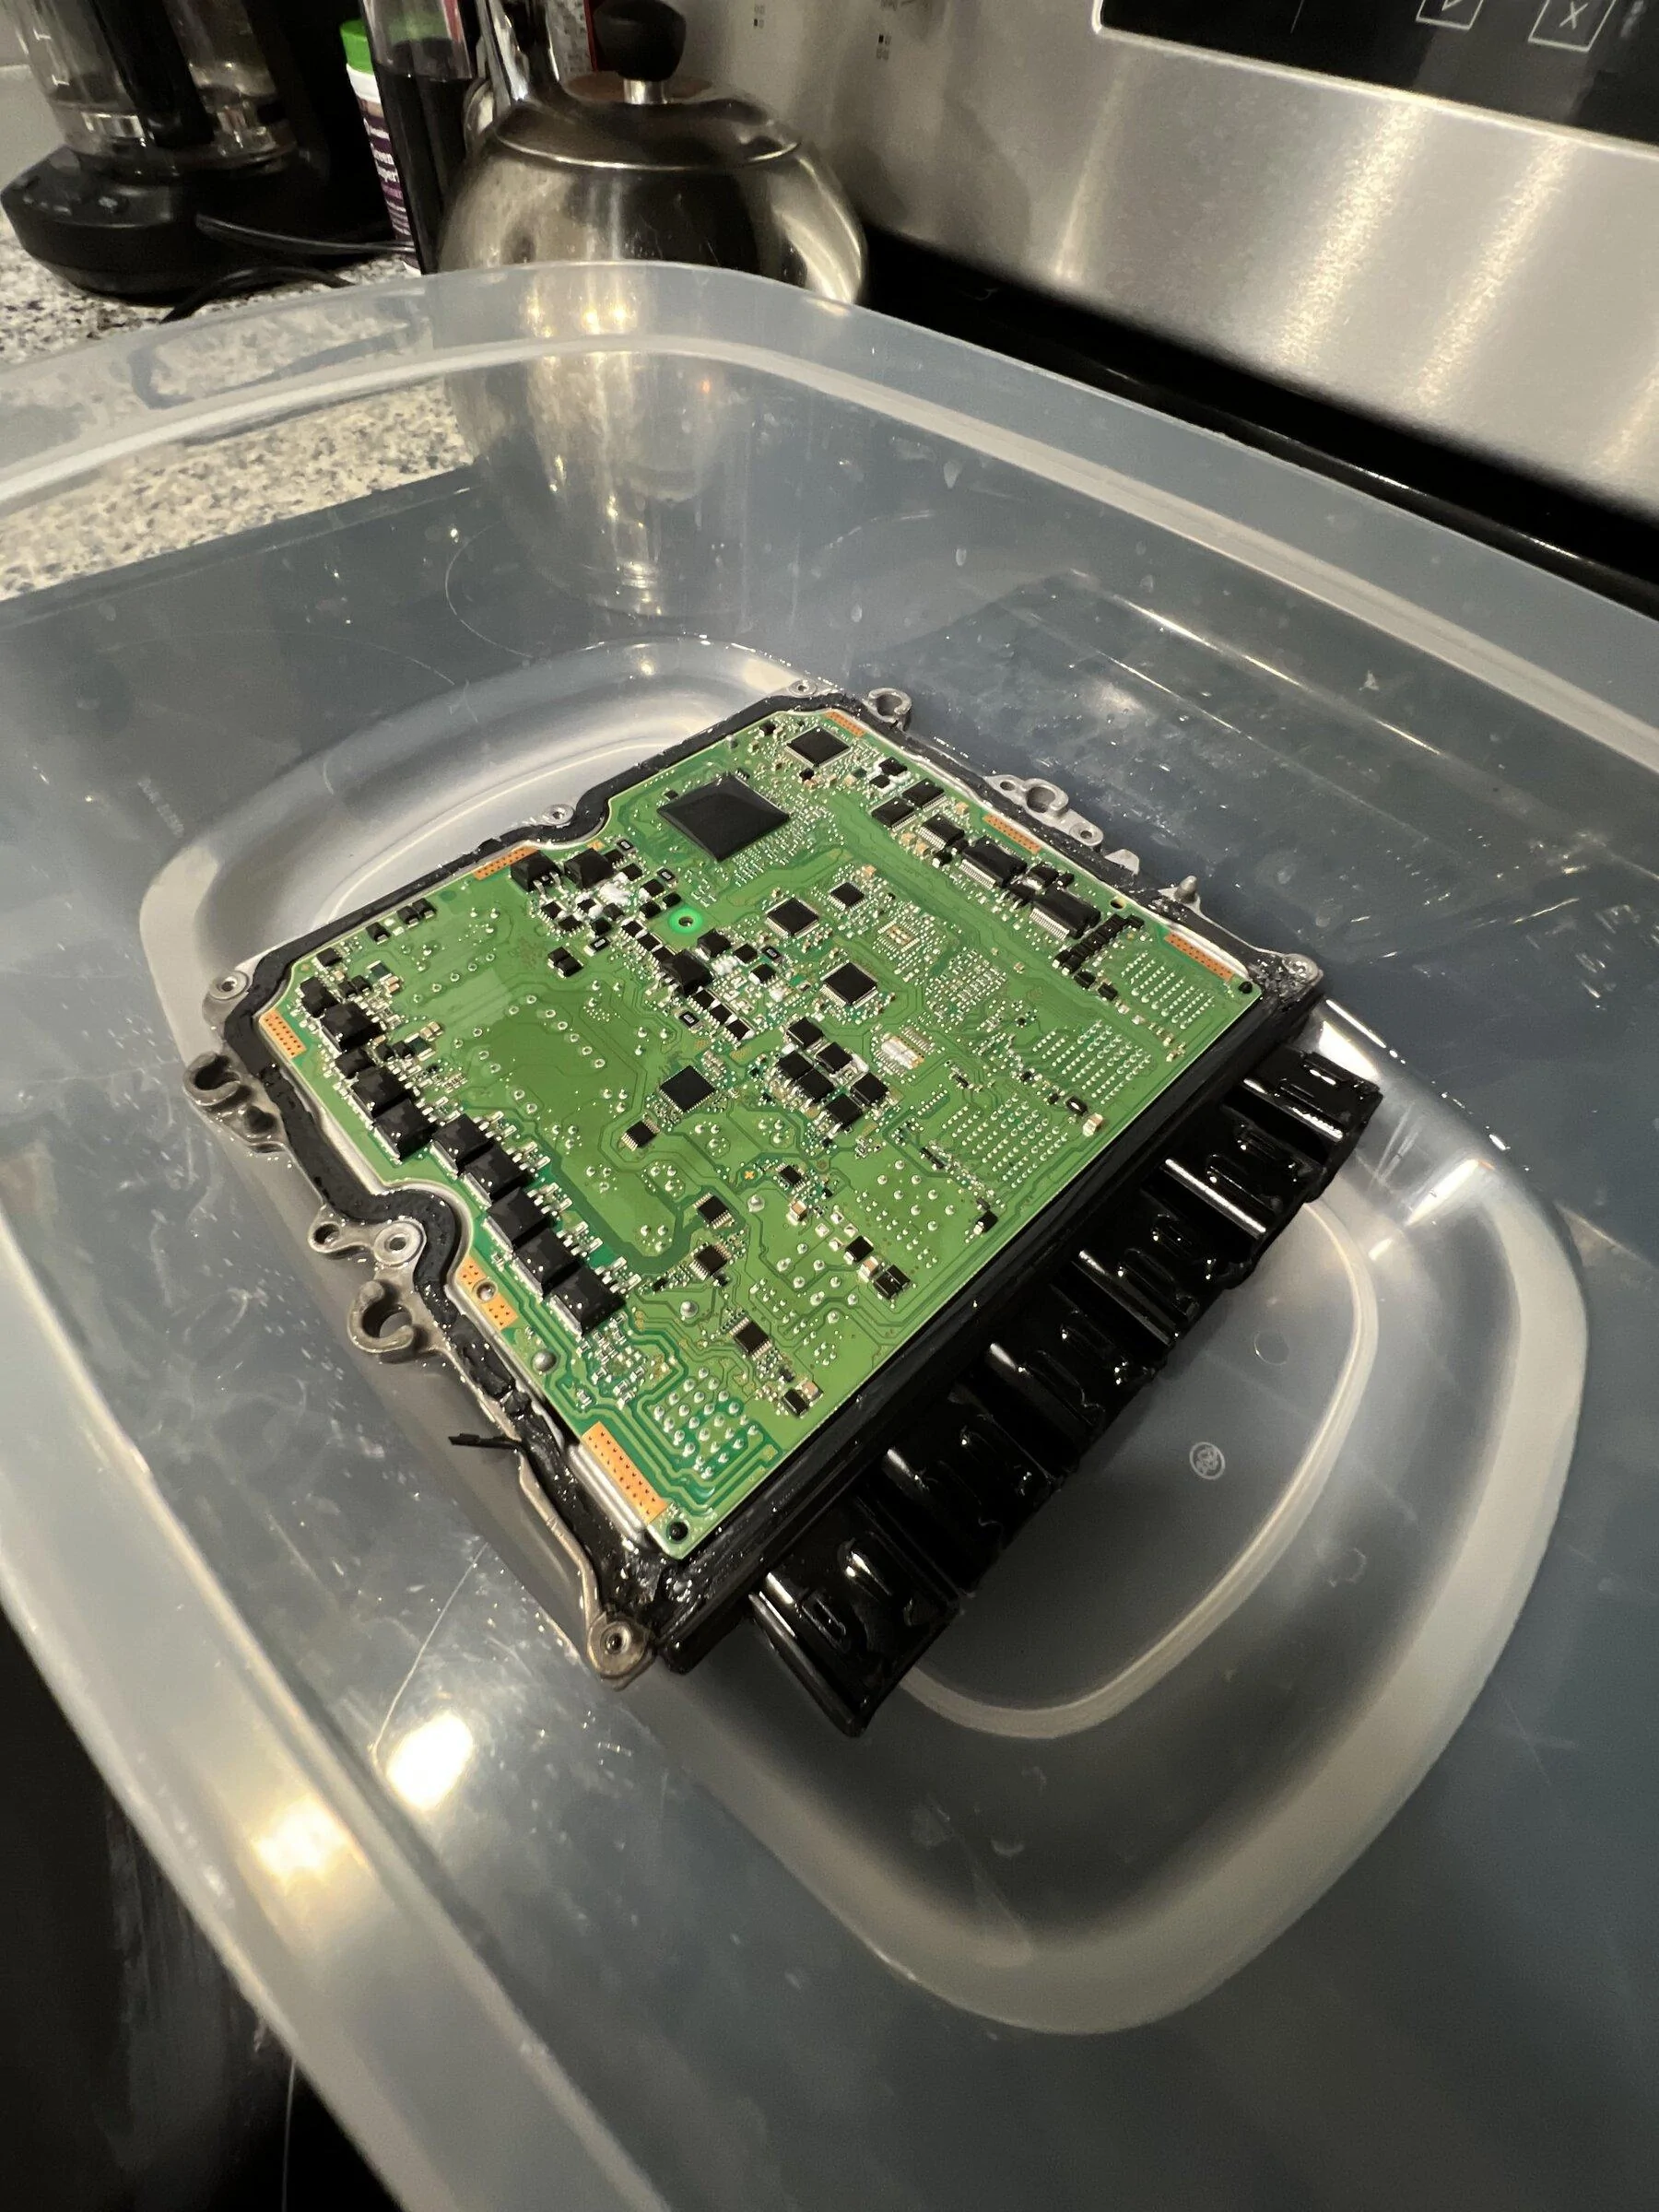
This made us conclude that we wouldn't be able to just reflow the solder from this side, and solidified the need to remove the bottom half of this enclosure. Now we begin to face some real challenges. After exploring some more we found lots of deposits of what appears to be a silicone based thermal paste (The white/gray looking stuff). This stuff is EVERYWHERE! And there is a HEALTHY amount under the PCB, adhering the PCB and the metal enclosure together. See some macro shots below:
This stuff is soft, and very very sticky. We hope not to destroy the PCB when trying to pry it out. We can also see some additional black silicone glue that is holding the top connectors (the plastic covers for them) directly to the exterior metal of the enclosure. This is going to be tough. We have a plan to try a two pronged method here.
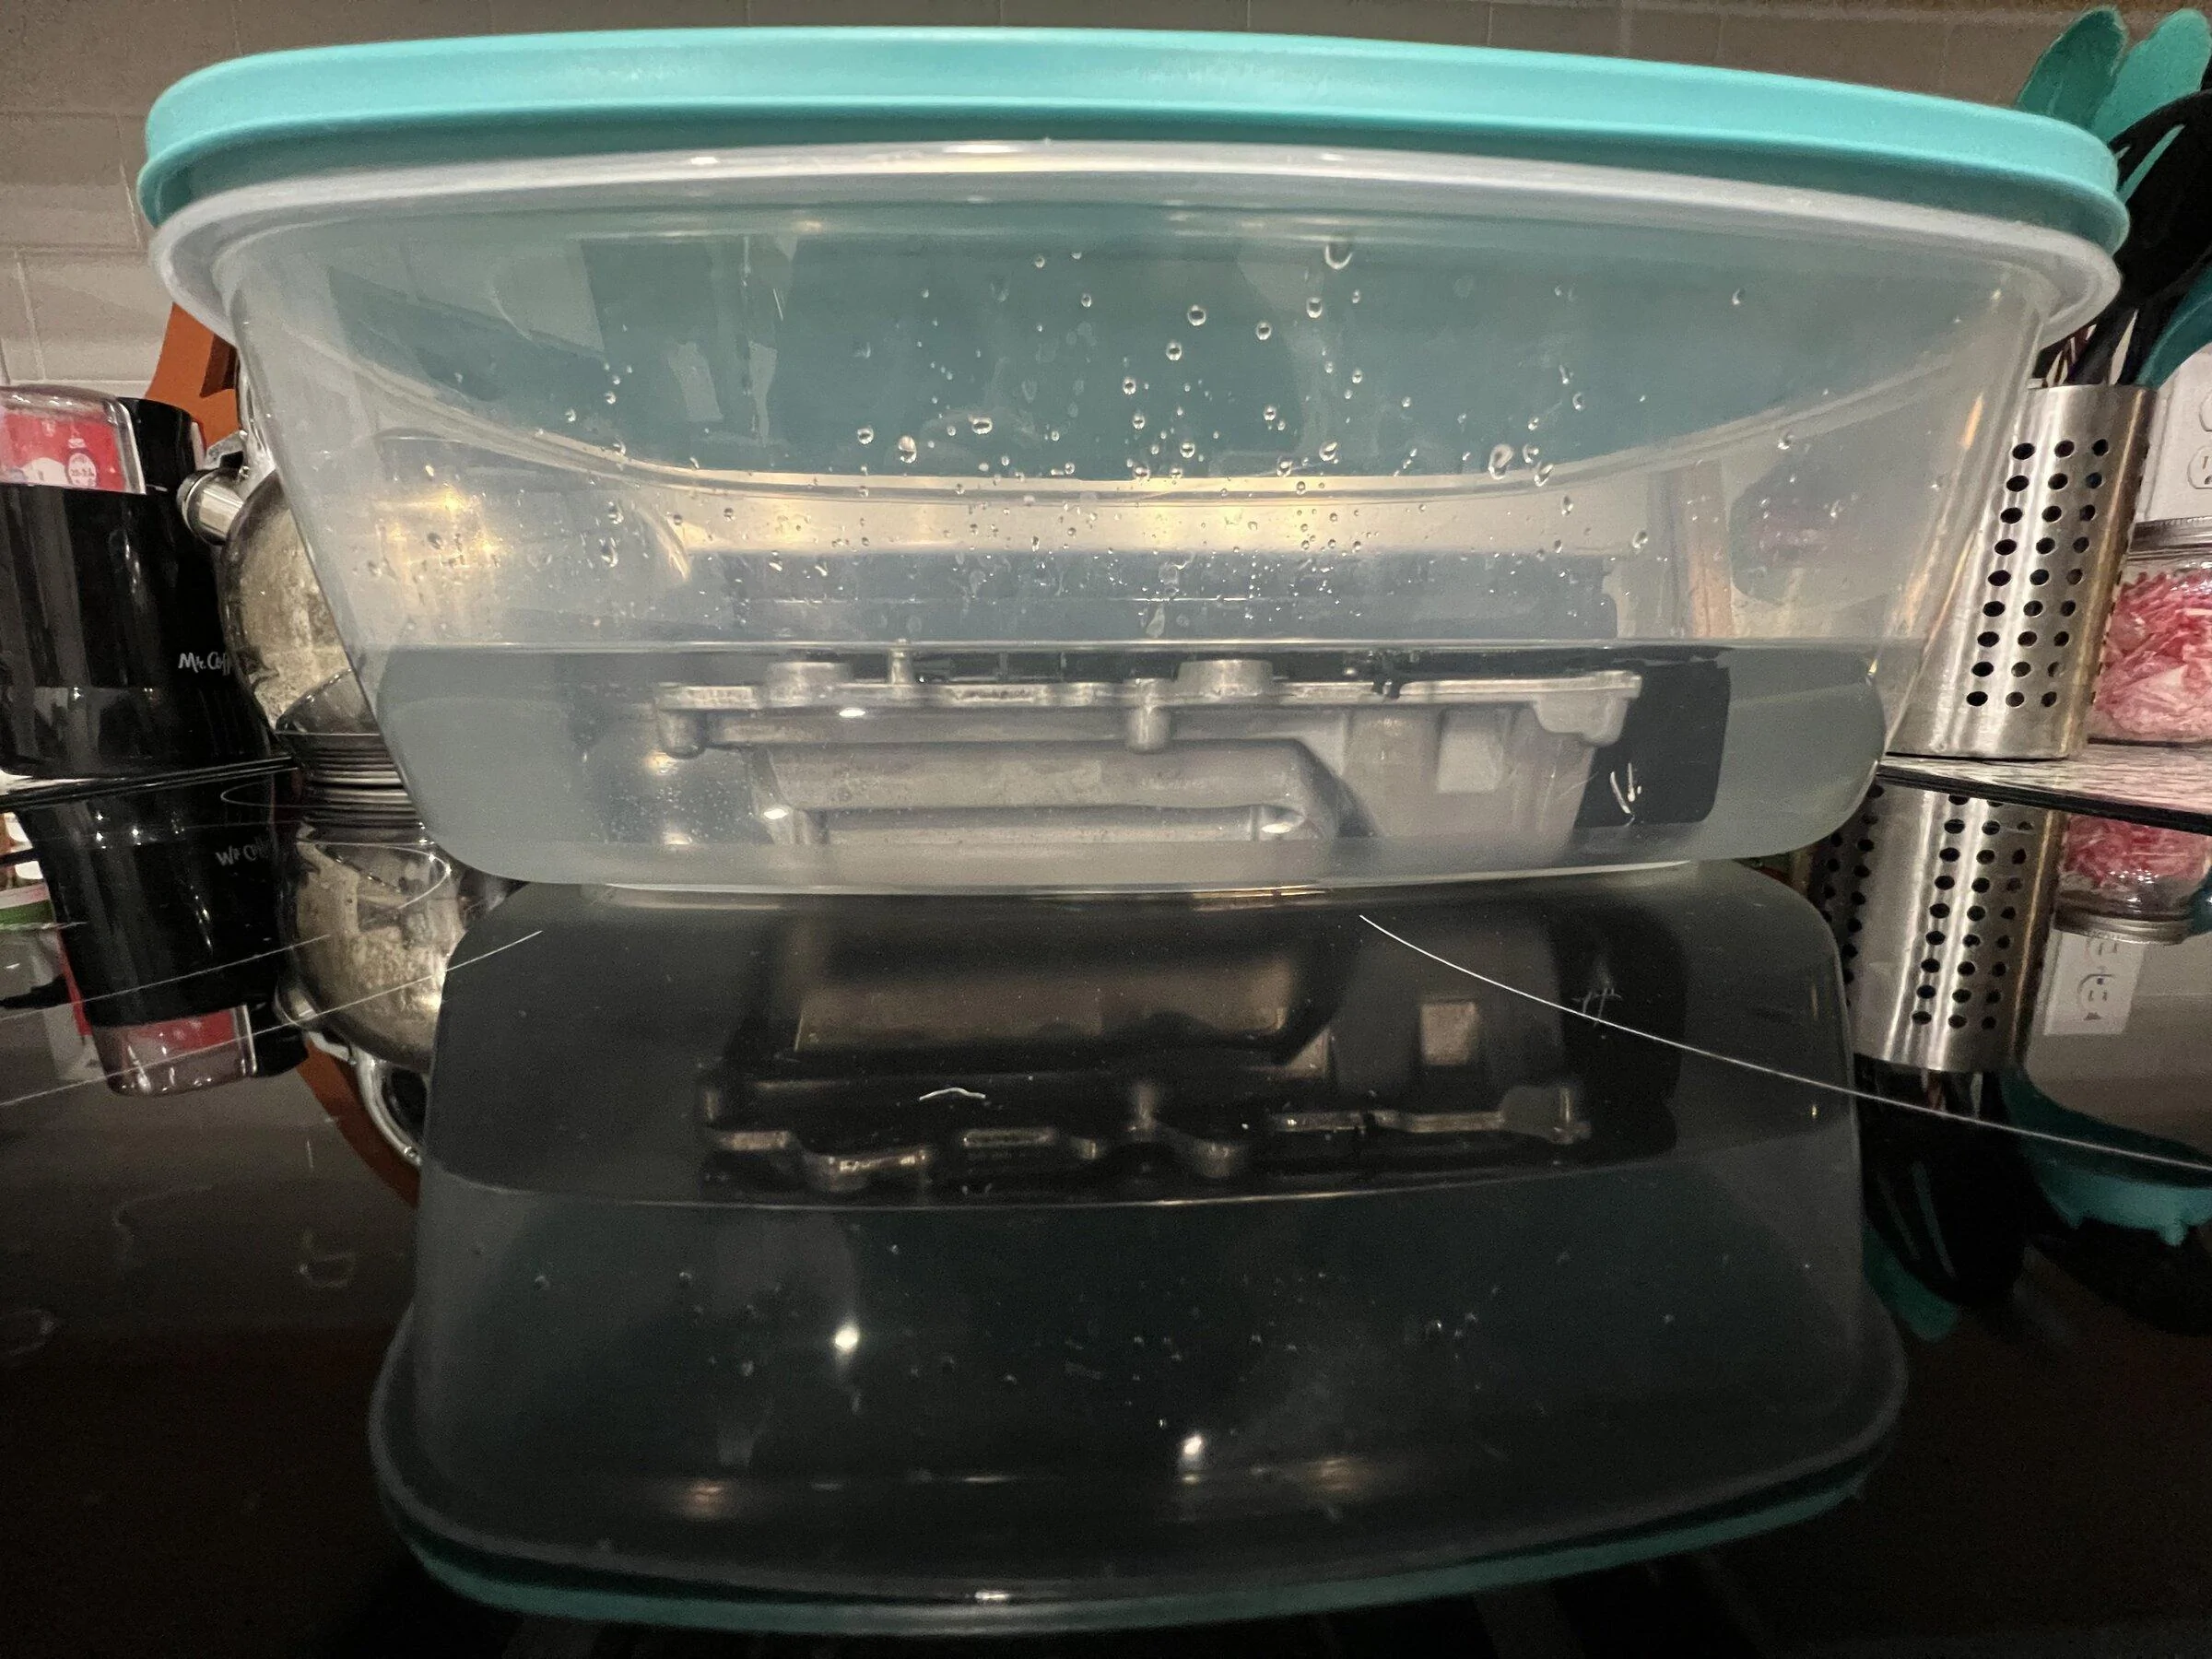
This is where I will have to end my first post. Today our plan is to take this half clamshell and throw this bitch in the oven @ 170F for about 5 mins. The hope is the heat will weaken the bonds of the remaining glue, and we hope to gently lift the PCB out of the bottom half and access the side we need to repair. If this doesn't work our backup plan will be to hit this stuff with ISO 99% or acetone to see if we can get enough glue to dissolve and get some movement. This will all be much harder than the top half, since we have to be very gentle when prying on the bare PCB. If you have suggestions, or questions please we would love to hear your thoughts. Expect another update later tonight detailing our success or failure in removing the bottom half.
Thanks everyone! Happy Hacking!
I recently came into possession of a MG1 ECU that is "cloneable," the catch is this ECU was clearly involved in nasty wreck. I want to take this opportunity to do what I think has not been documented before. We are tearing open this enclosure and going to attempt to repair the ECU on a component level.
This thread will attempt to follow our journey, and maybe inspire someone smarter than me to pry these open and make a cool discovery or break the dreaded Bosch encryption for good. Our intent is to remove the enclosure, repair or replace any damaged components or the connectors, then seal it all back up and attempt an ECU flash over the currently non-working Can bus. If we are successful then we have gained one working "cloneable" ECU in this world, and maybe even given the courage to others to attempt similar repairs on other damaged MG1s
With the goal of flashing a working ECU in mind, we are taking precautions, but we have low expectations for this repair. I will do my best to stay chronological and detailed in my documentation of the process, but expect some jumping around as we are in very uncharted waters. The best case scenario is we get a fully working ECU again, the worst case we inspire someone else to fix a non-working ECU.
We started by following some decent videos detailing how to open the lid on other Bosch ECUs. It is very similar process and I will leave it to them to explain in detail how to separate the lid, and cut away the black silicone glue holding down the lid:
In the above video he used some "special lid extraction tool" or whatever he called it. Not at all needed. We used M5 screws and the trick is here that the OEM threads are smaller than that, but the hole on the lid of the enclosure is just big enough the M5 threads grab on to it and pry it up from the bottom half. We took it slowly, applying heat with a heat gun, slowly screwing down the M5 screw, then getting in there with a hobby knife to cut away at the silicone. Once we got all three sides that we could reach cut away from it's silicone bonds the lid just gently lifted away from the bottom half of the enclosure and we are left with this scene:

Once we reached this stage we stopped to do some light analysis and inspection immediately we noticed a small component fall out from between the PCB and the bottom half of the enclosure. This signaled to us that the extent of the damage must only really be observable from the other side.
This made us conclude that we wouldn't be able to just reflow the solder from this side, and solidified the need to remove the bottom half of this enclosure. Now we begin to face some real challenges. After exploring some more we found lots of deposits of what appears to be a silicone based thermal paste (The white/gray looking stuff). This stuff is EVERYWHERE! And there is a HEALTHY amount under the PCB, adhering the PCB and the metal enclosure together. See some macro shots below:
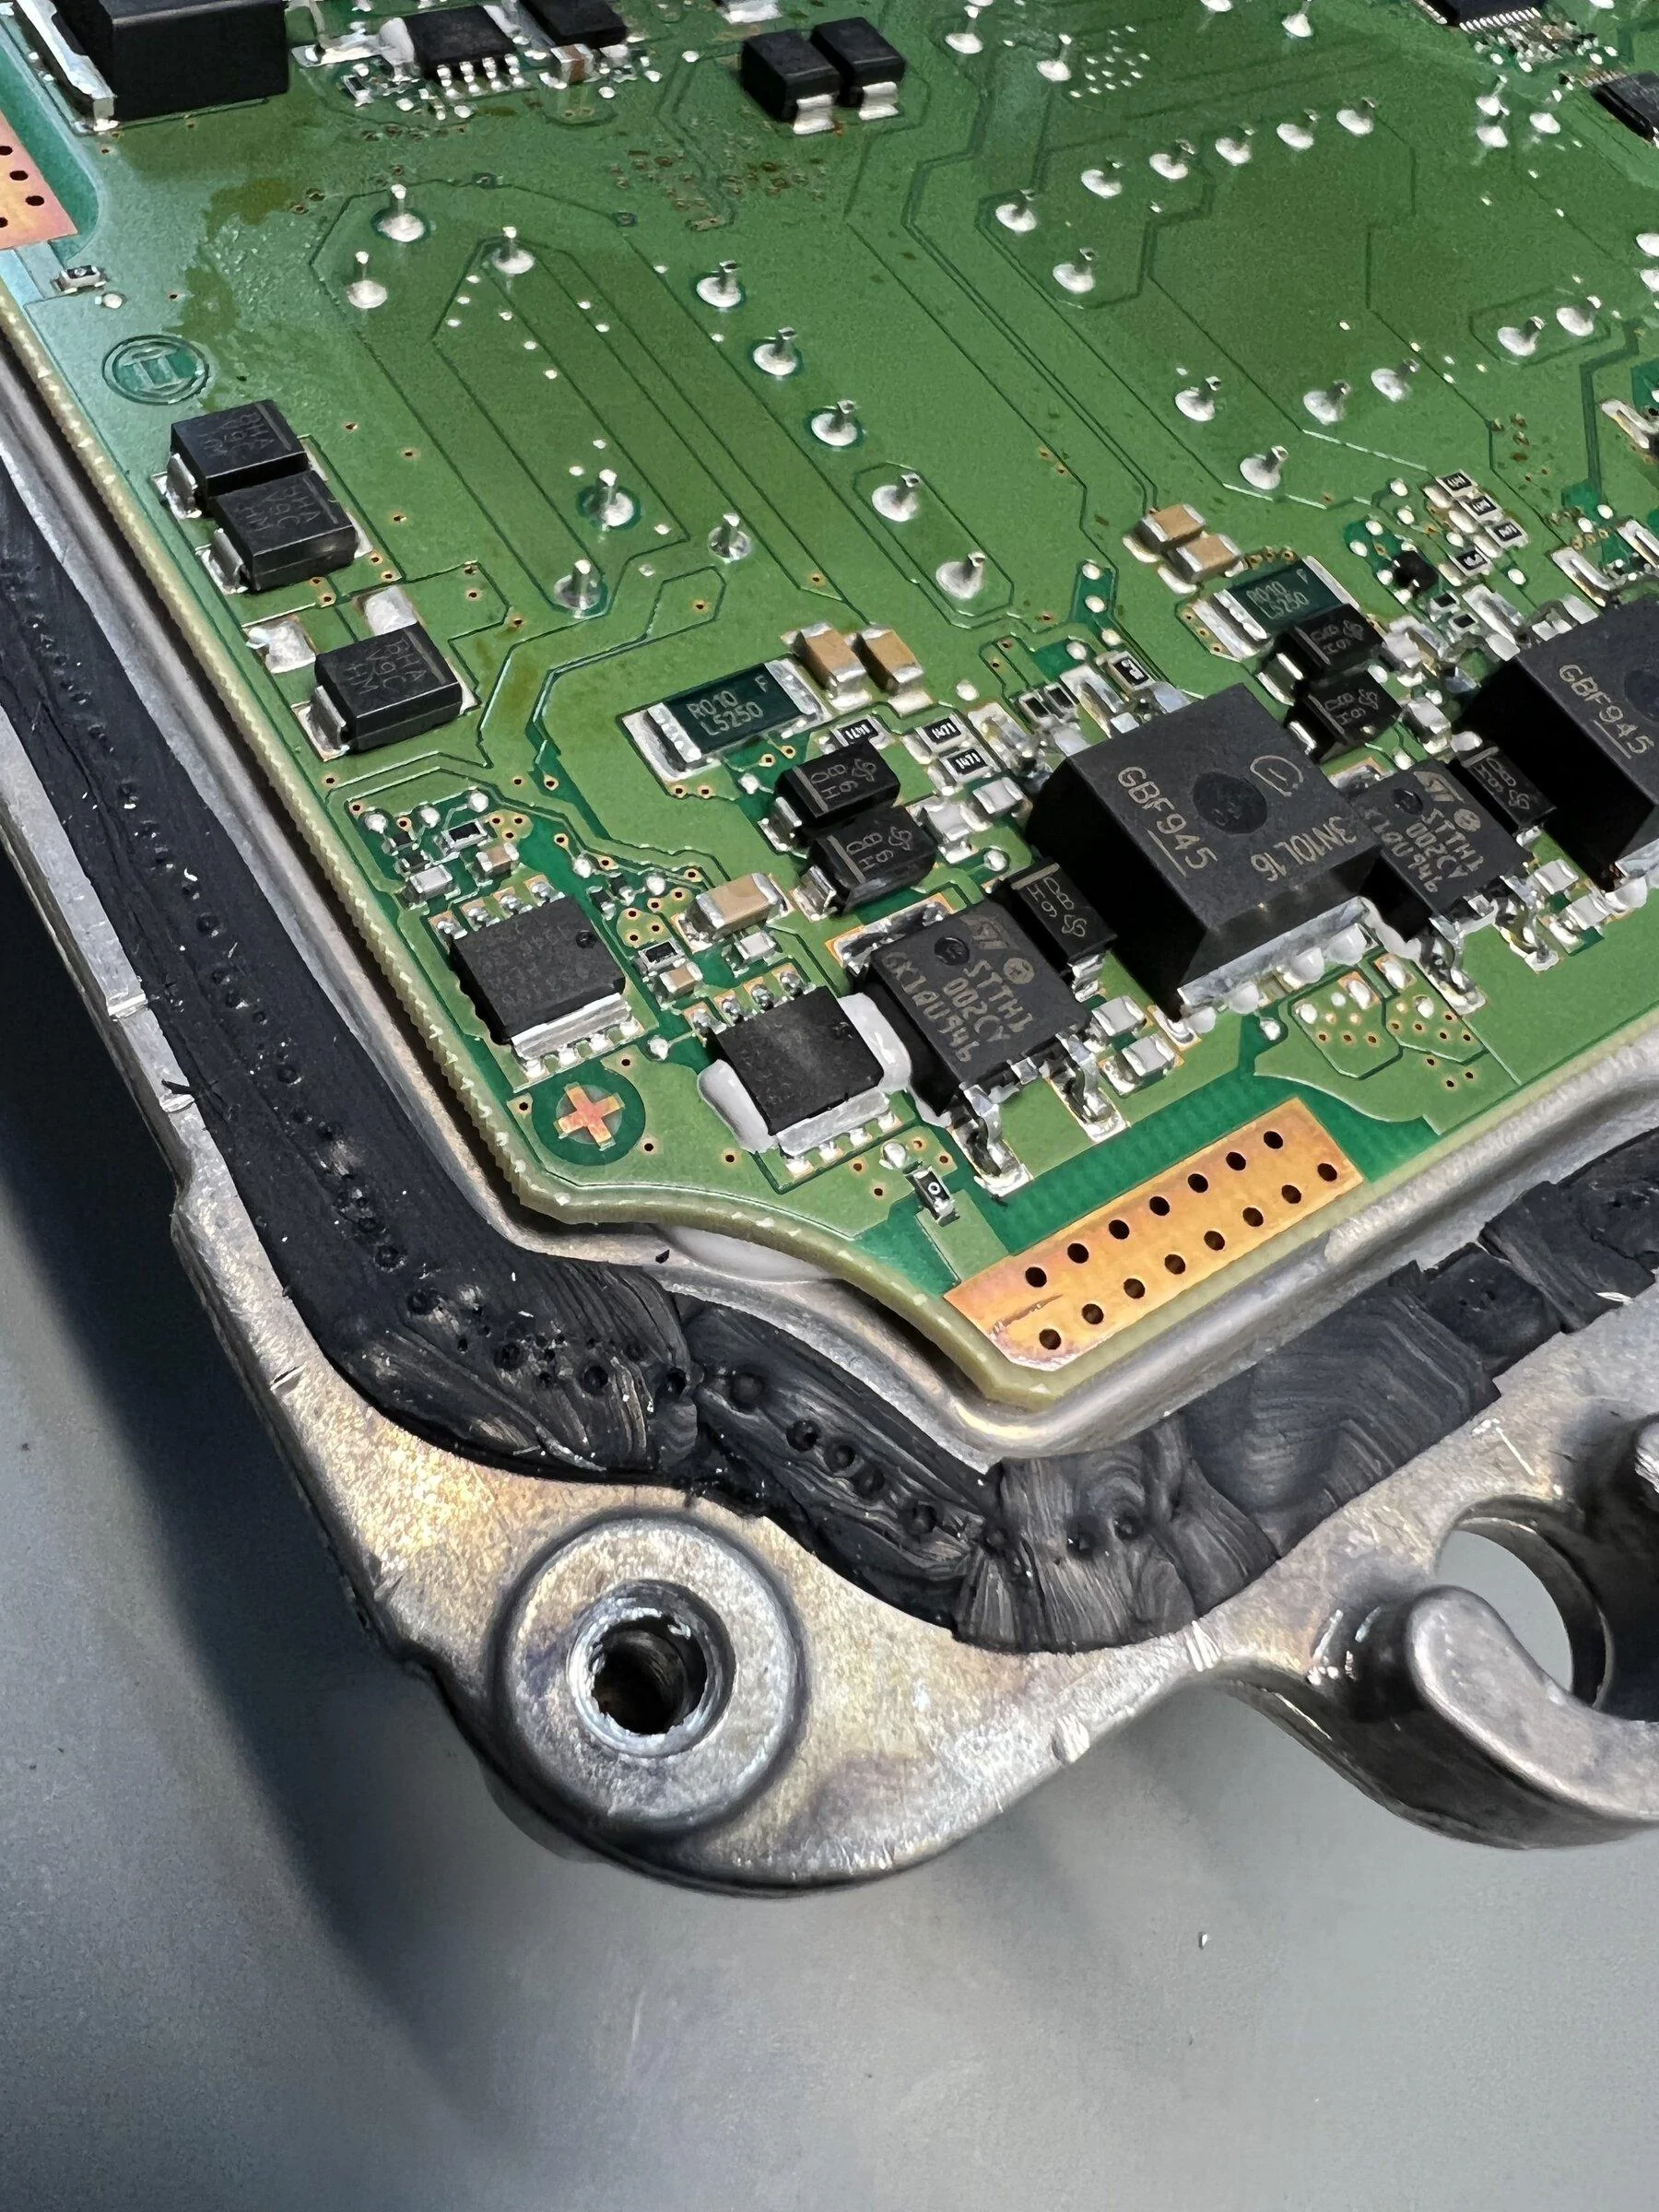
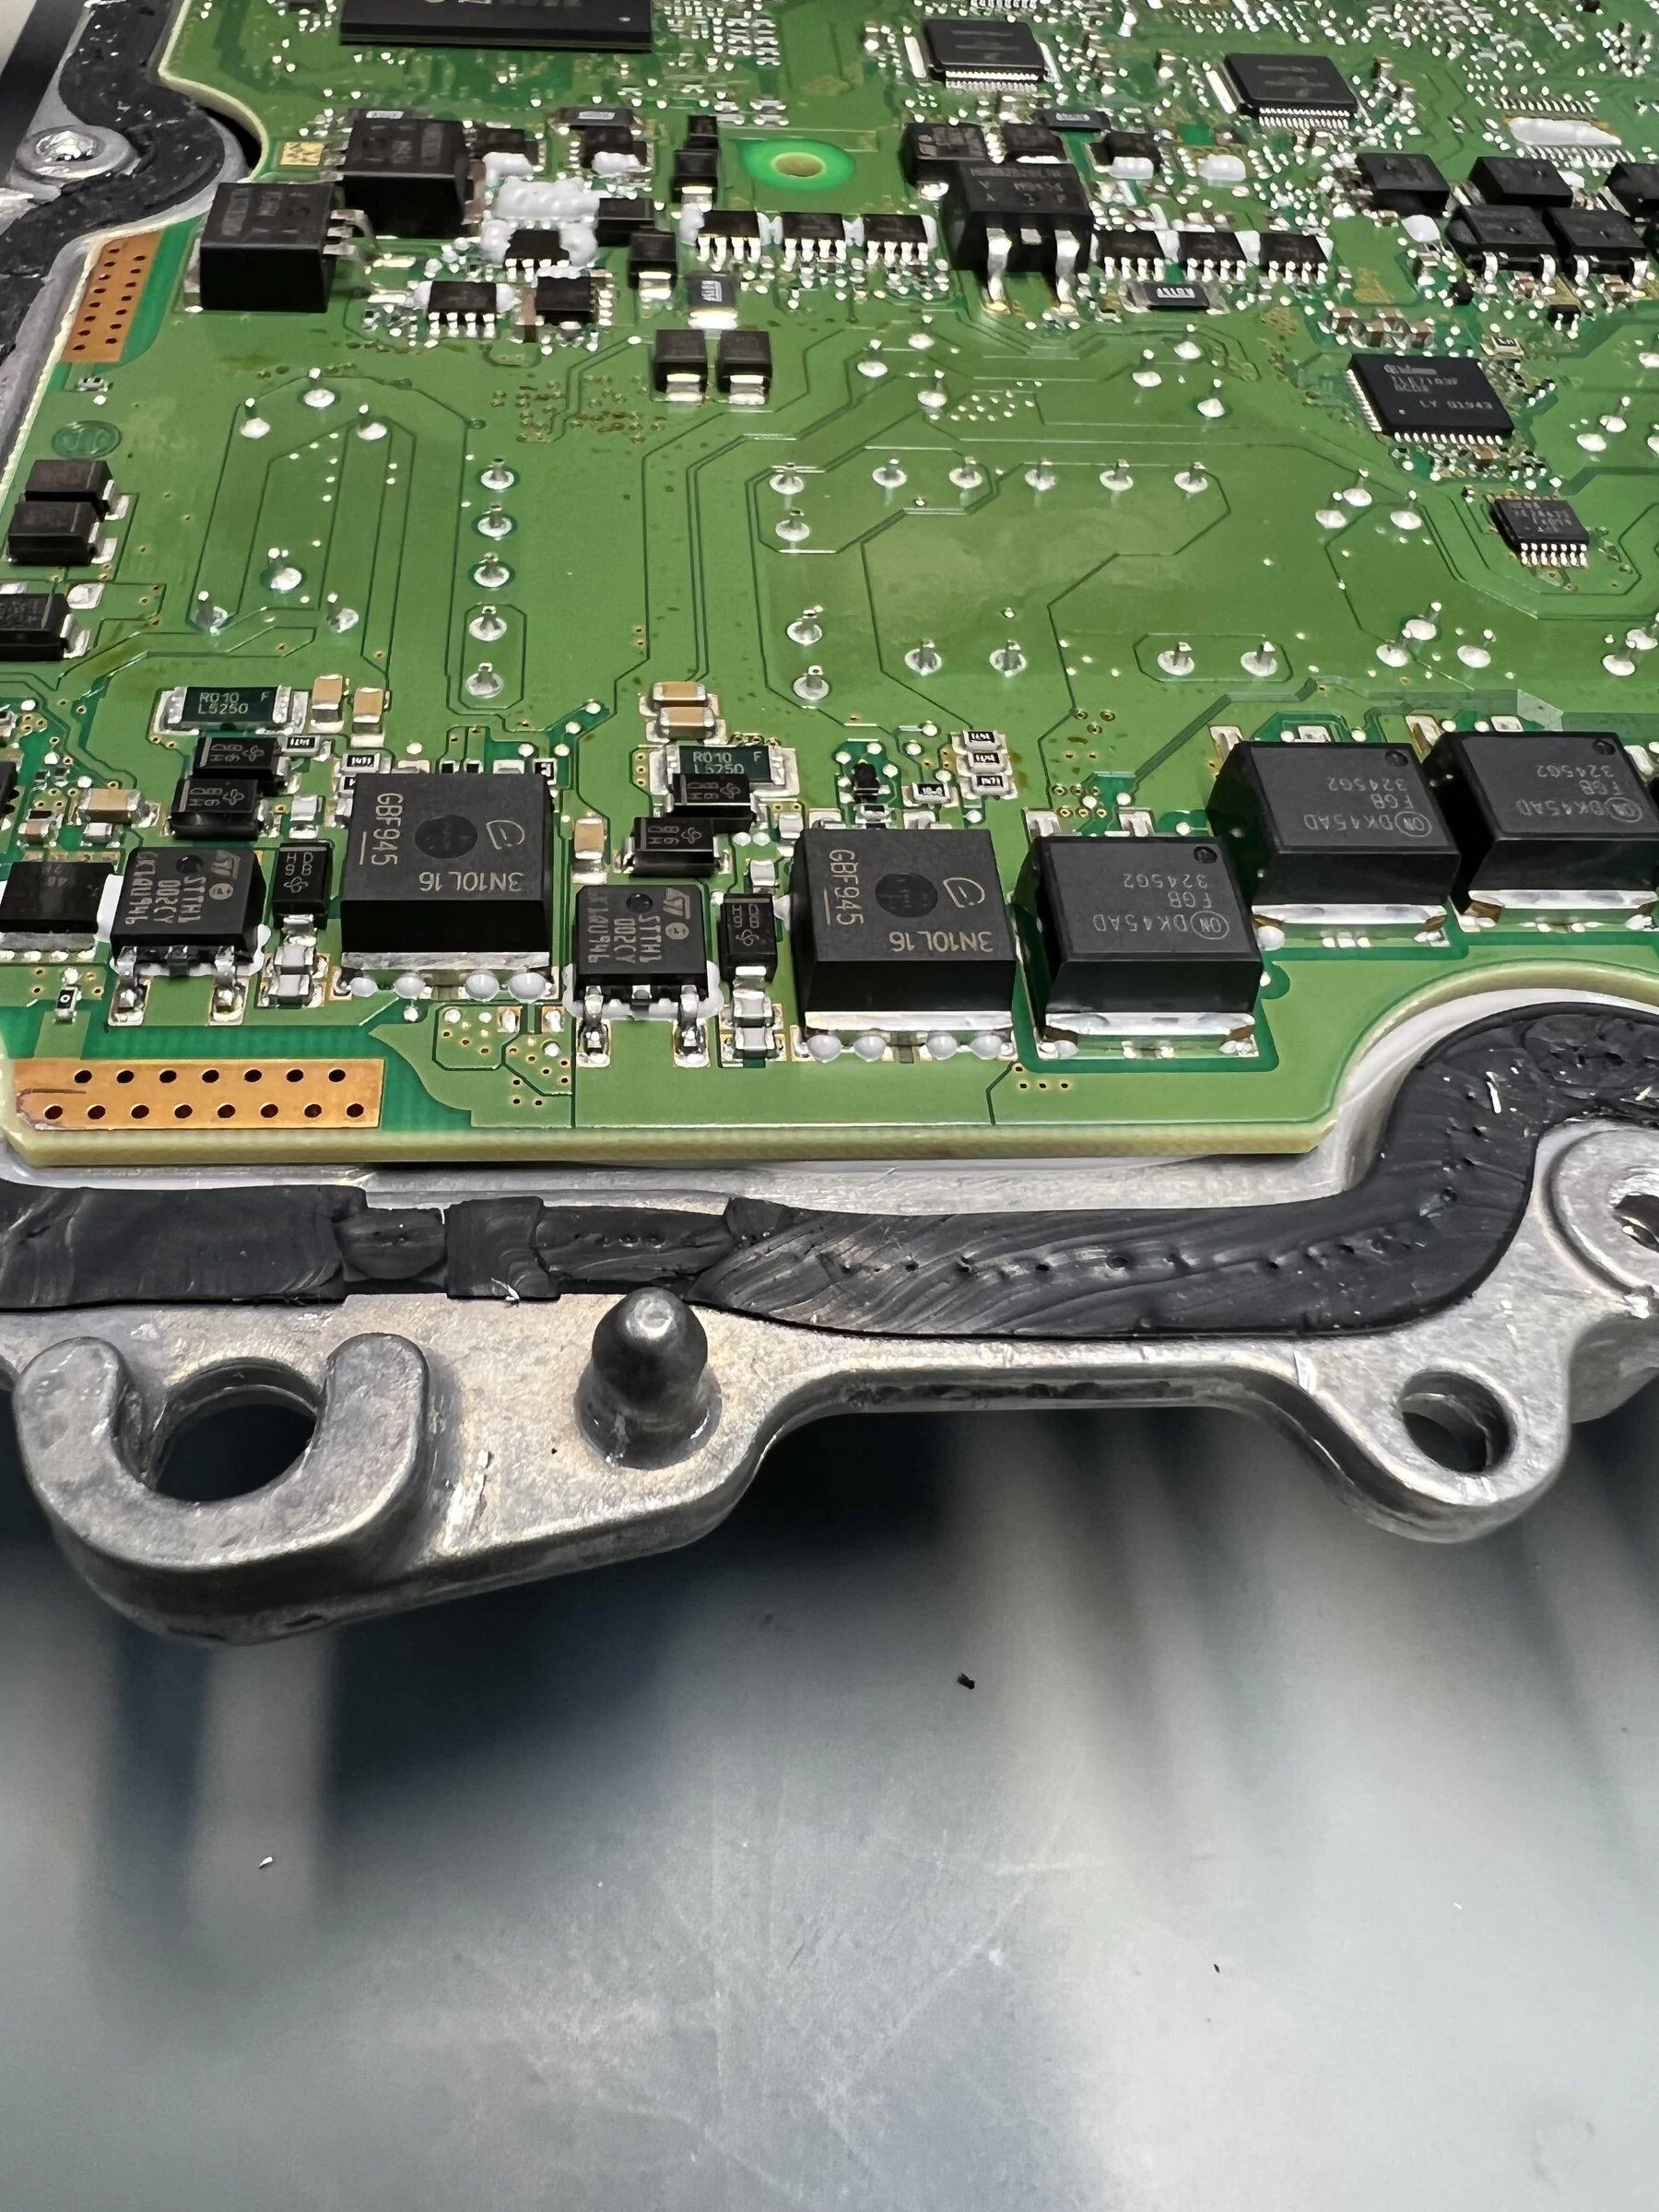
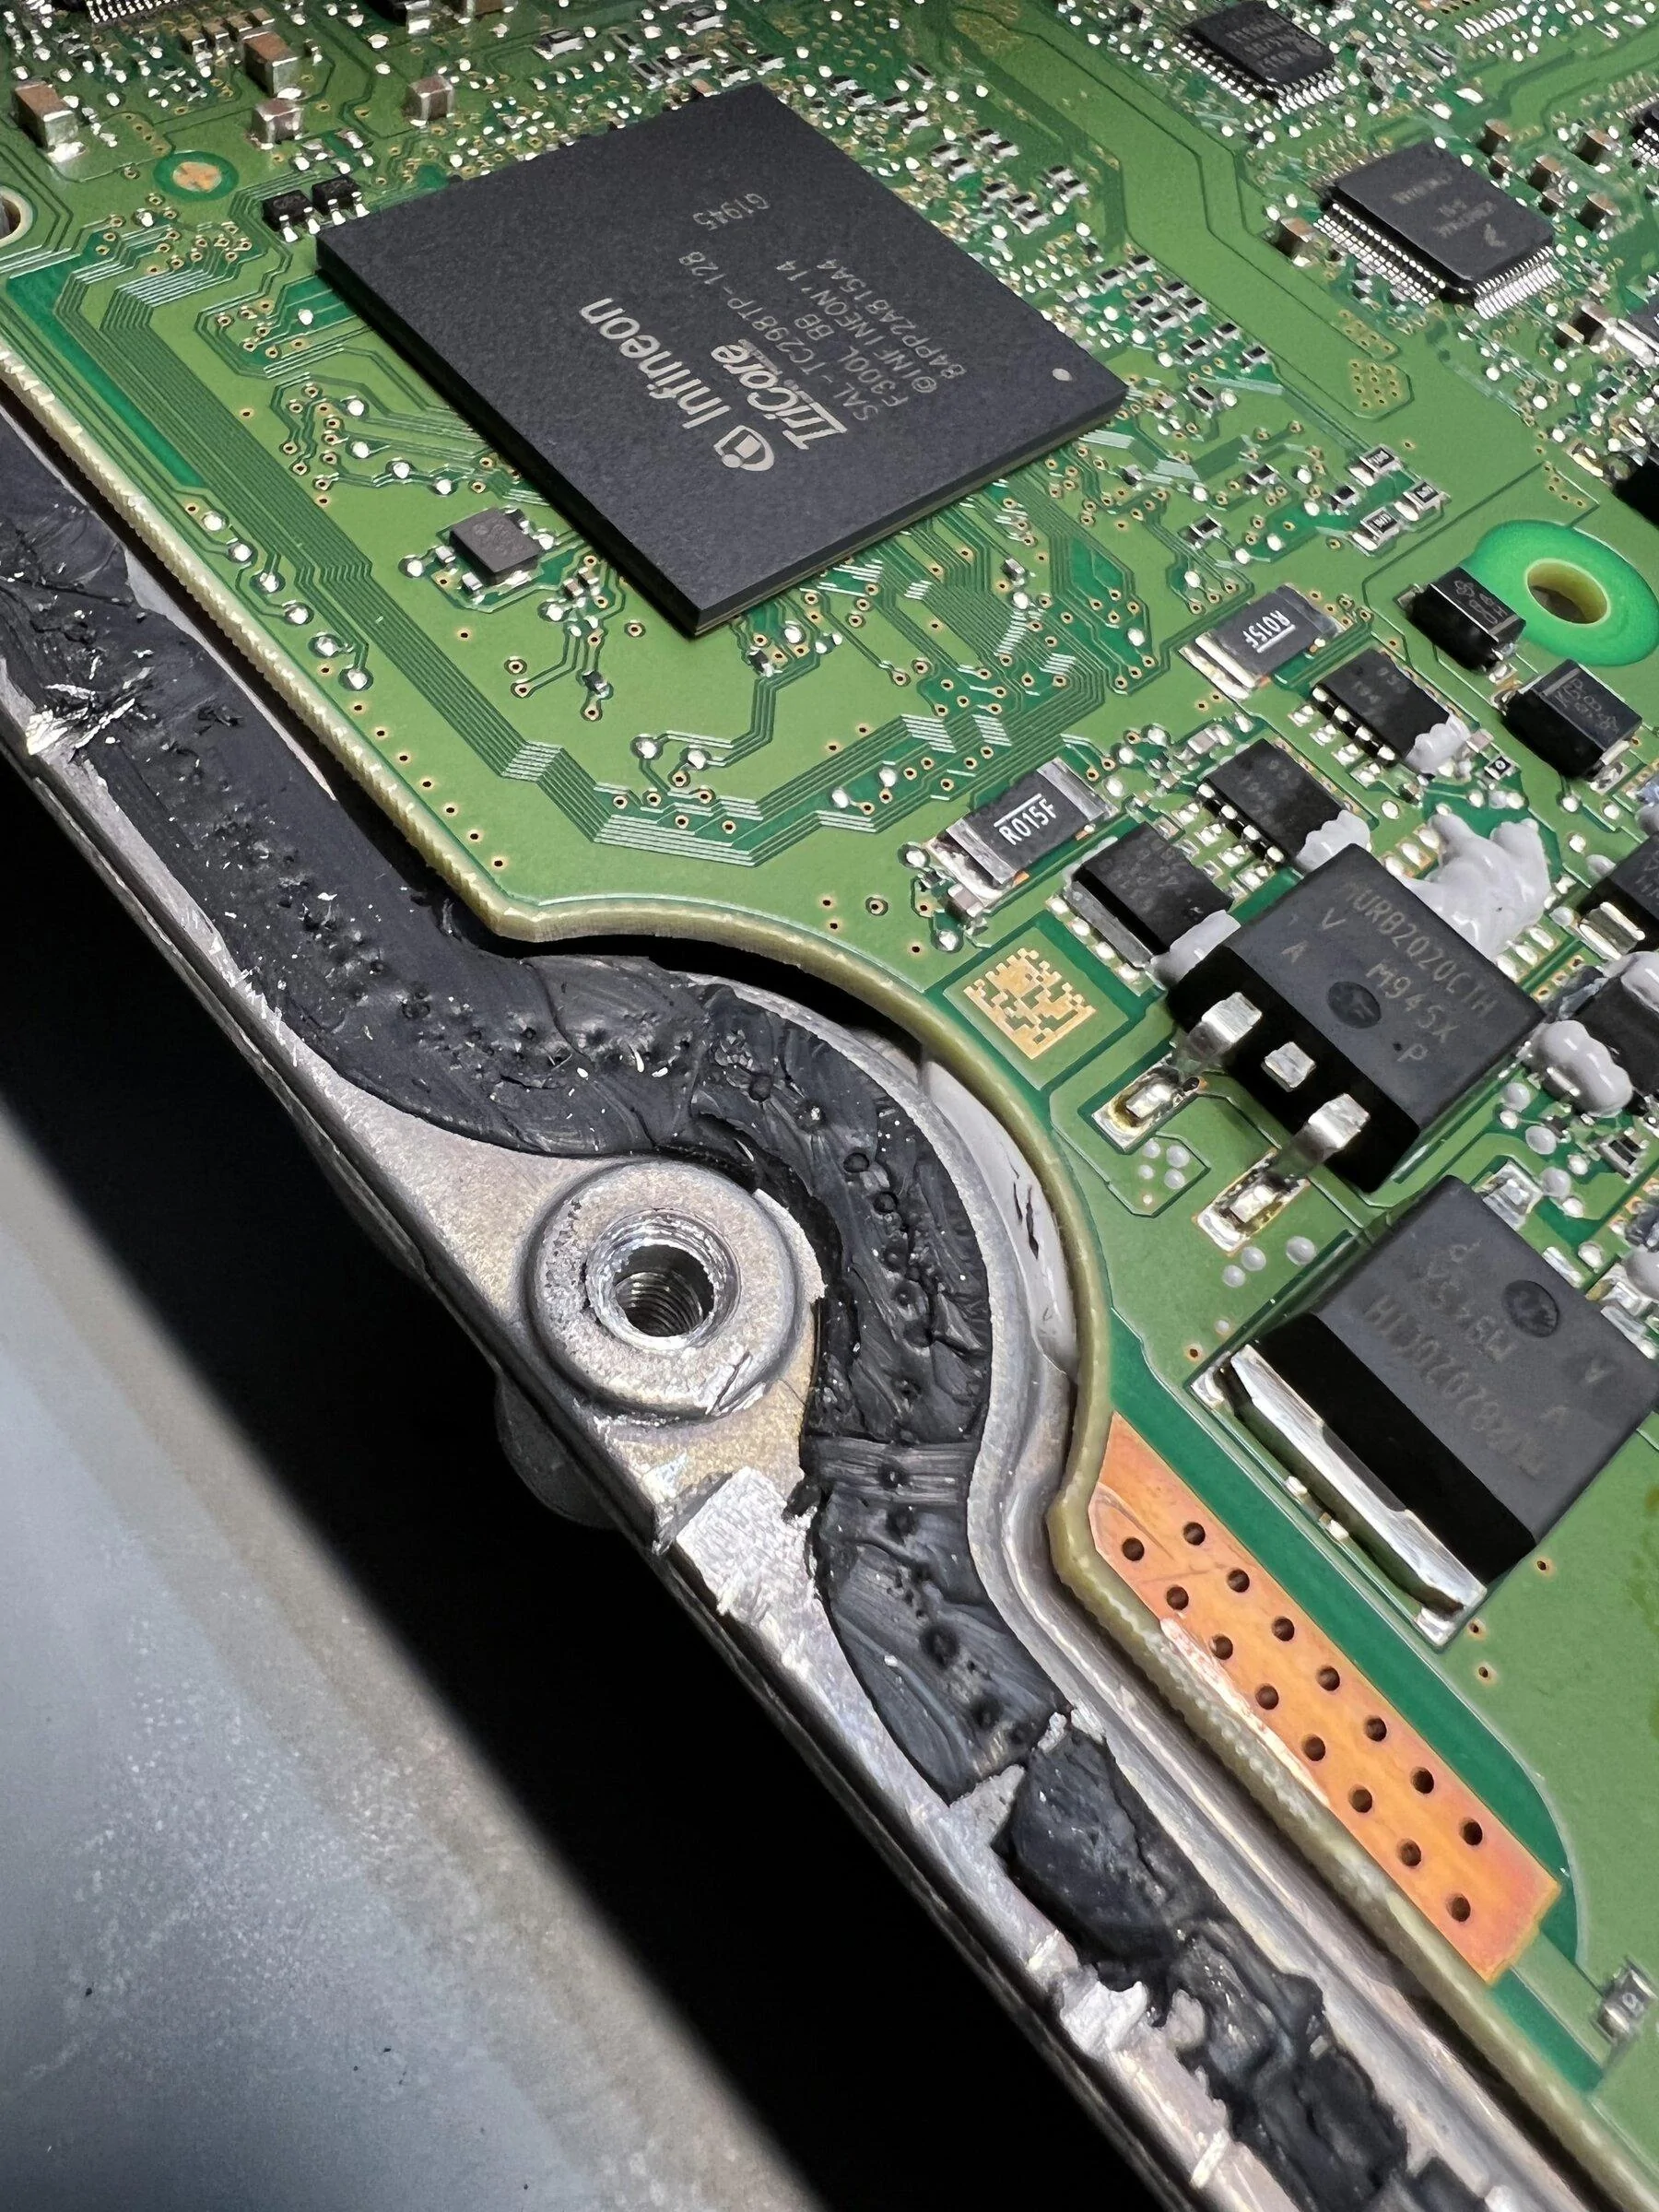
This stuff is soft, and very very sticky. We hope not to destroy the PCB when trying to pry it out. We can also see some additional black silicone glue that is holding the top connectors (the plastic covers for them) directly to the exterior metal of the enclosure. This is going to be tough. We have a plan to try a two pronged method here.
This is where I will have to end my first post. Today our plan is to take this half clamshell and throw this bitch in the oven @ 170F for about 5 mins. The hope is the heat will weaken the bonds of the remaining glue, and we hope to gently lift the PCB out of the bottom half and access the side we need to repair. If this doesn't work our backup plan will be to hit this stuff with ISO 99% or acetone to see if we can get enough glue to dissolve and get some movement. This will all be much harder than the top half, since we have to be very gentle when prying on the bare PCB. If you have suggestions, or questions please we would love to hear your thoughts. Expect another update later tonight detailing our success or failure in removing the bottom half.
Thanks everyone! Happy Hacking!
Sponsored
")
