SCCA Racer#75
Well-Known Member
- Thread starter
- #1
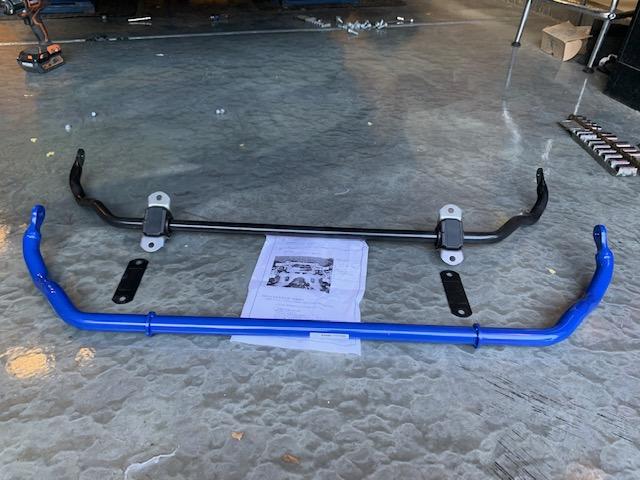
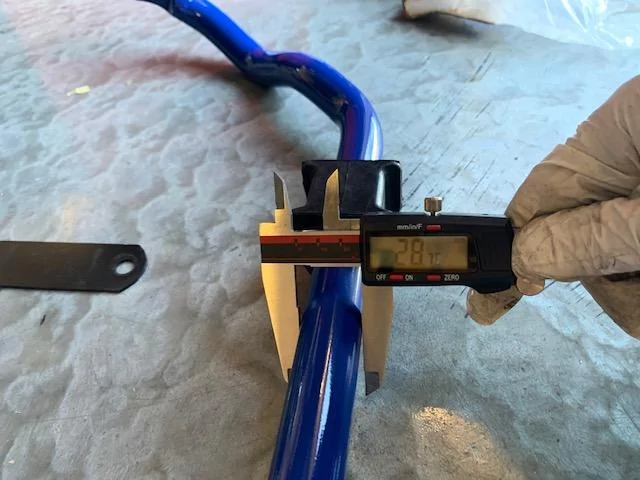
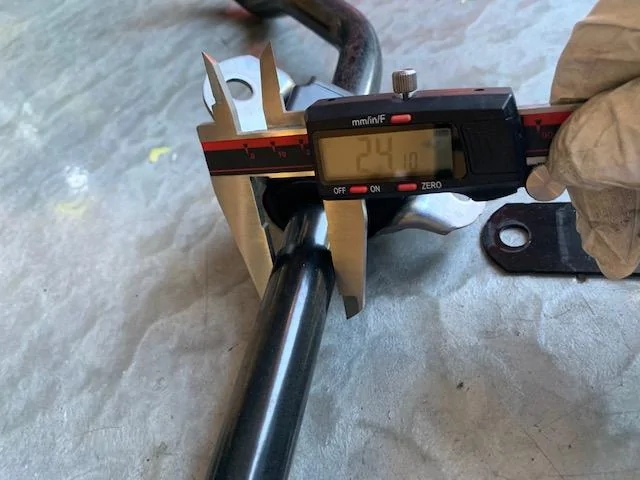
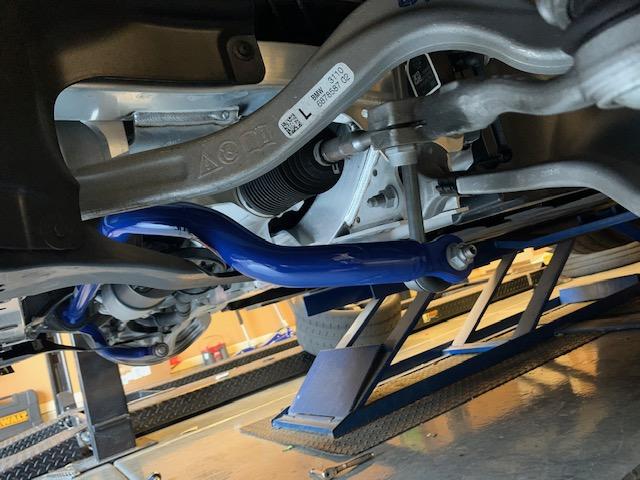
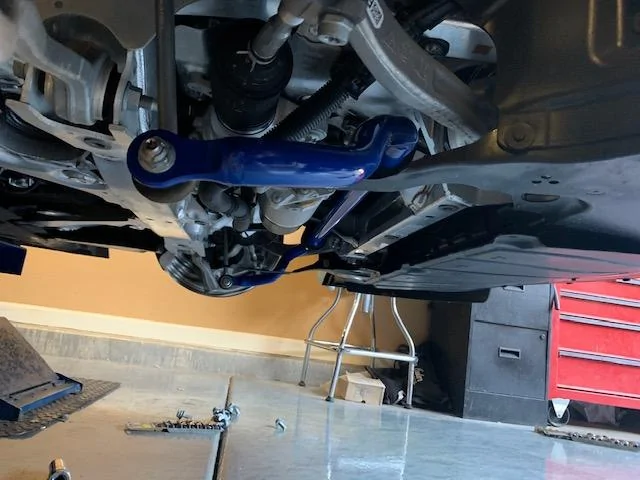
Finally received the Supra Cusco Front Sway bar for our supra. We will be campaigning the car in SCCA B-Street. I've been campaigning the car with my son locally in AZ, and we've downsized the 19" wheels to 18x9 and 18x10 (factory offsets). And Yokohama A052 200TW tires. And now the Cusco bar. Only other mods allowed are shocks and catback exhaust. We'll see if the bar can help firm up the car, as it's a bit too soft for autox/solo. If not, we'll start to explore shock alternative's that accept the OEM springs.
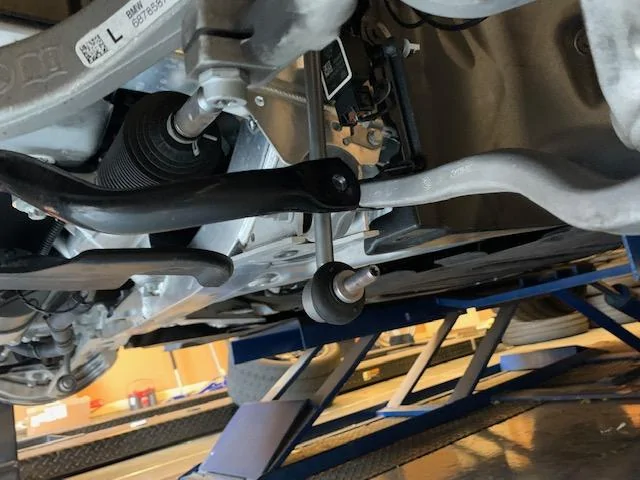
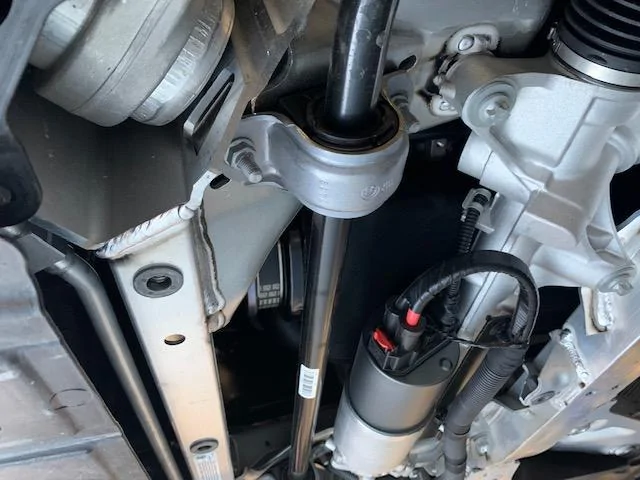
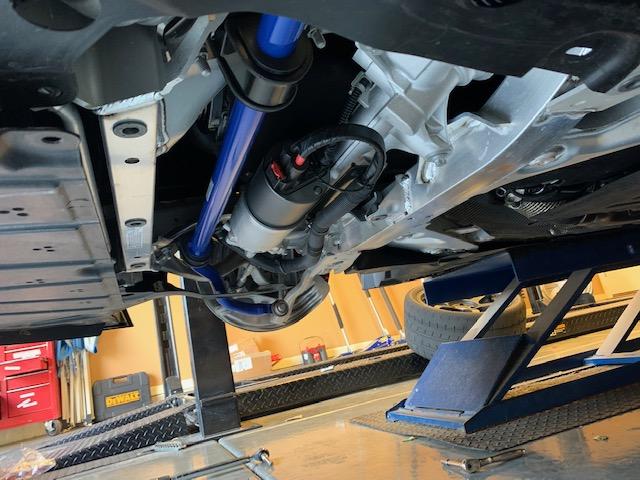
Here's some pics through the install process...took a little under an hour... very straight forward.
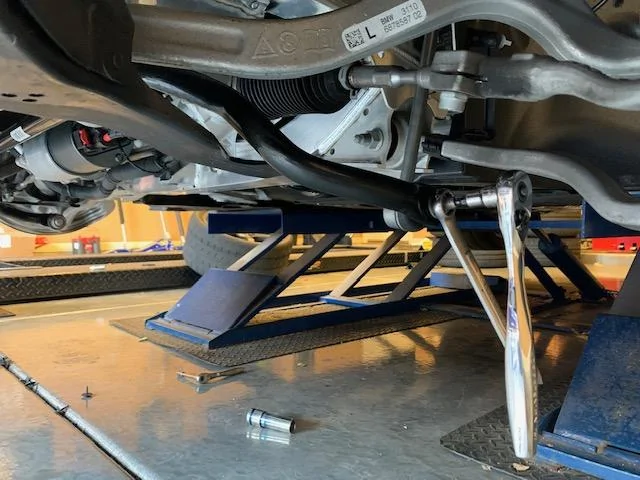
Step 1: Lift the car
Step 2: Remove the Front Tires
Step 3: Remove the dozen or so 16mm skid plate bolts (leave center one in place for now)
Step 4: Remove the dozen or so 8mm screws that hold the plastic trim to the skid plate
Step 5: now you can remove the center 16mm skid plate bolt, and work to move position the skid plate back and forth until you are able to 'slide it out' (remove the black felt center portion first to assist)
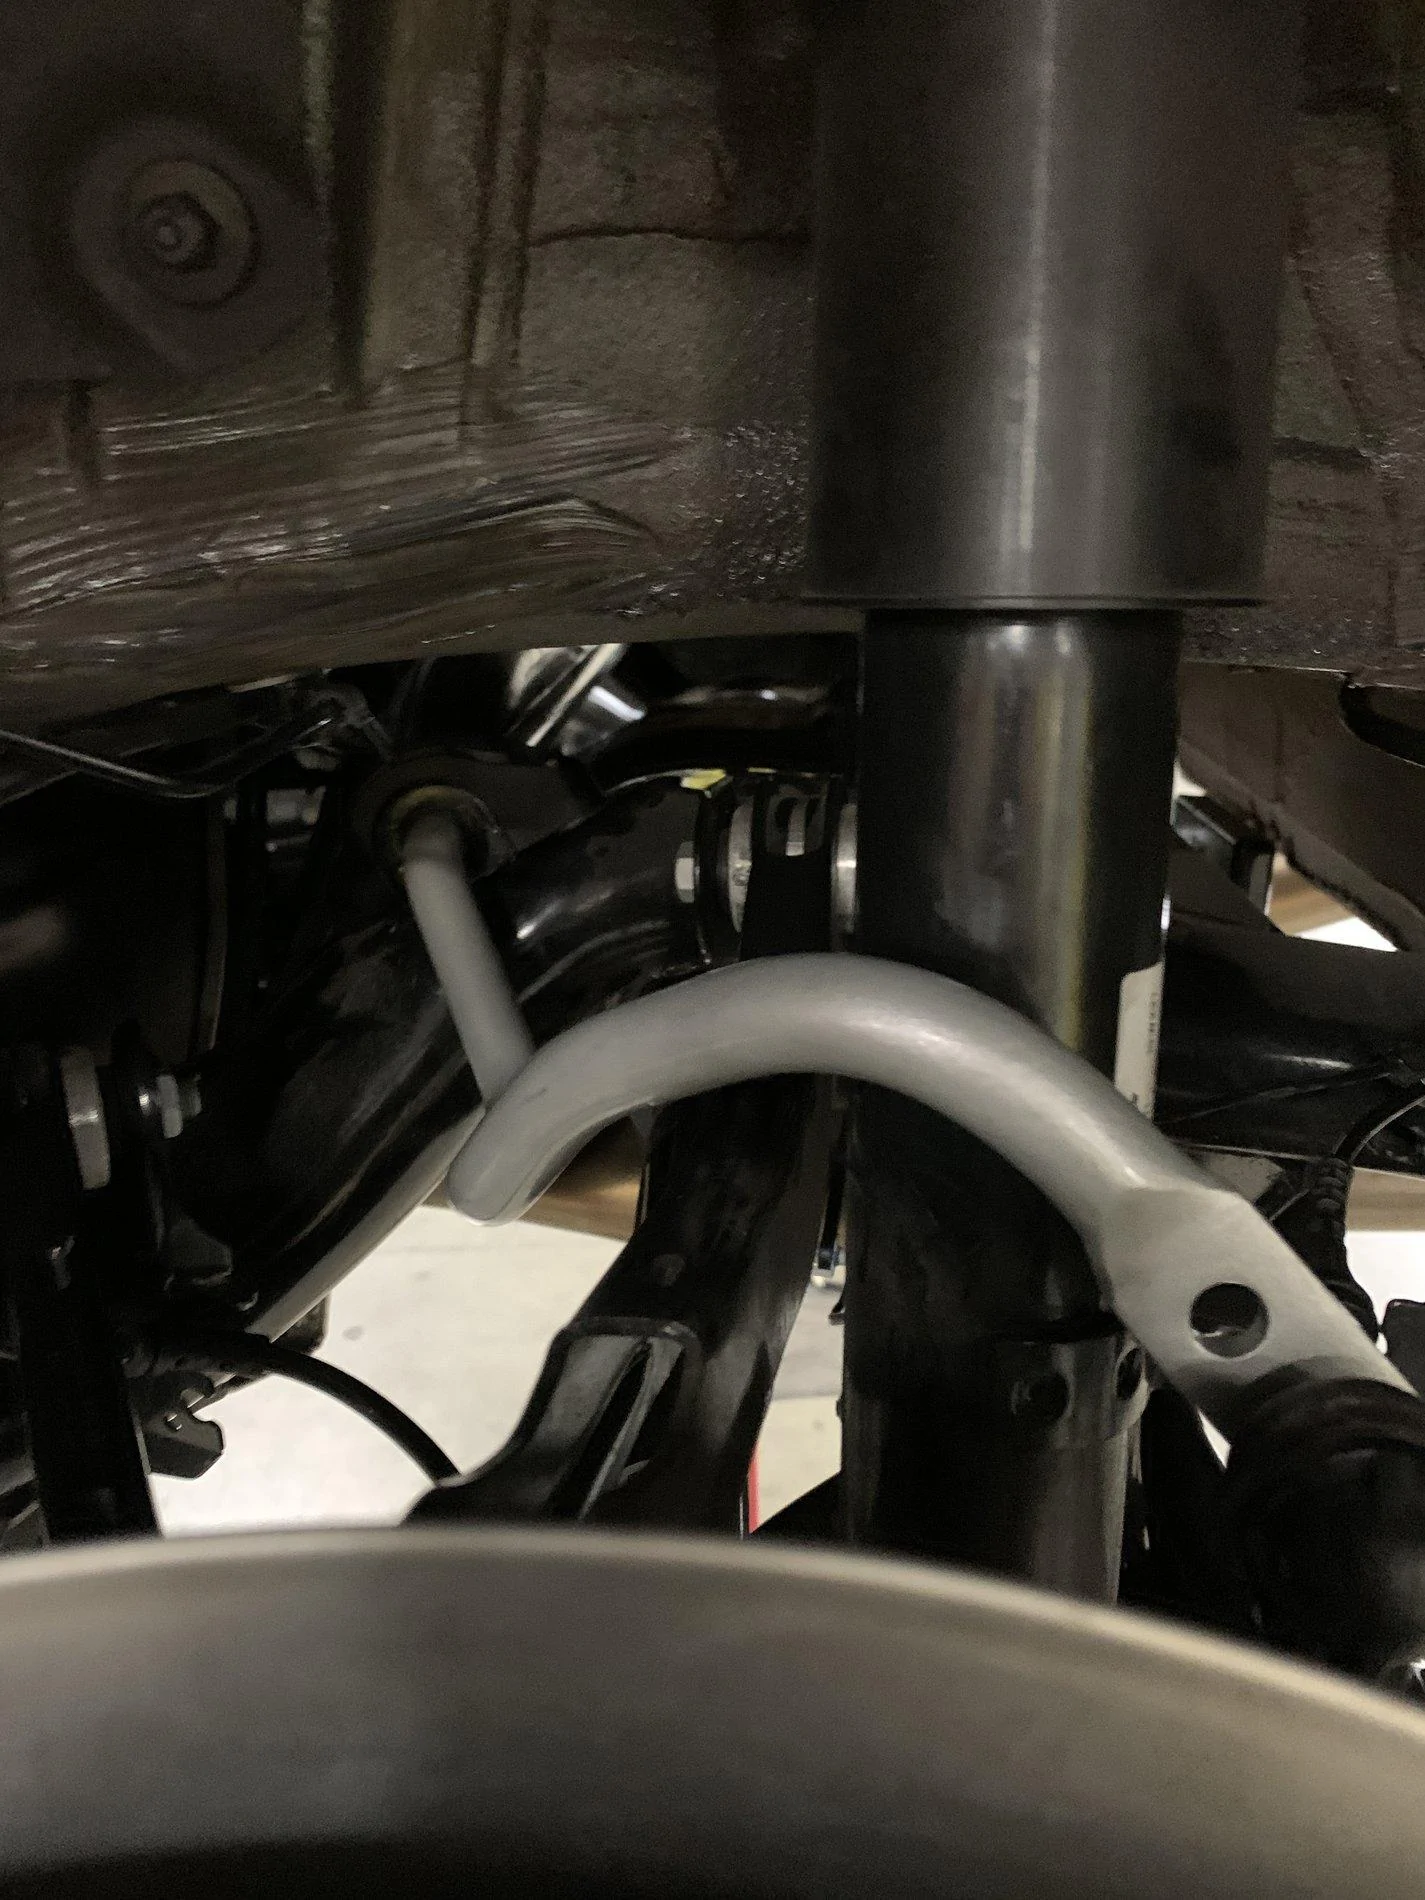
Step 6: remove the Endlink on each side (16mm Nut and a Torx/Allen head insert to hold threads works)
Step 7: remove the sway bar bushings (4 nuts, 13mm)
Step 8: remove sway bar
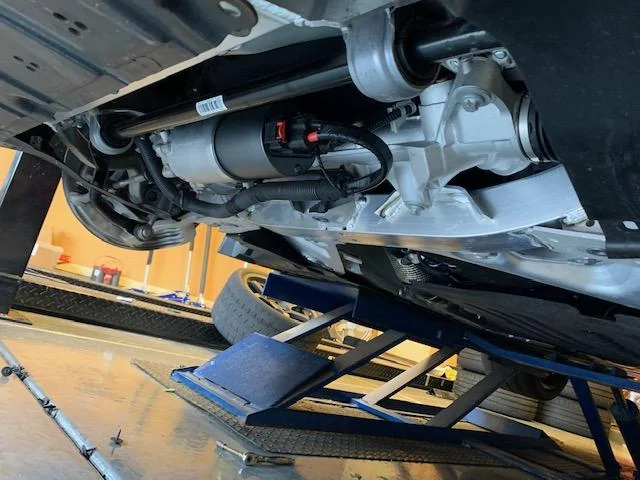
Step 9: Install sway bar and install in reverse of how you removed.
Here' are some pics before and after:

Best regards,
Dave
#75 BS
Here's some pics through the install process...took a little under an hour... very straight forward.
Step 1: Lift the car
Step 2: Remove the Front Tires
Step 3: Remove the dozen or so 16mm skid plate bolts (leave center one in place for now)
Step 4: Remove the dozen or so 8mm screws that hold the plastic trim to the skid plate
Step 5: now you can remove the center 16mm skid plate bolt, and work to move position the skid plate back and forth until you are able to 'slide it out' (remove the black felt center portion first to assist)
Step 6: remove the Endlink on each side (16mm Nut and a Torx/Allen head insert to hold threads works)
Step 7: remove the sway bar bushings (4 nuts, 13mm)
Step 8: remove sway bar
Step 9: Install sway bar and install in reverse of how you removed.
Here' are some pics before and after:


Best regards,
Dave
#75 BS
Sponsored