eyeye96
Well-Known Member
- Joined
- Sep 27, 2019
- Threads
- 13
- Messages
- 158
- Reaction score
- 77
- Location
- Bay Area, CA
- Car(s)
- 2020 GR Supra
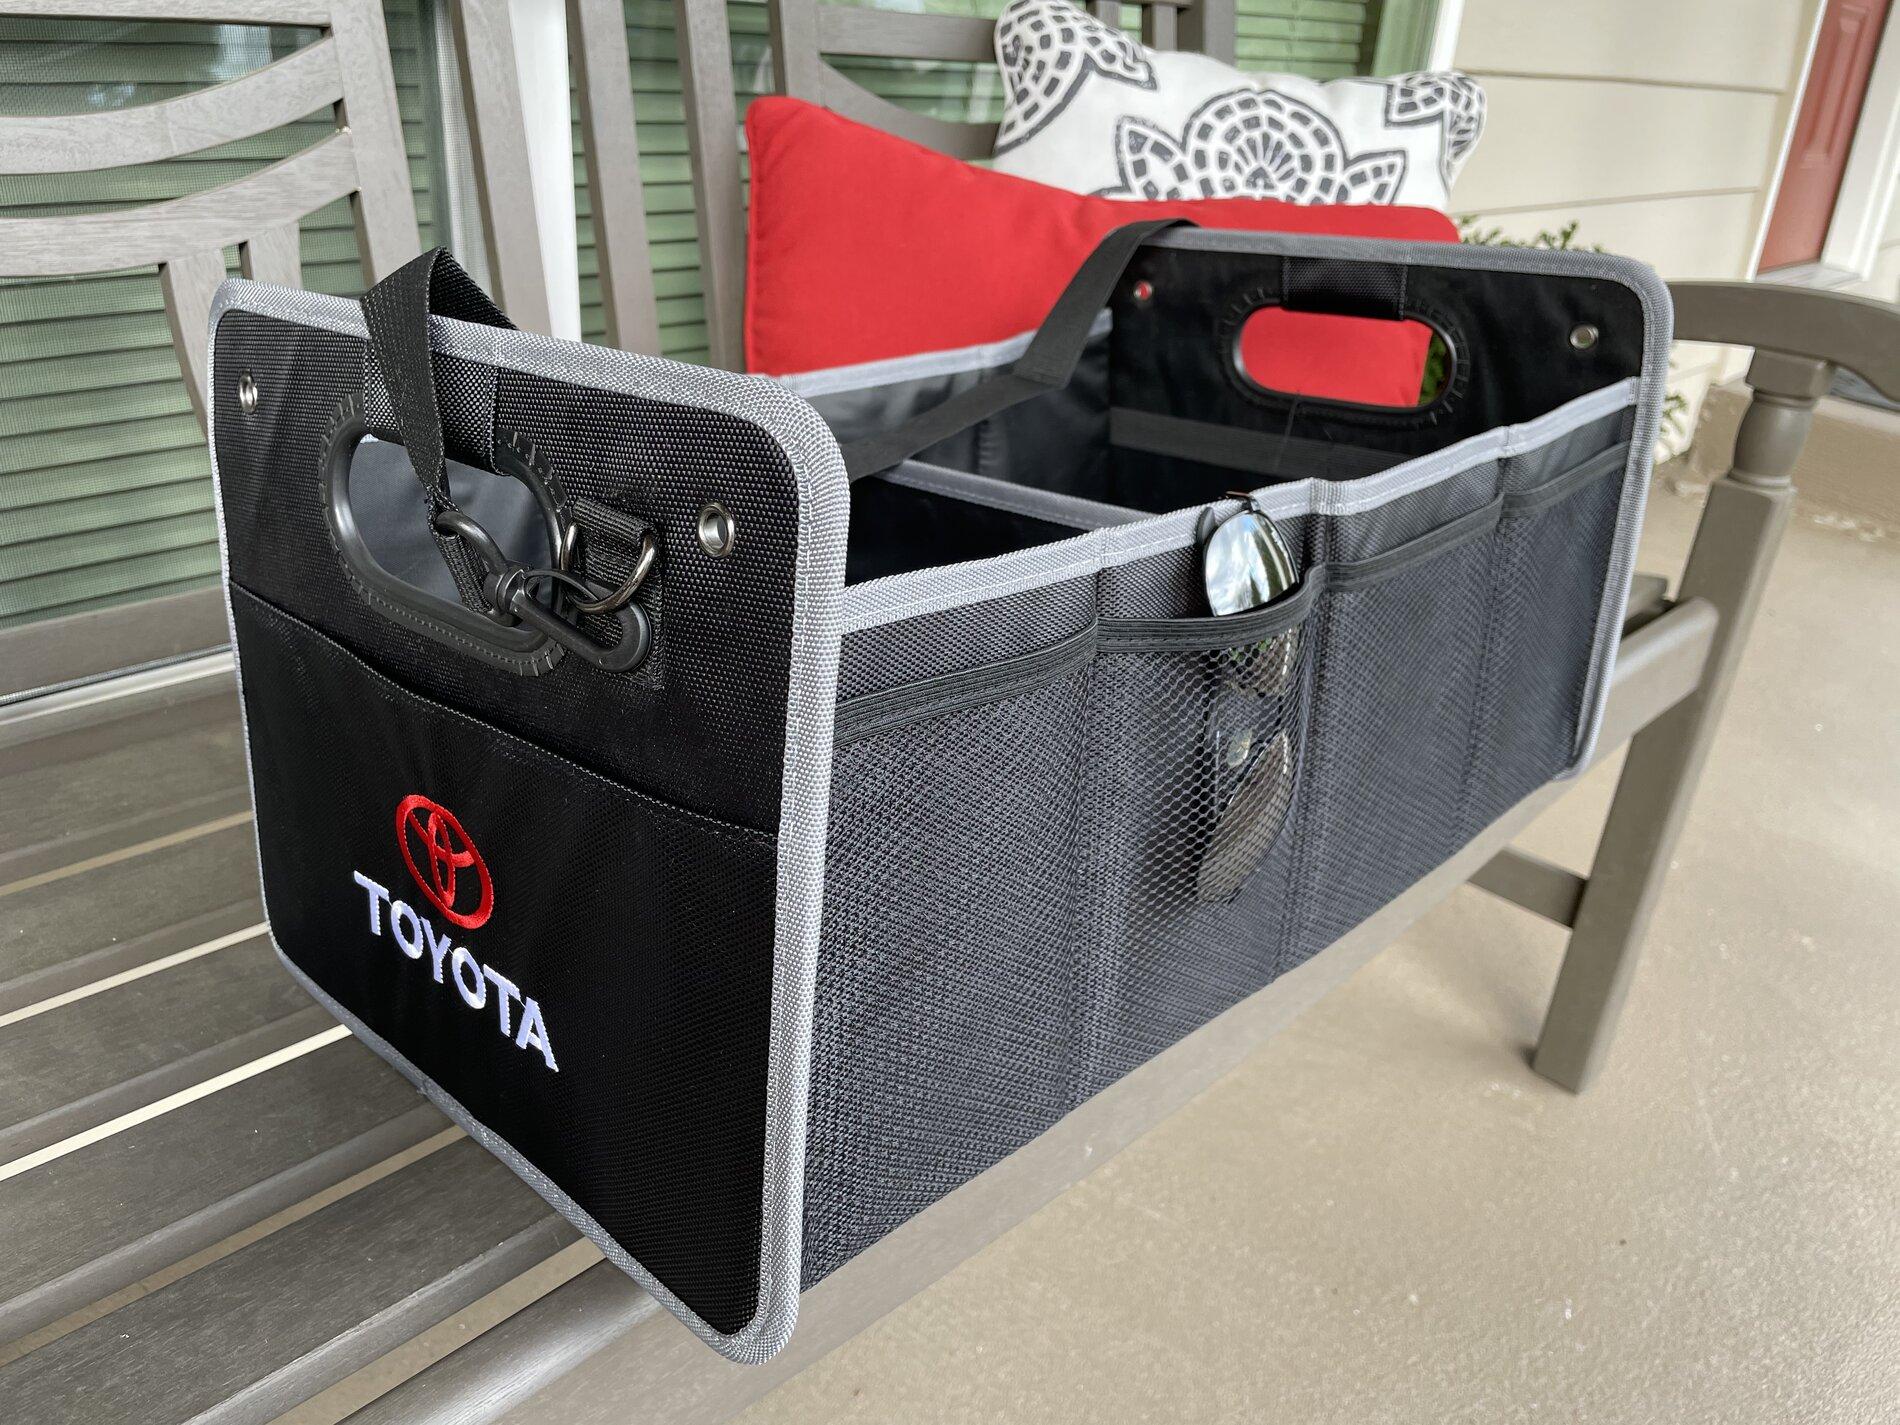
I wanted to store the exact same thing. Detailer bottle and a couple of microfiber and all these nets and hooks seemed too excessive so I just opened the fuse box compartment on the right side of the trunk which has the tow hook and tire inflator and stuffed the microfiber and the detailer bottle in it. Fixed it in a position and done.What are you guys doing to make sure stuff doesn't fly around all over the place in the trunk? I just want to keep a quick detailer bottle and some micro fiber towels but there's no way to do that without everything flying around.
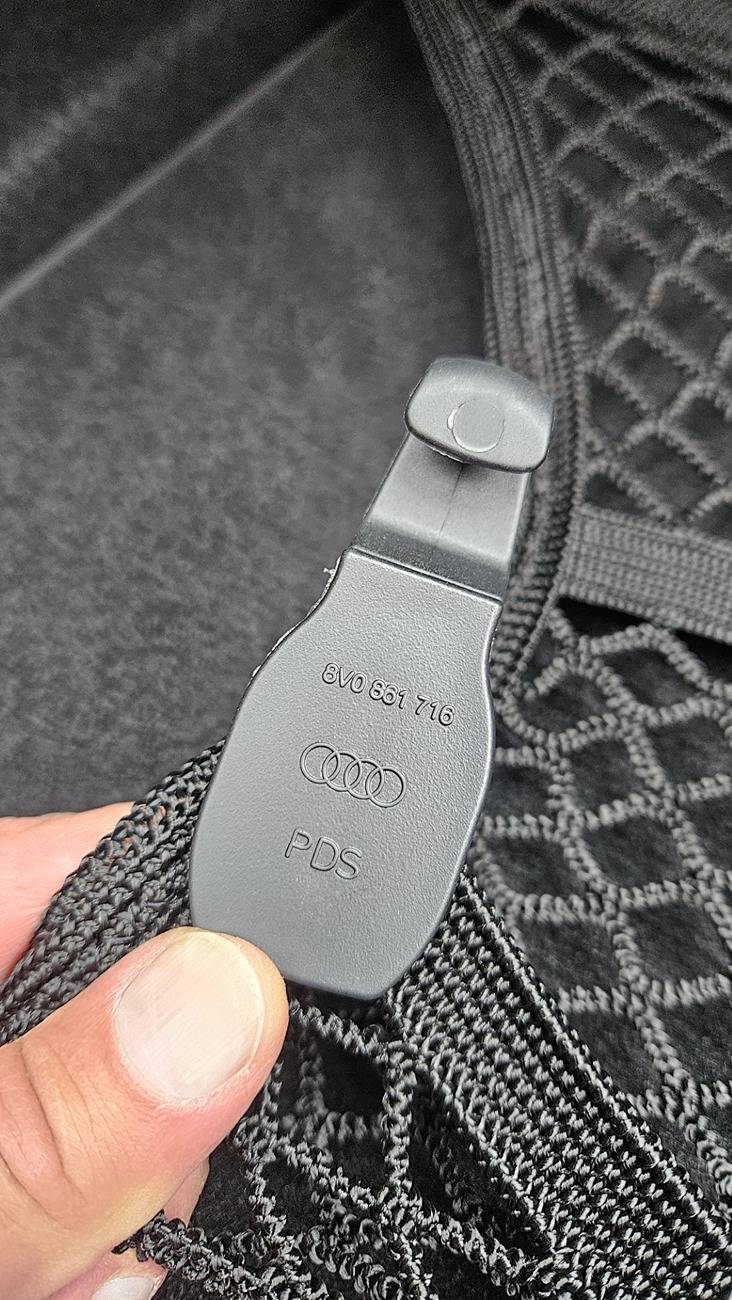
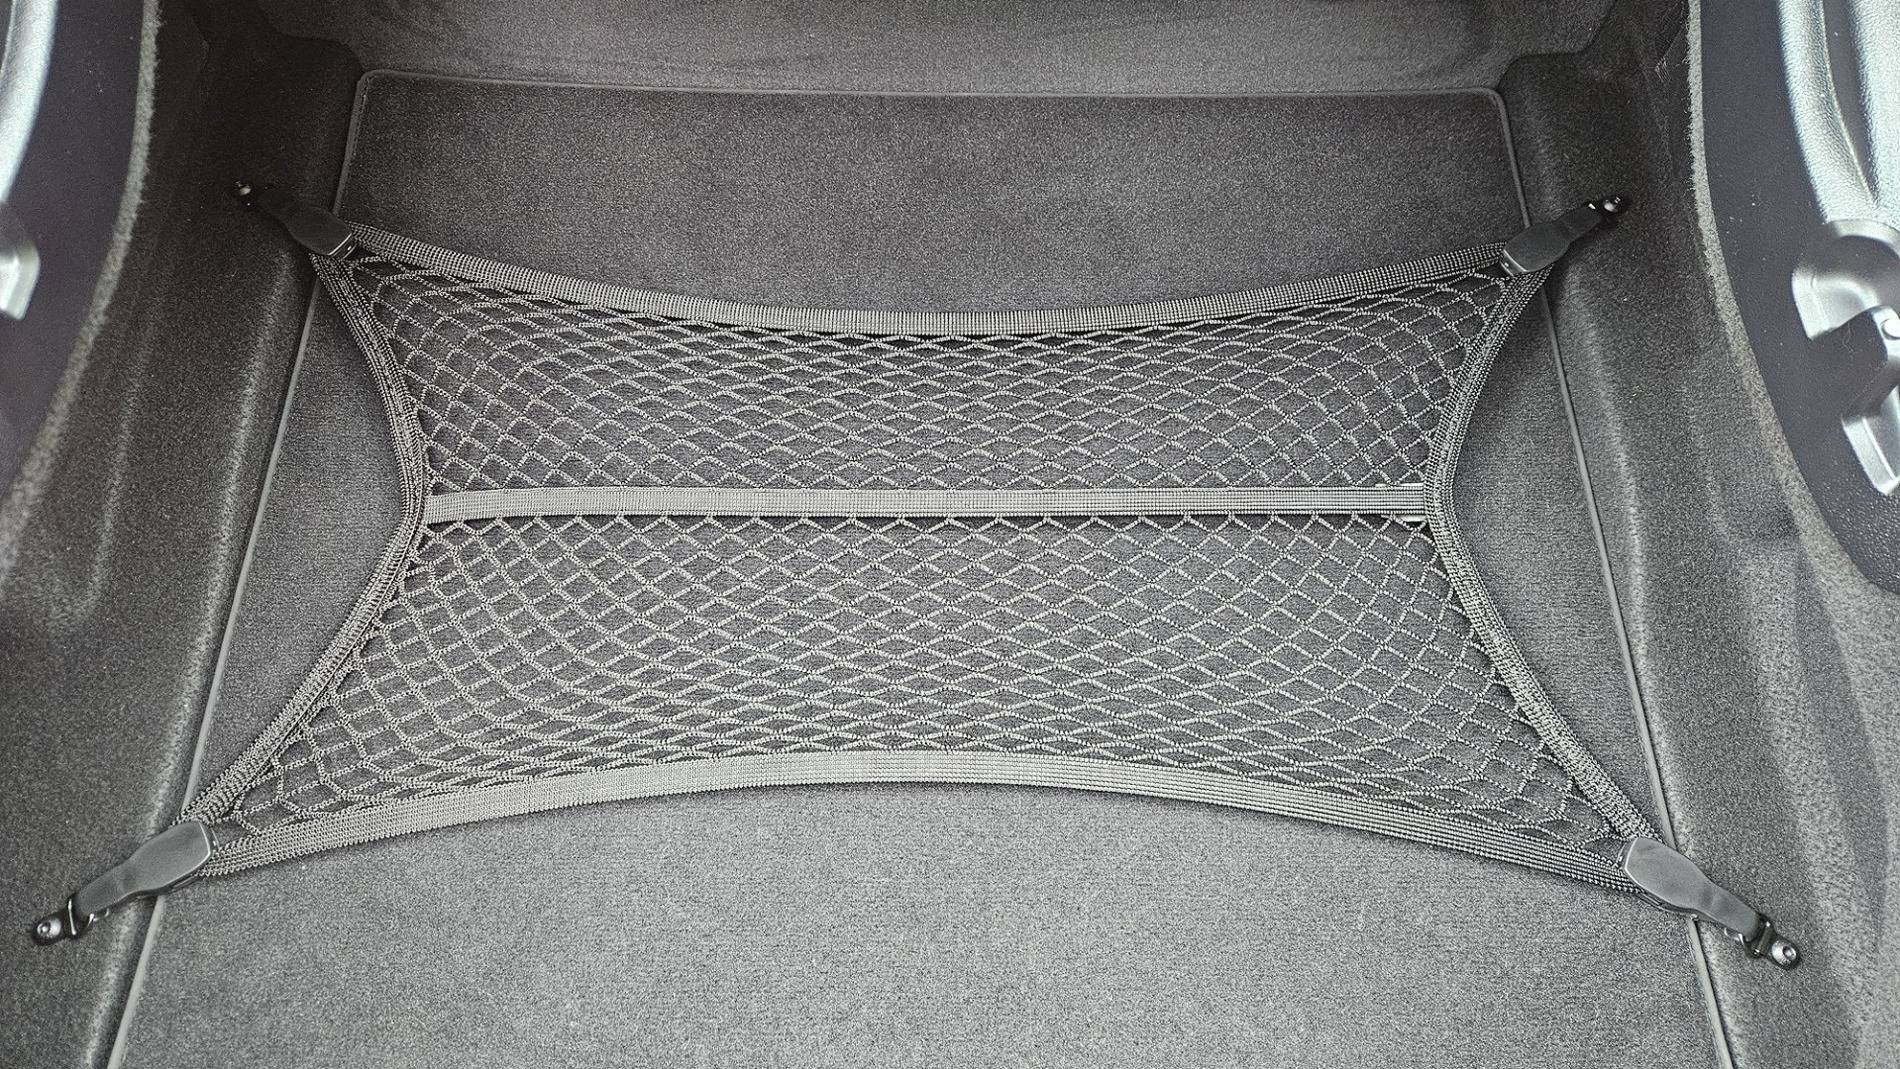
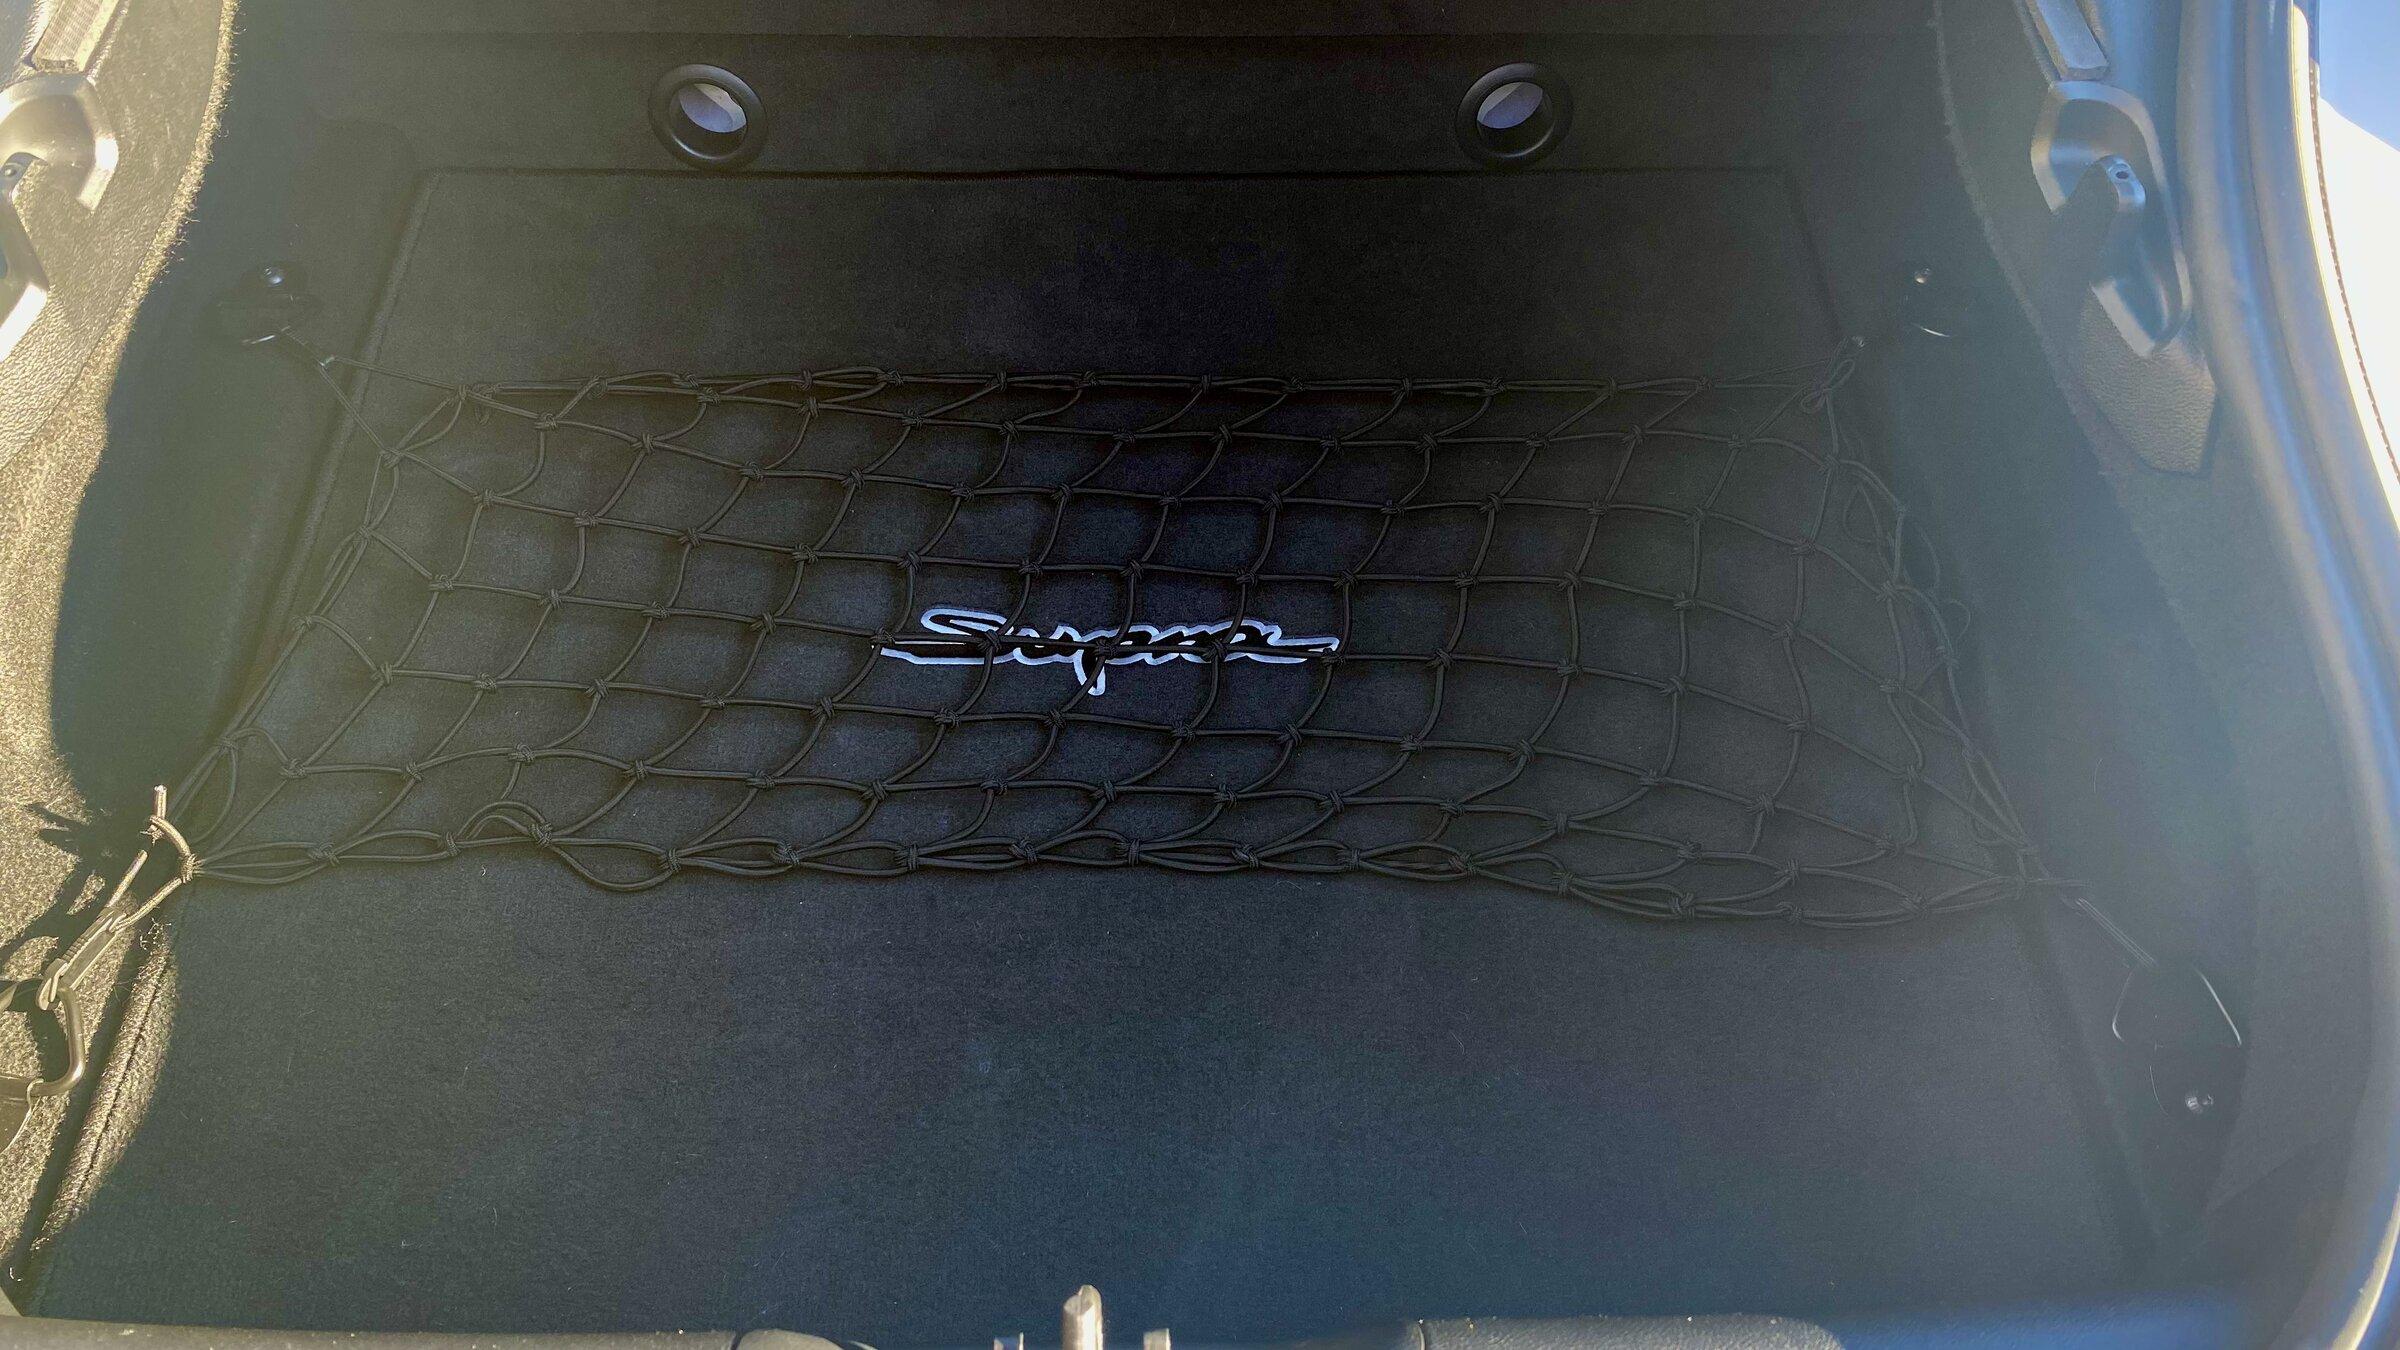
I really ish the car came with a cargo net as all BMWs do - I understand I could retrofit one but I don't want to drill anything into the car

Sponsored
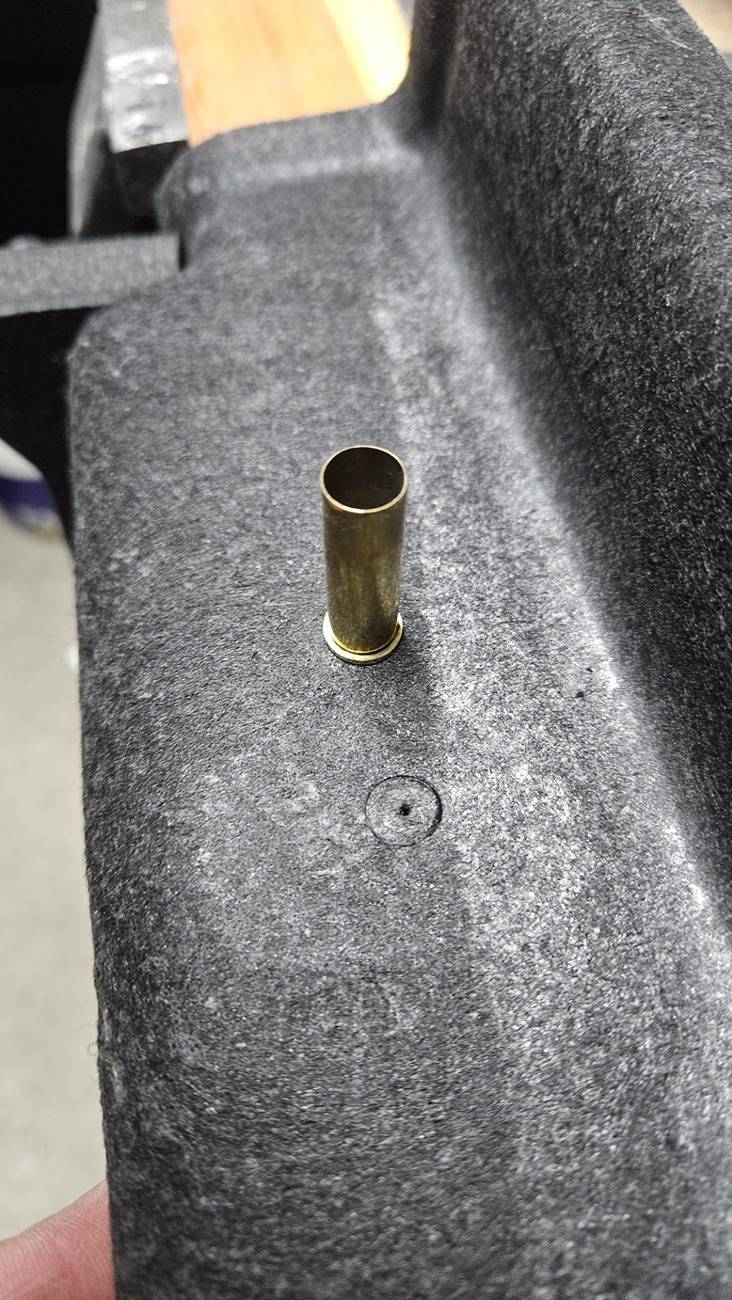
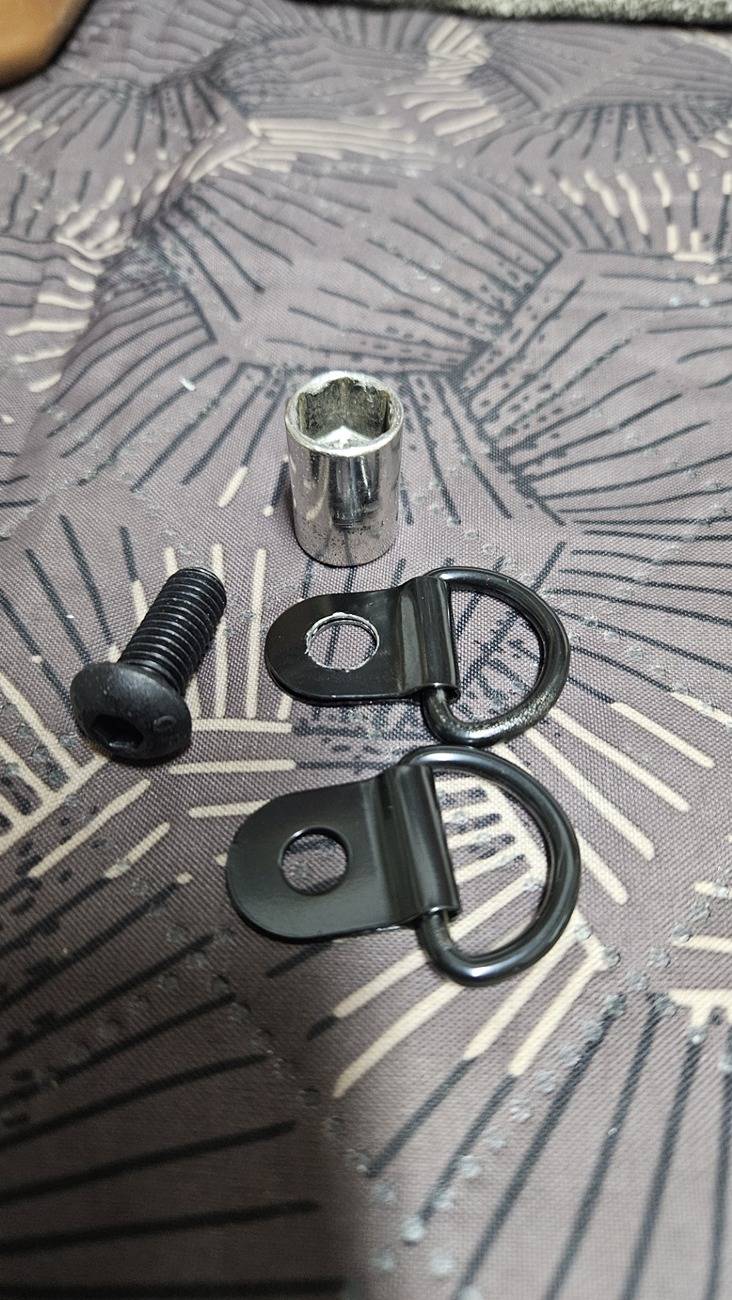
") it perfectly cuts out the material, without any burrs.
it perfectly cuts out the material, without any burrs.