MKV2021
Well-Known Member
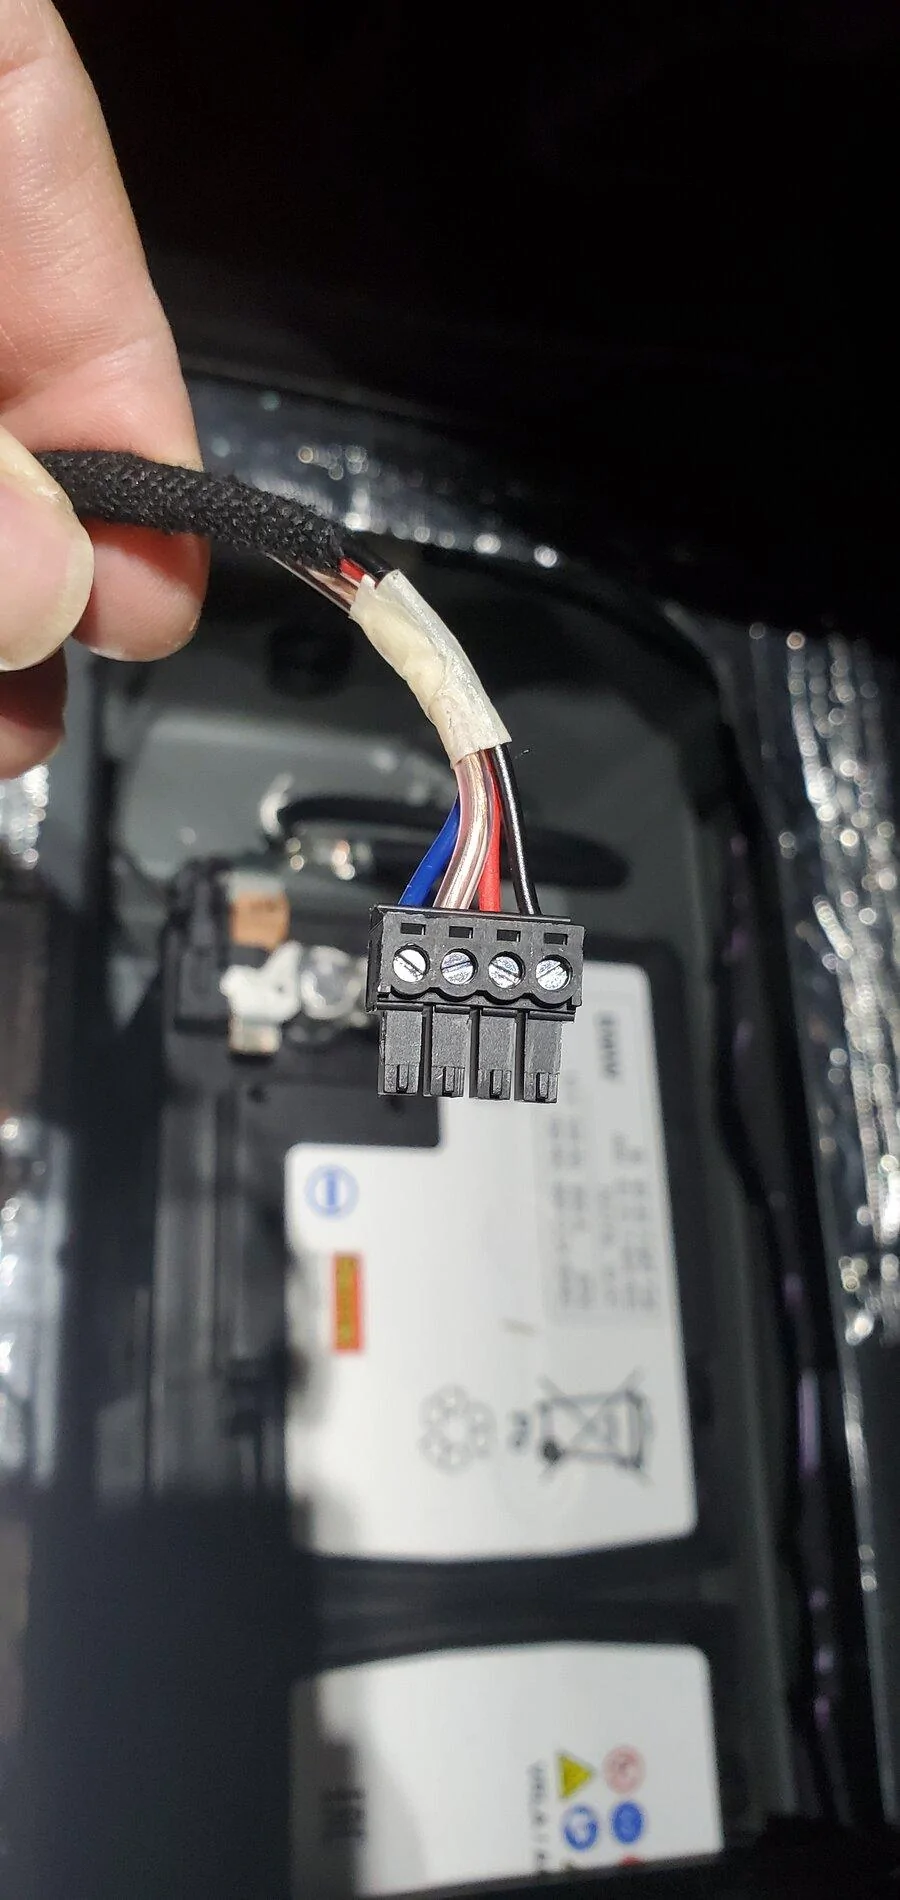
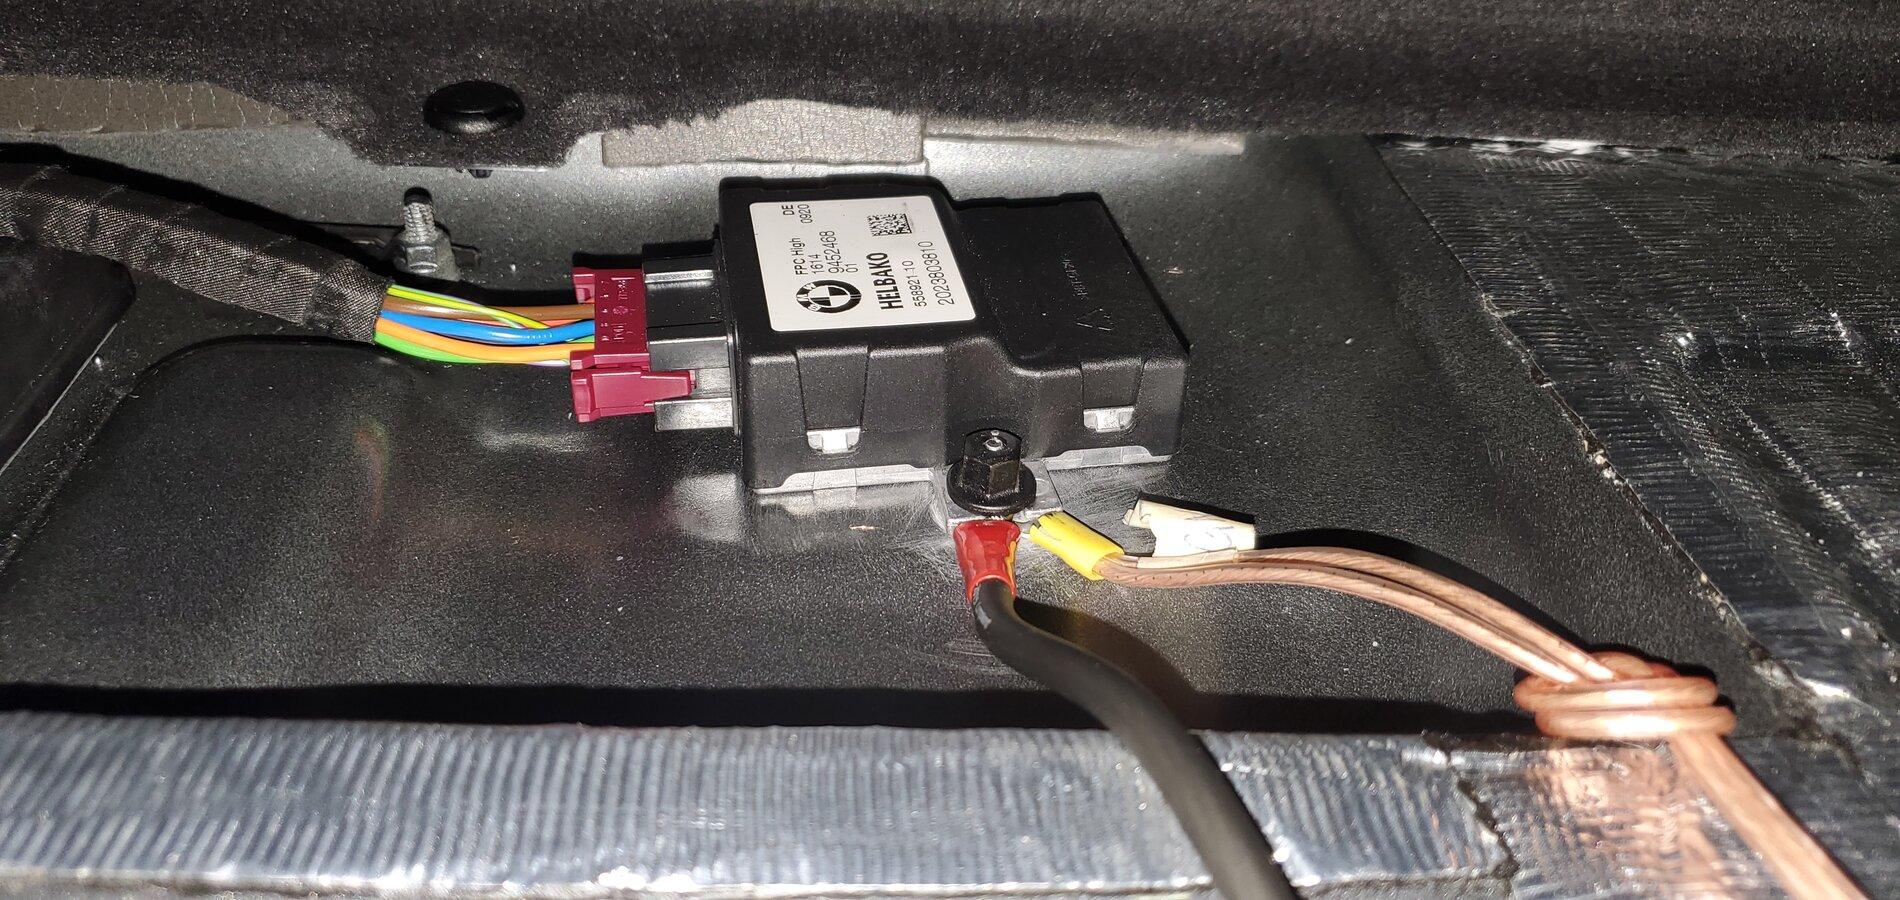
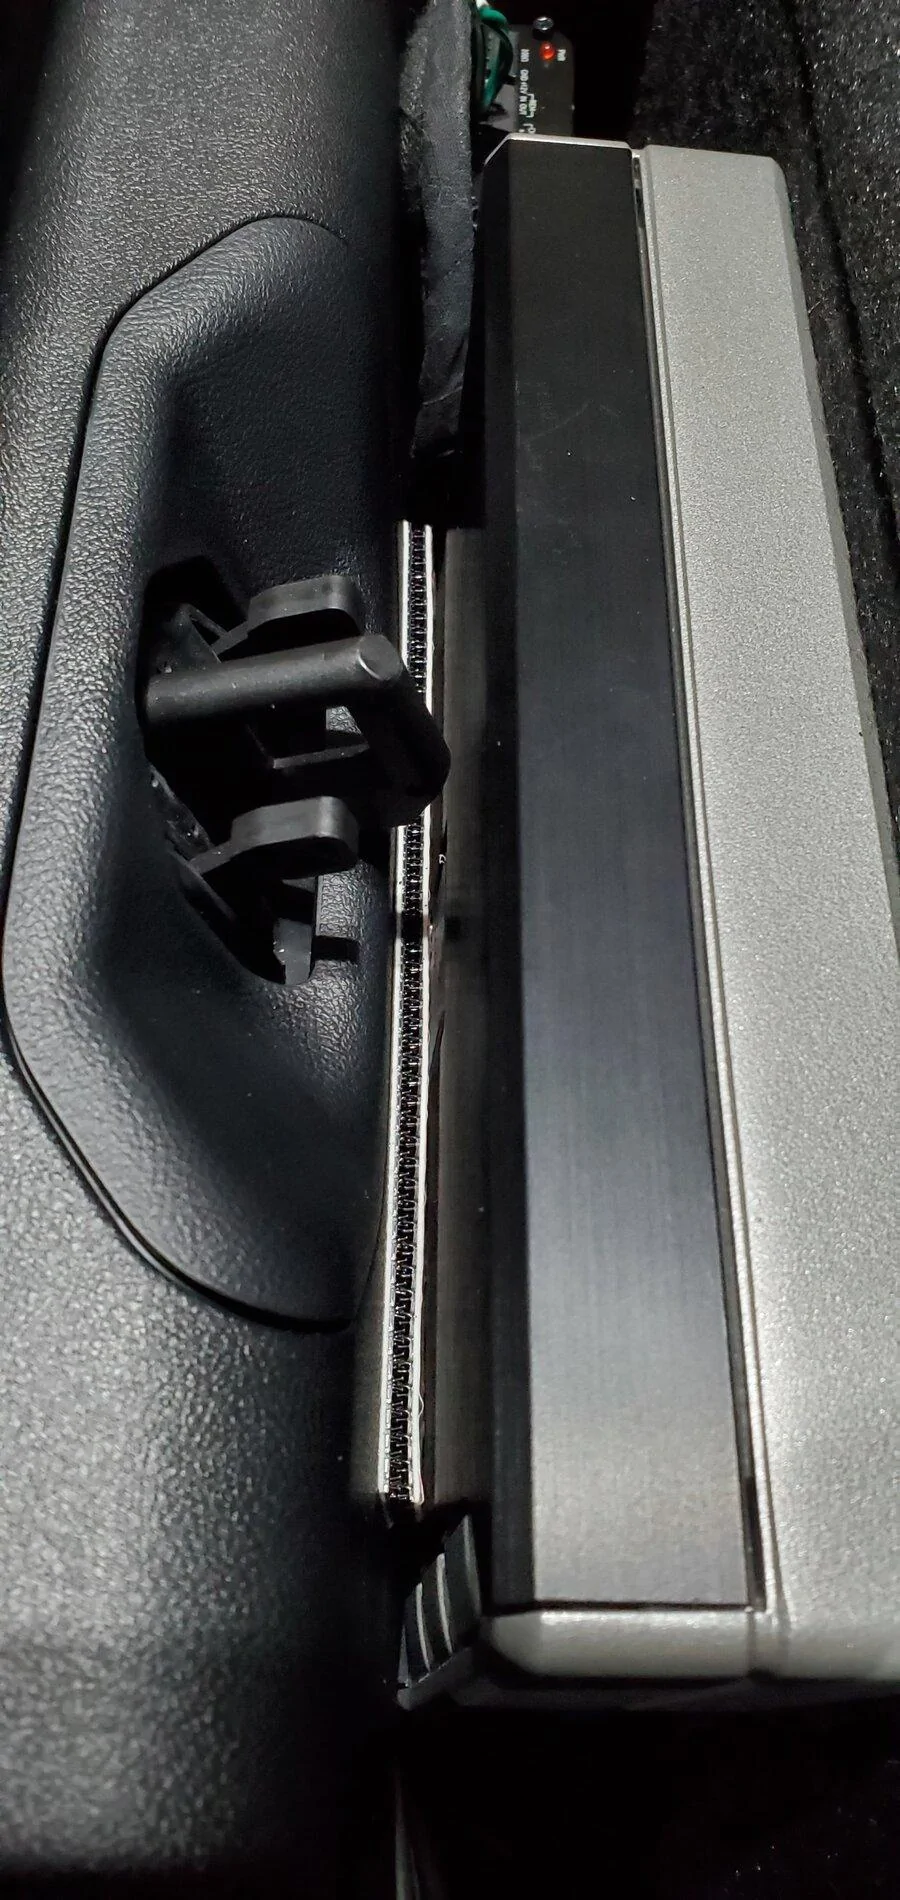
So I took the plunge and bought a pnp kit from Technic that fits the 3x/8x series and can confirm it fits, though I haven't gotten it powered up yet. The included harnesses, for our purposes, provide a 4-pin speaker input connector and a 3-pin power/ground/remote out connector for an LOC. But I was advised the 20-pin main connector does not supply anything but speaker signal, so I'll still have to find a remote turn on signal to relay as @static63 did in his (very helpful) thread. Was it worth the kit price? As someone who didn't already have an LOC, yes. (Which btw has gain adjustment, which is very nice) It's not as thoroughly integrated as I'd hoped, but it's straightforward and relatively clean. Hope this is of some help.
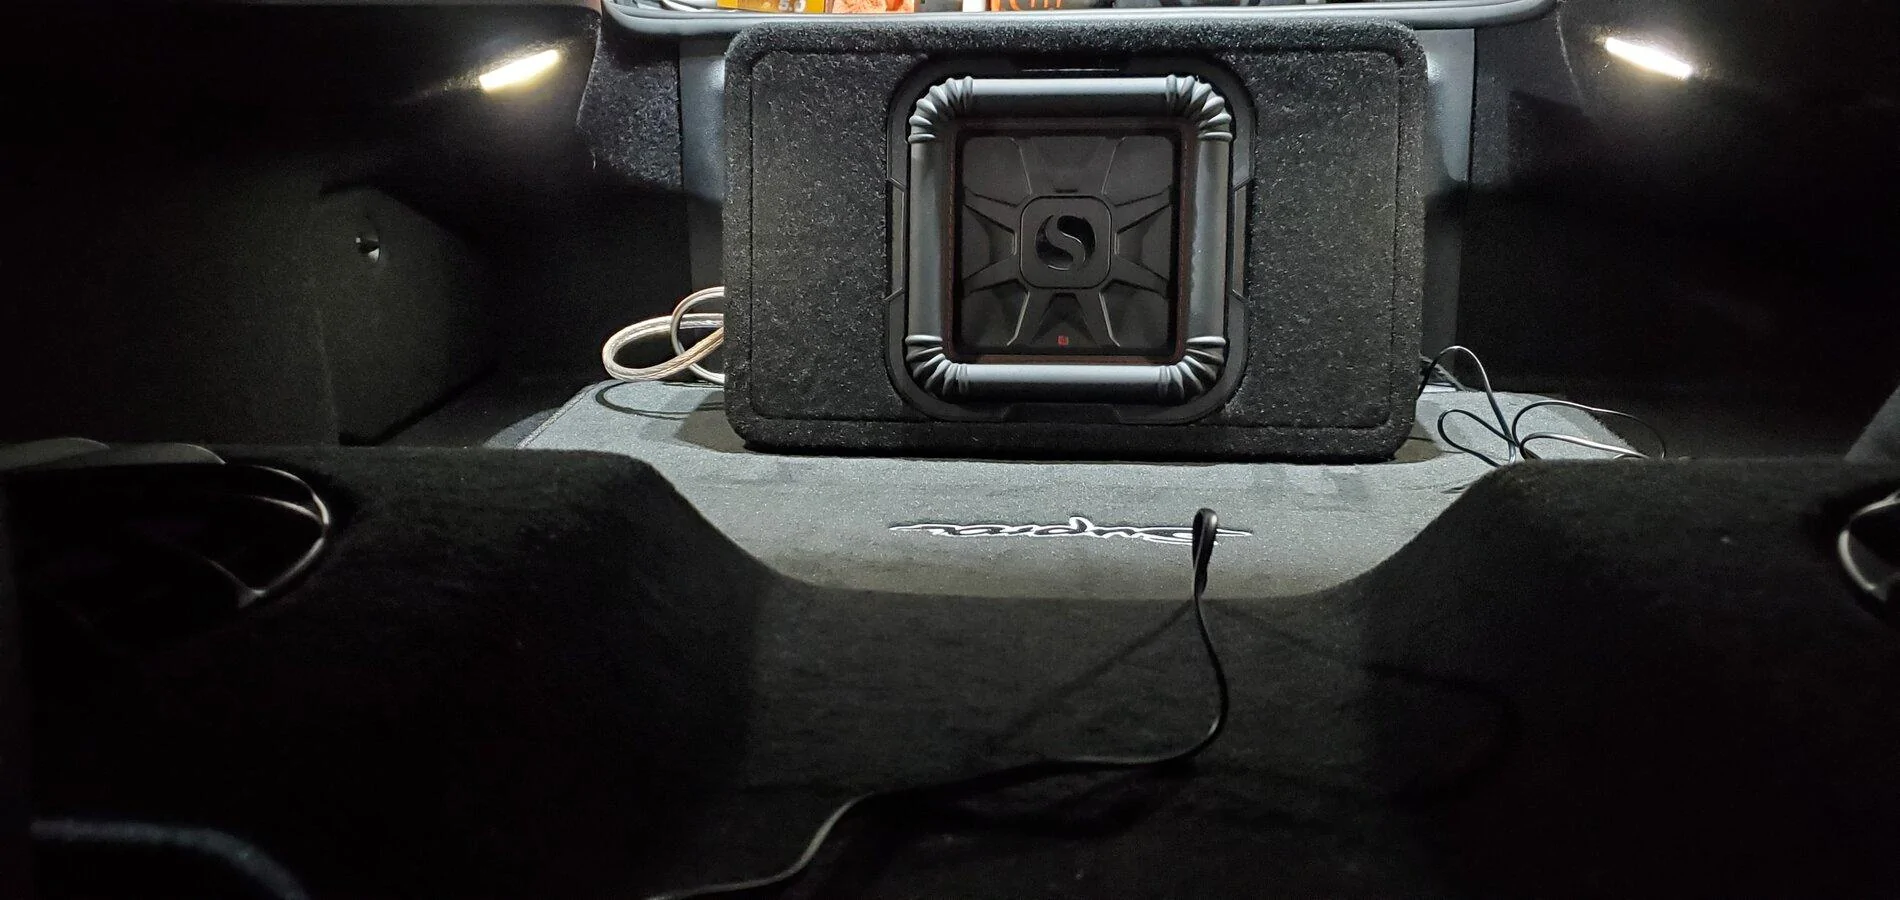
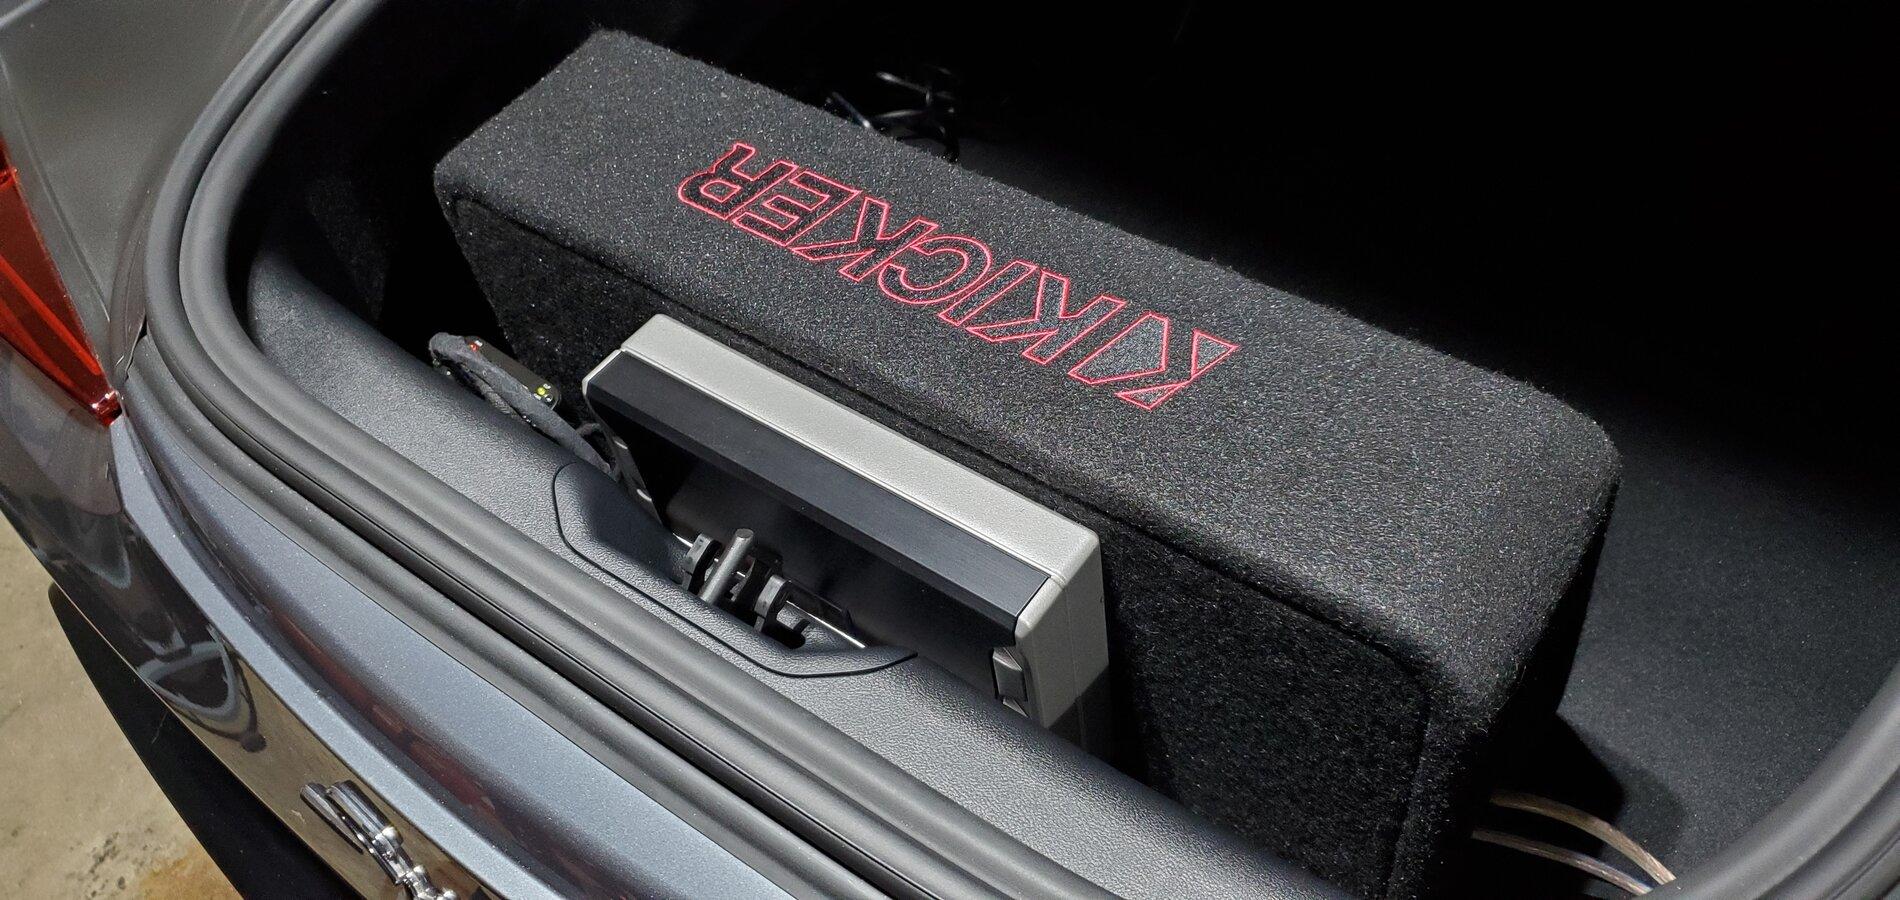
Update: Powered up the stereo today with the harness in place and everything sounds/works normally (with nothing else attached yet). I don't have a lot of time to work on this each day, so I'm installing/testing one component at a time so if there's an issue I don't have to start back at square one.
Update: Powered up the stereo today with the harness in place and everything sounds/works normally (with nothing else attached yet). I don't have a lot of time to work on this each day, so I'm installing/testing one component at a time so if there's an issue I don't have to start back at square one.
Sponsored
Last edited:
![20210209_124603[1].jpg.png](https://cdn.supramkv.com/attachments/38/38094-40b53ff5040fc14bf4eeeb4ce92851b0.webp)
![20210209_124546[1].jpg](https://cdn.supramkv.com/attachments/38/38095-3375d50f65fcdf926d4c5f91beeb25c1.webp)
![20210209_124405[1].jpg](https://cdn.supramkv.com/attachments/38/38096-e3abc9e854404e7eaf0366cdd2cff3f9.webp)