spydox
Active Member
I'm not sure what you mean? Where did the batting end up? On the floor ? sides? both?For those that are going to do this project here is another Pro-Tip:
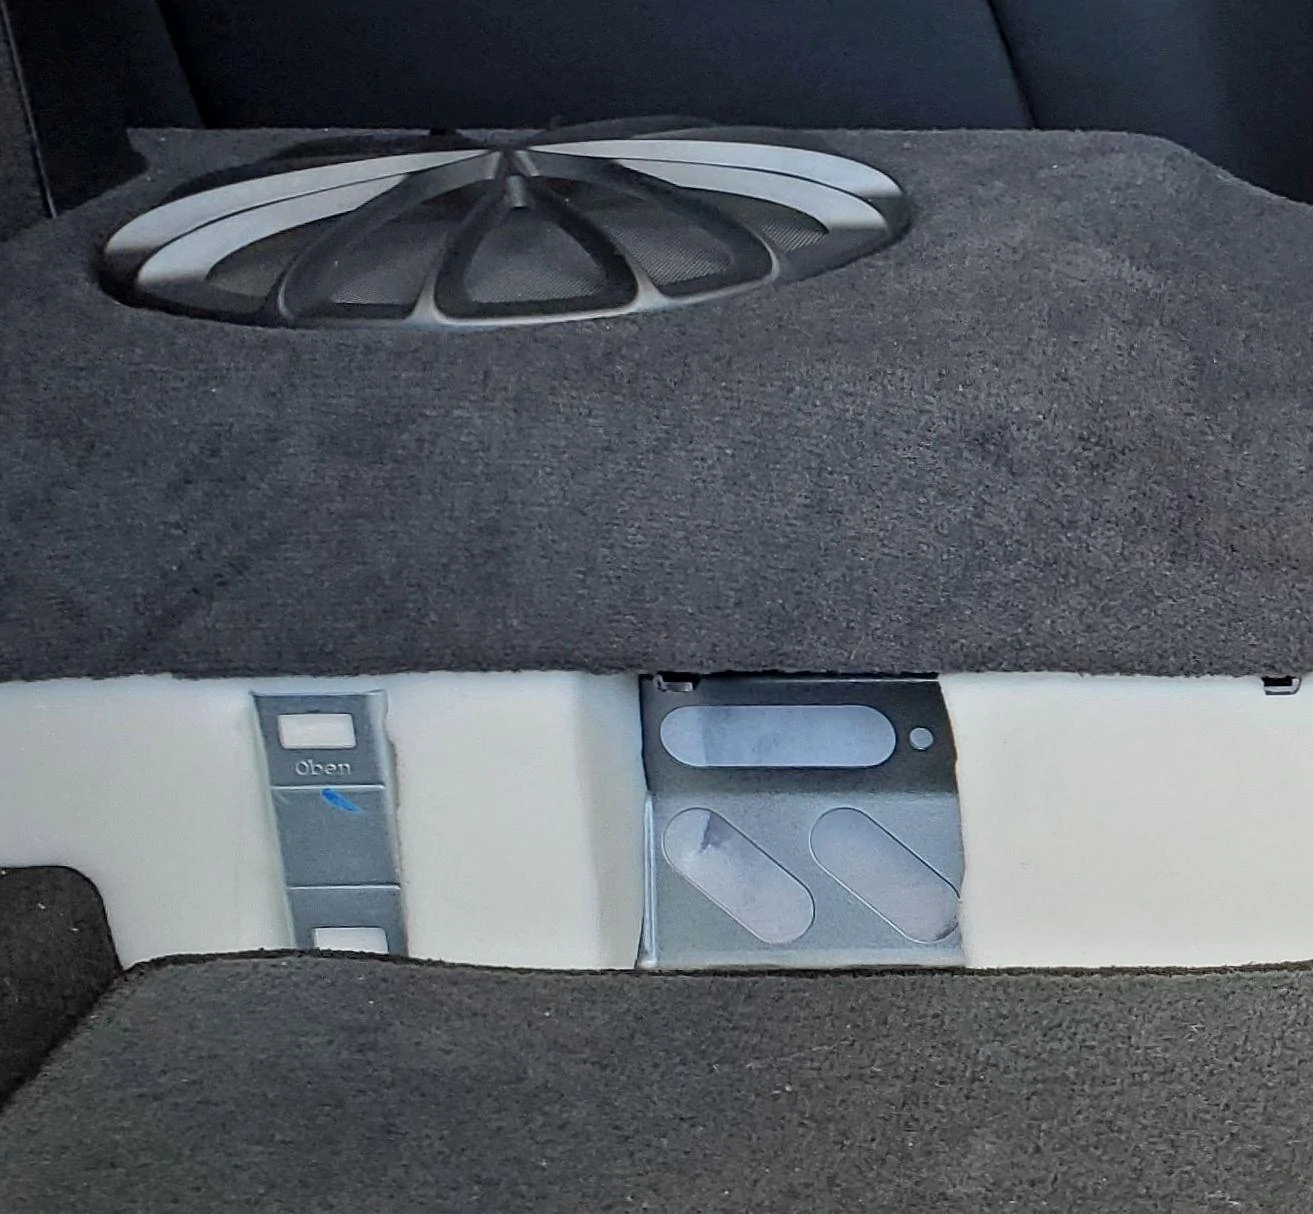
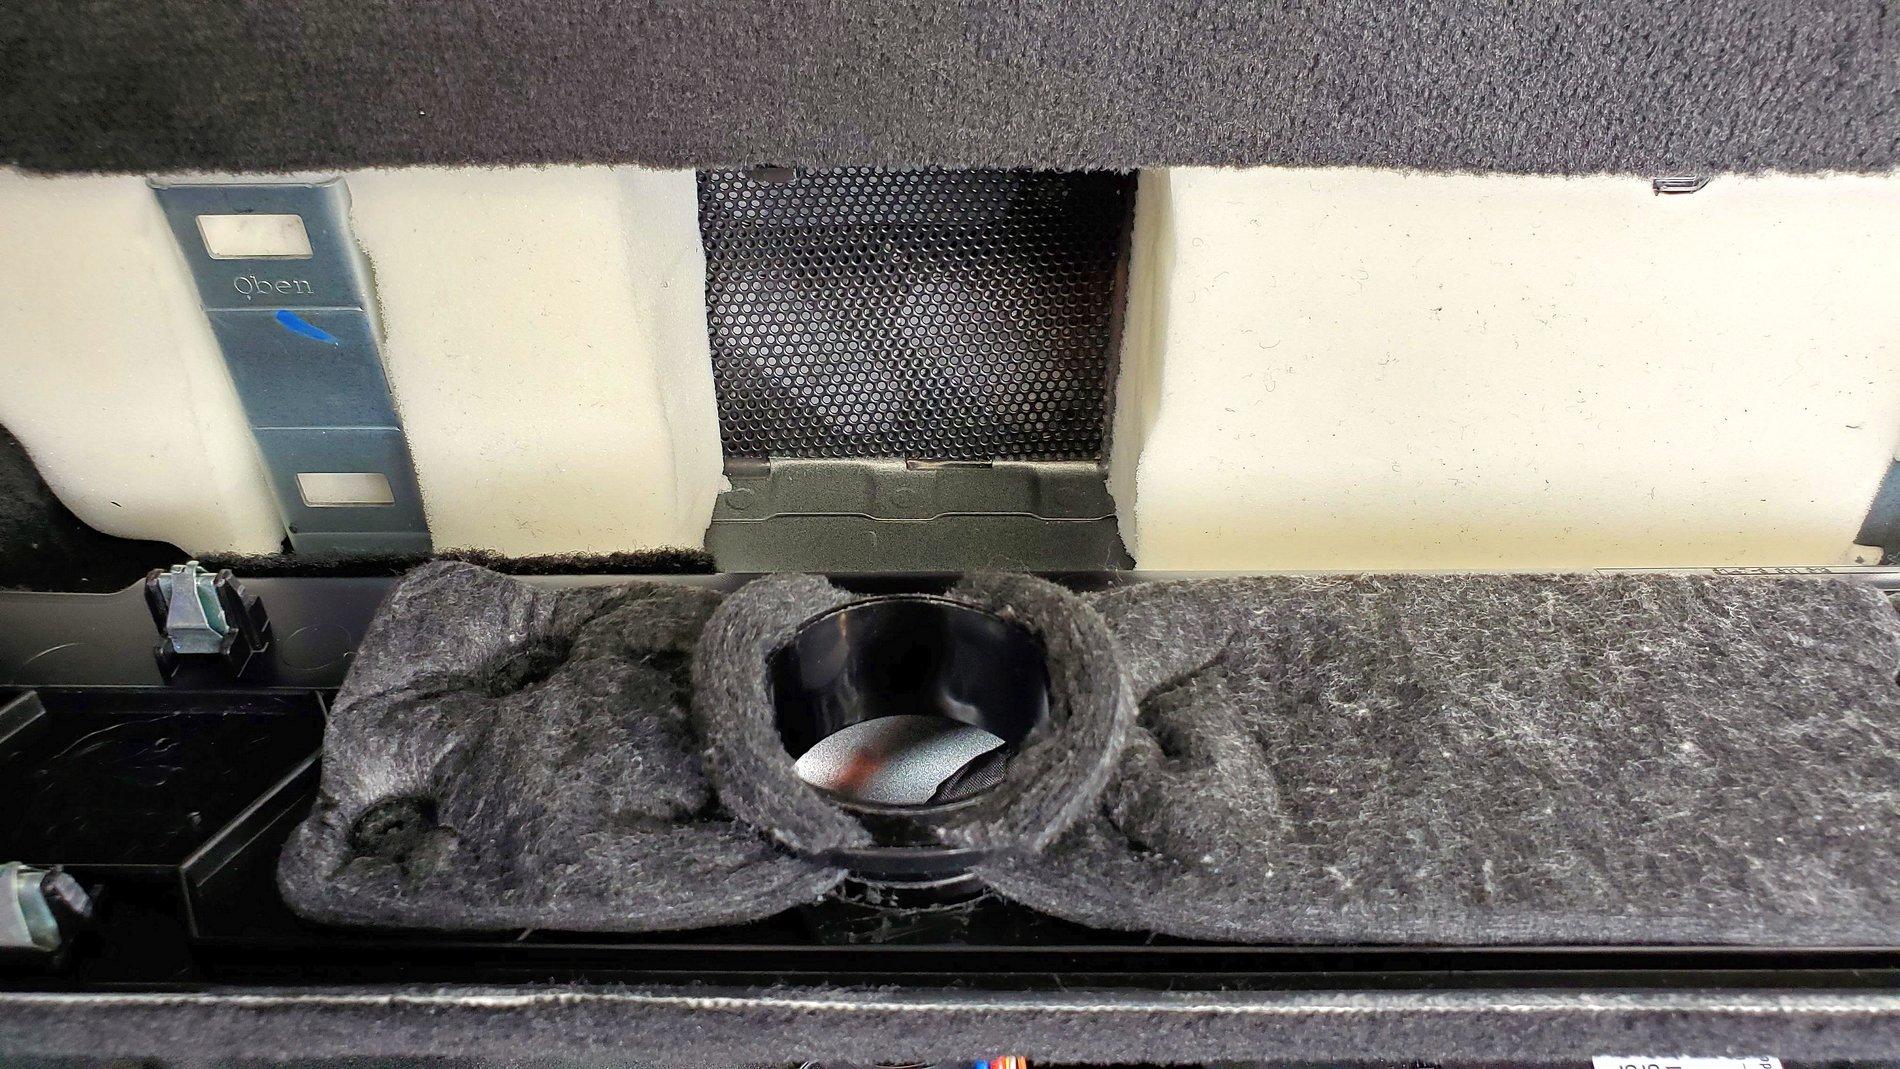
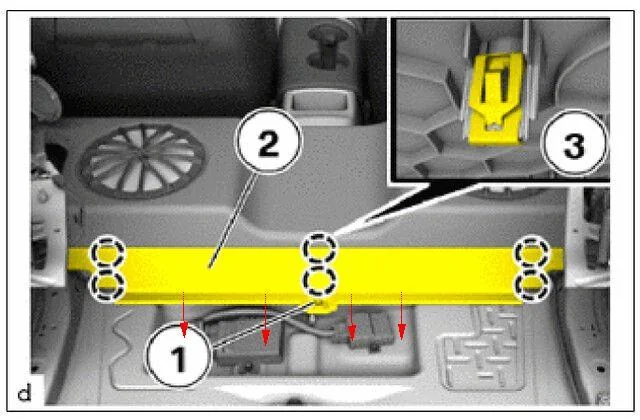
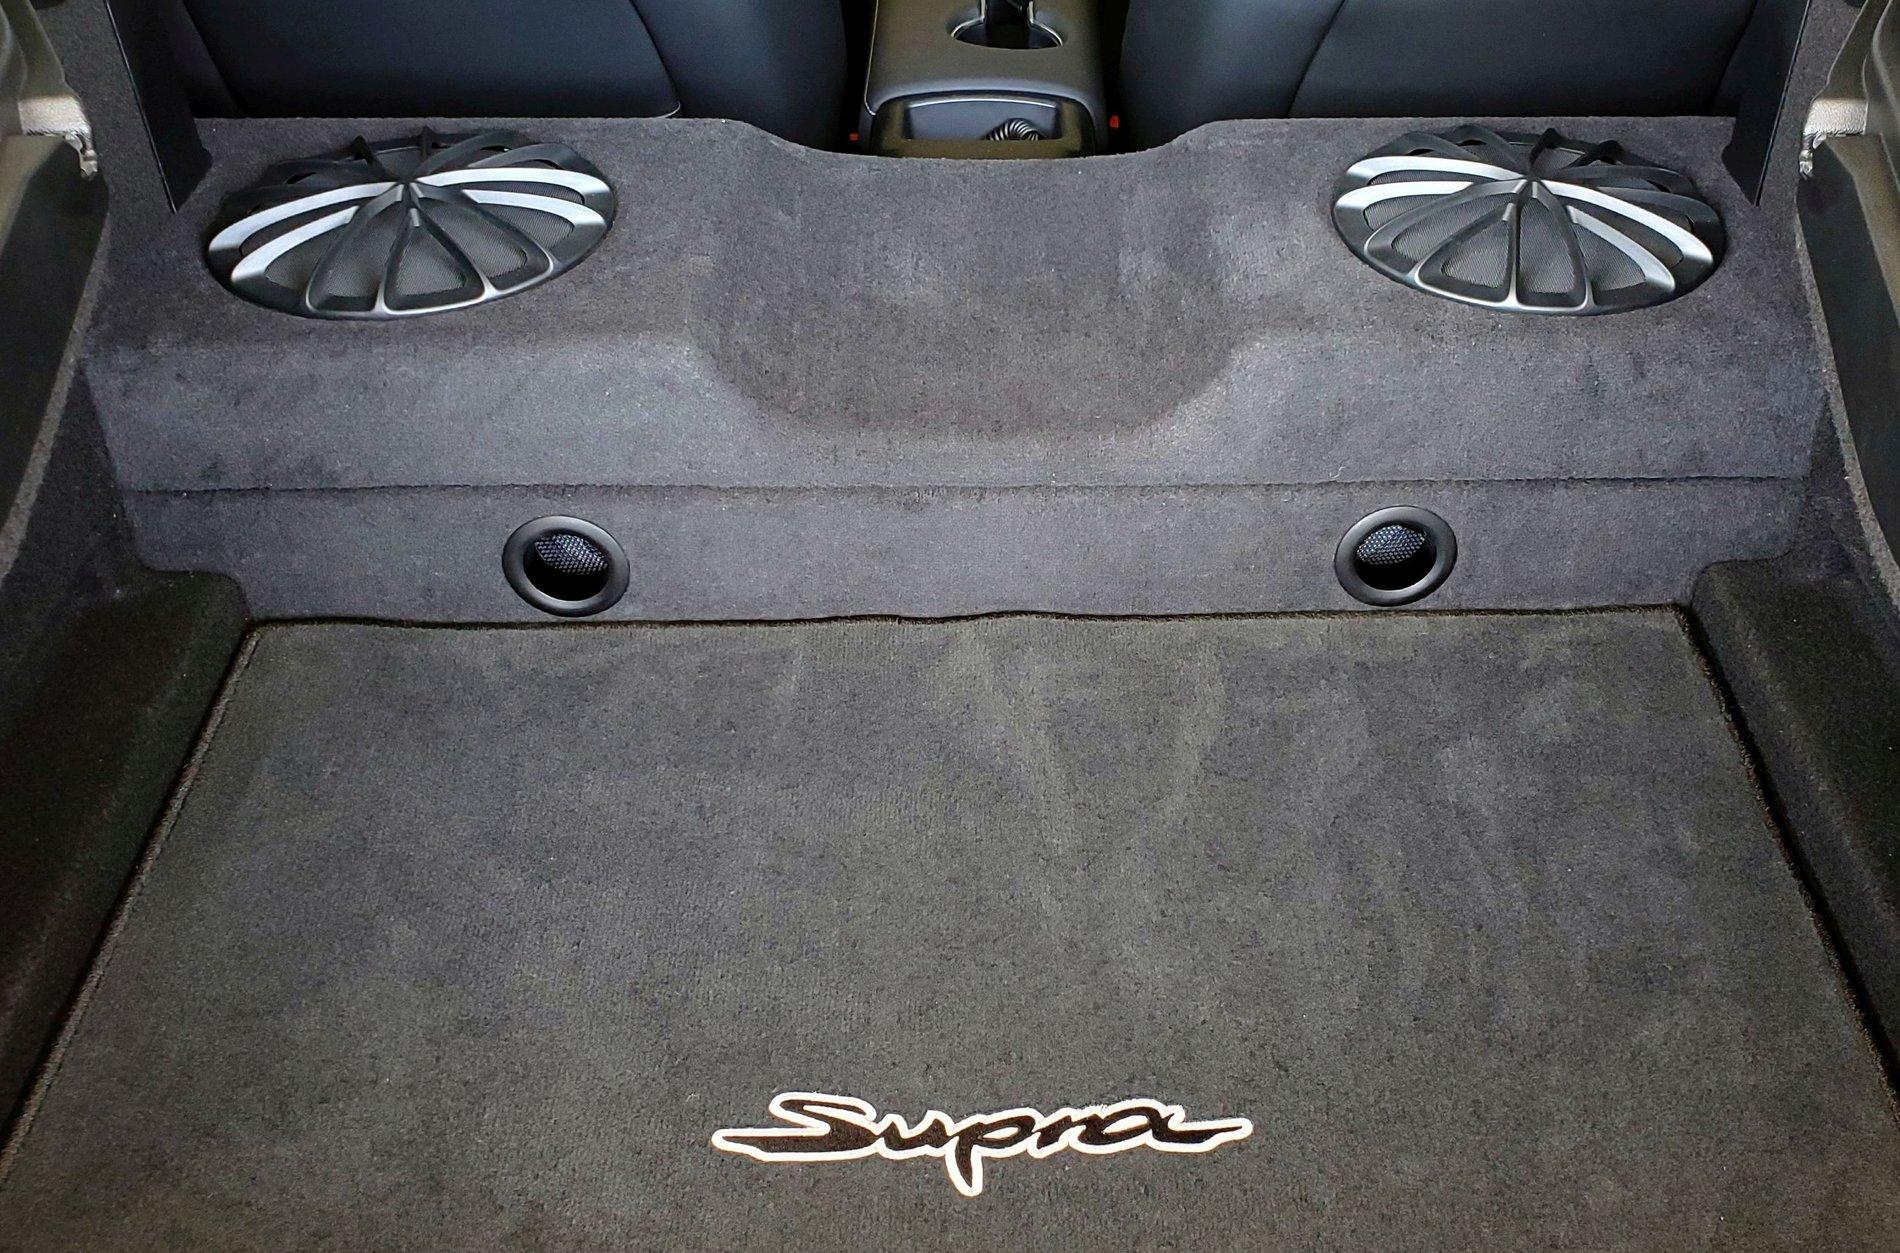
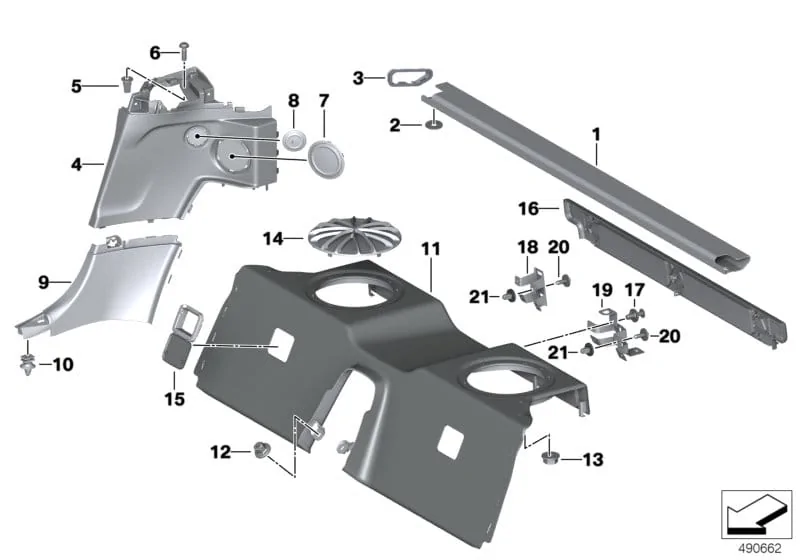
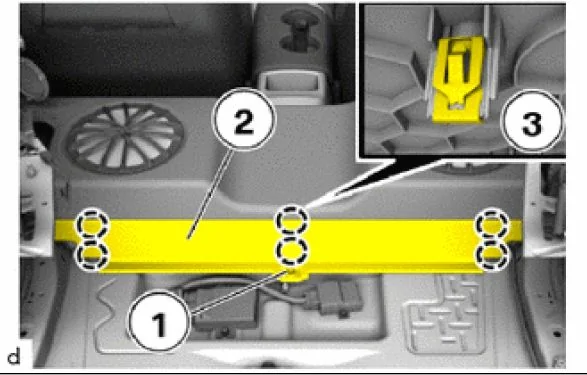
You do not need to remove the Subwoofer Cover (#11) shown below:

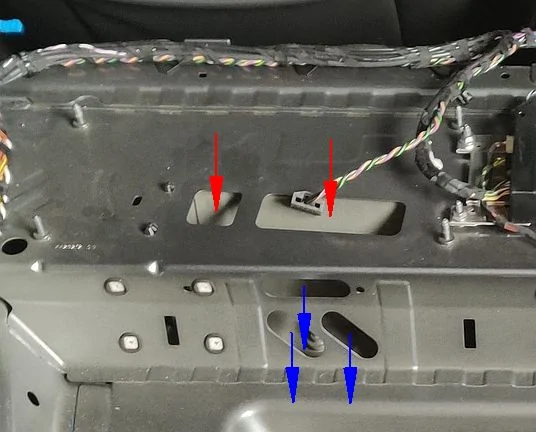
You just need to remove the narrow rear cover (#16) shown below:

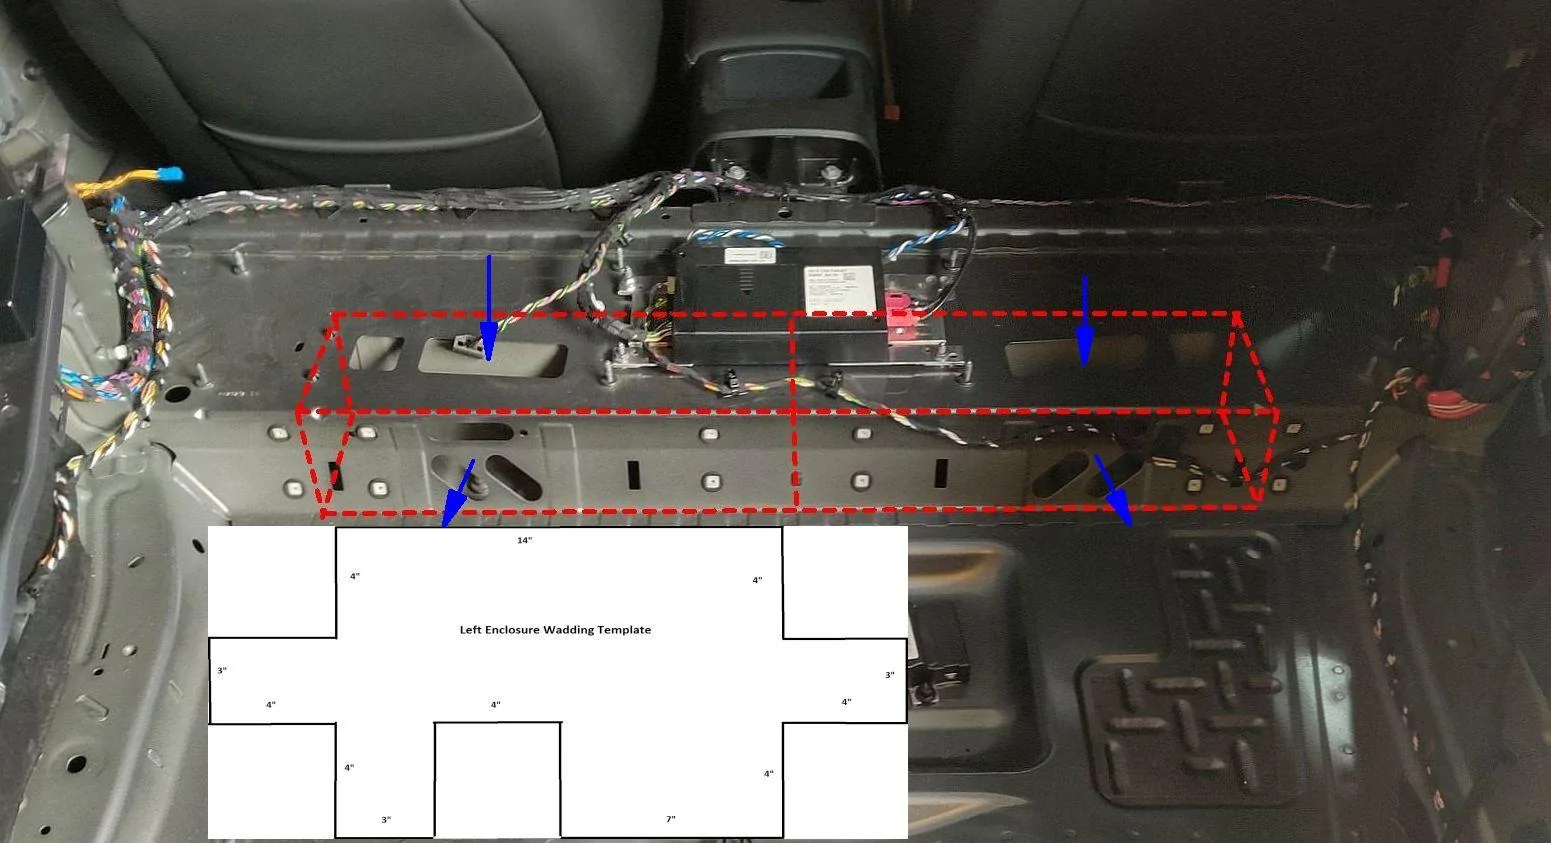
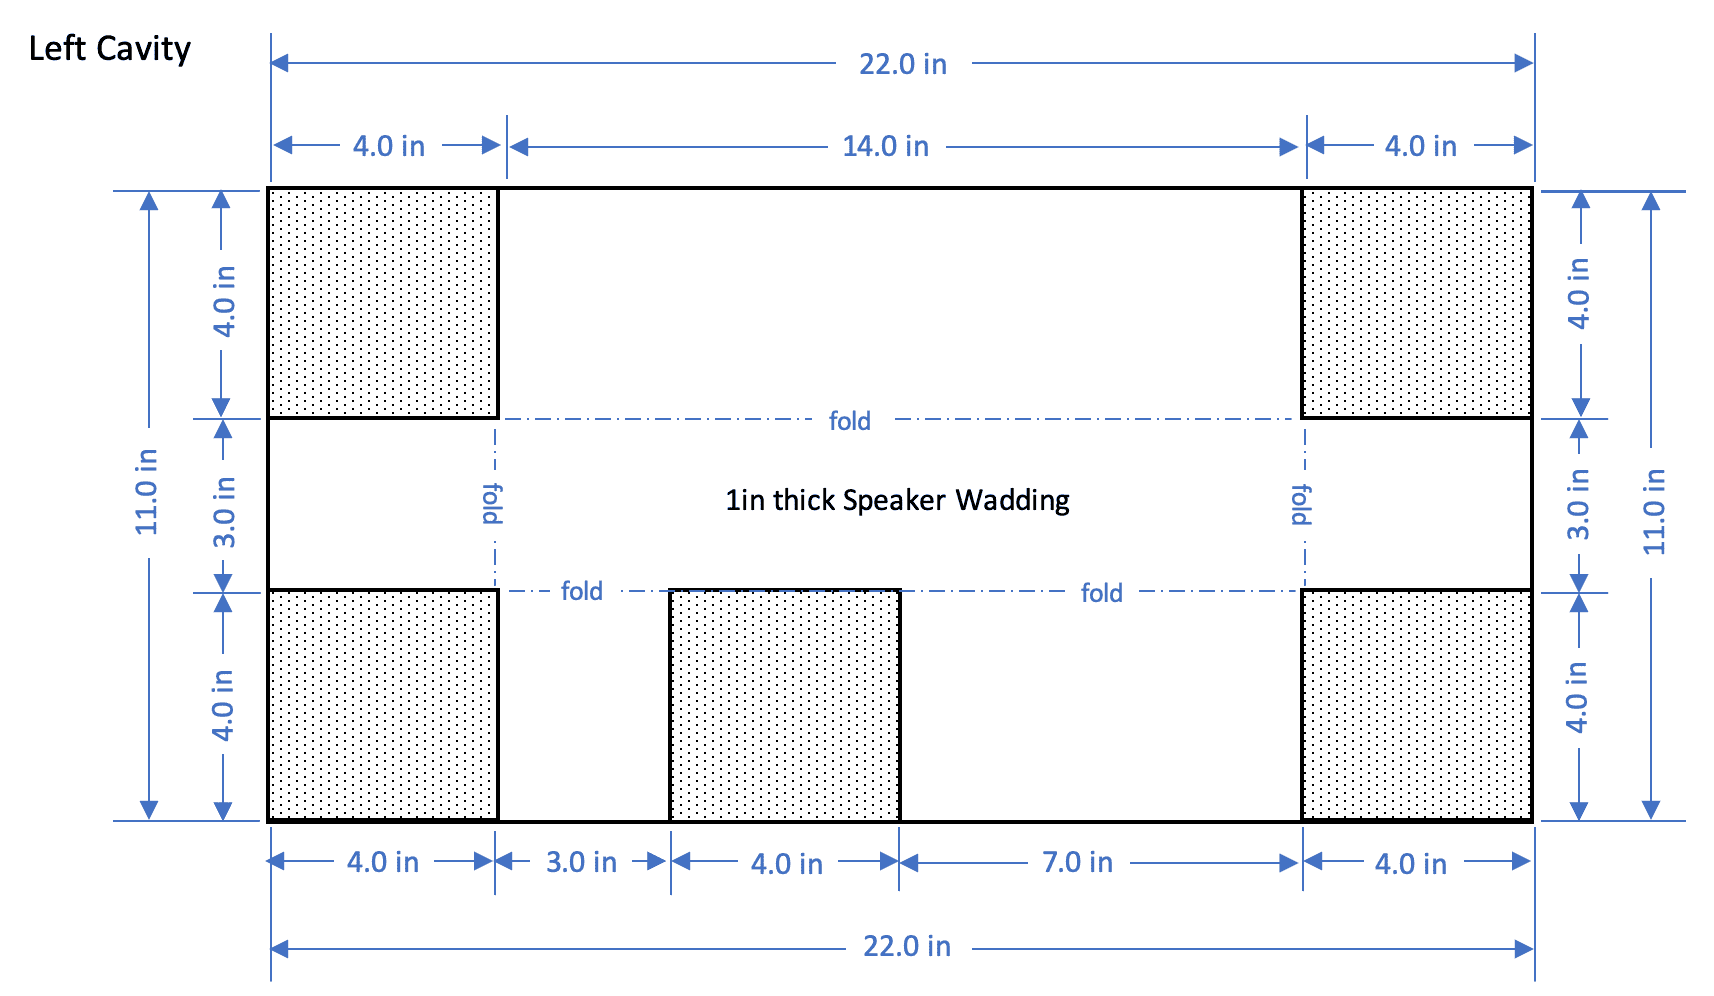
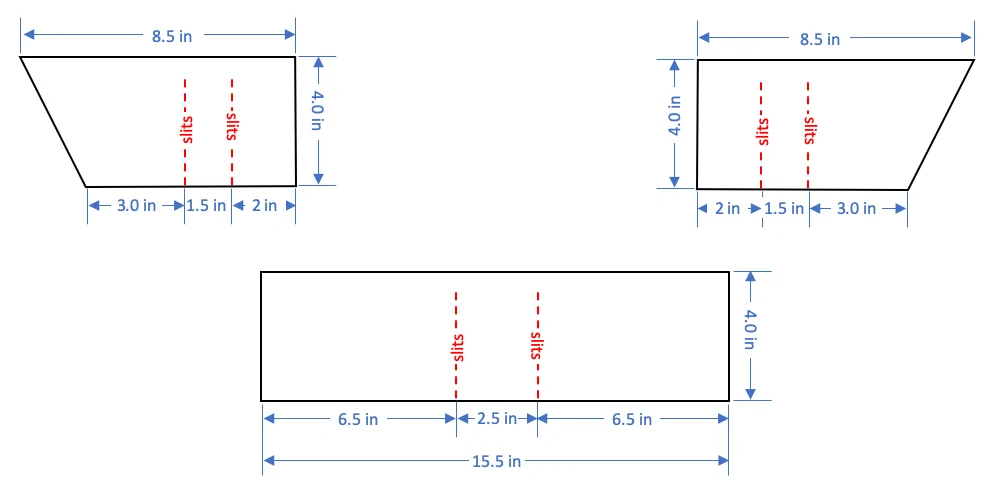
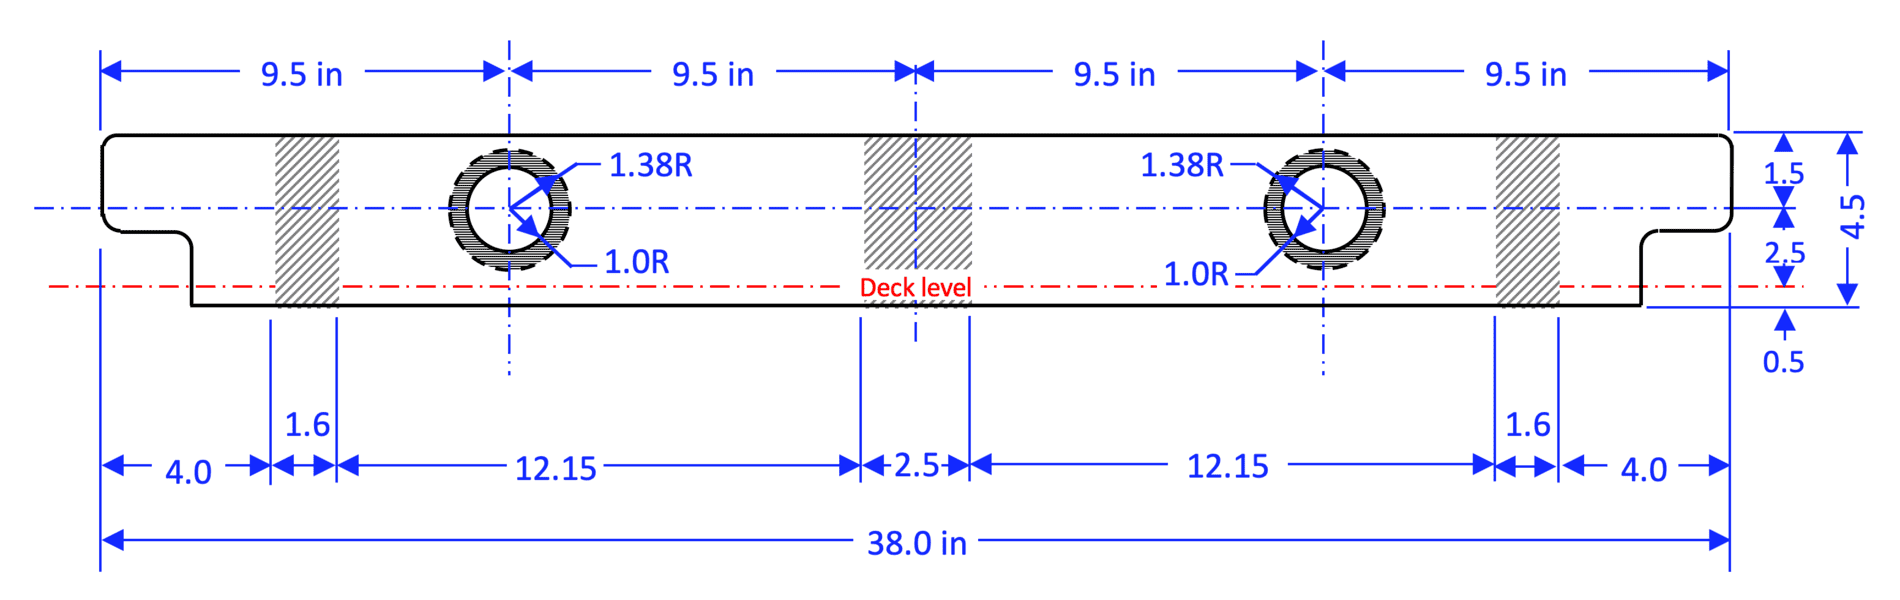
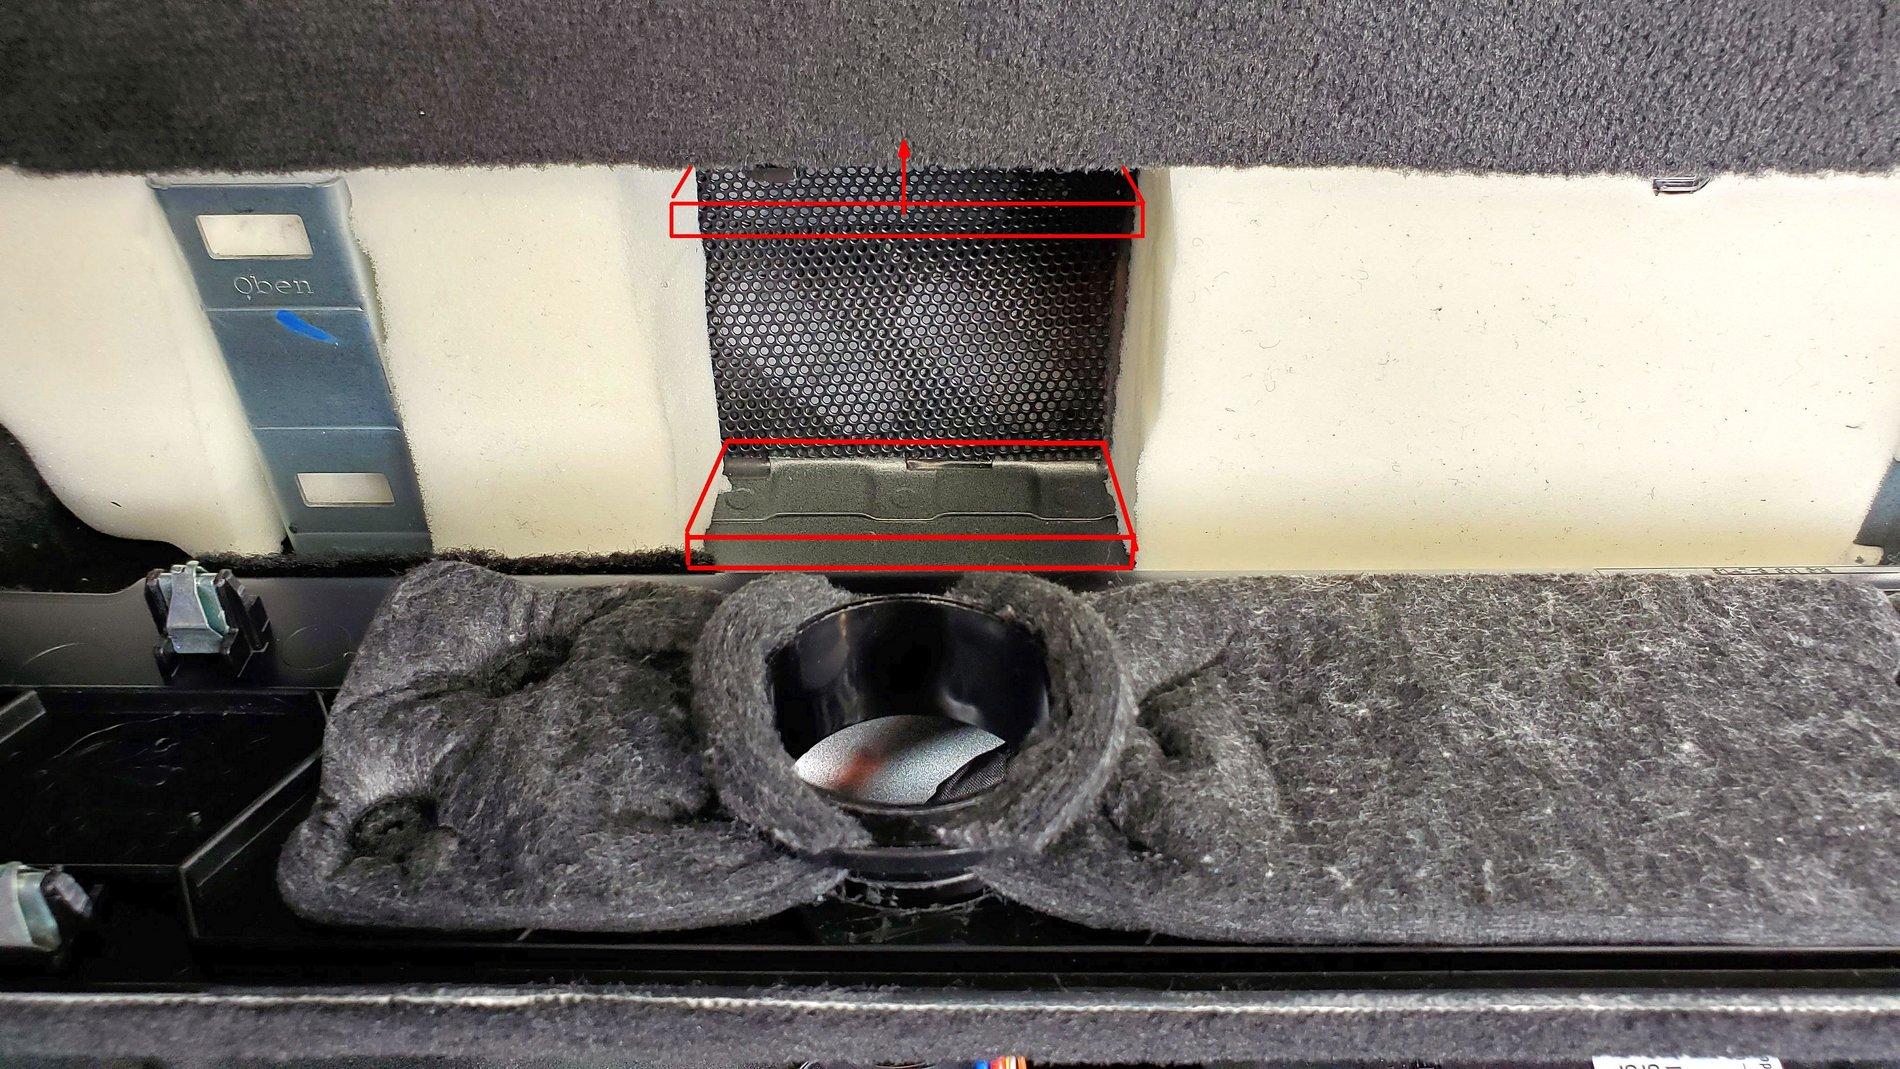
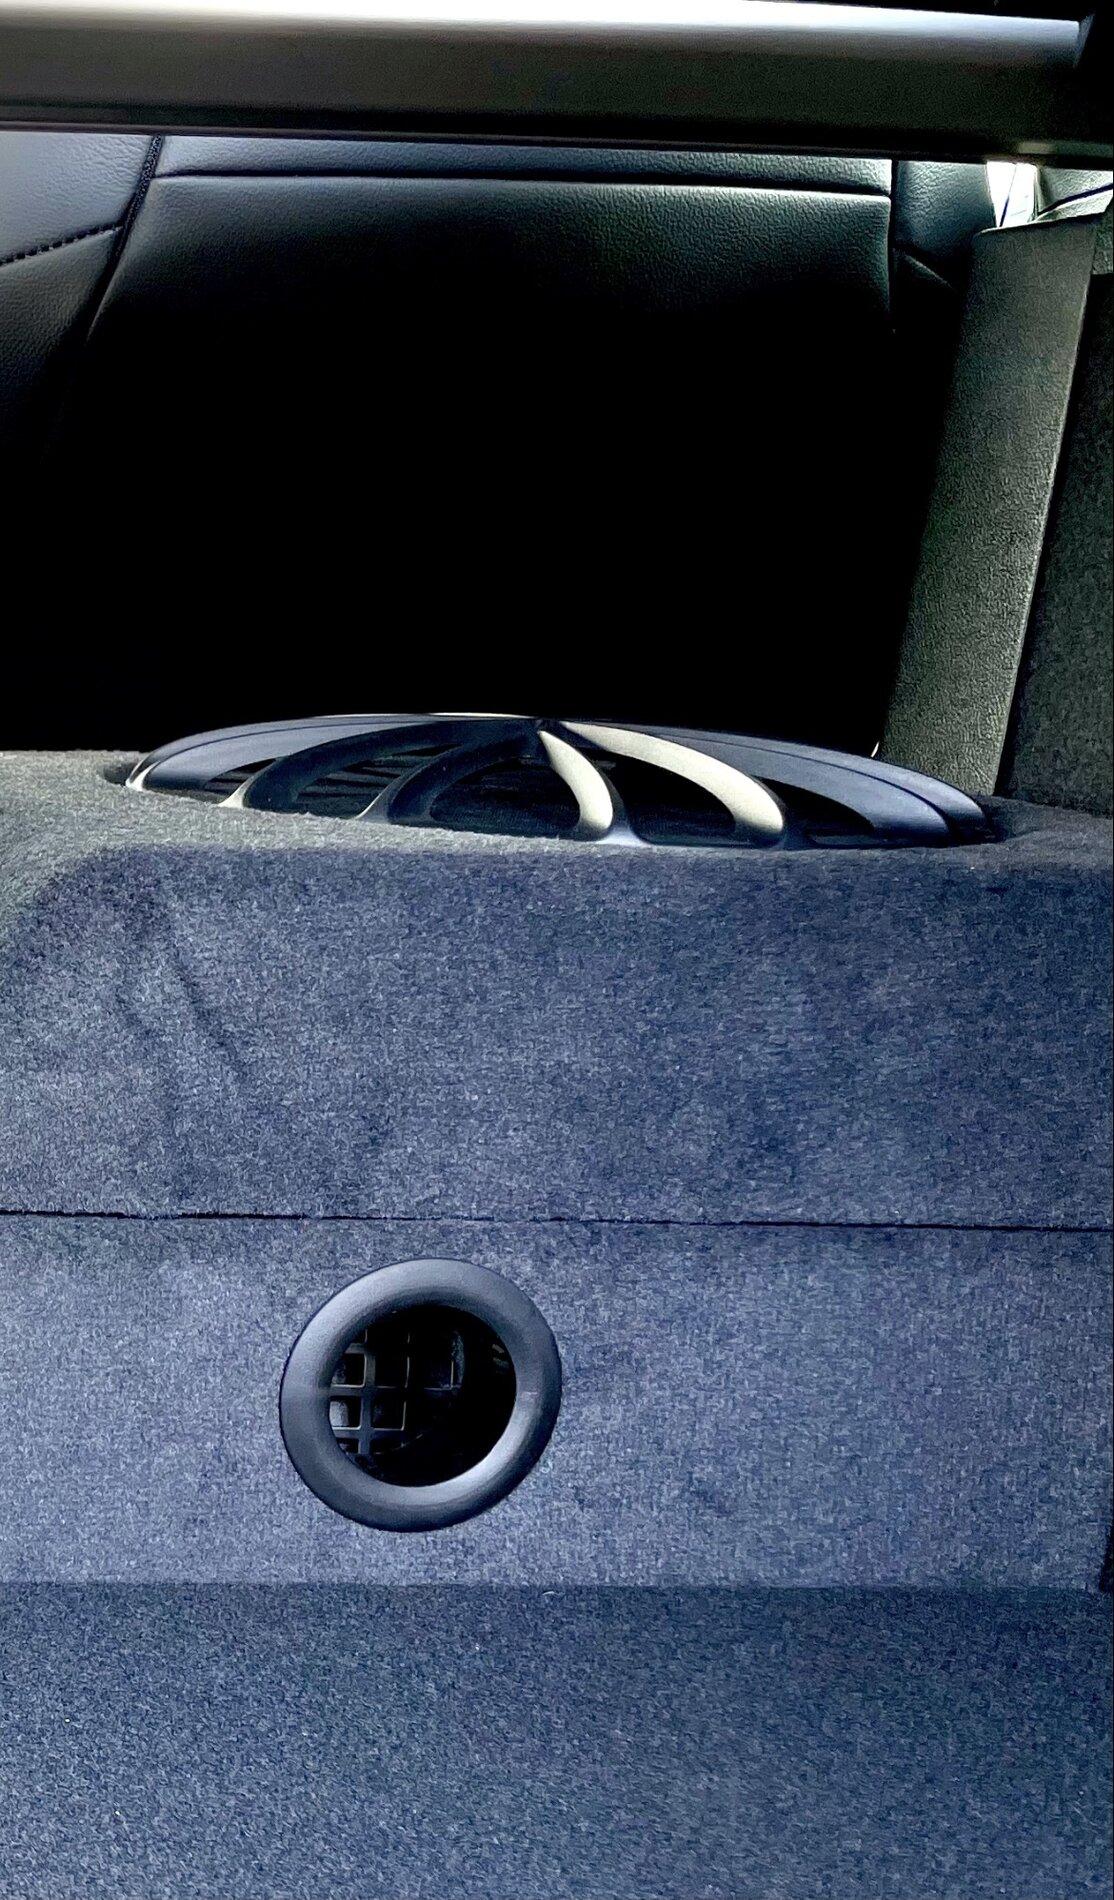
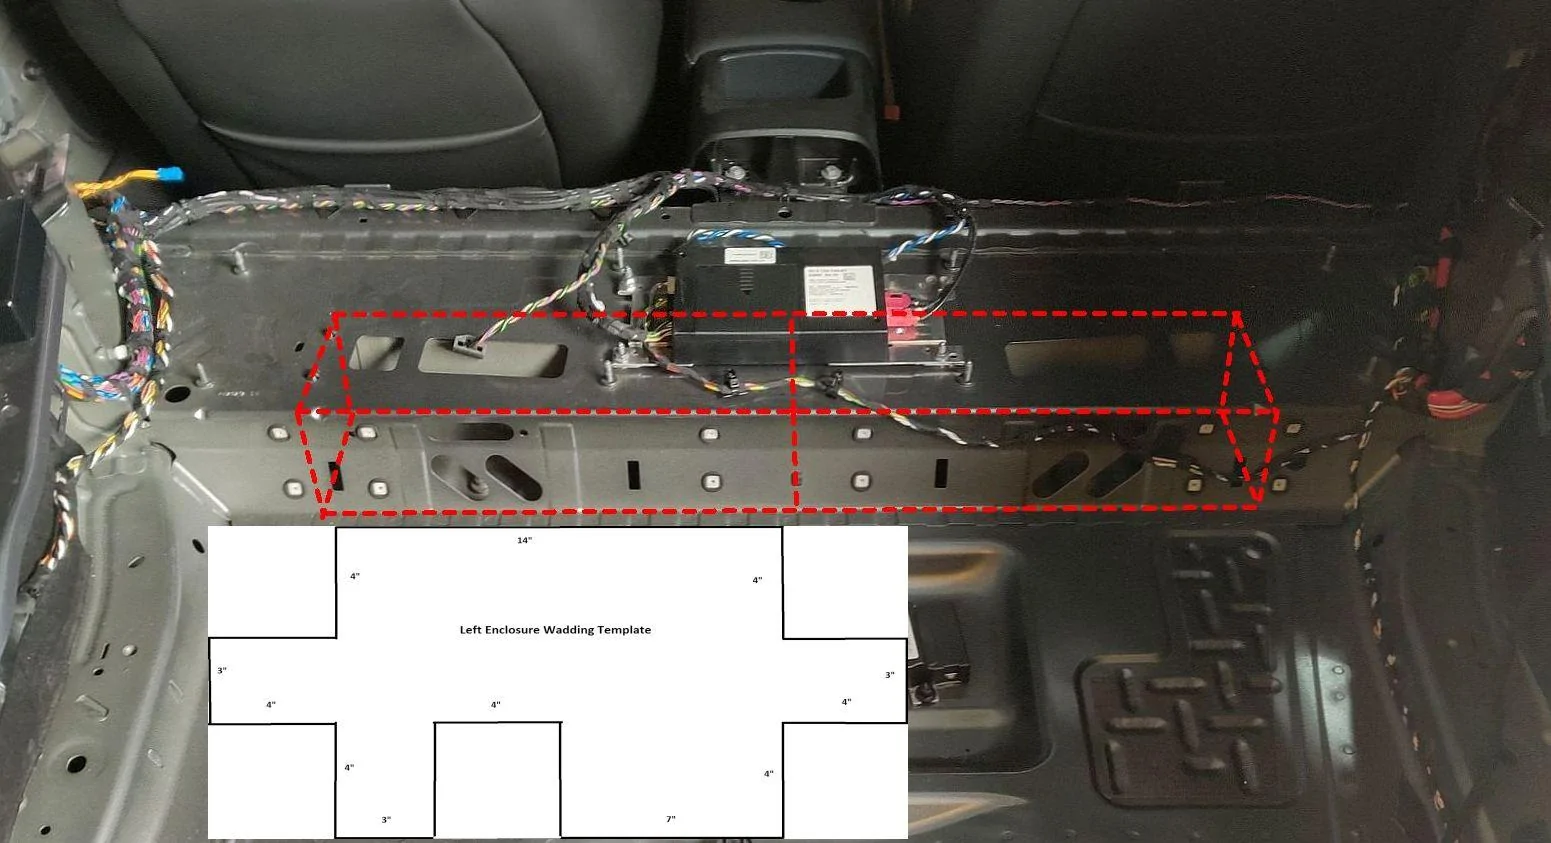
I was actually able to roll up the speaker batting cut from a template (shown below) and slip it through one of the elongated exhaust ports and then use a long screw driver to manipulate the cut batting to line the walls of the metal enclosure shown below:

Sponsored