ope_sry
Well-Known Member
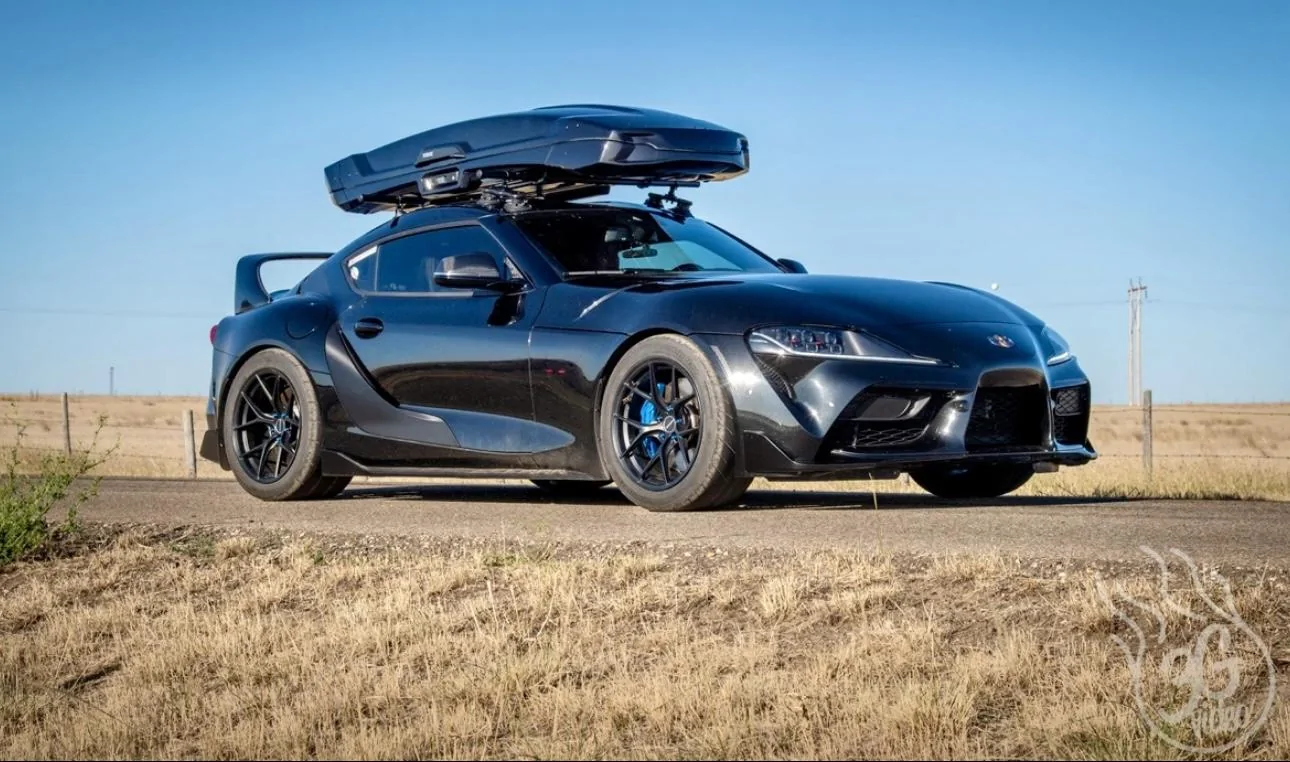
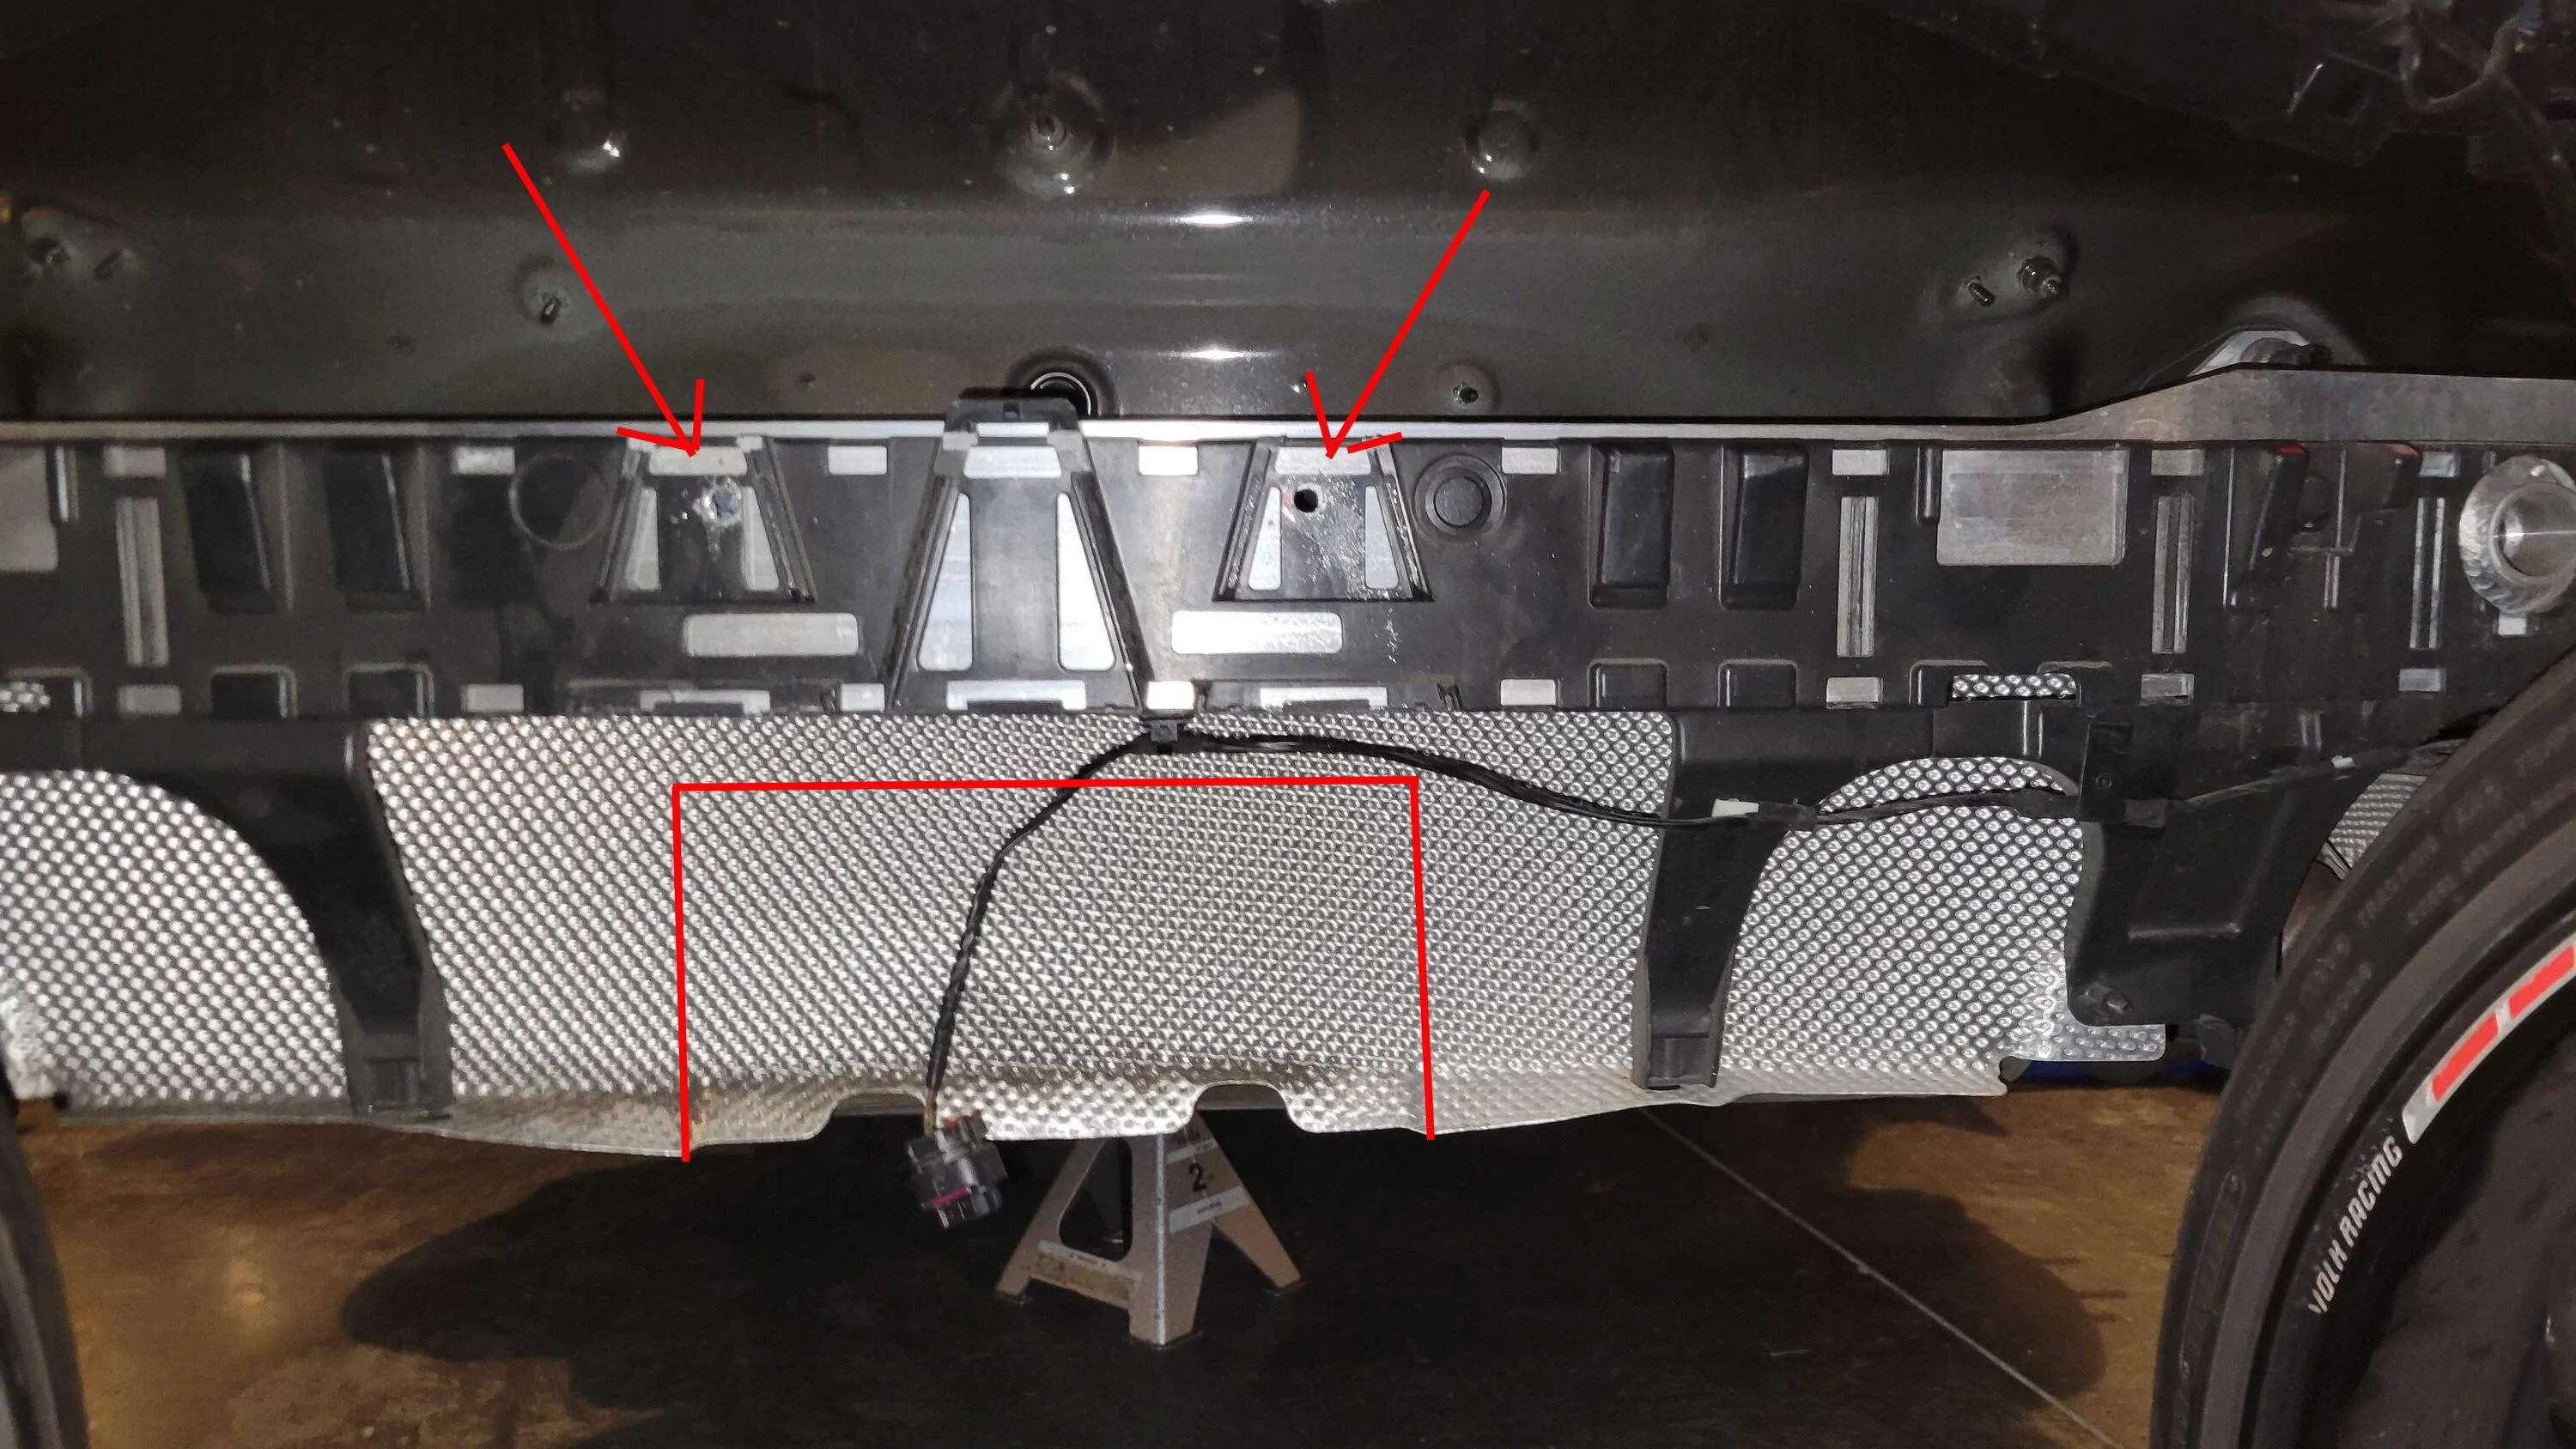
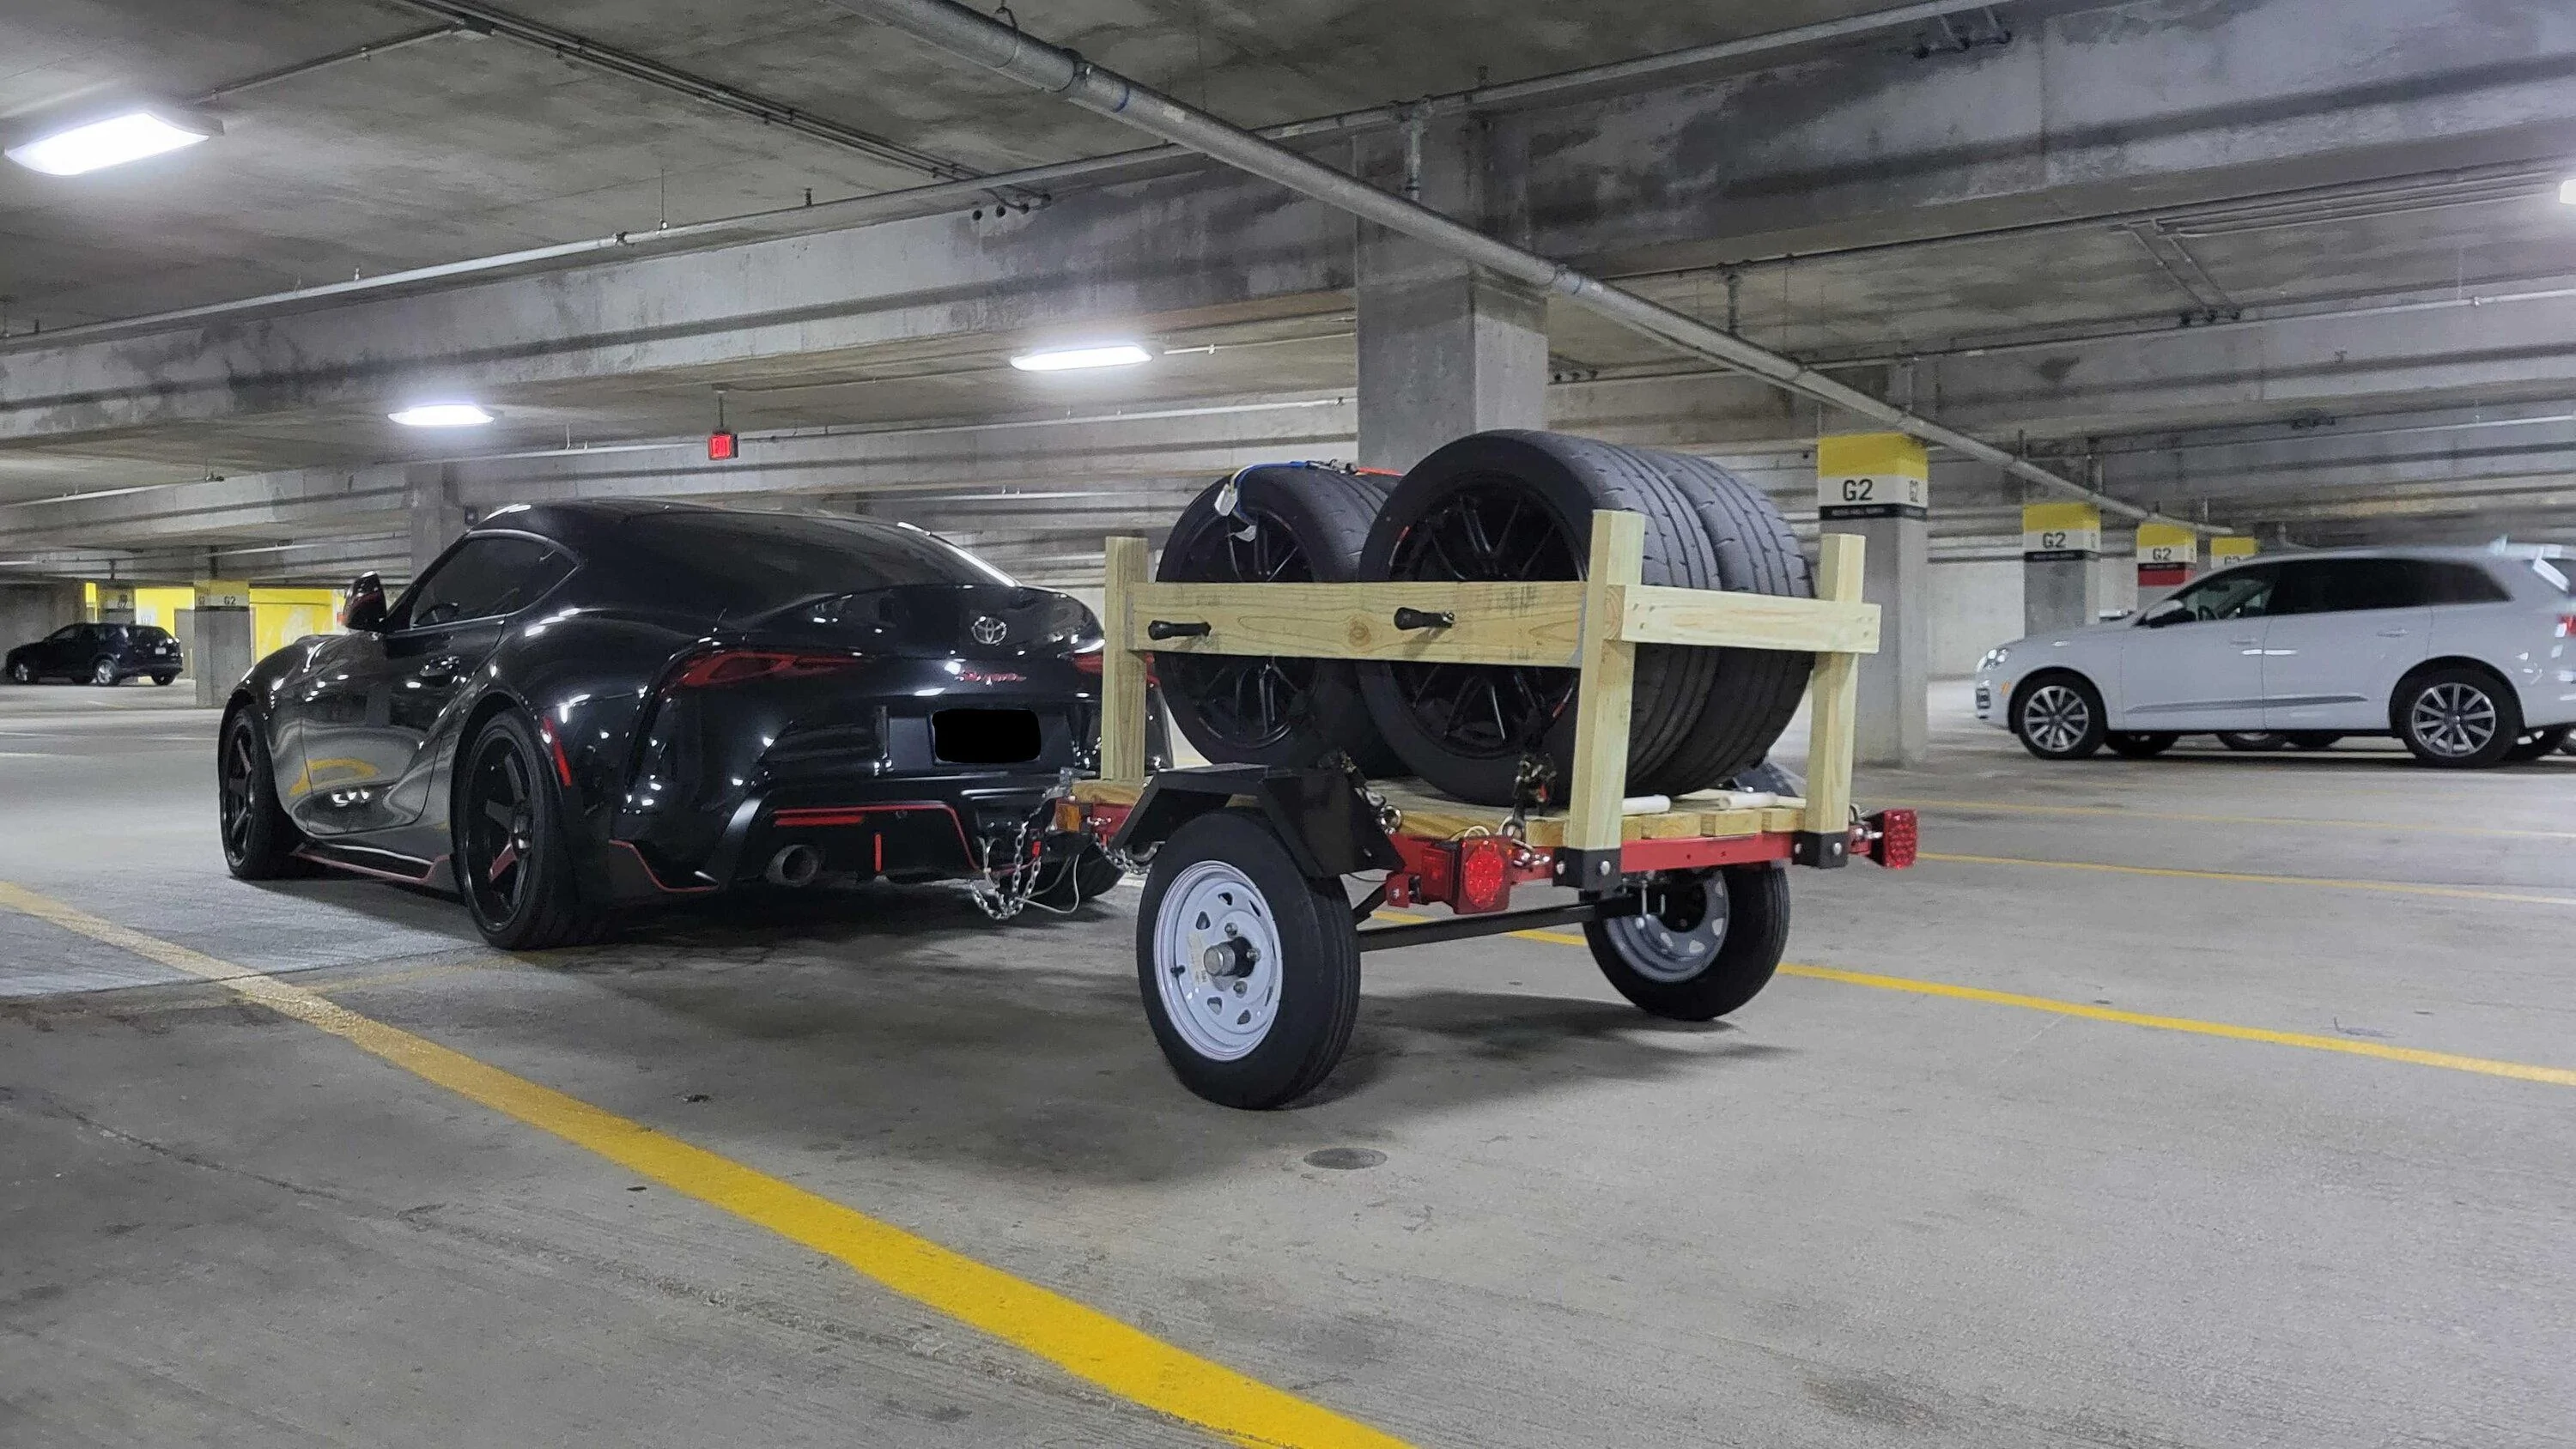
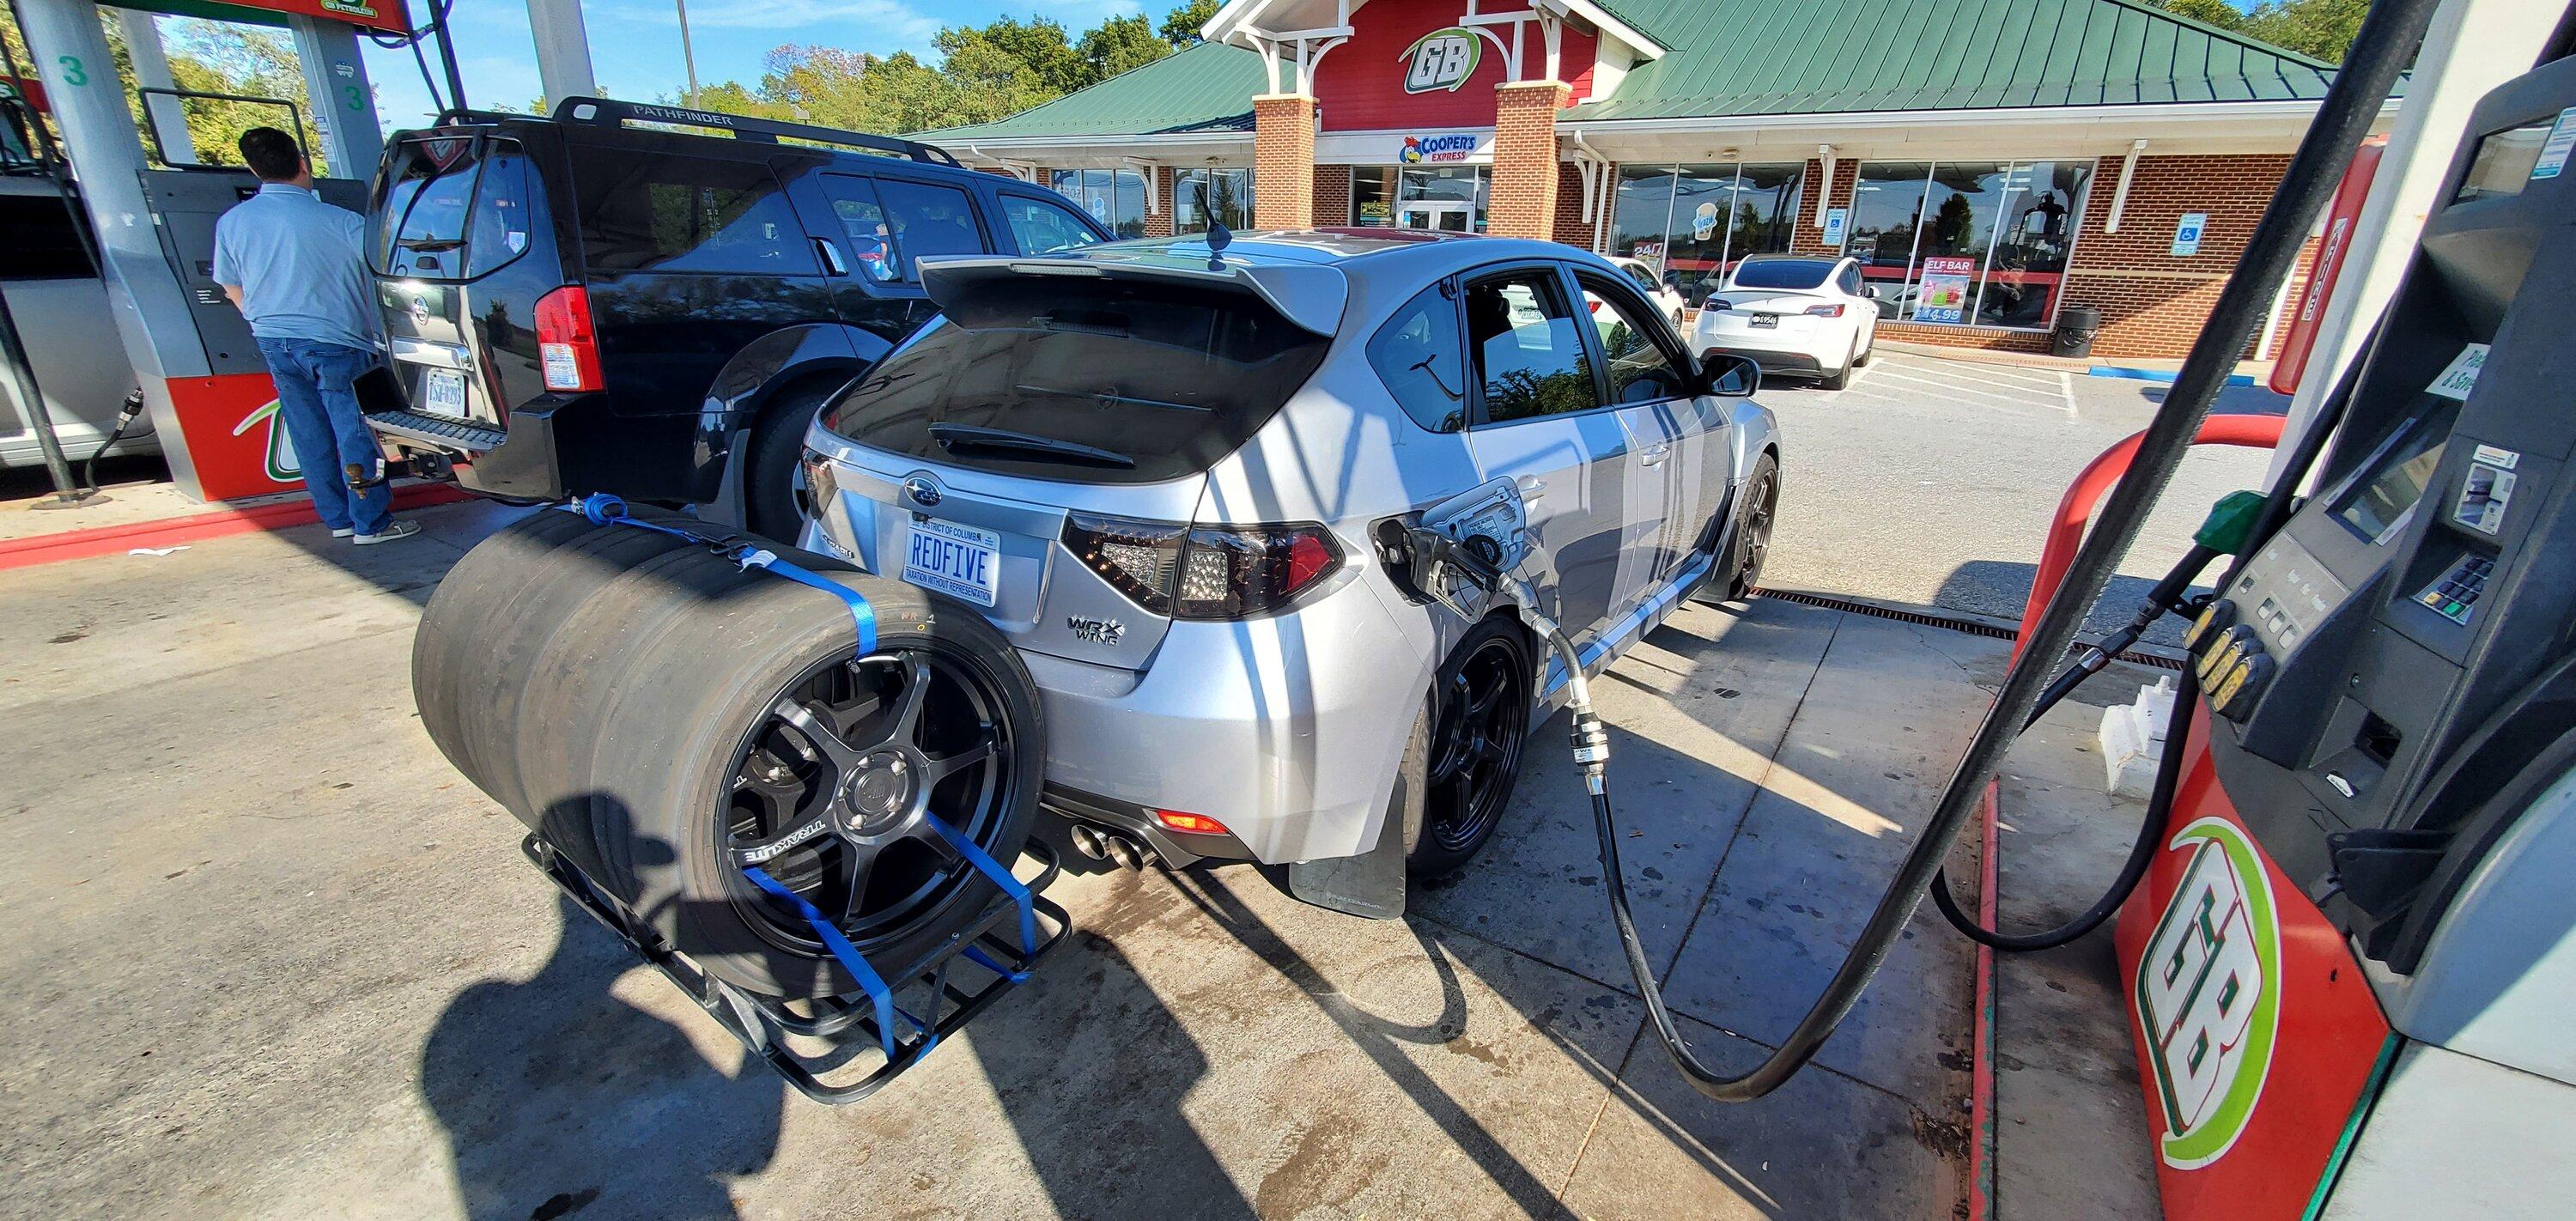
Easily could fit one on the seatWow, that's commitment! Do you think you could fit one wheel on the seat if you didn't remove it? I'm thinking one on the seat, one in the back and two on the roof in a suction mounted basket.
Sponsored