30MilesOffshore
Well-Known Member
- Joined
- Jan 27, 2020
- Threads
- 50
- Messages
- 457
- Reaction score
- 401
- Location
- Charlotte, NC
- Car(s)
- 2020 Supra
- Thread starter
- #1
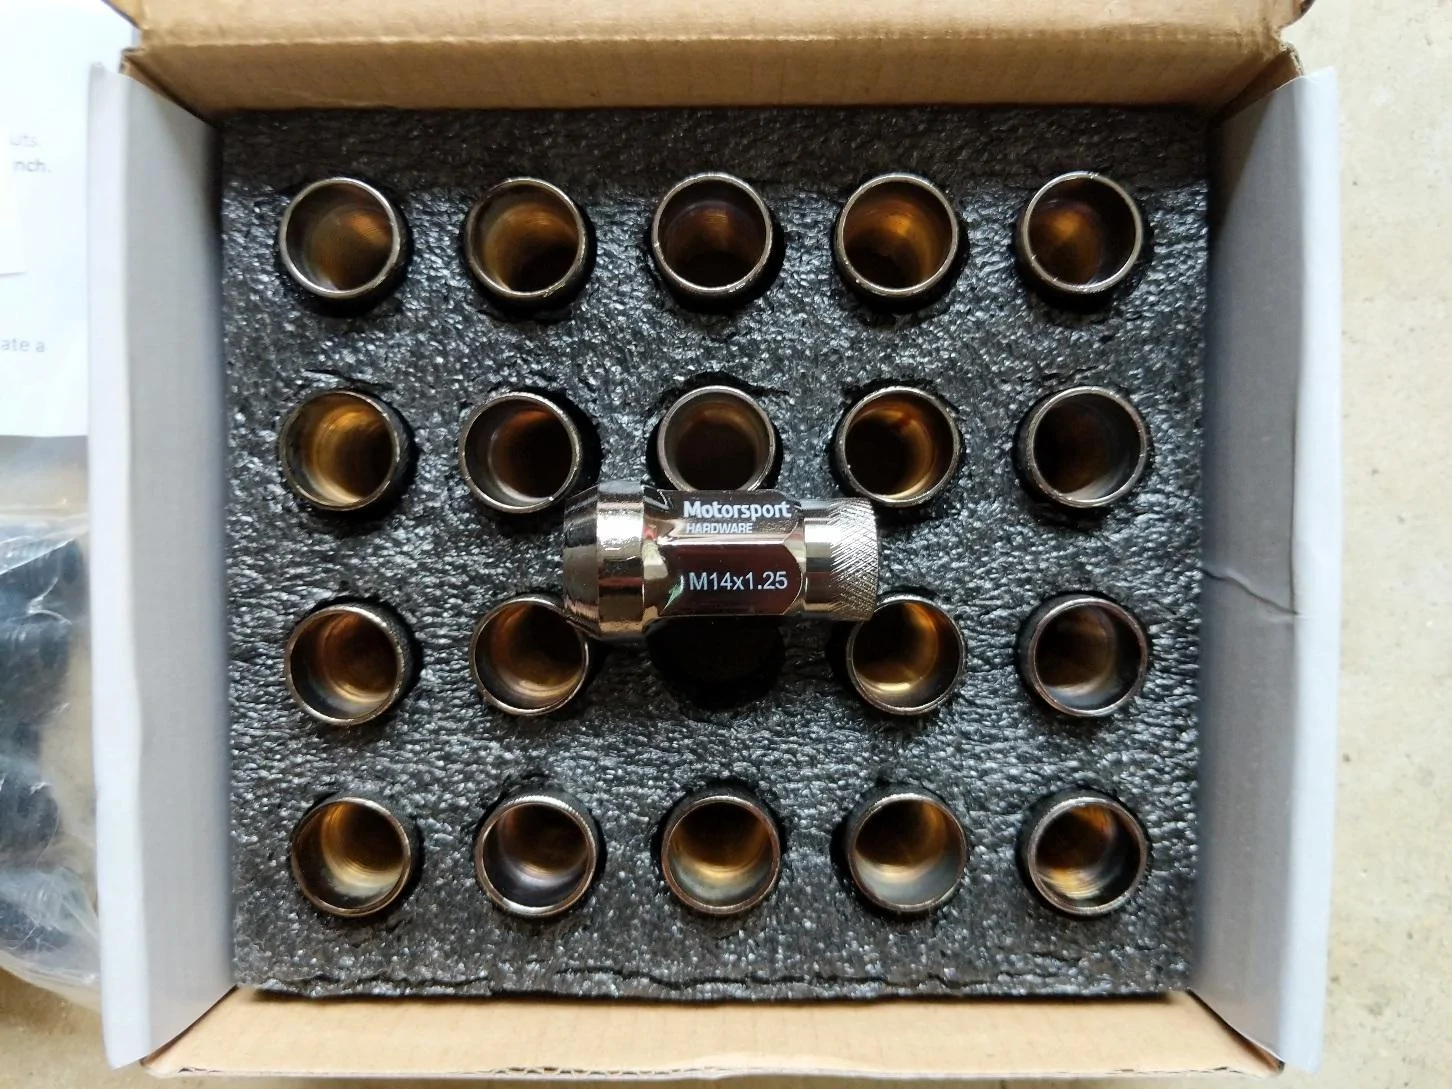
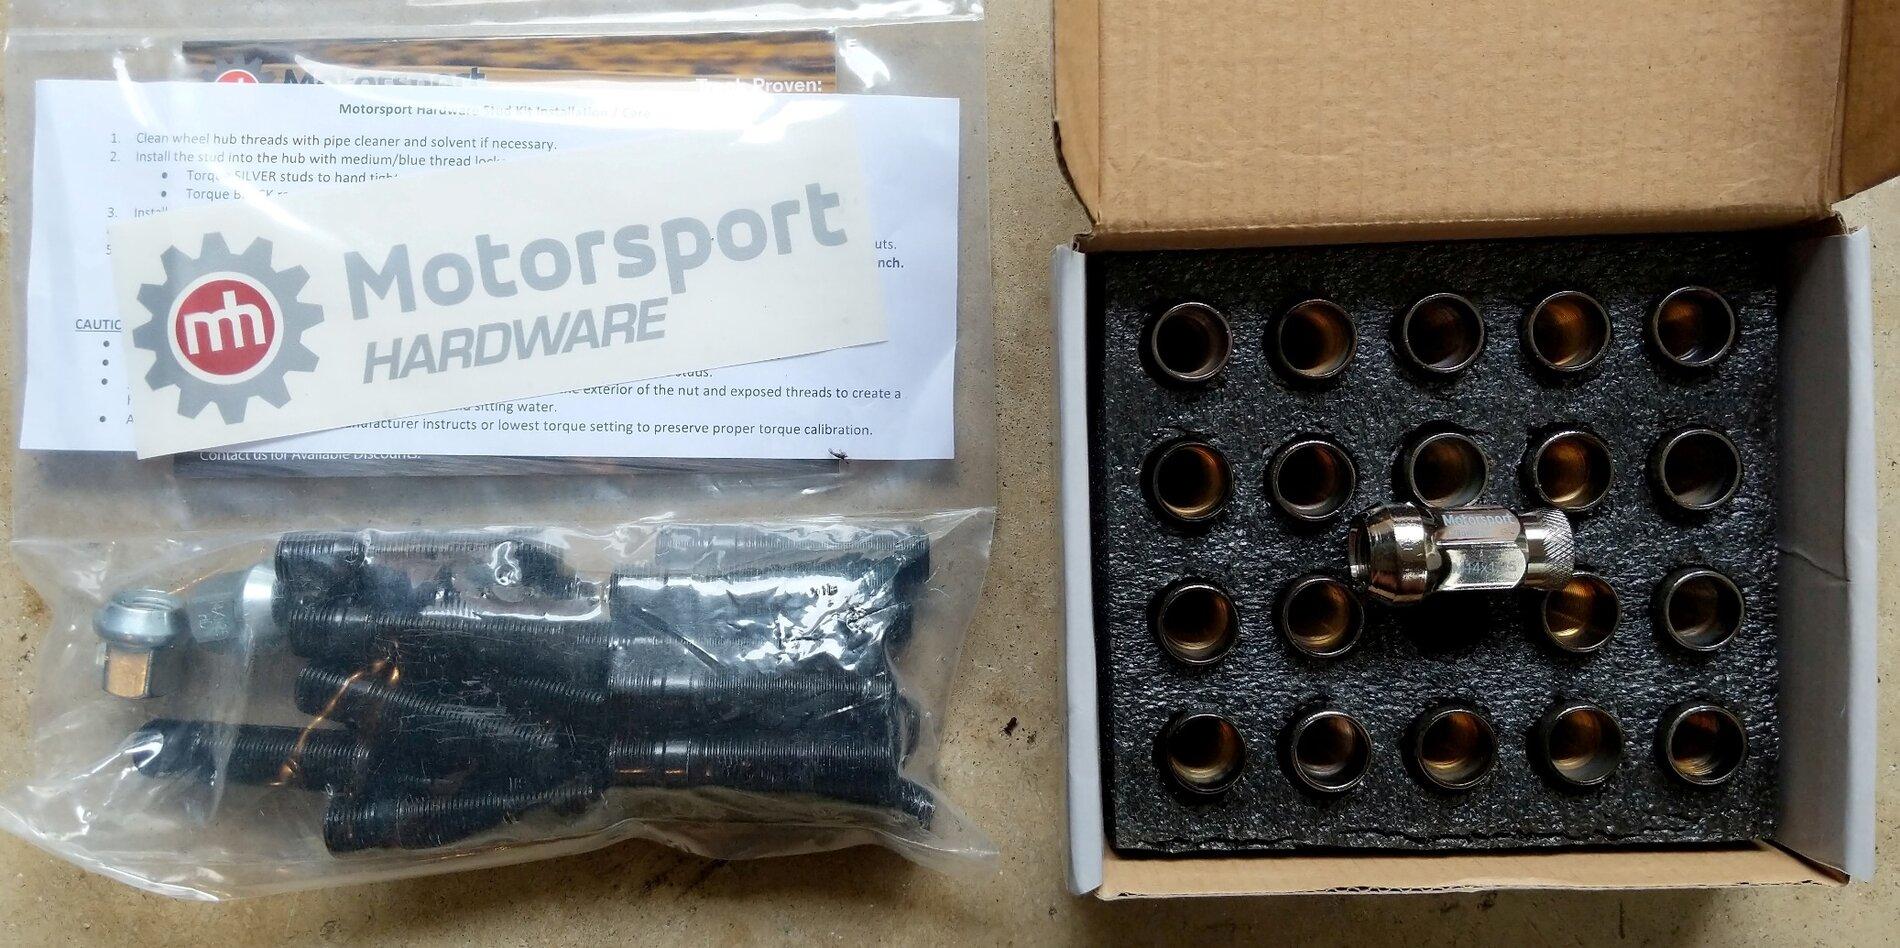
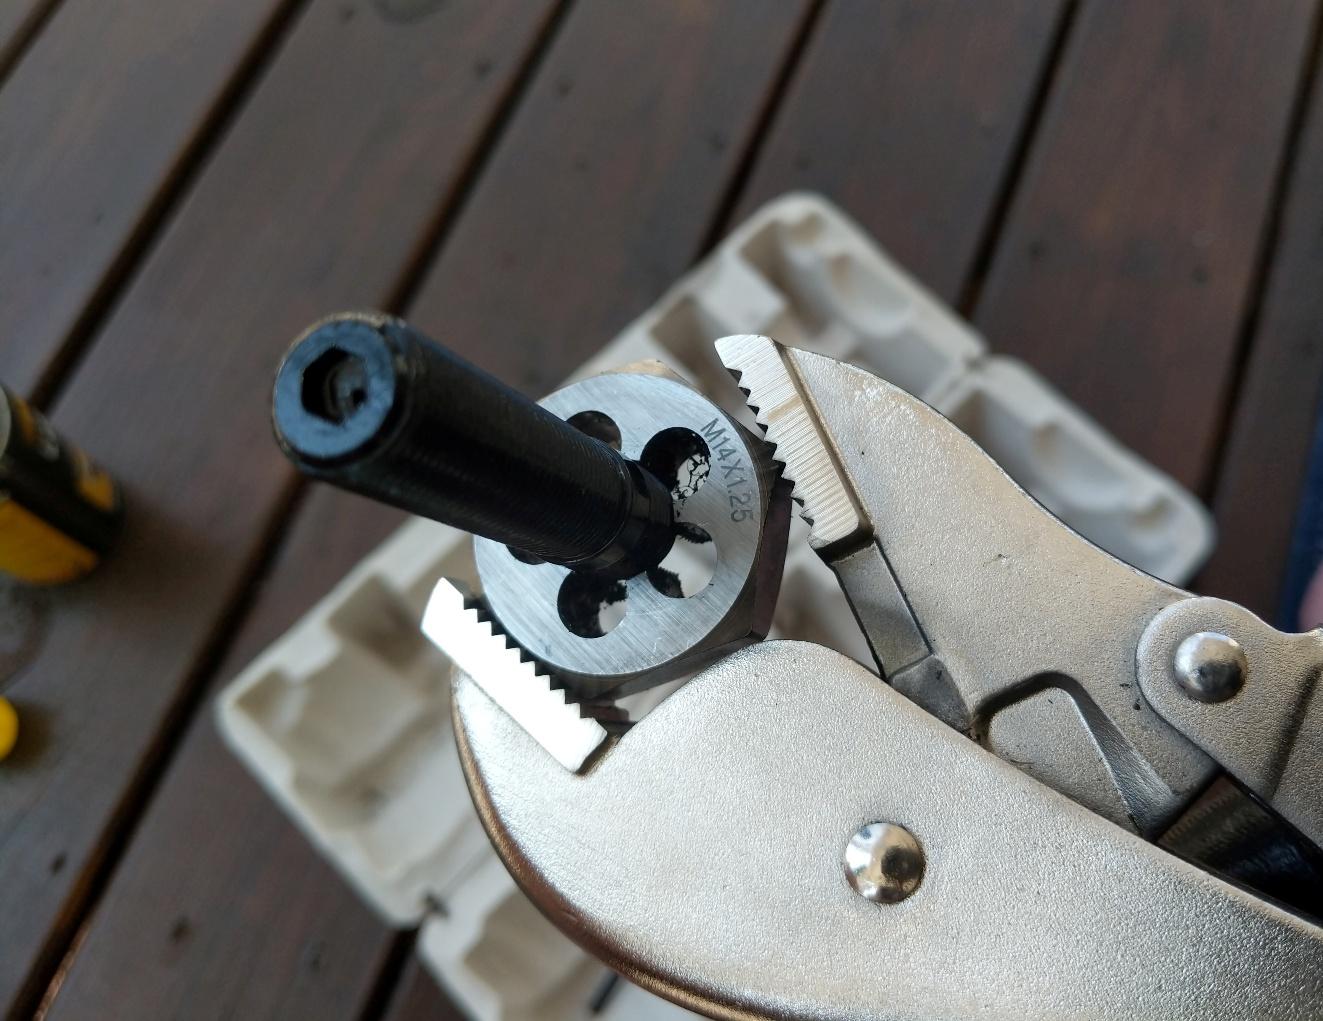
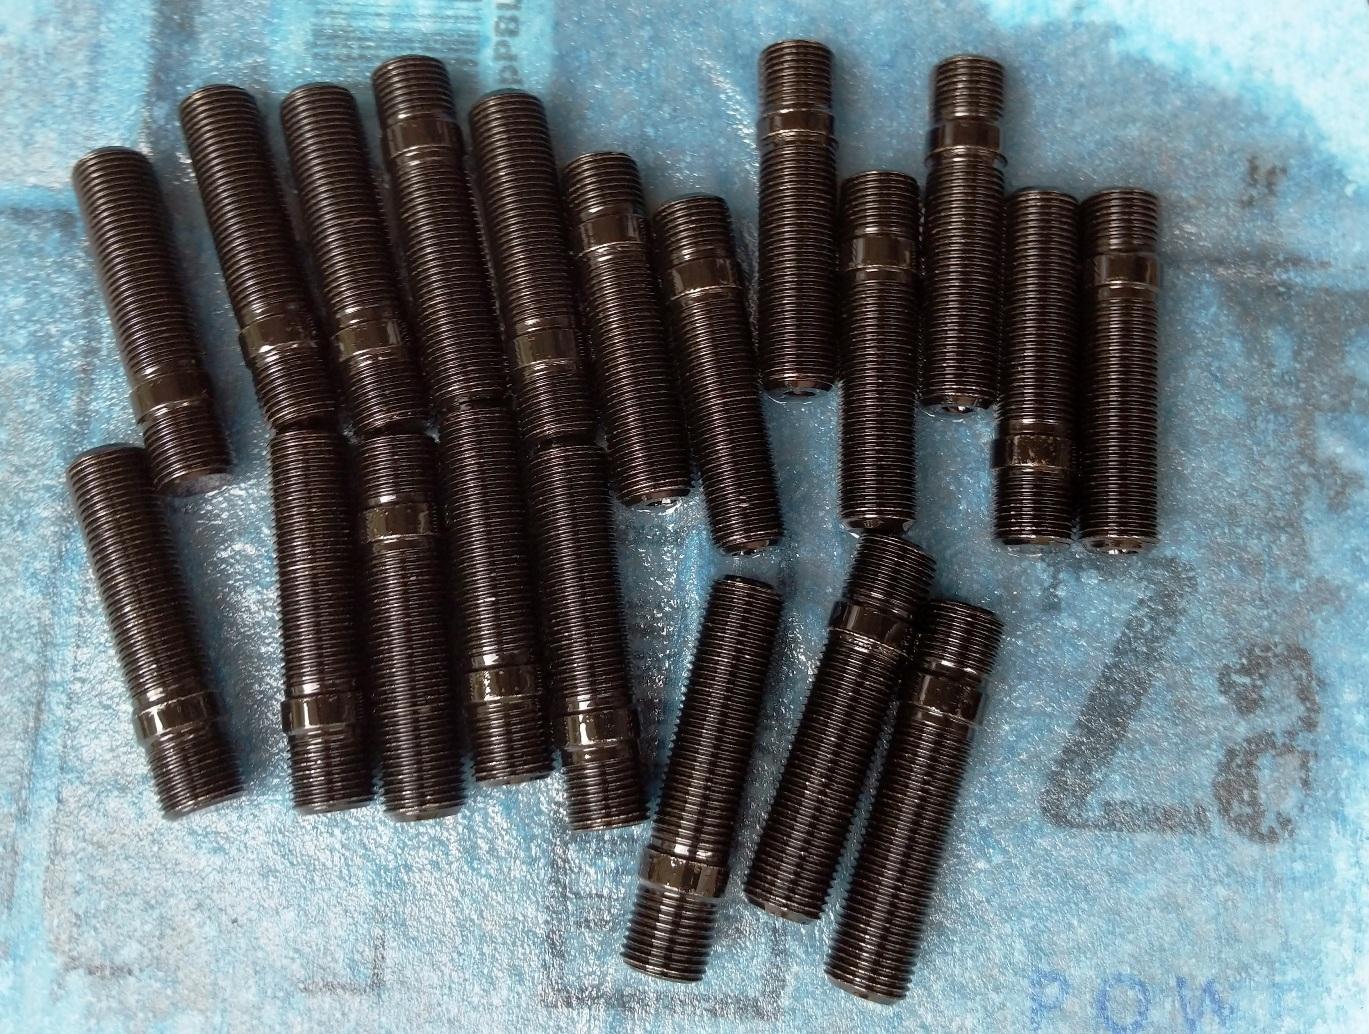
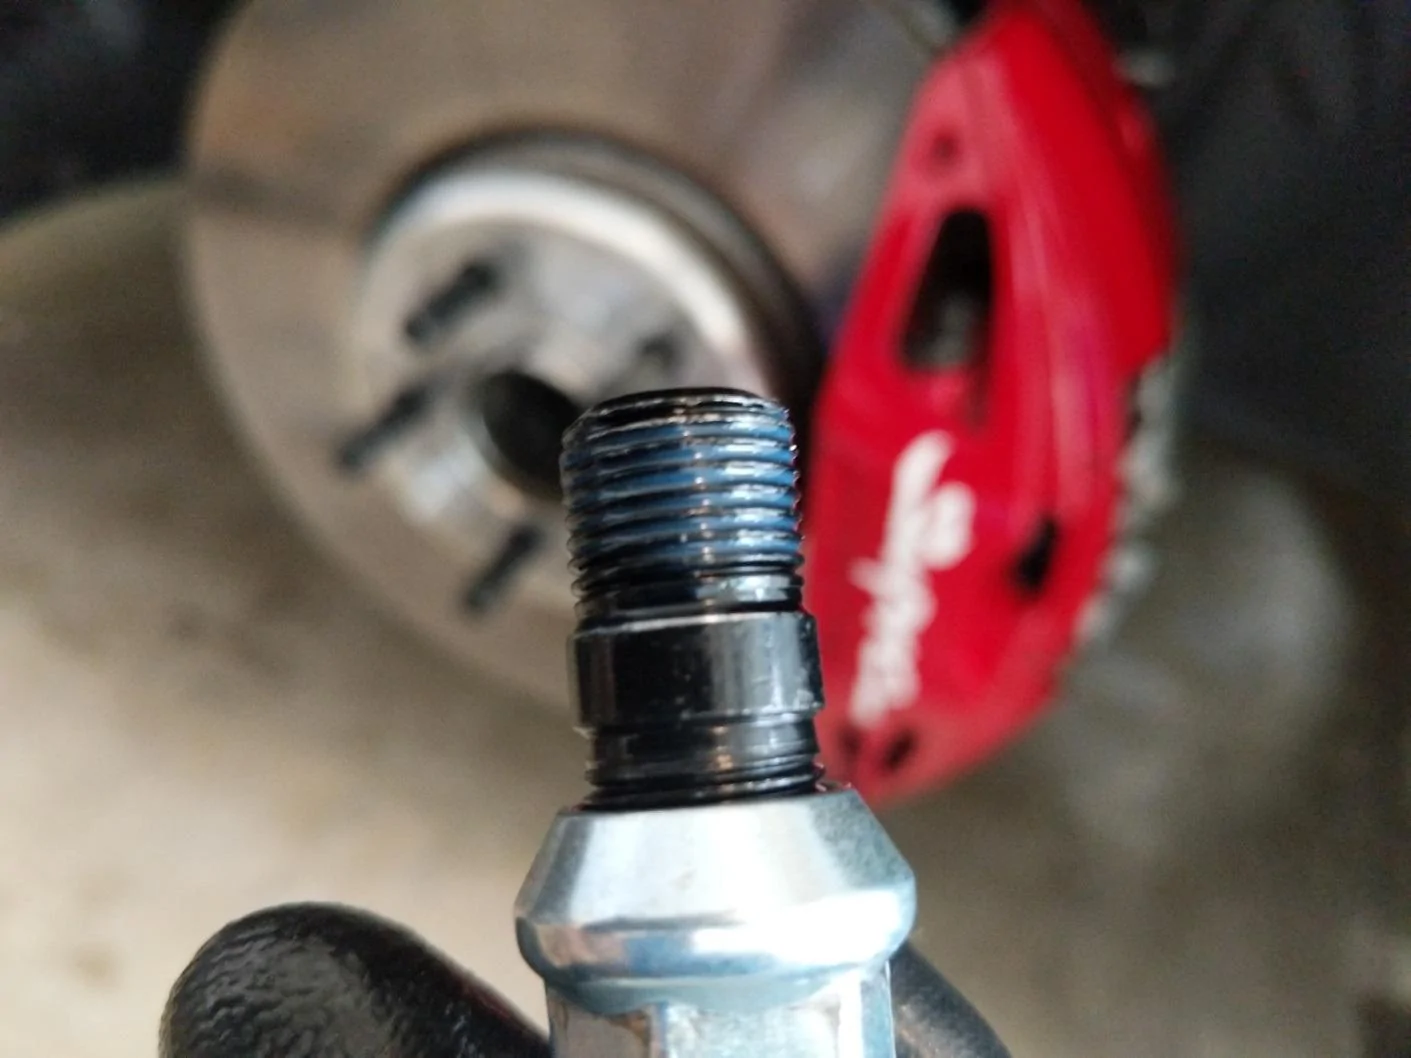
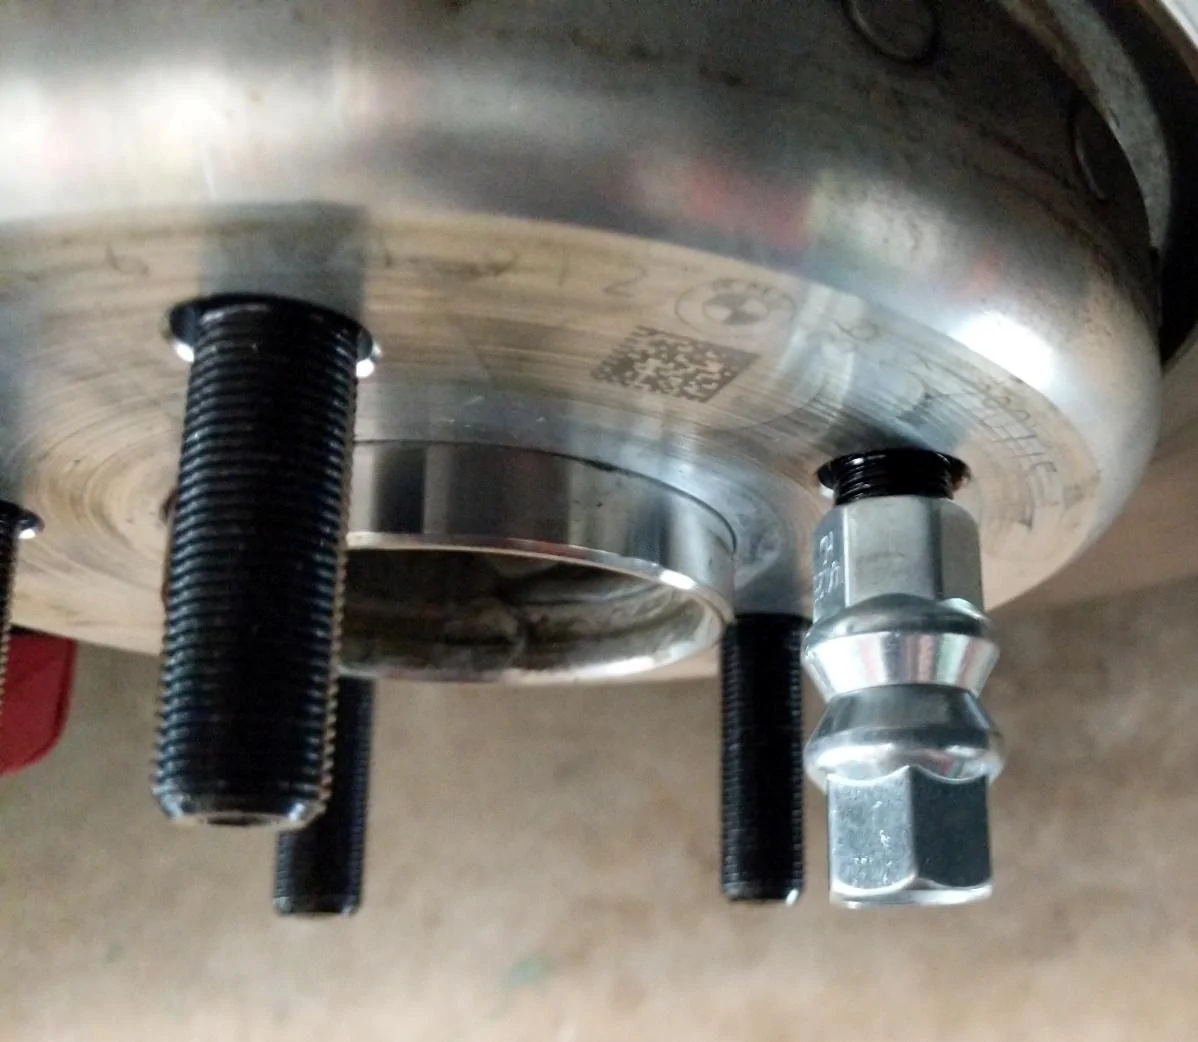
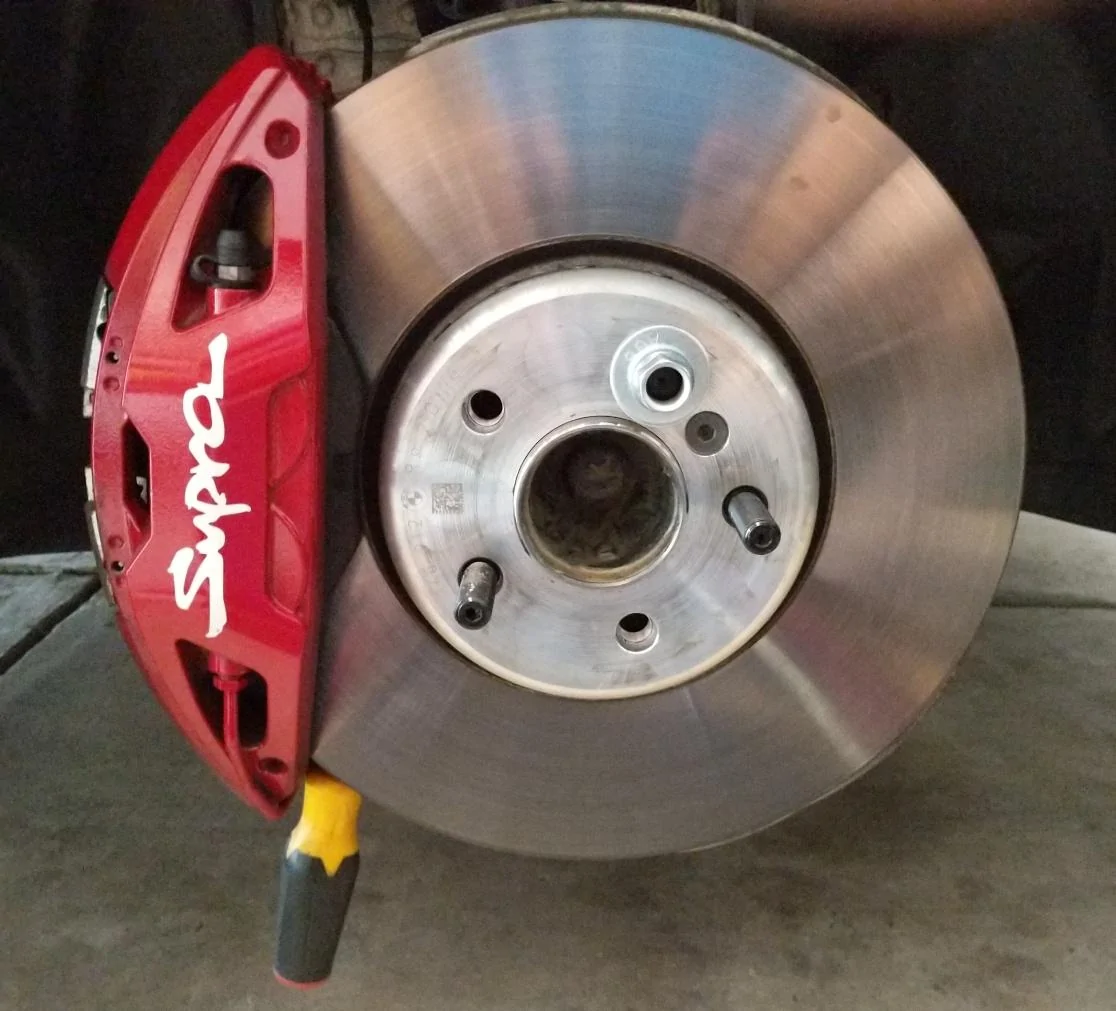
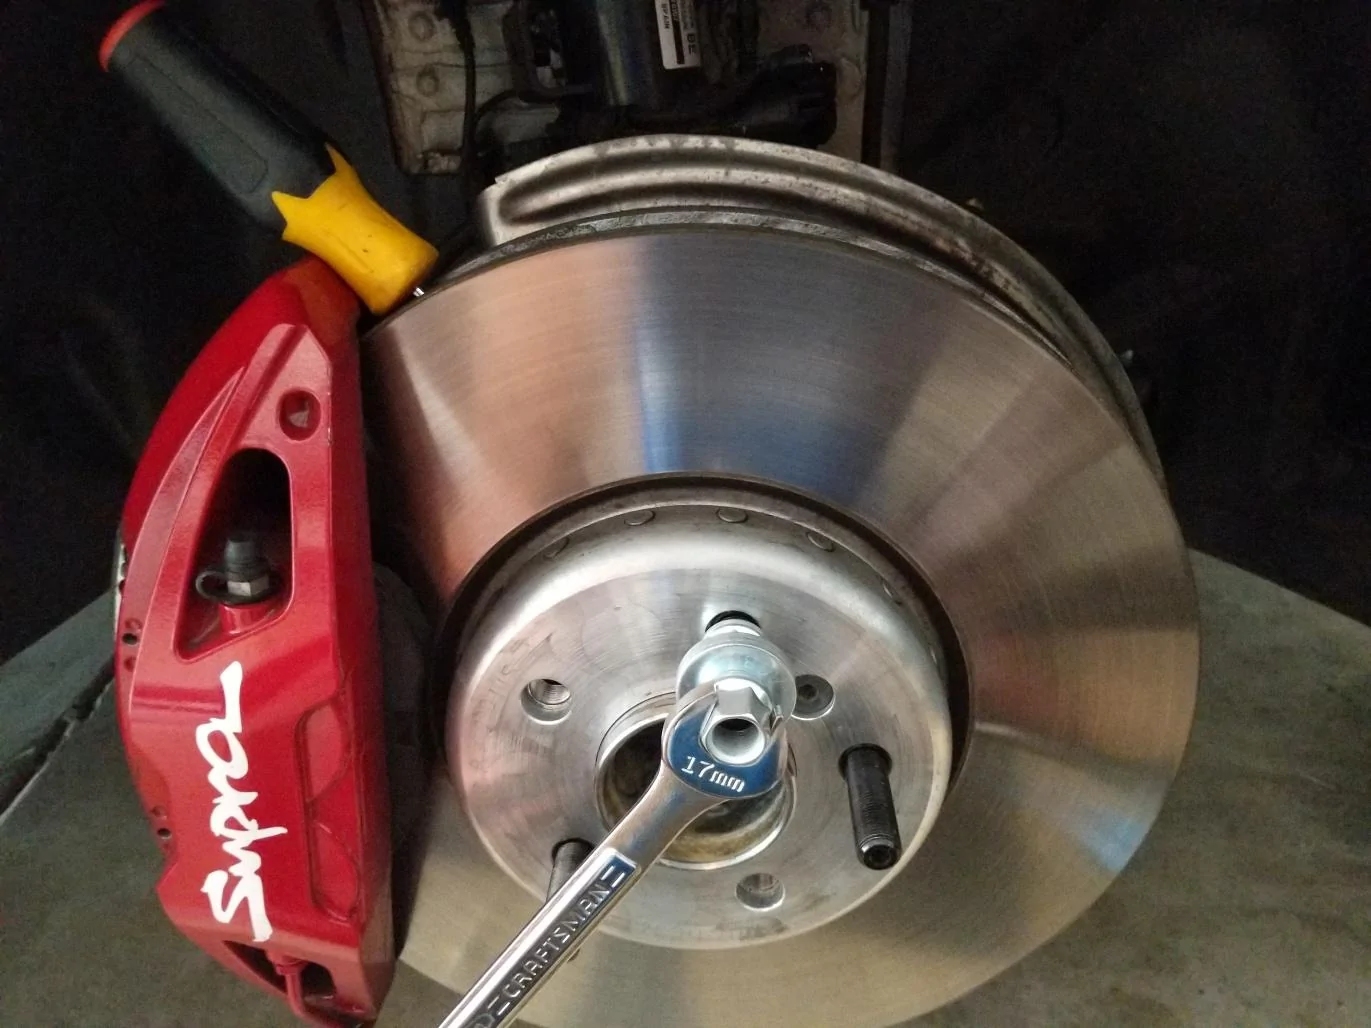
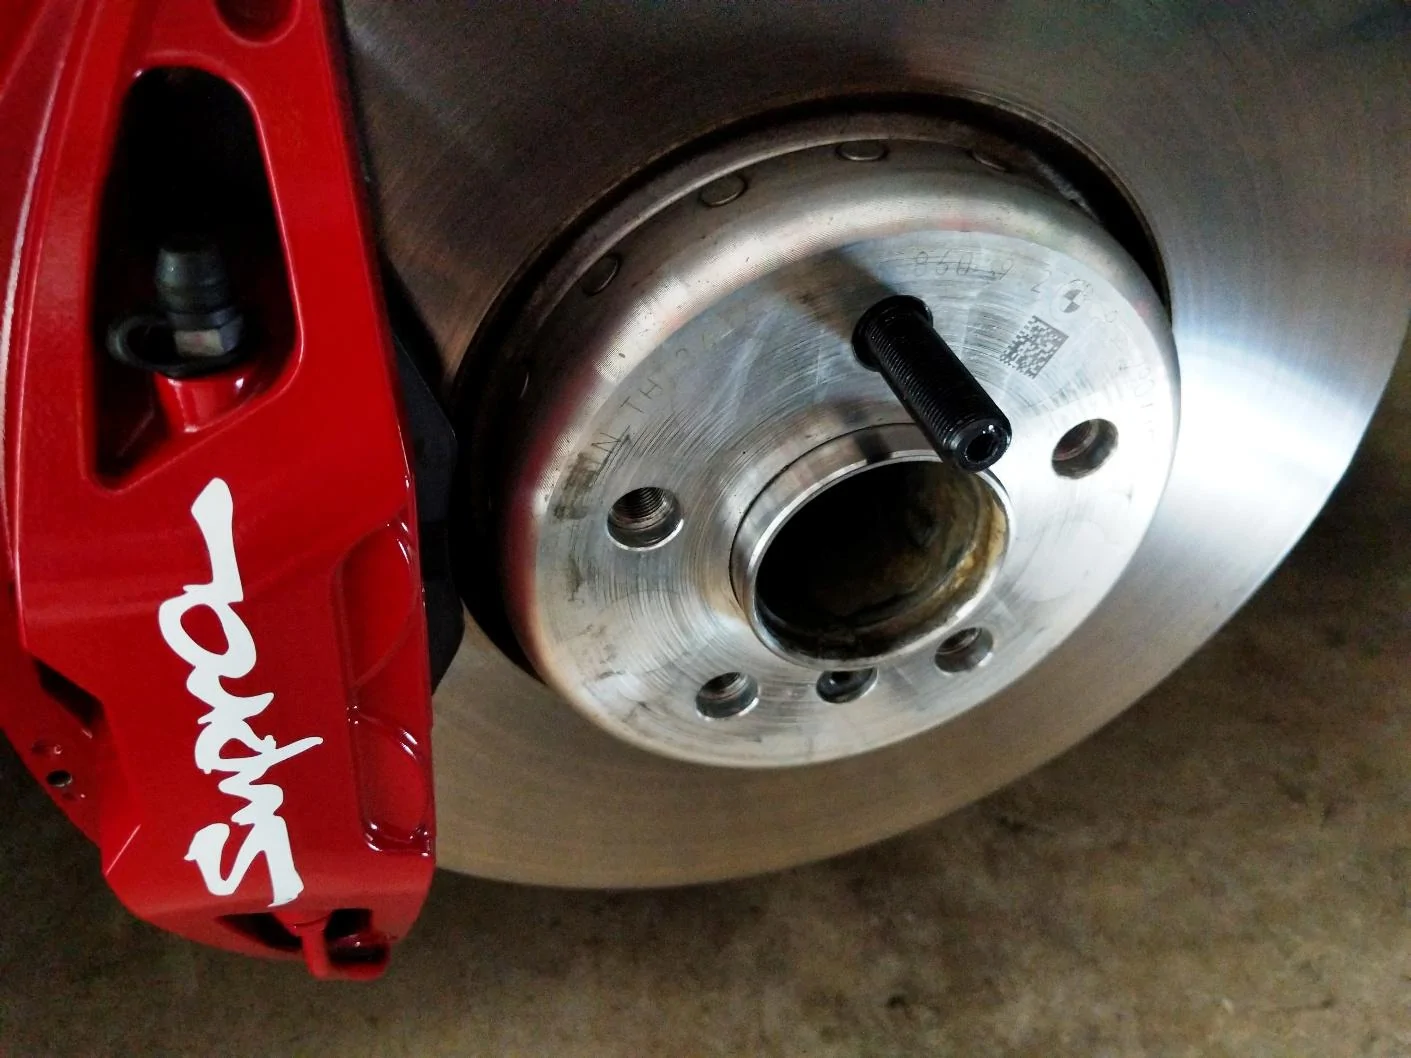
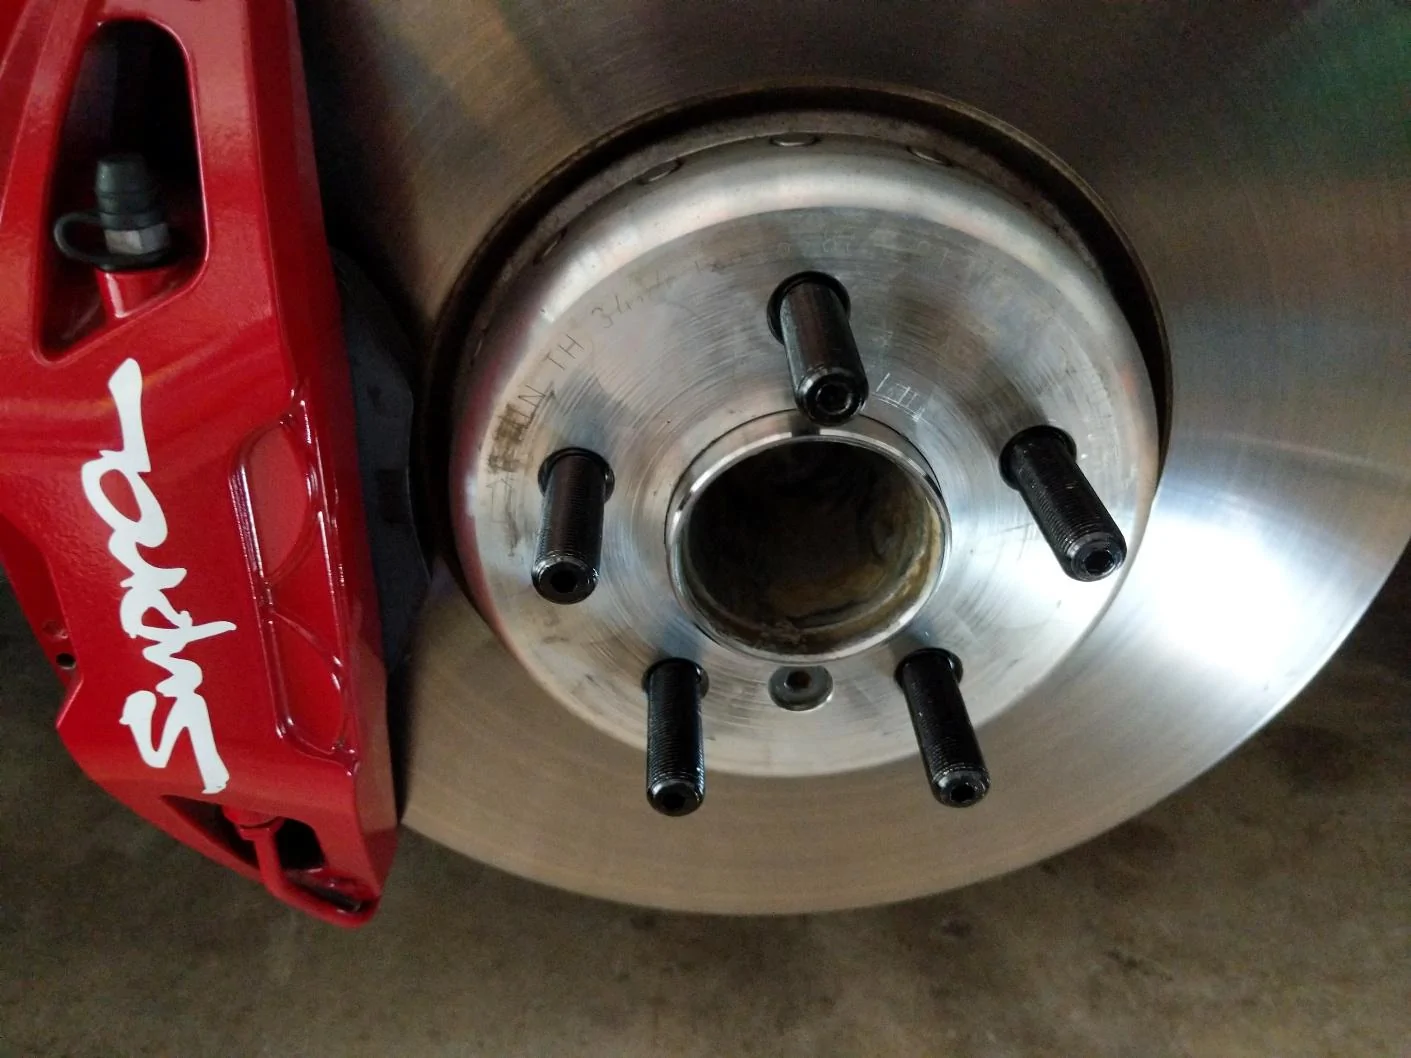
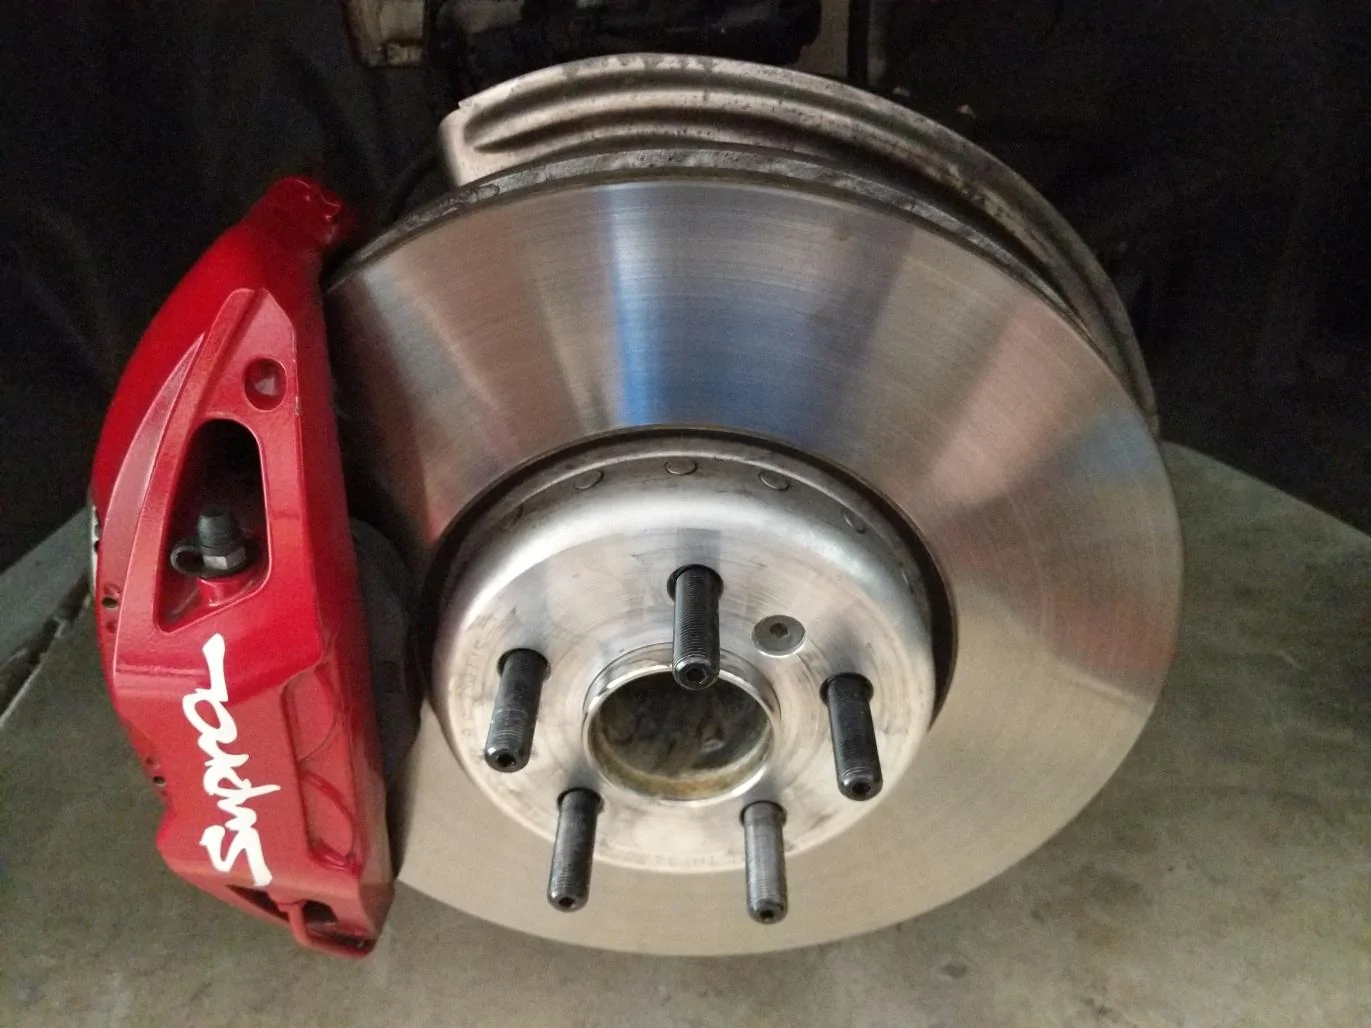
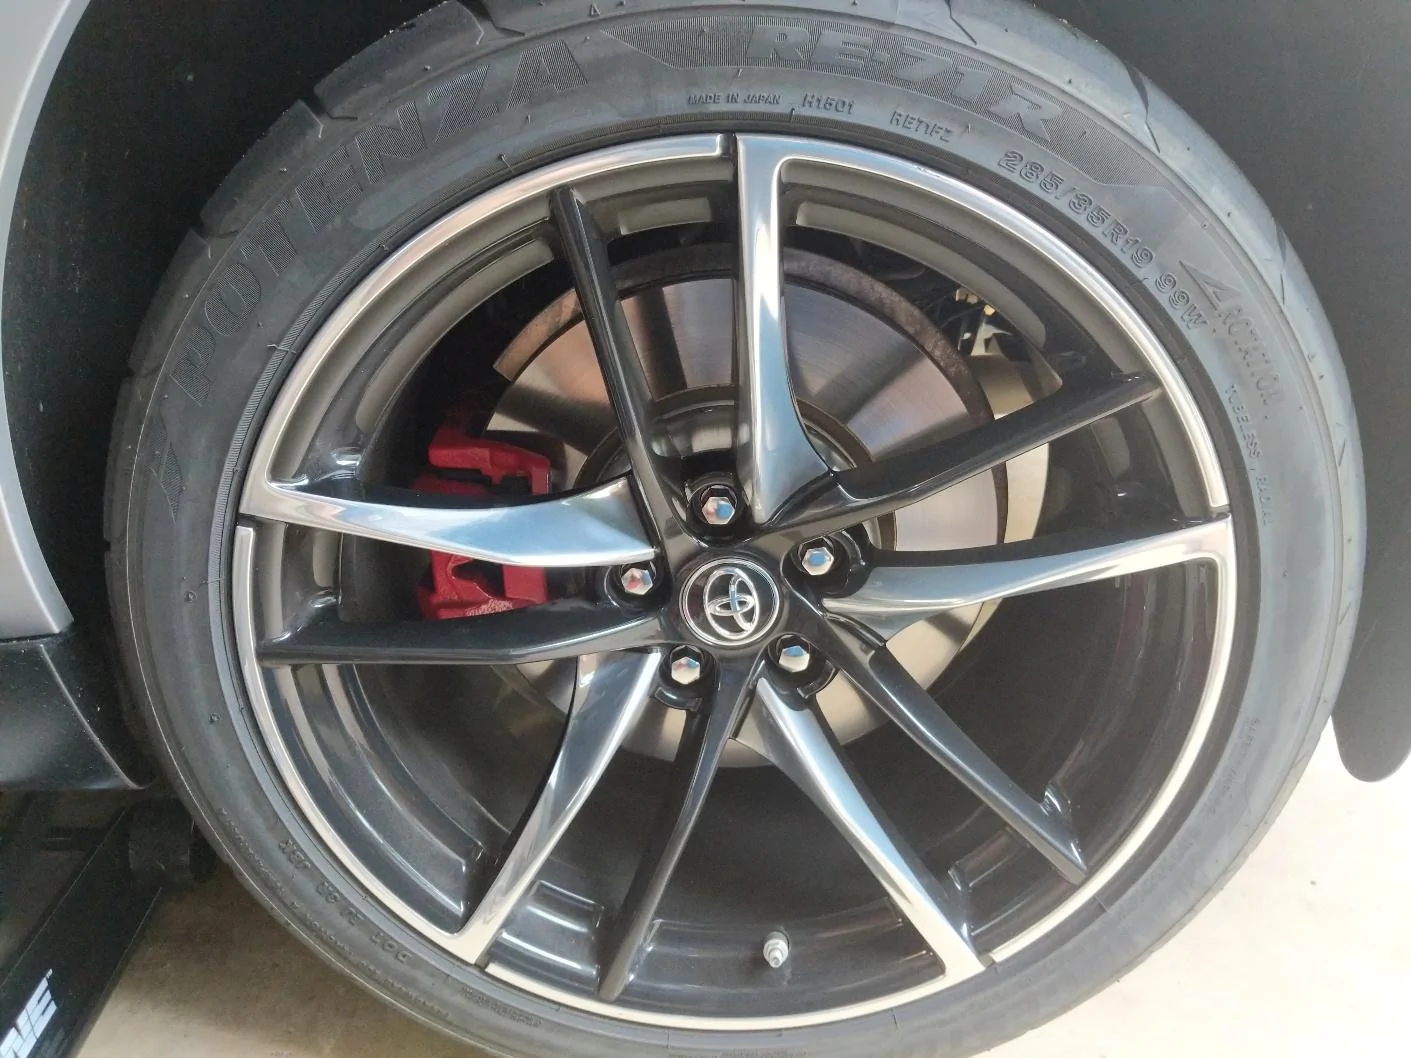
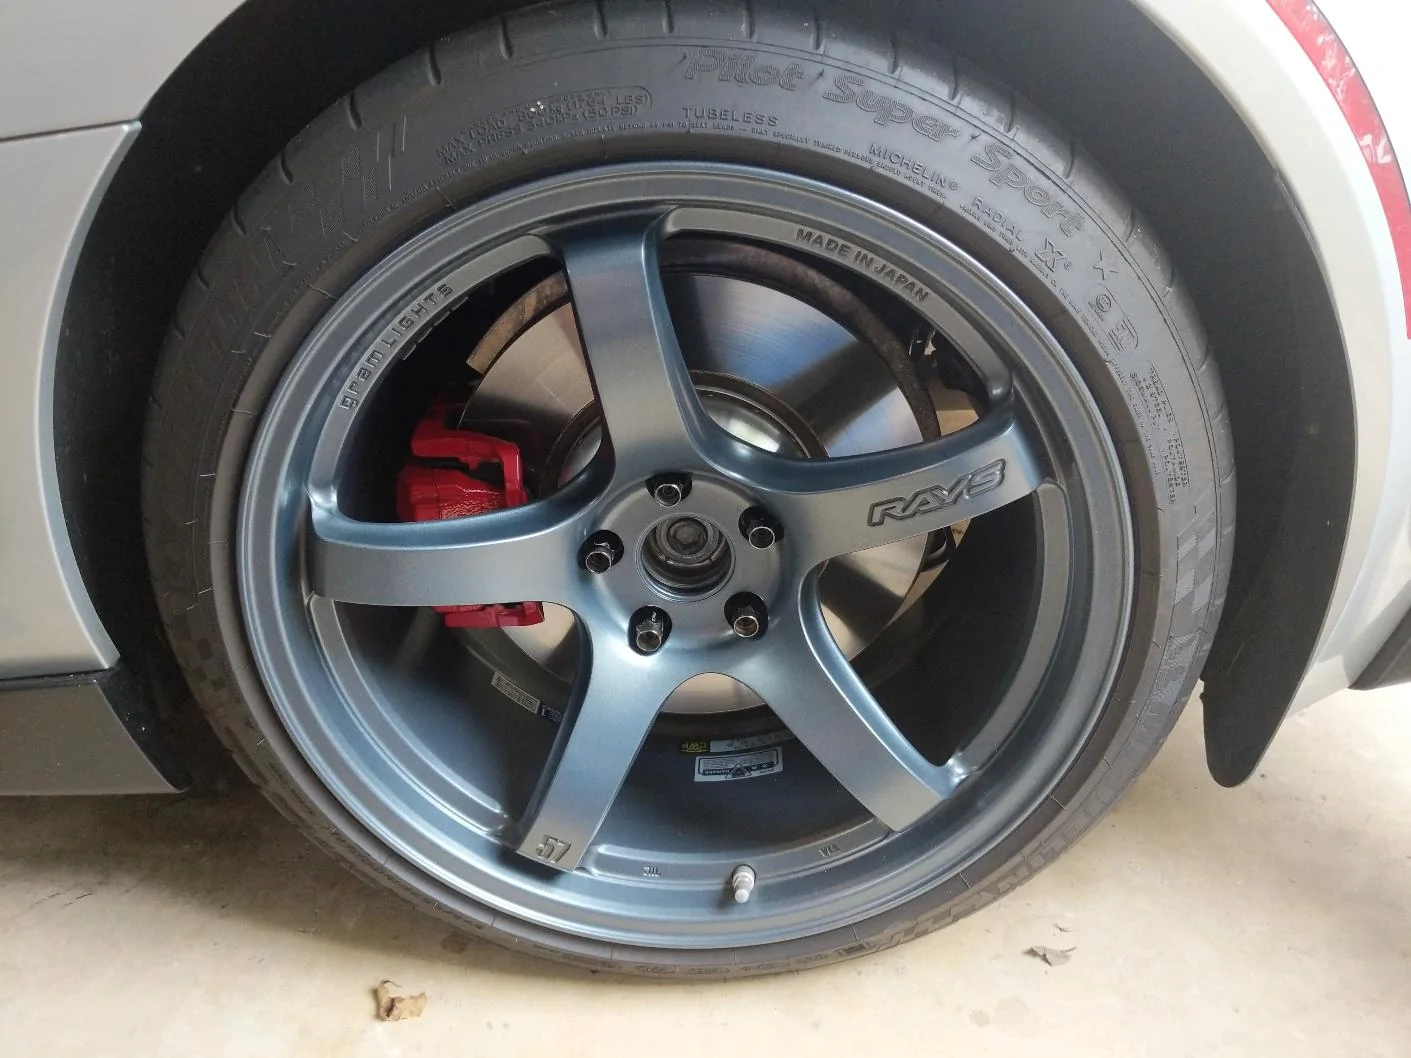
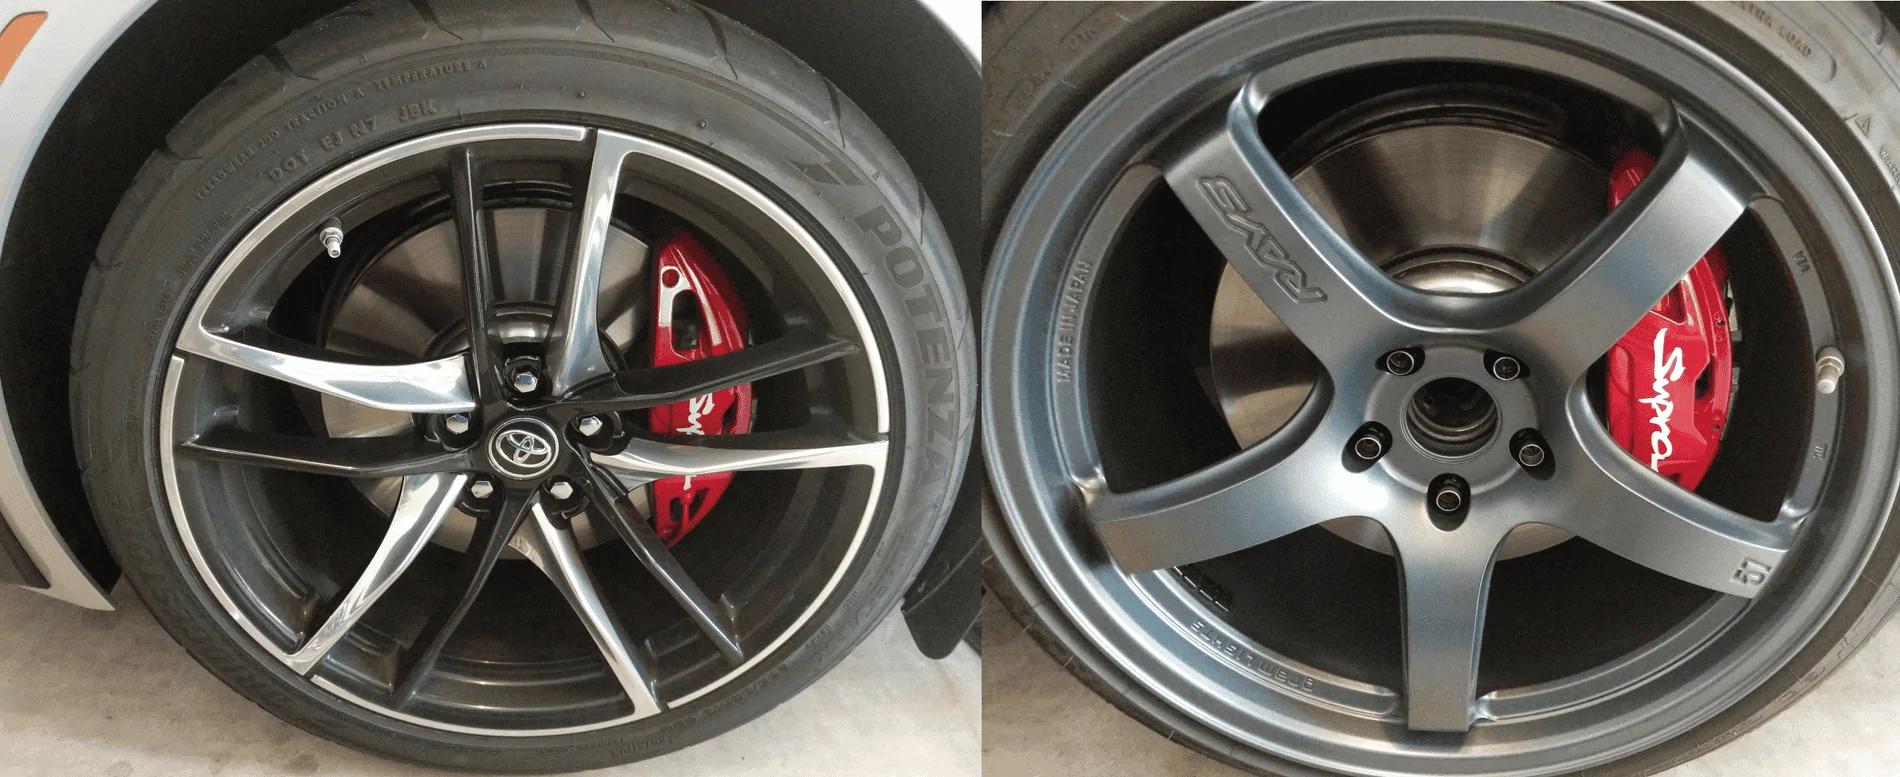
Picked this kit up on clearance and did a quick install. Installation time appox 1hr. Easy installation.
Likes:
14x1.25 nuts can be hard to find so this is a steal for an entire kit.
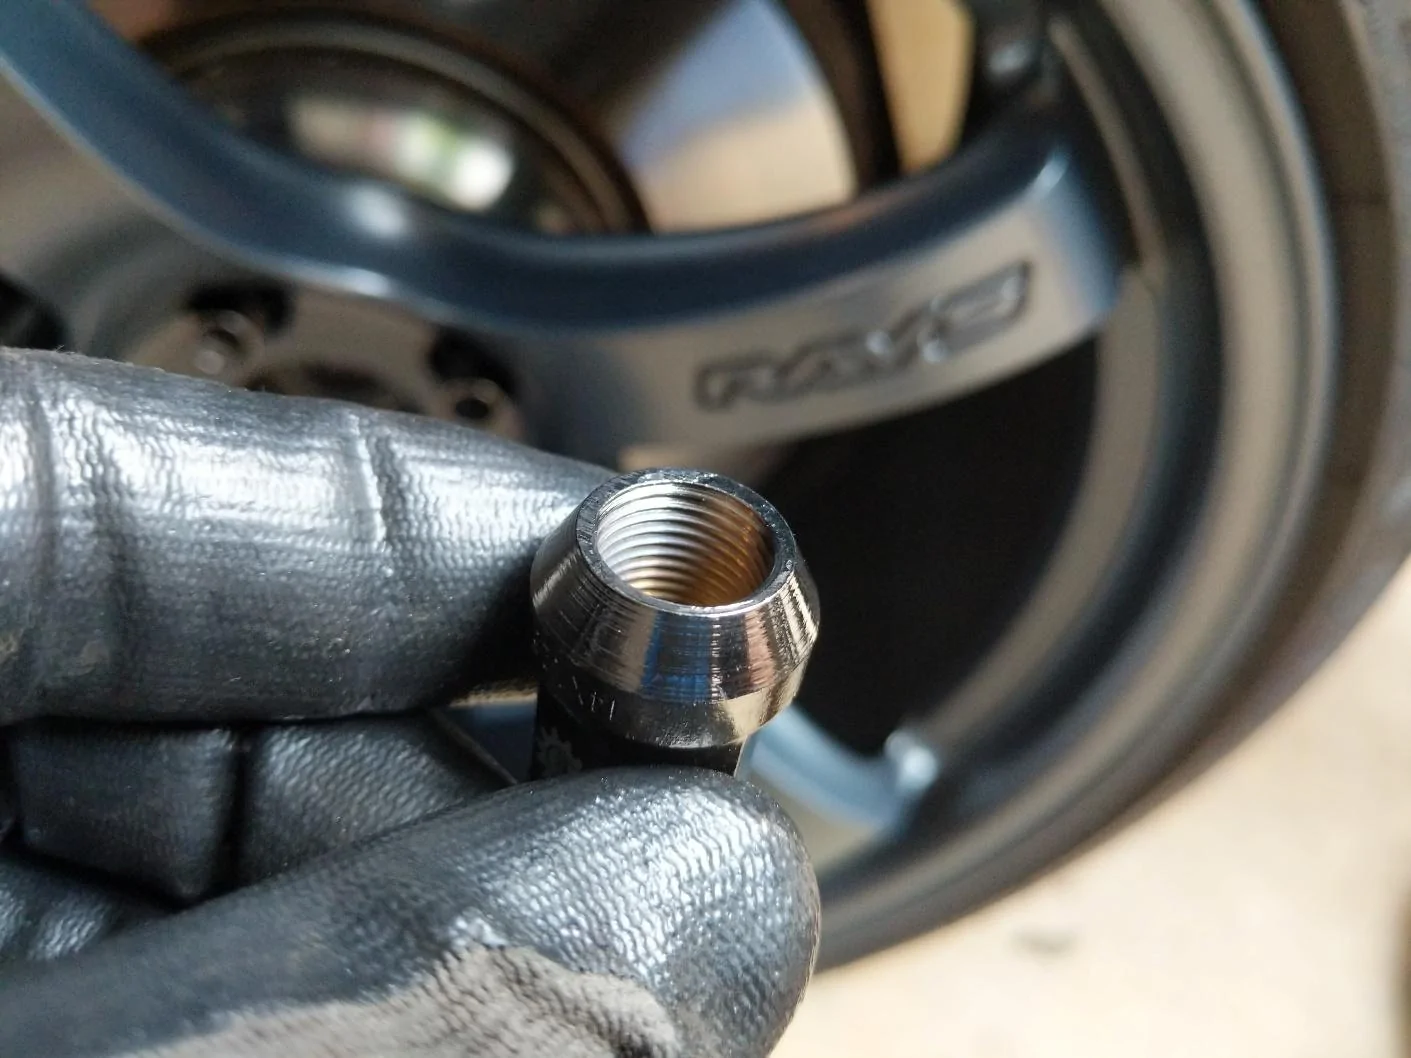
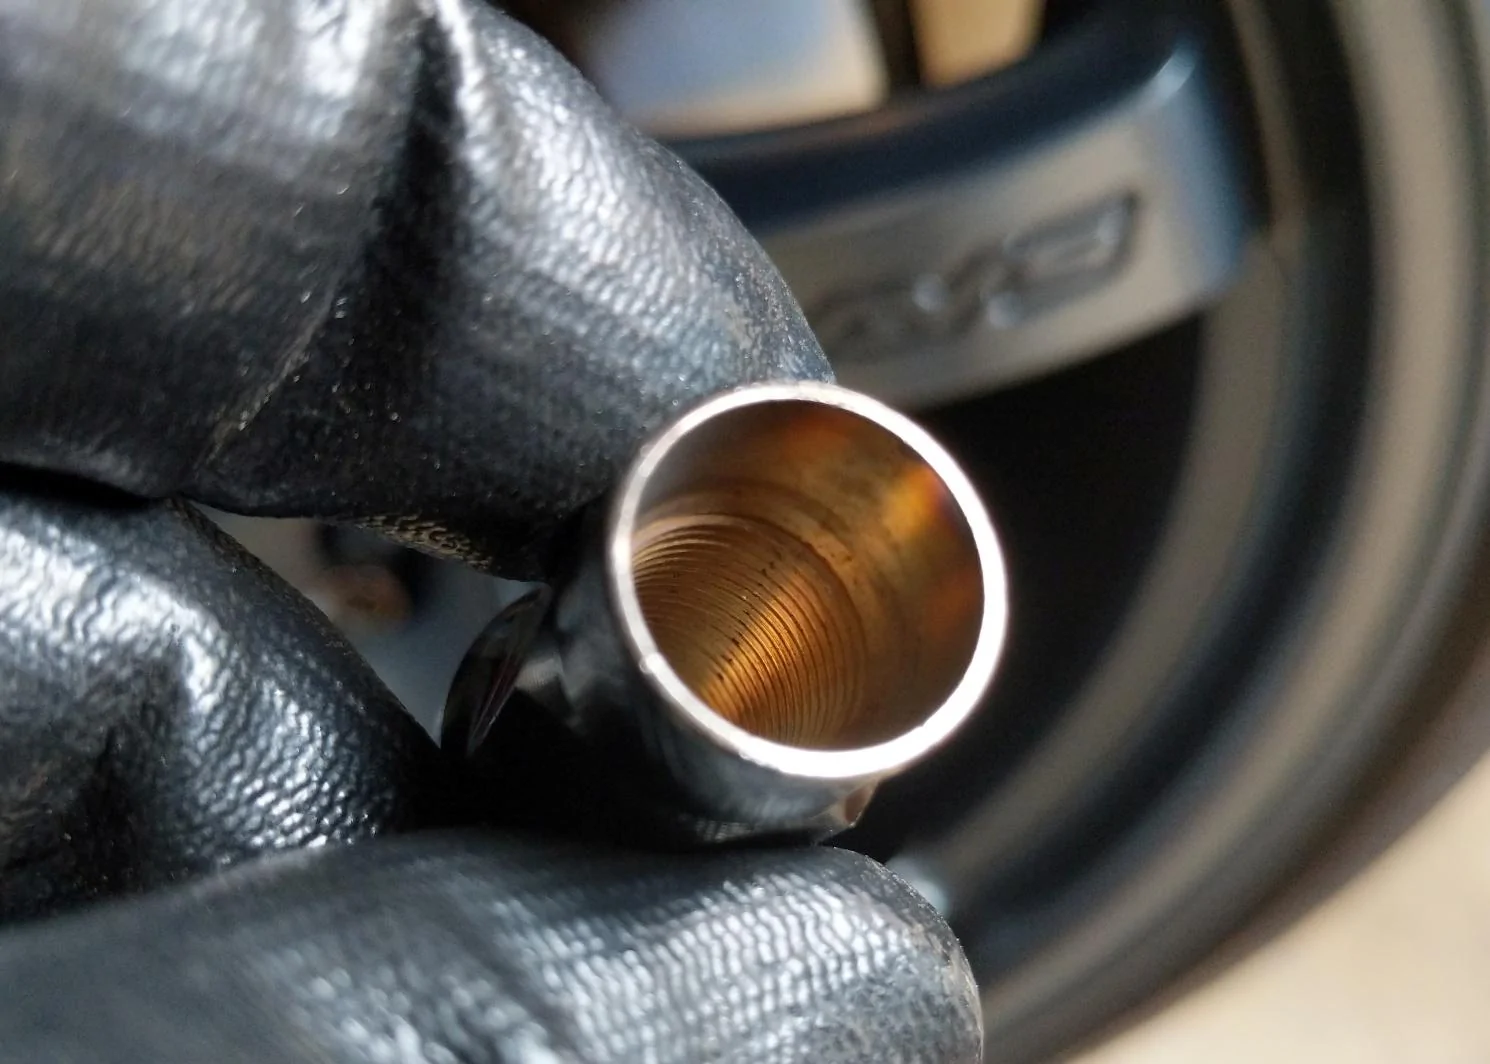
Threads on nuts start at the end and continue for 3/4 of the length giving increased thread contact patch.
Considerations:
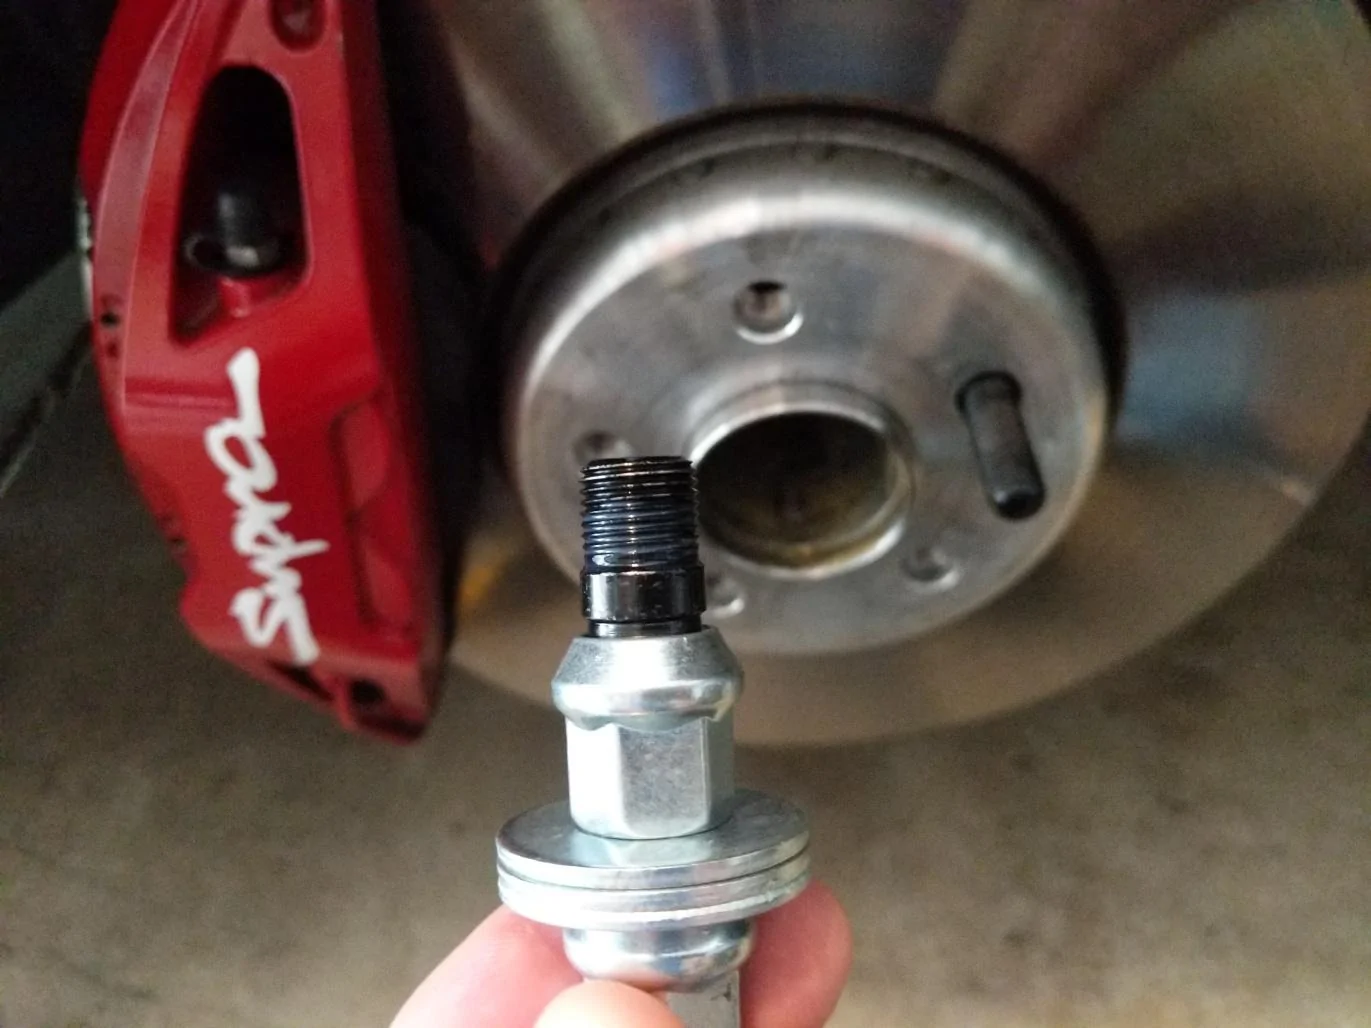
This is the first time I've done a stud conversion. I thought 60mm would be too long but once installed, I think I would prefer a longer version. I would also prefer one that had the bullet speed loader end to it. But for the price this is a hard contender. I do like the fact that none of the threads are exposed from the end of the nut thus cutting down on rust/thread damage.


Likes:
14x1.25 nuts can be hard to find so this is a steal for an entire kit.
Threads on nuts start at the end and continue for 3/4 of the length giving increased thread contact patch.
Considerations:
This is the first time I've done a stud conversion. I thought 60mm would be too long but once installed, I think I would prefer a longer version. I would also prefer one that had the bullet speed loader end to it. But for the price this is a hard contender. I do like the fact that none of the threads are exposed from the end of the nut thus cutting down on rust/thread damage.
Sponsored

")
