Thraxbert
Well-Known Member
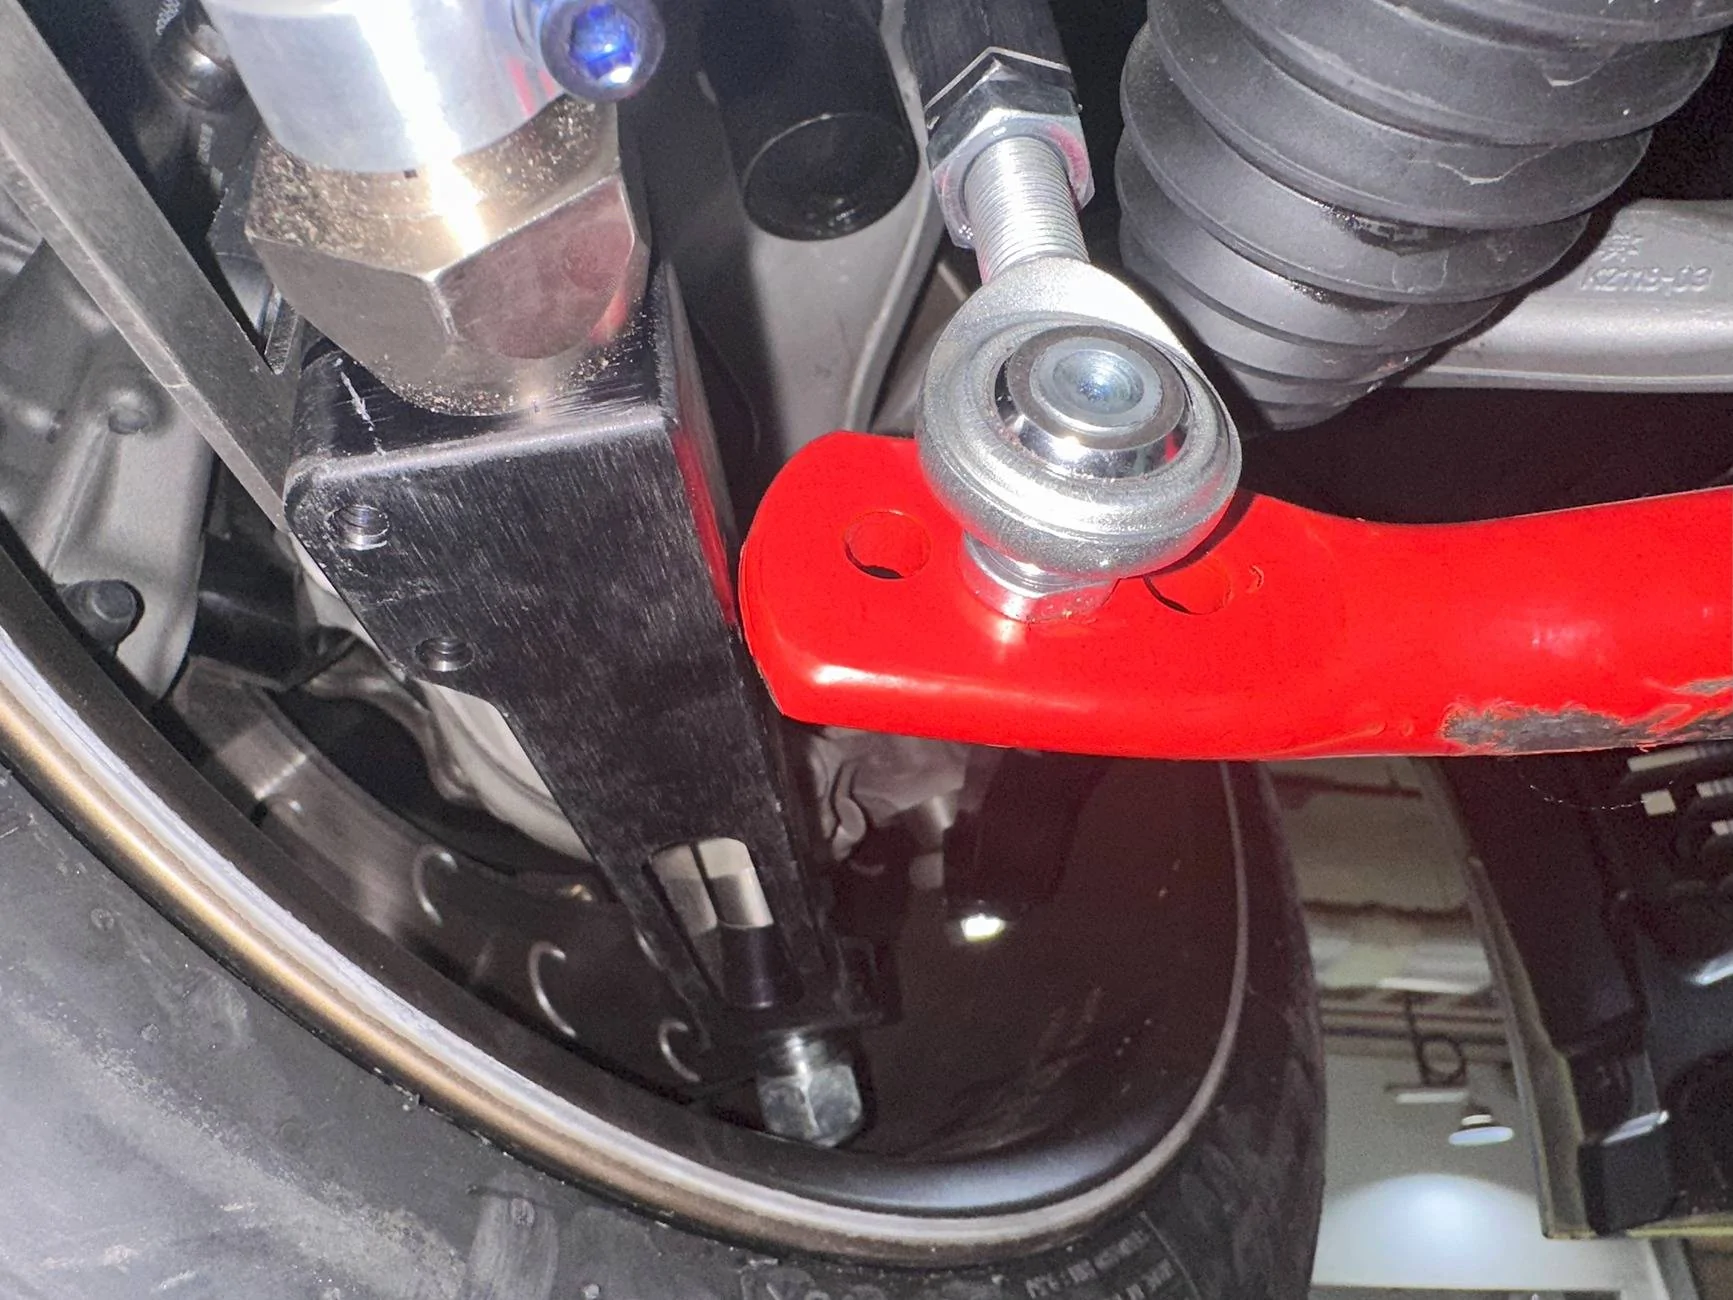
I'm lowered with springs on a full SPL setup, and getting chassis codes from the FLCA ride height sensor. :/ The sensor arm is at the proper angle with the arm pointing downwards at the "elbow" joint, but the new mount point that sits on the threaded end of the FLCA must not be quite right. So the overall angle of the arm going into the sensor must not be quite right.
I can and will screw around with it but the chassis code is intermittent. Has anyone had this issue, and has a fix to recommend?
I can and will screw around with it but the chassis code is intermittent. Has anyone had this issue, and has a fix to recommend?
Sponsored