MK5_Ger
Well-Known Member
This doesn't sound very promising.No it wont help. I went through this with the dealer on my car as well. We tried replacing the speaker and amp and neither made a difference. According to them they all do it.
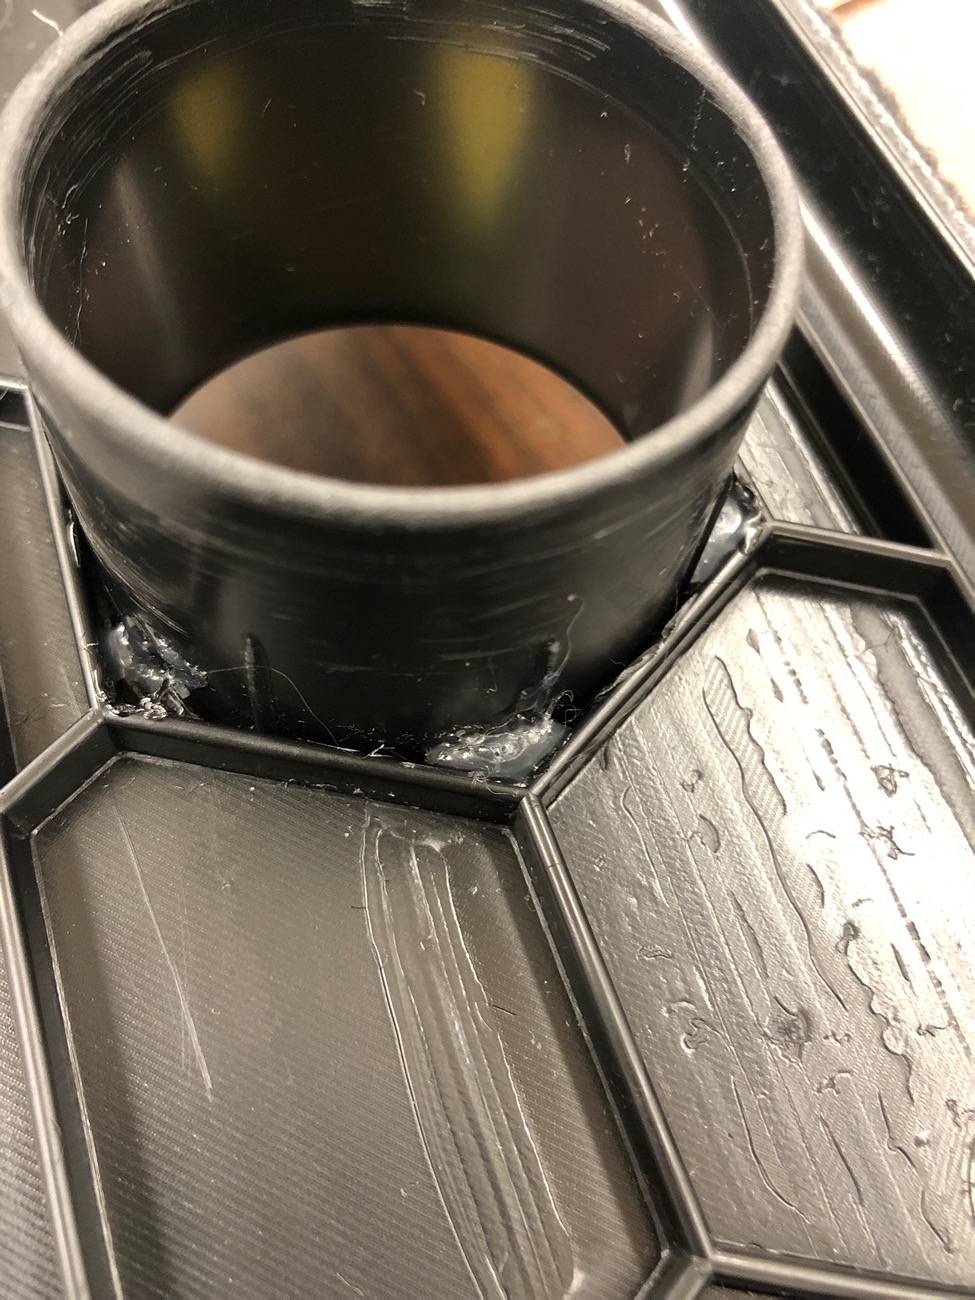
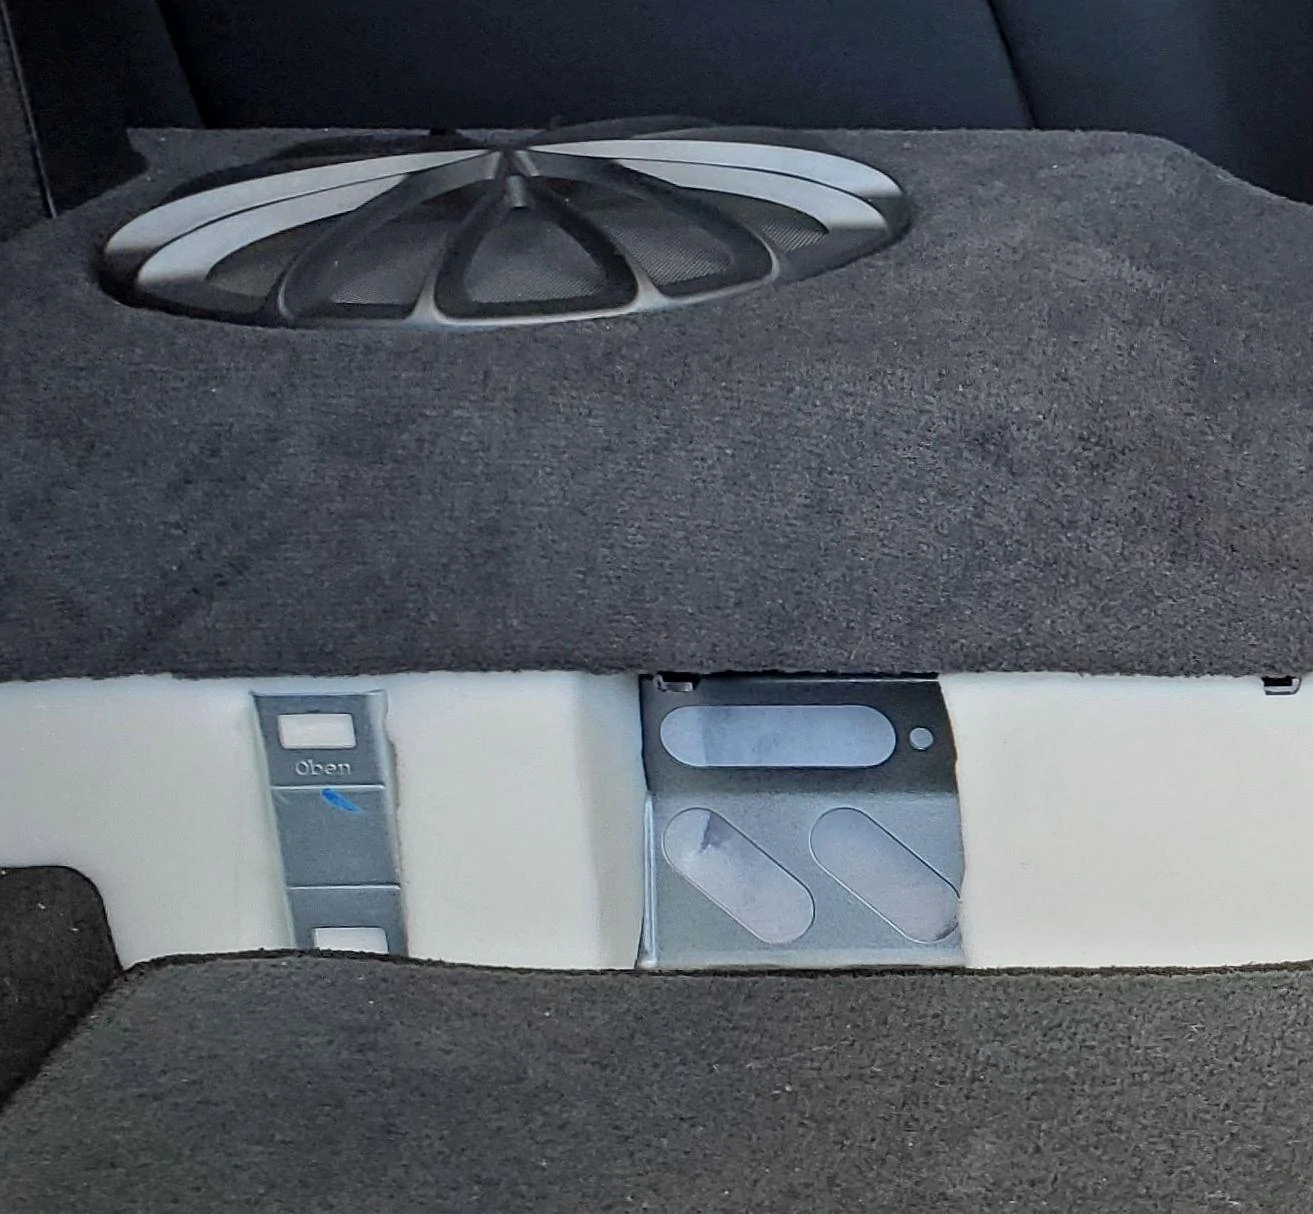
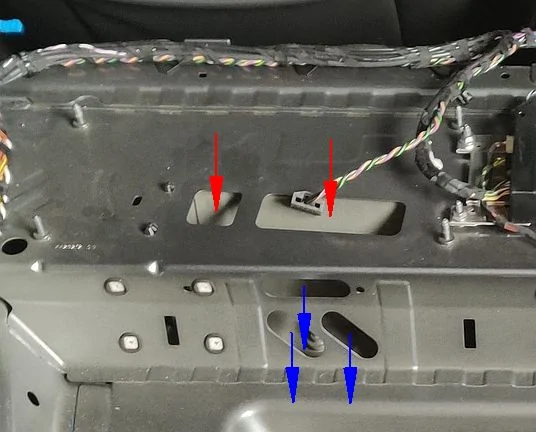
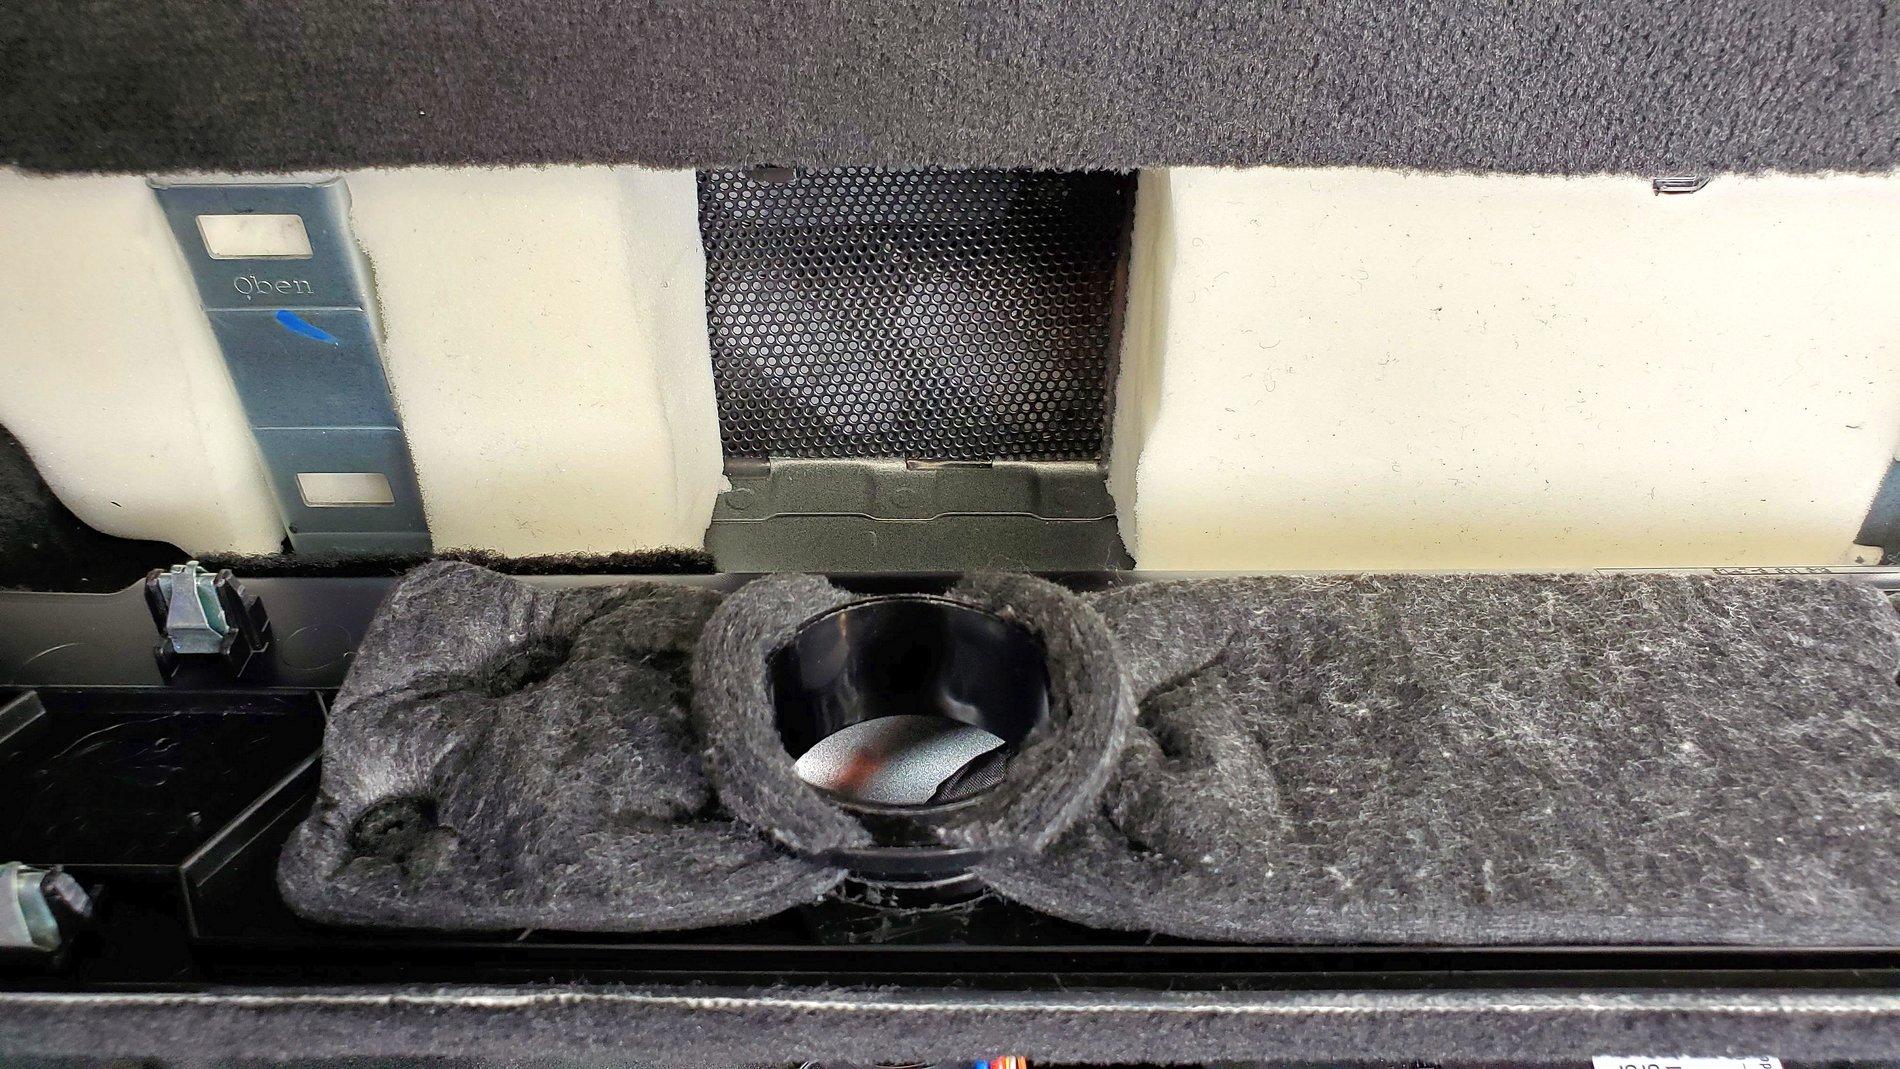
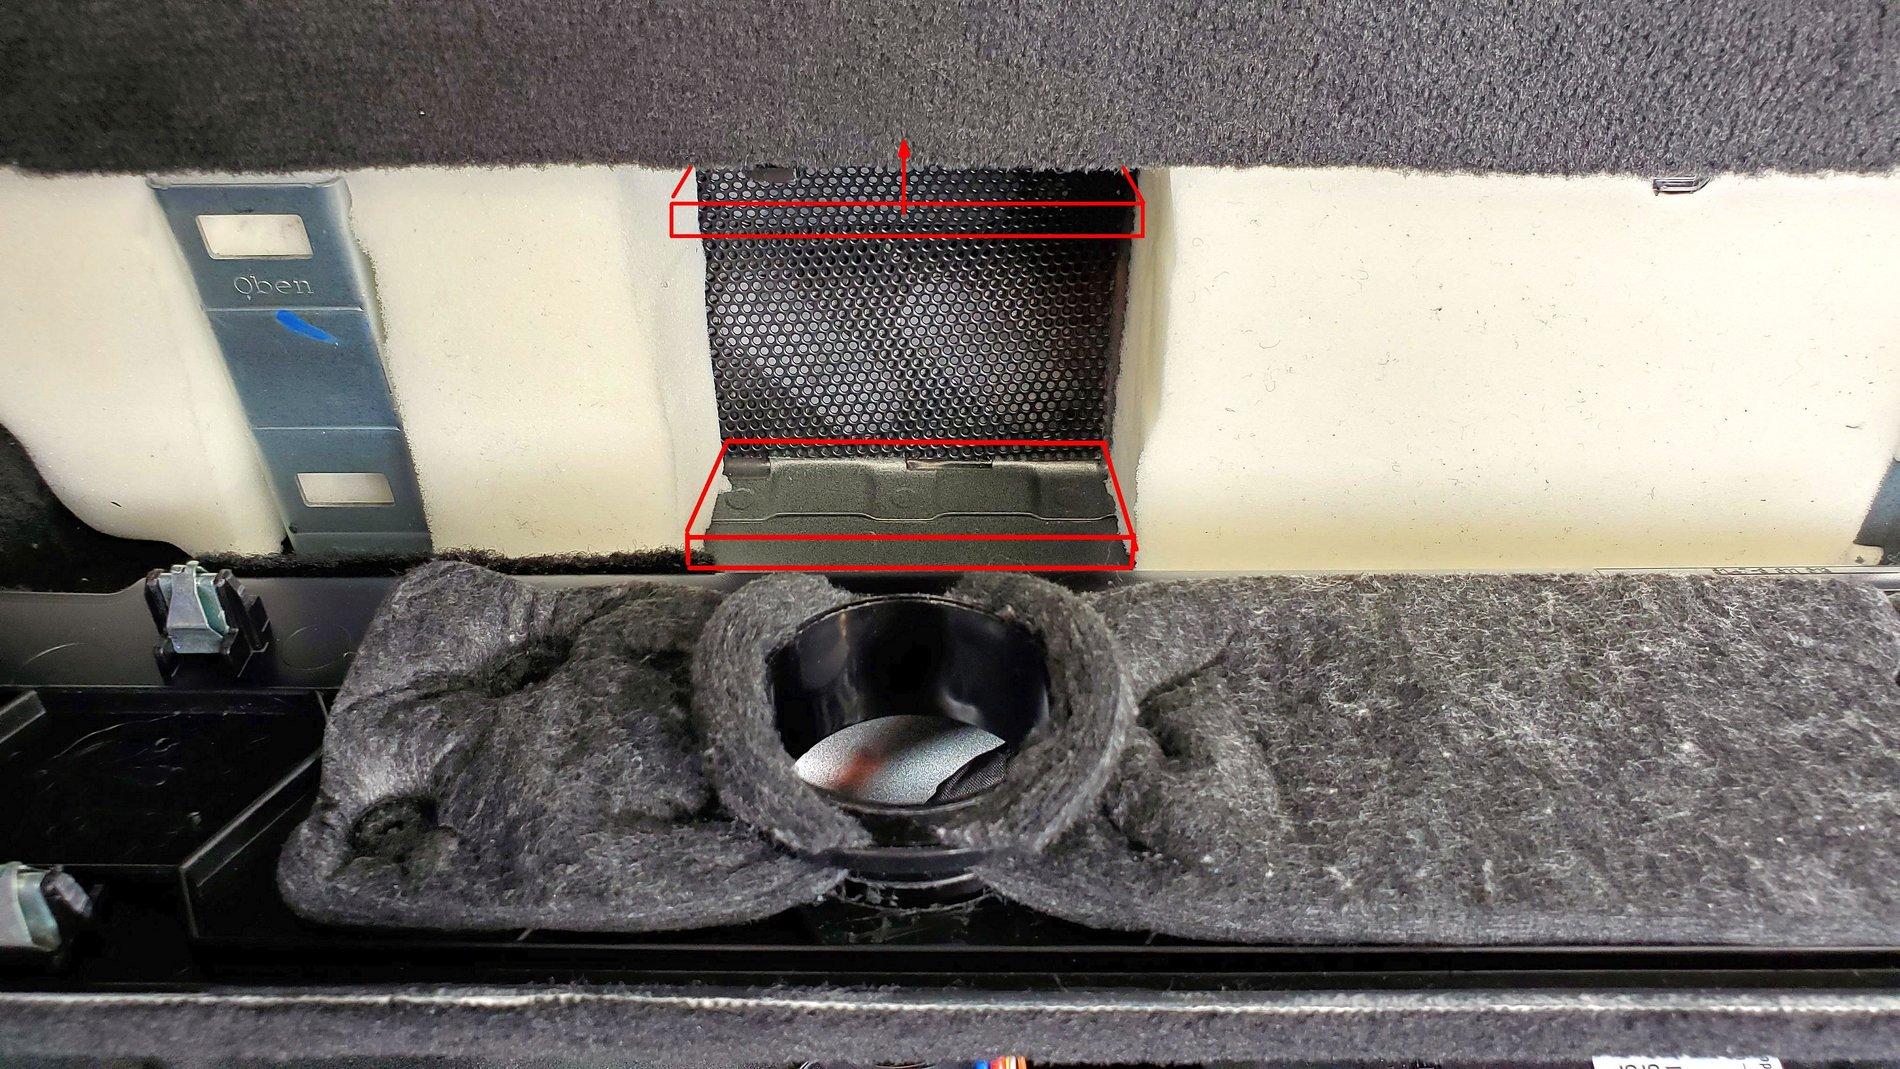
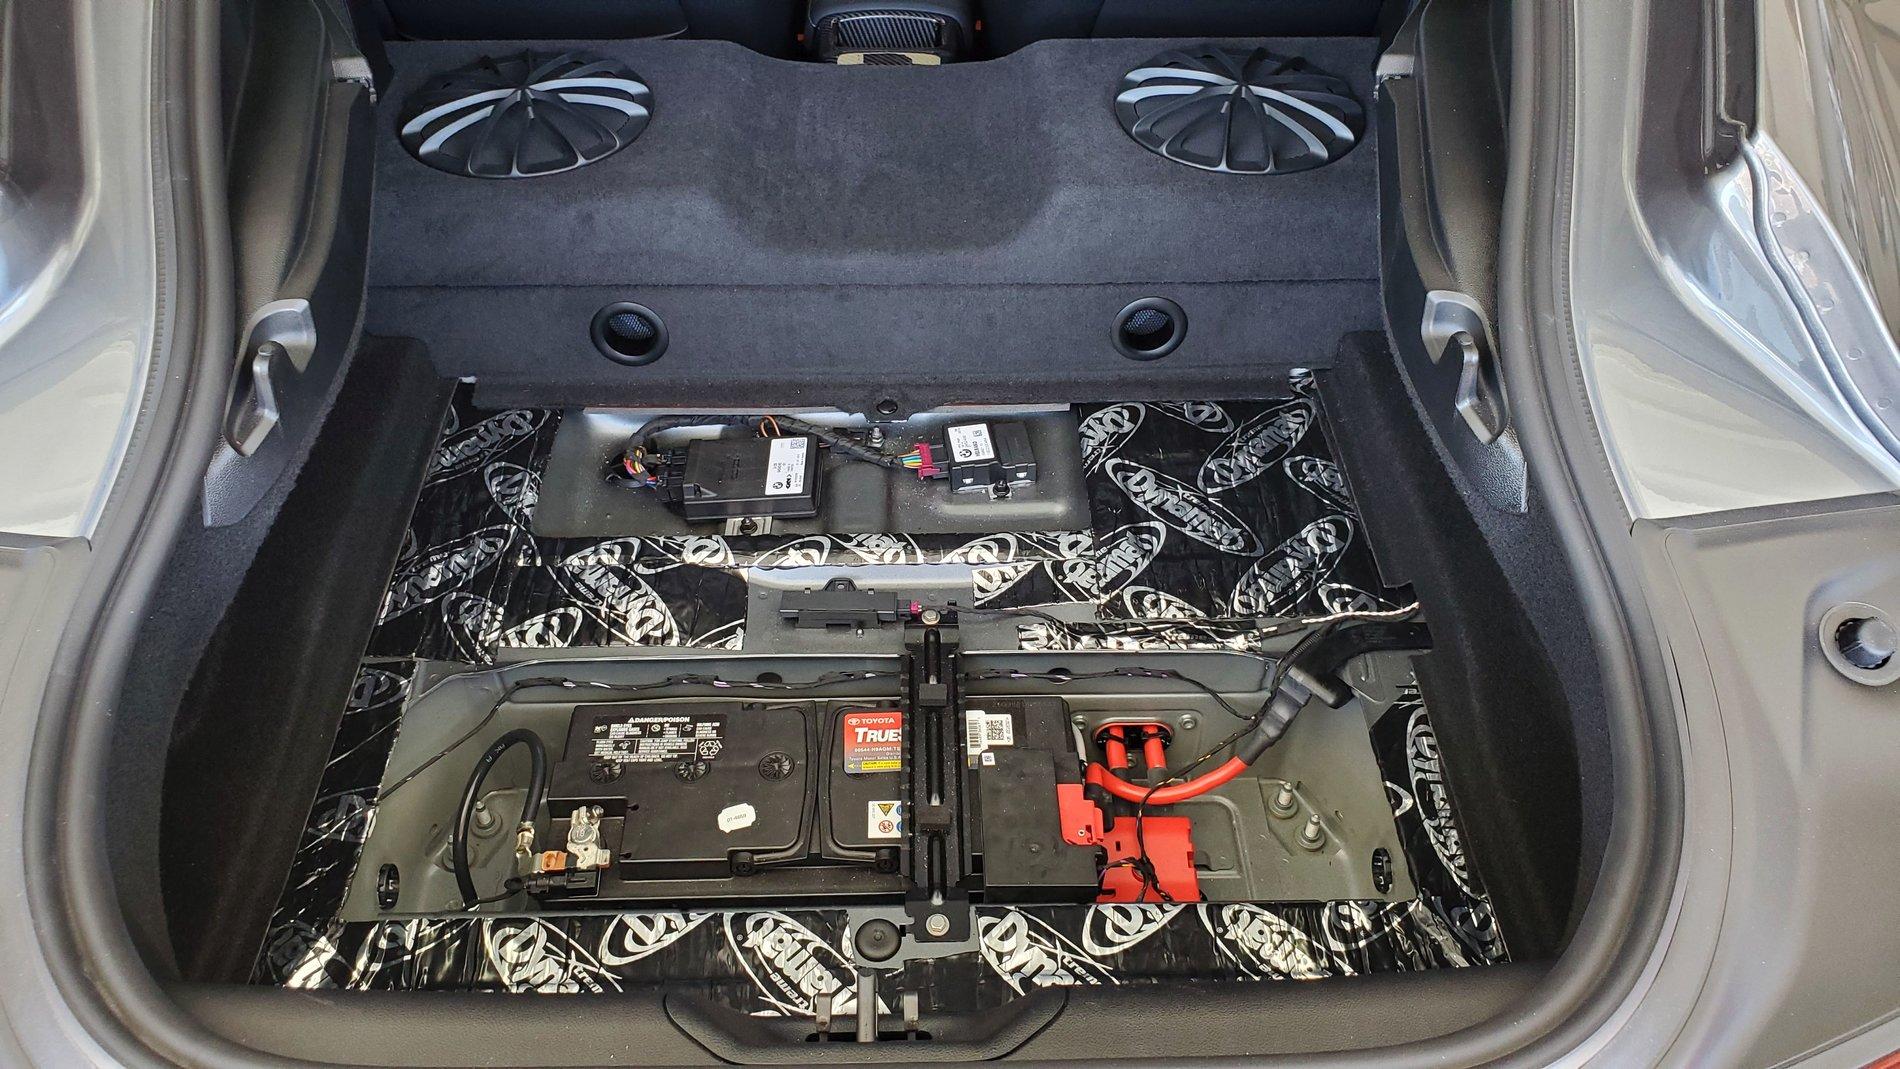
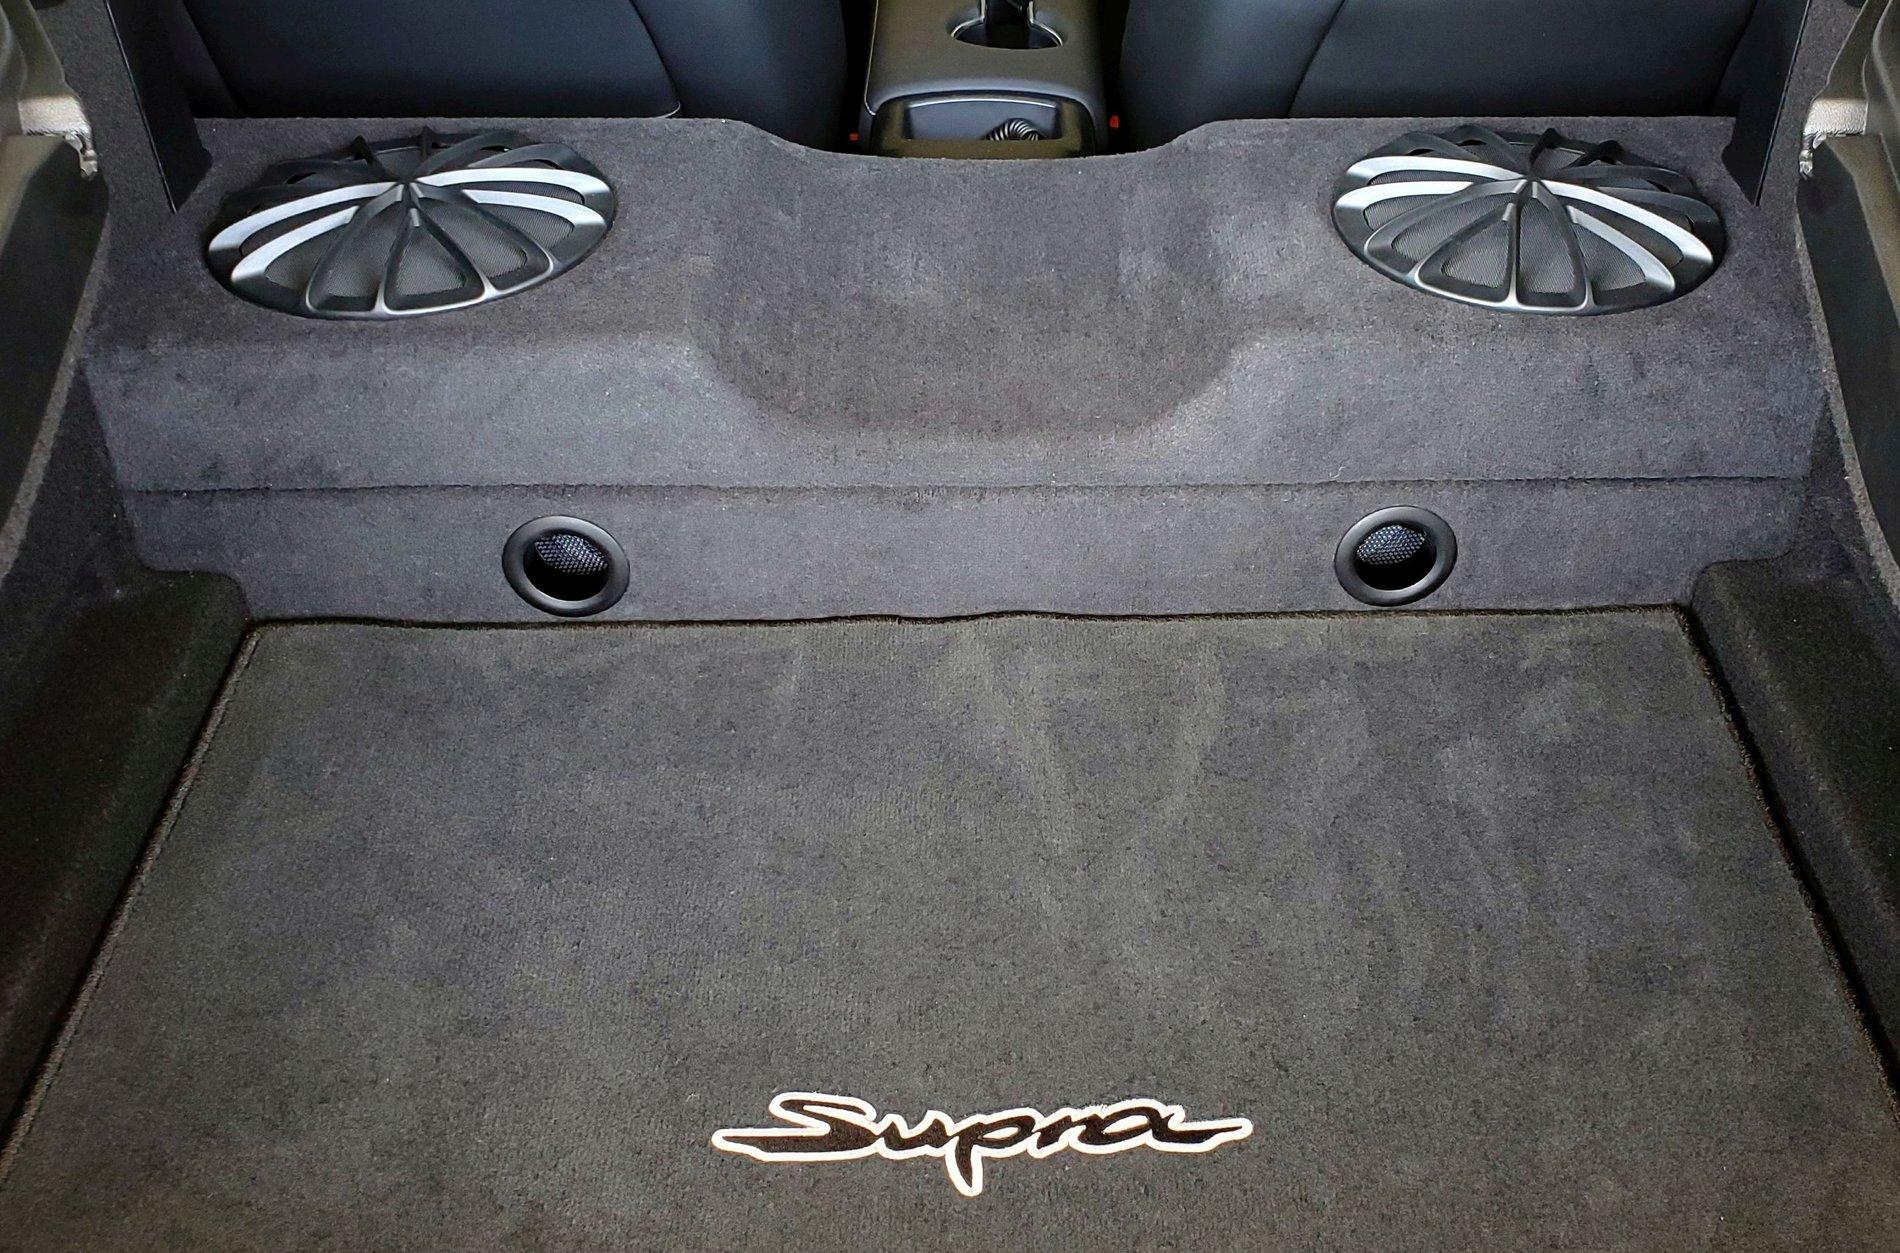
If yours is like mine, the drivers side subwoofer is way worse. I just ended up unplugging that one. You lose a small amount of bass but the sound system is at least tolerable at that point.
Of the 13 cars I've had so far, these have probably the worst sound system.
But thanks for sharing it. Means this isn't a one of case.
Maybe if I can get my hands on some cheap BMW Harman Kardon subs I try to change them and see if it helps...
And yes, it's one of the worst "premium" sound systems I have ever heard. It's even worse than the already bad Harman Kardon system in F Series cars.
Sponsored

")